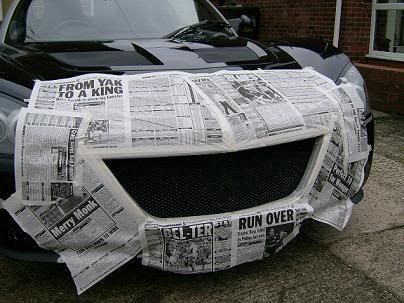
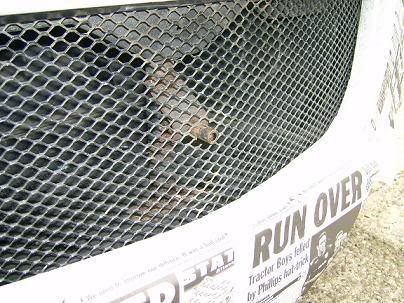
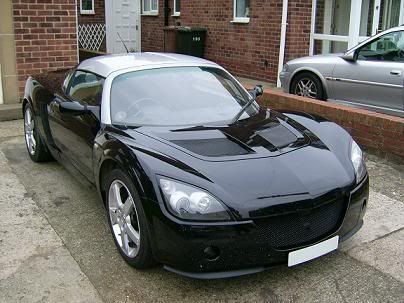
Ok here comes my comprehensive 'How to...'
Removing the Front 'V'
I used a normal black and decker drill with a 6mm drill bit. Other people have used hole saws and solder irons but I only had a drill therefore I was limited, I took my time and managed to be pretty accurate. See the photos below of where I was drilling.
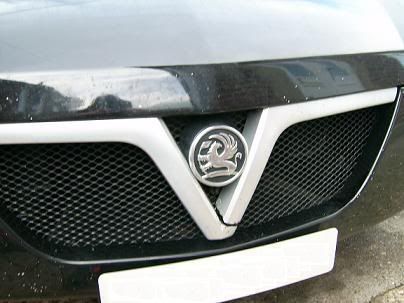
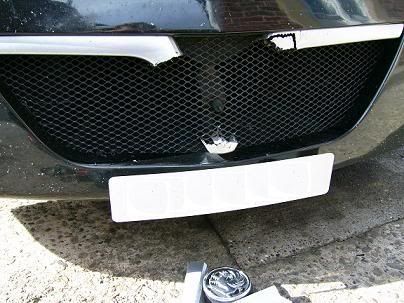
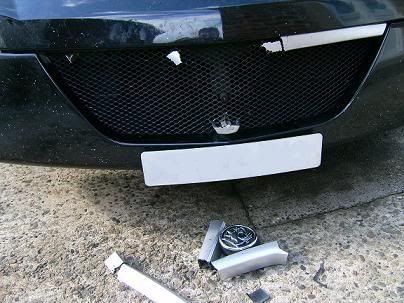
See picture below for the fixing positions.
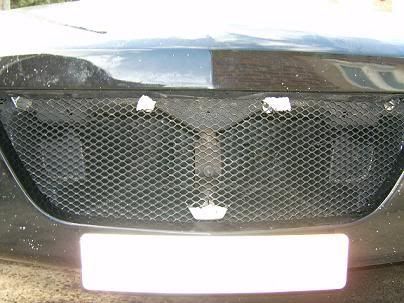
These two photos show how Vauxhall chose to mount the 'V'.
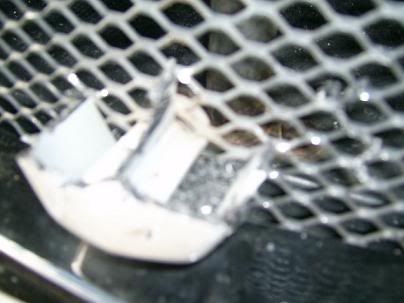
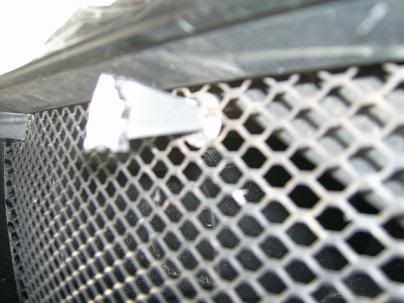
Note that doing it this way means that you can't have the 'V' intact. The only way to keep it intact would be to remove the clam and unscrew the fixings.
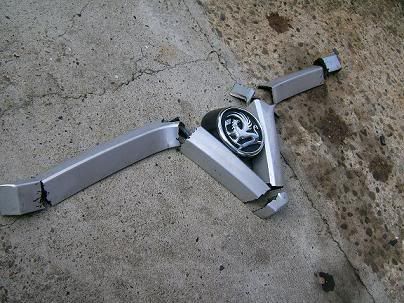
OK, once you get the screws free from the platic mounts you will need to push them through and drop them into the front of the clam (they probably have fell down anyways). You will notice if you look closely that there is a lip that ends where the towing eye is. You now need to use a long bit of wire of a screw driver to grab the screw and flick them under the lip so that they are in the lower part of the clam. Its noted that some people say you can use a magnetic tool to hook them and get them out, but I found that the washers they have were to big to come through the mesh).
Now you need to go grab a ratchet and a 8mm bit and undo the 5 front clam screws. This sounds akward and too much hassle but they come out and go back so easy.
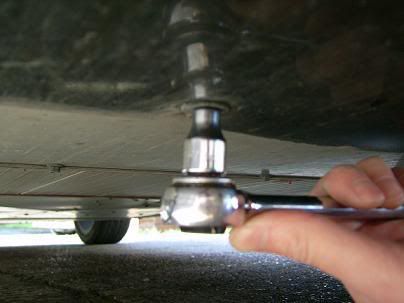
Now you can pull the loose plastic lip down and free your screws. Count them, there should be 5. Make sure you get the 5 as you dont want these little sharp screw getting in your tyre at speed. Please make sure you get them all.
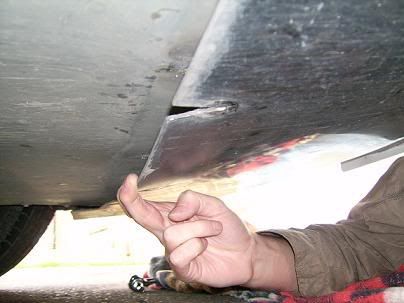
I had to use the kerb at my mums house to aid in the angle of the car. If you are careful you will get them all. So now you are left with this......
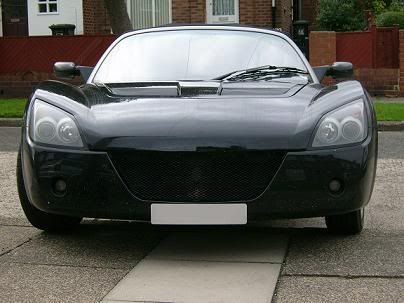
Put your clam screws back (dont over tighten) and your all done. Now its up to you whether or not to mask it all off and paint it. It was too windy this weekend for me to spray mine but I have the Hammerite Satin Black spray can in the house ready. I chose the hammerite as it goes straight onto rust there for reducing the need to respray in a month unike with the Halfords paints.
I Hope this post comes in useful, many thanks,
Craig
Thanks go to LazyDonkey, VXJON and ChrisTurbo. There threads, photos and knowledge helped me so much


