
I had a few issues with the install initially as the chargecooler rad supplied was built to have the feed/return pipes on the passenger side which I did not know.
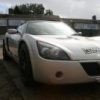
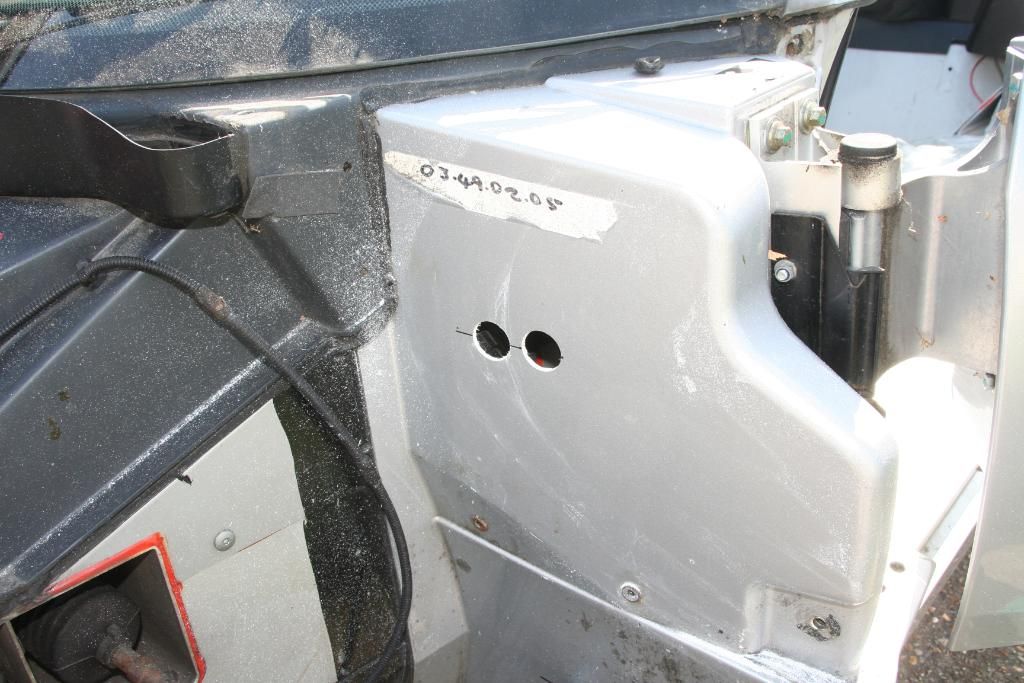
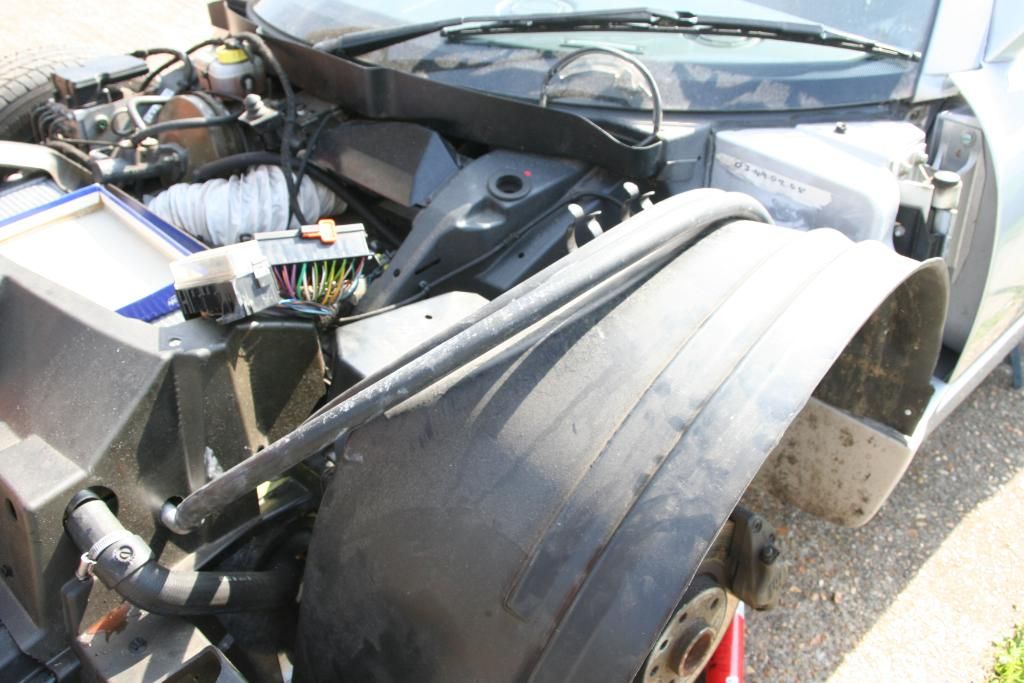
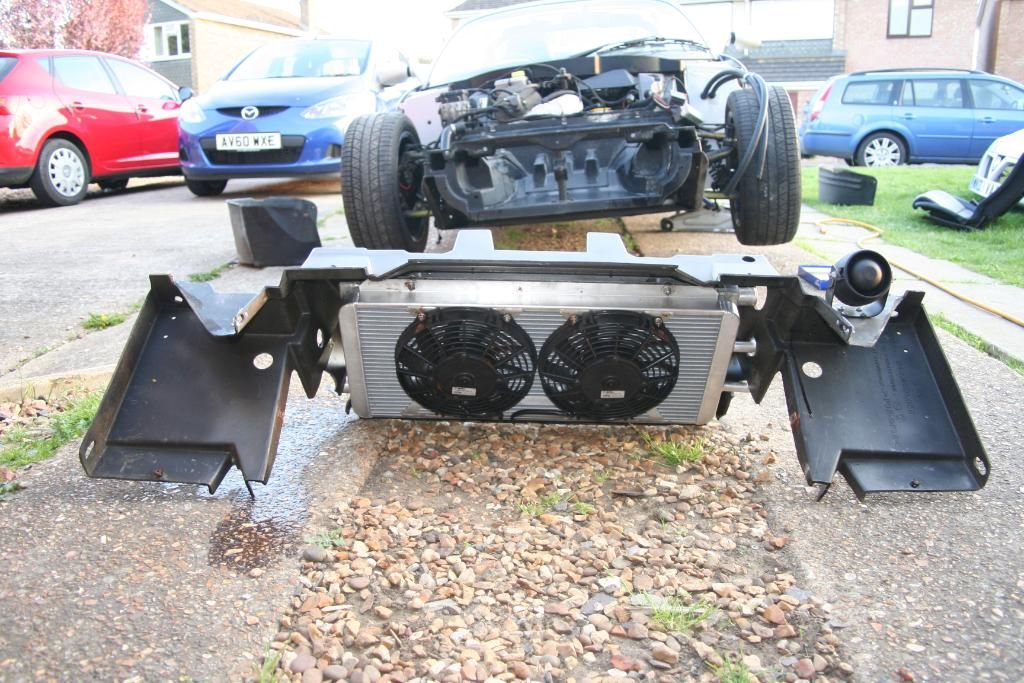
In this pic you can see that the fans are offset to the rear of the car when the feed/teturn pipes exit on the O/S
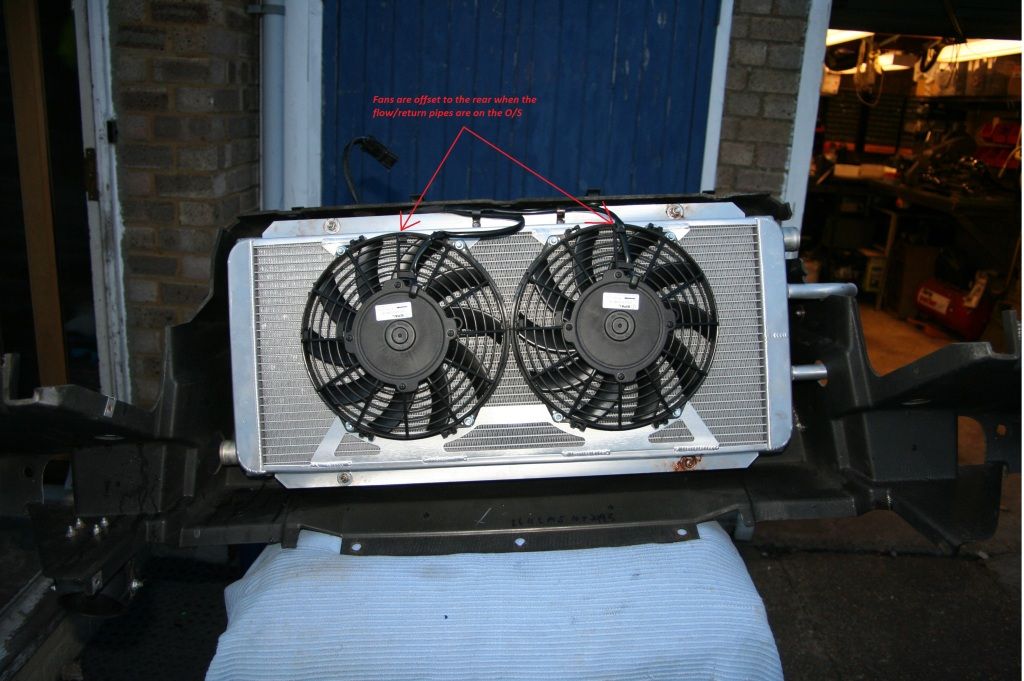
This means the rear of the fan cowlings catch on the rear edge of the crash structure and the rad housing will not bolt down on the on the crash structure.
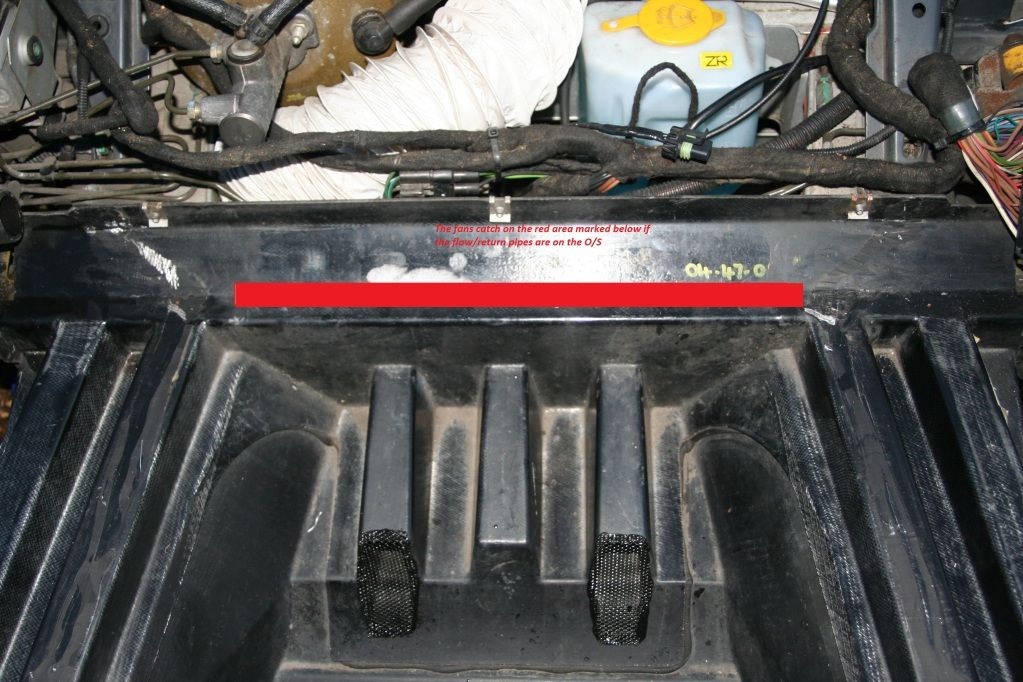
In this case it means that the chargecooler rad has been manafactured so the feed/return pipes exit in the passenger side and the rubber pipes will run down the passenger side.
Thanks to those on the .org that put me in the right direction.
I would not have minded so much but I spent 3 hours fitting the chargecooler rad to the rad housing the wrong way round and pulled the sill cover off the driver side sill.
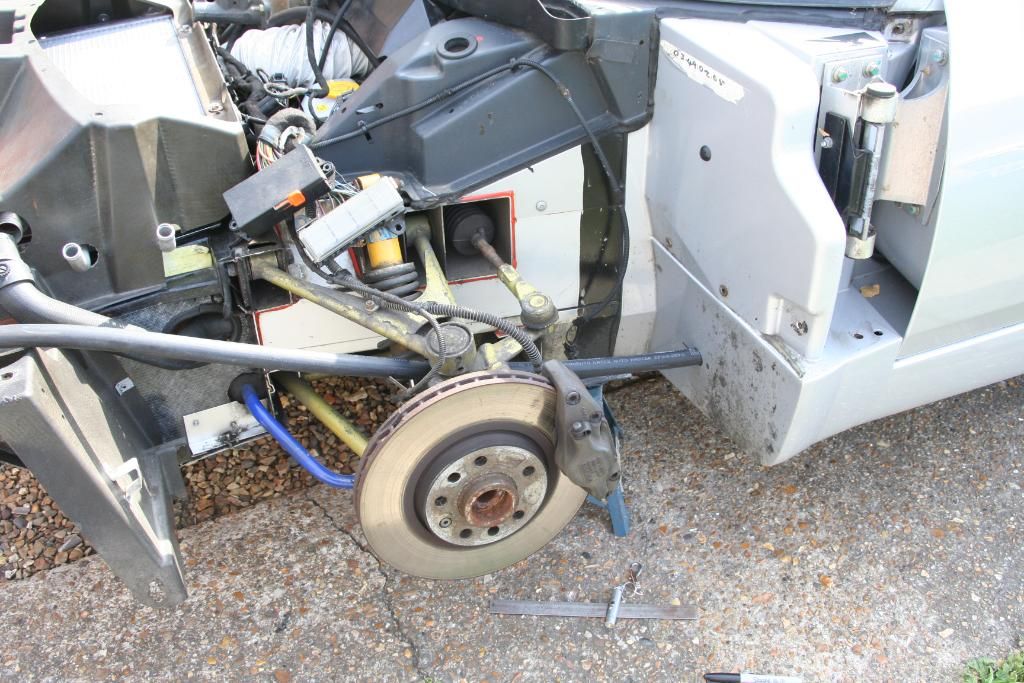
The car is already fitted with a Pro Ally radiator, so I bolted the chargecooler to it and then made a card template around the rad outlet and the chargecooler inlet/outlet.
The rad assembley was then bolted into the the rad housing and the hole positions for the chargecooler inlet and outlets were transposed onto the rad housing and then the holes cut with a holesaw.
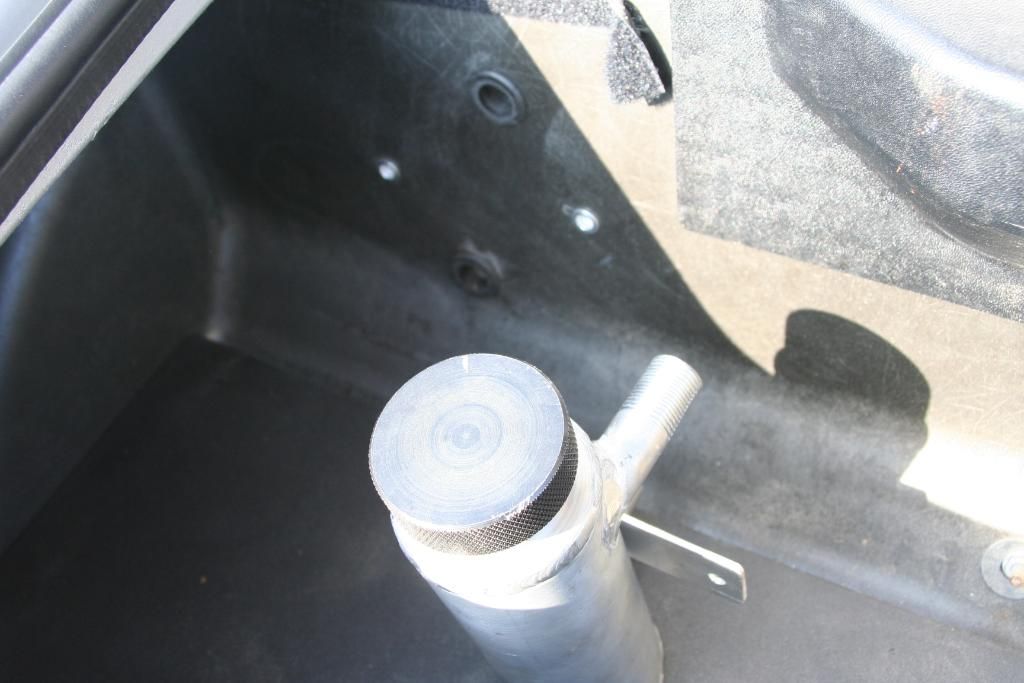
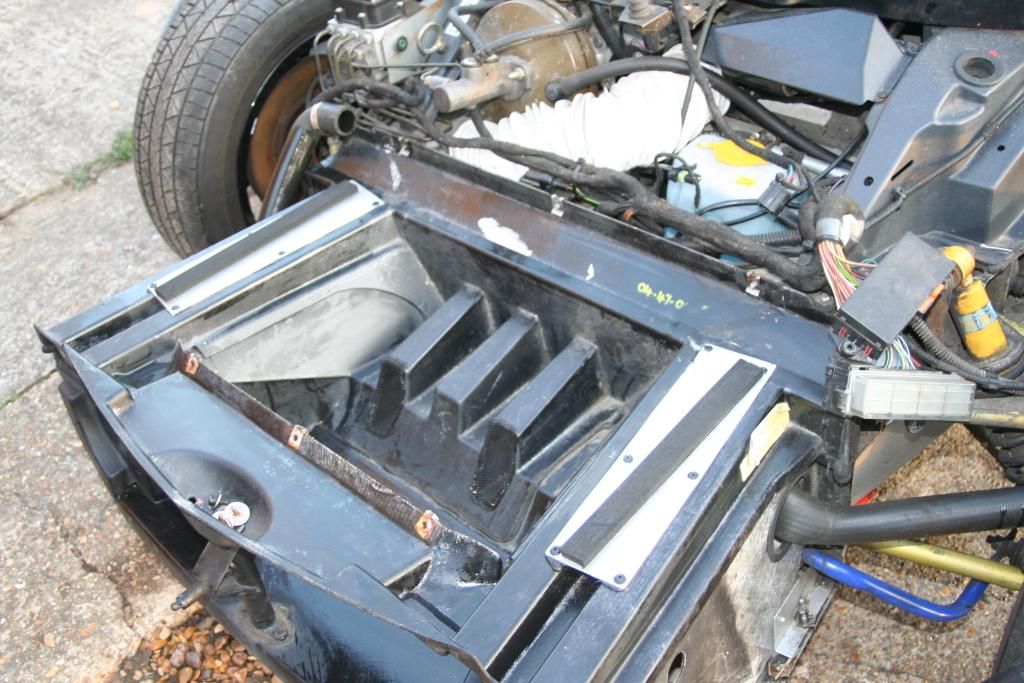
You can see also that I put a patch of fine mesh on each of the heater air inlets to stop the bugs getting in..........
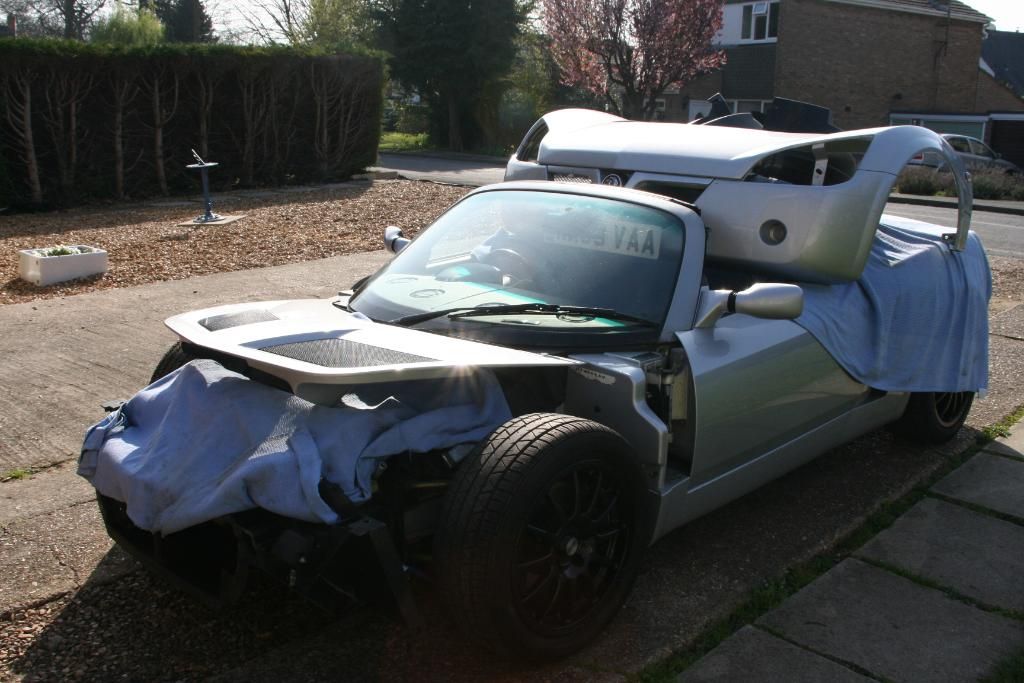
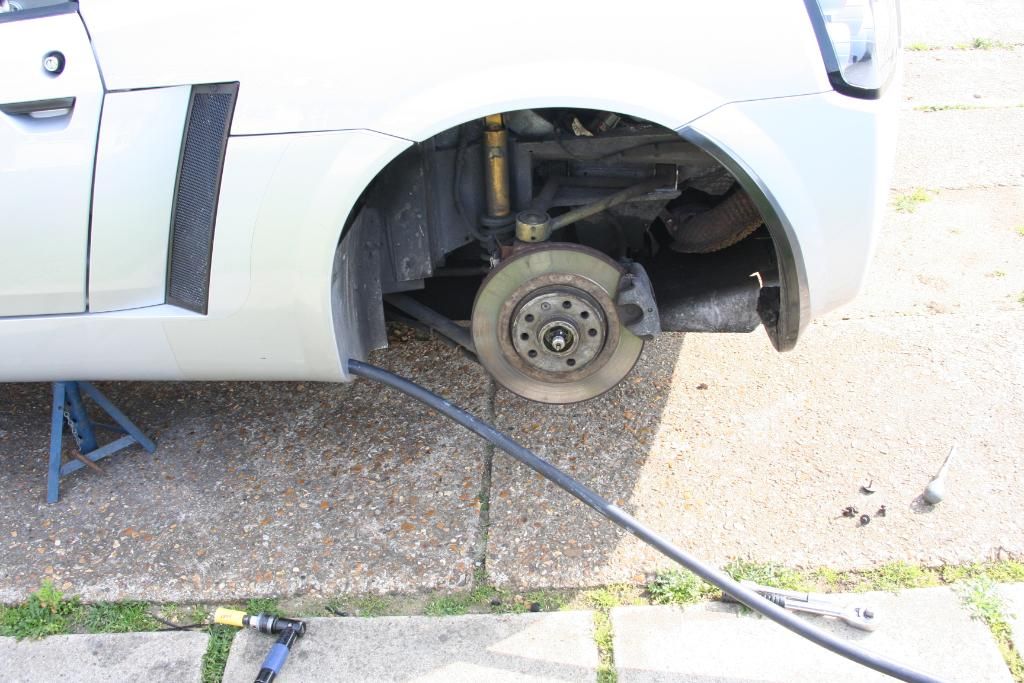
We join the story with the front clam off and the fitting up in progress a few days later.
This was what it looked like on wheeling it out of the garage on the morning of the 29th March (Thursday)
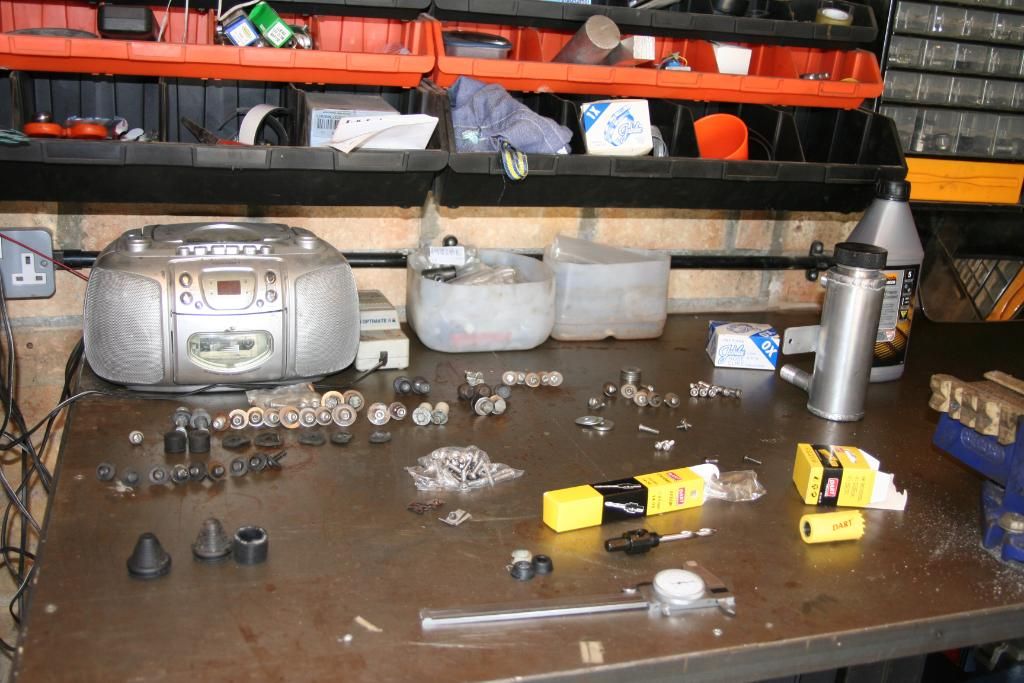
The work bench looked like this wuth all the new fasteners ect laid out..........
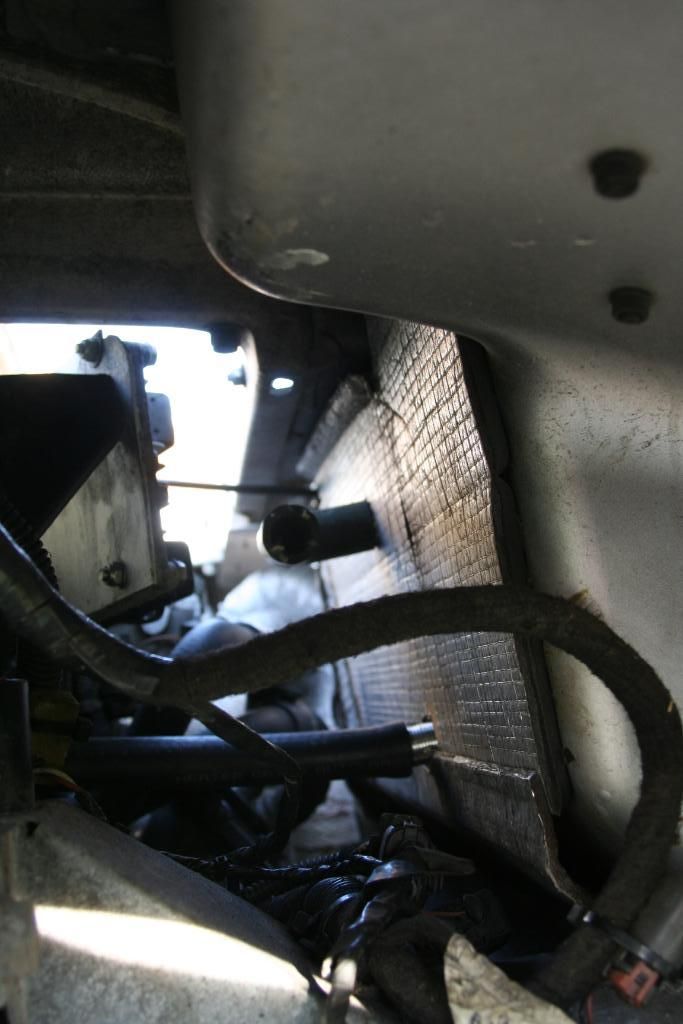
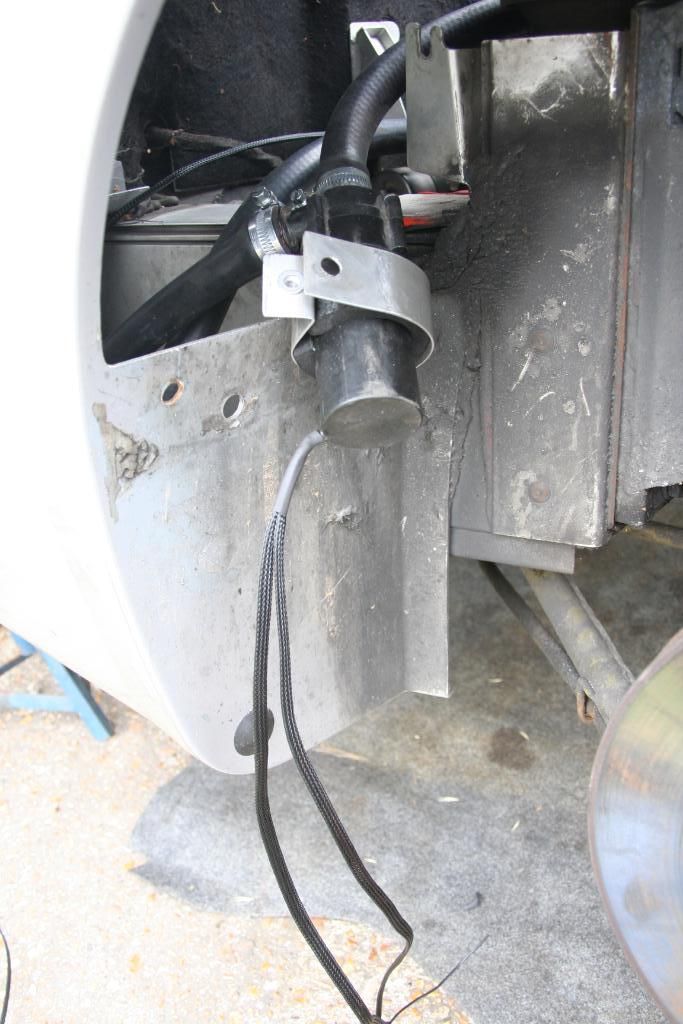
The first job was to get the car in the air and begin to look at running the pipes through the passenger side sill.
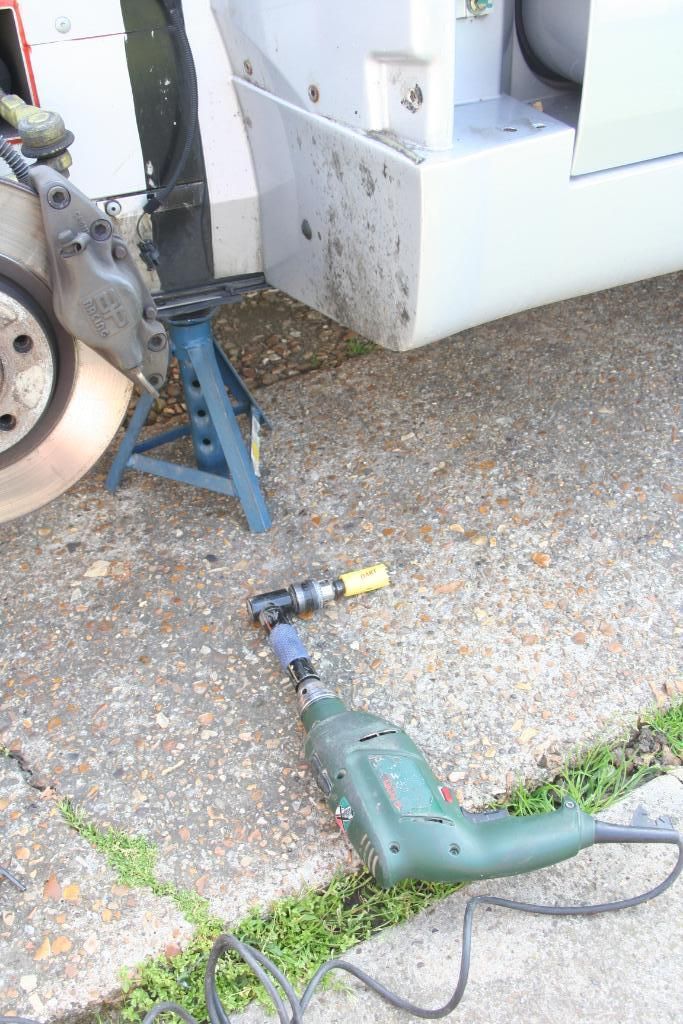
In this pic you can a grommet in the front of the sill, there is an equivlent grommet in the trailing edge of the sill, on removing these I looked down the sill through the front hole and could see the hole at the back which seemed to me to be good news.
I opened these holes up to 28mm with the holesaw.
I find the right angled drill handy in situations like this.......
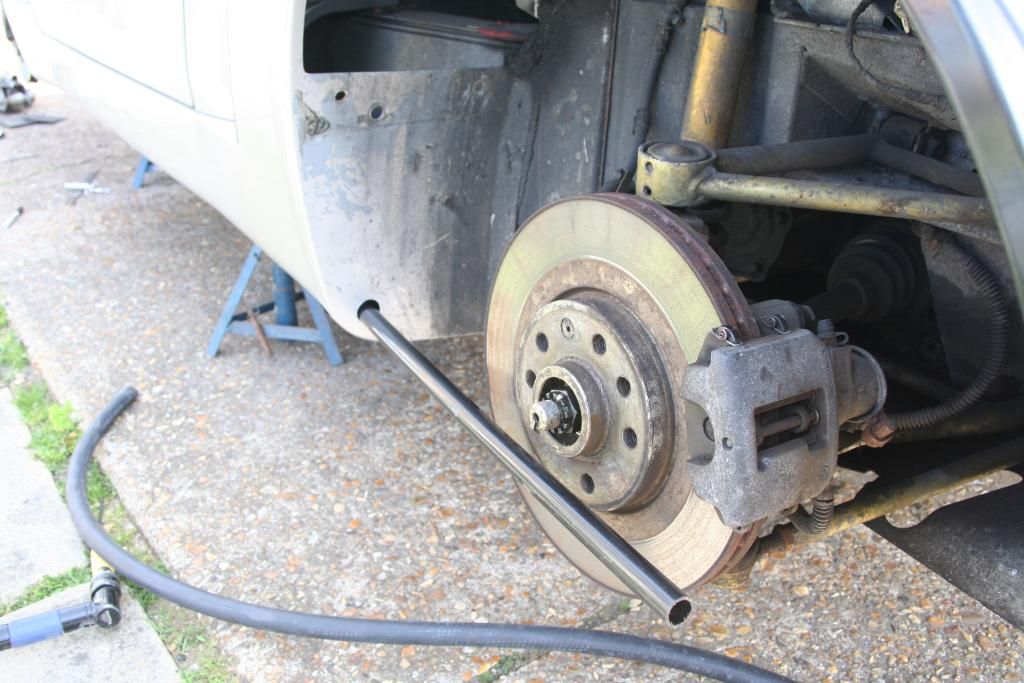
Once the holes were opened up I fed a length of electrical conduit into the the rear of the sill and carefully slid it along to see if it'd go all the way through which it did not, the next stage was to tape the holesaw to the end of the conduit and cut neat holes through the foam bolsters in the sill.
The conduit was then extracted through the front of the sill.
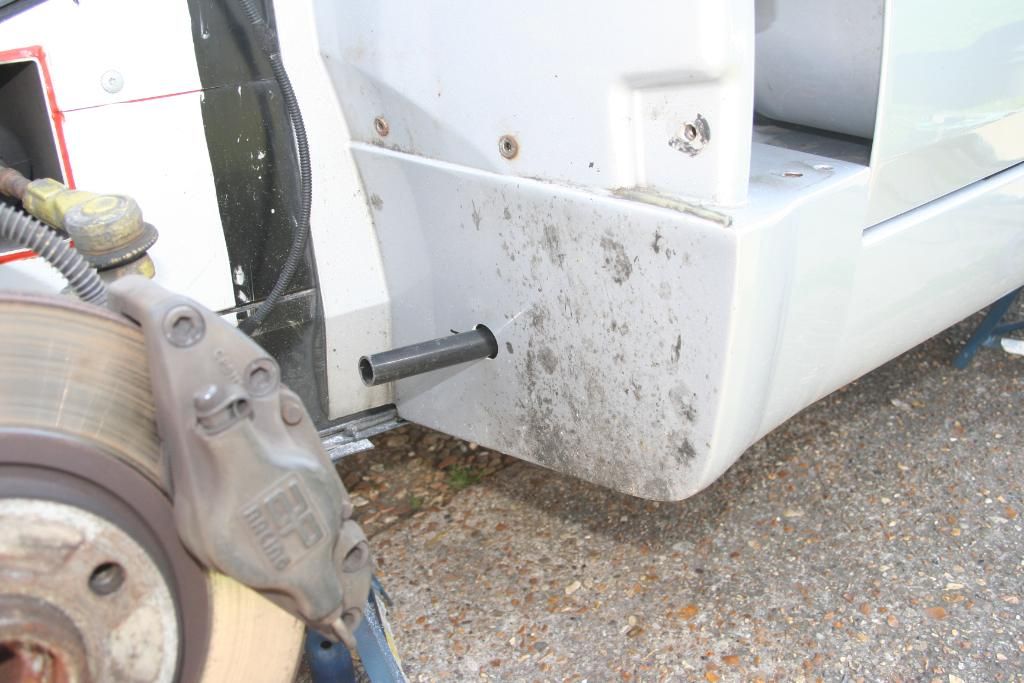
Hey presto it re-appears.
Once I had the pipe runs cut into the foam bolsters I could then begin the job of pulling the pipes through.
More to follow.....................
Chaz.


 where did you get that original cc system from? that an early CS one?