Jump to content


Photo

Project Ged

rebuild refresh

  • Please log in to reply
88 replies to this topic

#61 Gedi

Gedi

    404 Not Found

  • PipPipPipPipPipPip
  • 5,547 posts
  • Gender:Male
  • Location:North West
  • Interests:Nothing

Posted 24 October 2014 - 12:14 PM

Thanks for the tip guys. Looking back at the pics, I can now see the outline of where the PU glue used to be. I'm doubly glad I had it re-anodized now, as the PU glue seems to offer no protection to corrosion.


I'm using dinitrol 501 adhesive for putting everything back together. I've bought a couple of these kits to get the job done : http://www.ebay.co.u...=item4ad2595089


#62 PaulCP

PaulCP

    Whipping Boy

  • PipPipPipPipPipPipPip
  • 6,066 posts
  • Gender:Male
  • Location:Suffolk

Posted 24 October 2014 - 12:33 PM

Just a suggestion, if you haven't already done it Whilst you have full access to the top of the steering column replace the upper steering UJ. Around £40 and will save a lot of pain in 2 years time or so if it develops some play

#63 Gedi

Gedi

    404 Not Found

  • PipPipPipPipPipPip
  • 5,547 posts
  • Gender:Male
  • Location:North West
  • Interests:Nothing

Posted 24 October 2014 - 04:39 PM

Yeah I was going to do this as a matter of course, but I checked the current UJ and it has absolutely no play at all. It seemed a bit silly to replace a perfectly good part.


#64 PaulCP

PaulCP

    Whipping Boy

  • PipPipPipPipPipPipPip
  • 6,066 posts
  • Gender:Male
  • Location:Suffolk

Posted 24 October 2014 - 06:11 PM

Depends if you believe in reactive or preventative maintenance 😉

#65 Gedi

Gedi

    404 Not Found

  • PipPipPipPipPipPip
  • 5,547 posts
  • Gender:Male
  • Location:North West
  • Interests:Nothing

Posted 03 November 2014 - 12:13 AM

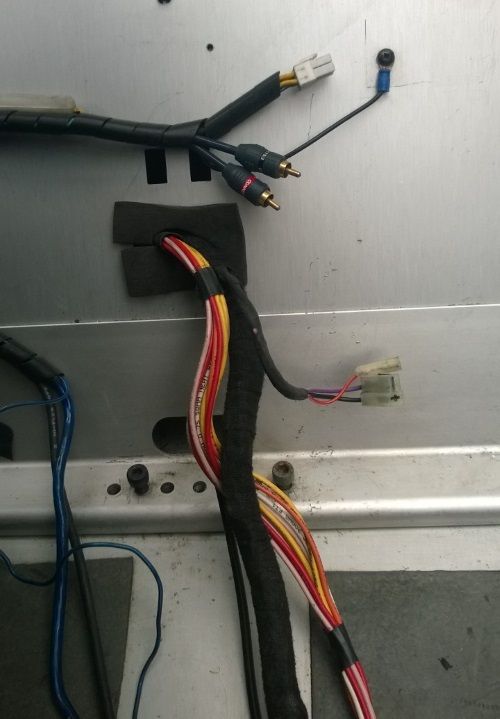
Got most of the loom installed today. My replacement loom came from a VXR donor car, obviously meaning it had to be removed from that car by the breaker. The loom is threaded through various sections of the chassis and the holes in the chassis are both small and sharp. This means unless you're seriously careful (breakers rarely are), then the loom wrap gets damaged and there's the possibility to  nick one of the wires.


I therefore decided to remove all the existing loom tape, carefully check all the wires and rewrap the whole loom using proper Tesa tape.


Posted Image


Posted Image


I started to feed the loom down the back of the foot rest and noticed it was full of crap, so I decided to remove it so I could properly clean it and make fitting the loom easier.


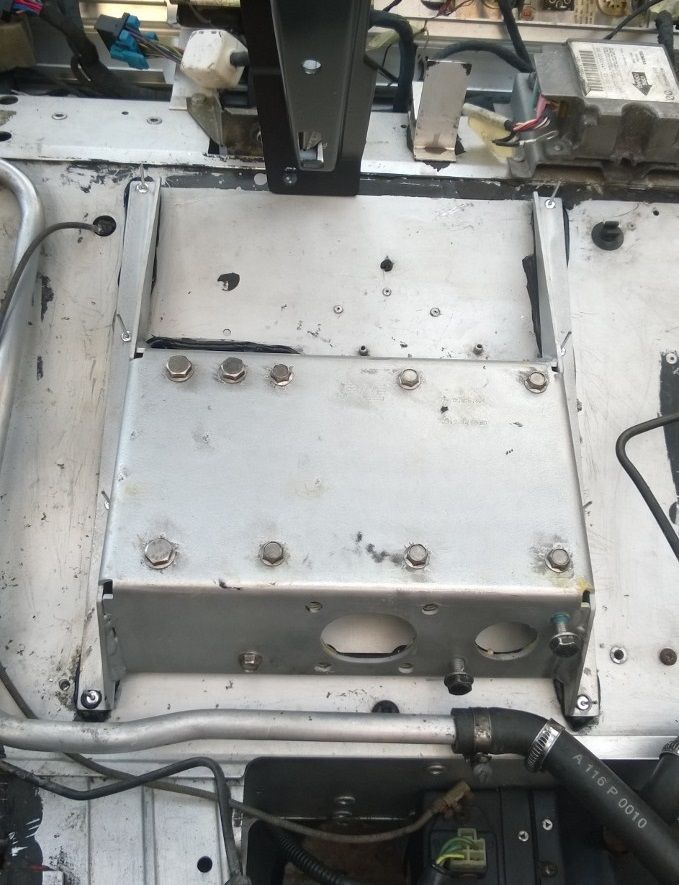
Removing the foot rest isn't too bad a job. With the heater removed, you can easily get a drill to remove the two rivets. There's then four more to remove from the underside of the chassis


Posted Image


and above


Posted Image


Posted Image


#66 Gedi

Gedi

    404 Not Found

  • PipPipPipPipPipPip
  • 5,547 posts
  • Gender:Male
  • Location:North West
  • Interests:Nothing

Posted 03 November 2014 - 12:39 AM

Fitting a full loom means dropping the fuel tank, which means removing the gear cables. May as well replace them with cable craft stuff while they're out


Posted Image


The original cables were still operating perfectly, but when I removed them I noticed that they'd rusted at the point where they're held in the clip


Posted Image


I checked the length of the original cables against the new ones as I knew there'd been issues with the lengths from the Elise Shop supplied cables.

Typical, they're the wrong length, so I had to put fitting them on hold and order a die so I can shorten the cable and re-thread it....


Posted Image


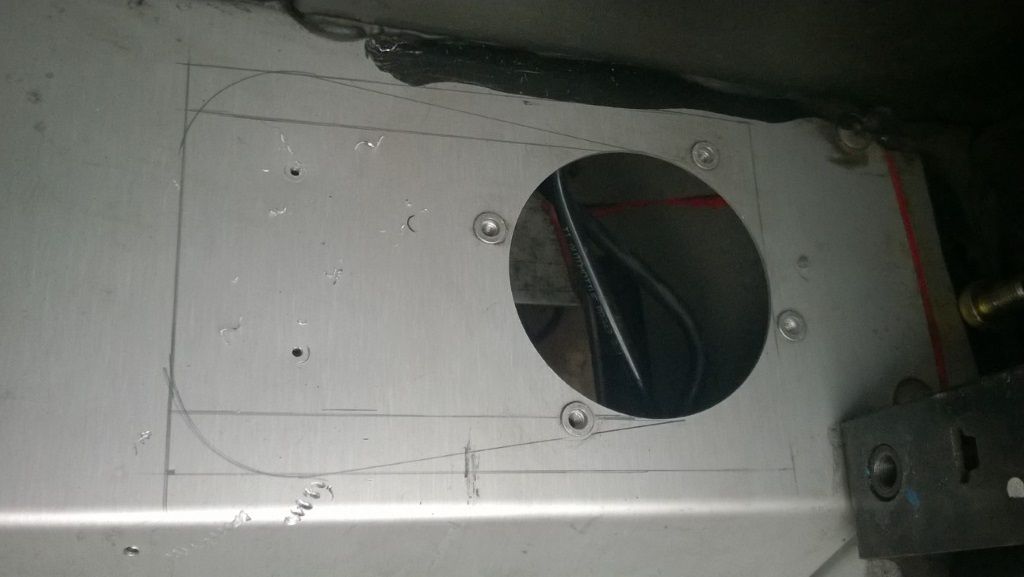
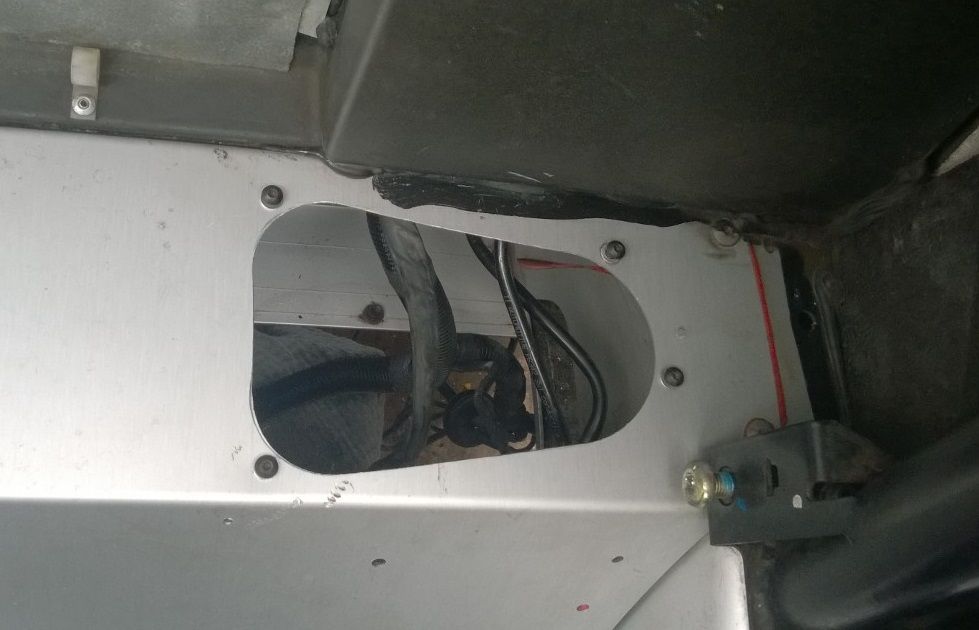
Next job is to drop the fuel tank so I can feed the new loom from the cabin into the engine bay. I removed all the pipes from the evaporation tank and filler neck. Next I removed the pipework from the fuel pump and realised what a fcuked up design the inspection hole is. I remember seeing that JG enlarged the inspection hole to make the pump accessible, so I'm going to do that while the tank is out. It means you can then remove the fuel pump from the cabin without dropping the tank.


Anyway, with everything disconnected I started to lower it


Posted Image


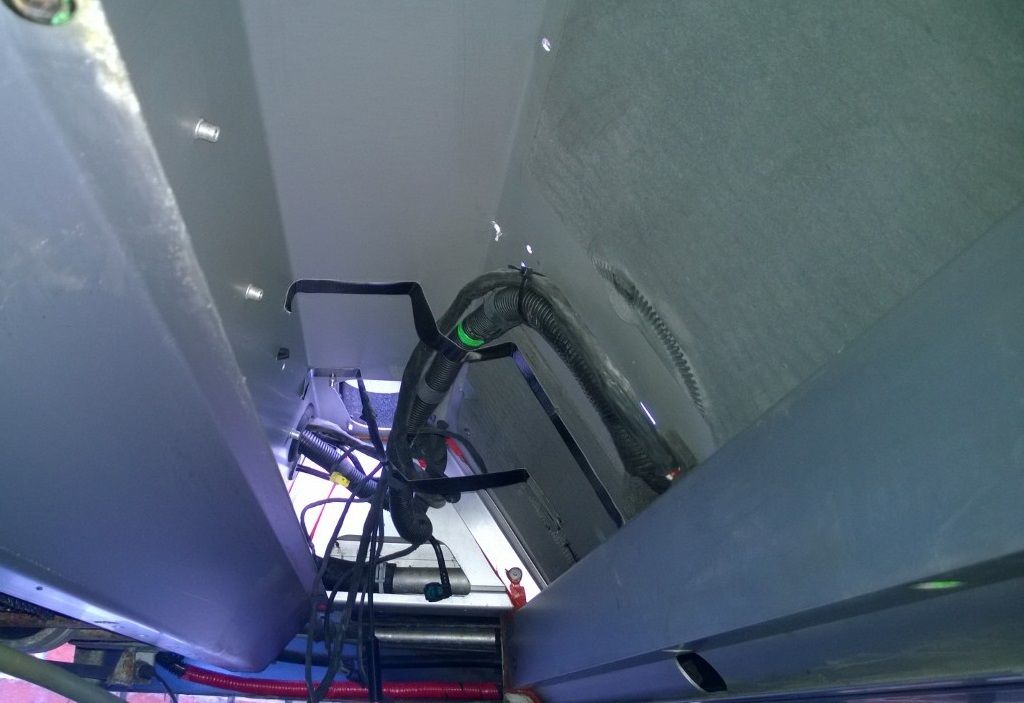
I realised I didn't need to fully drop the tank, I could easily get at the loom from the passenger side without having to pull all the evaporation and filler pipes through the (tiny tiny) hole.


The left of the pic shows where the loom enters from the cabin


Posted Image


Here you can see the loom exiting to the engine bay and the inspection hole. Also, the two fuel lines and electrical connector for the pump. 


Posted Image


I left it at this for today. The new loom is now in place front to back. The whole front section has been checked and rewrapped. I'll check and rewrap the rear section next time, now it's safely through the maze and there's no danger of me nicking the wires going forward.


Edited by Gedi, 03 November 2014 - 12:48 AM.


#67 fezzasus

fezzasus

    Whipping Boy

  • PipPipPipPipPipPipPip
  • 7,689 posts
  • Gender:Male
  • Location:Oxford

Posted 08 November 2014 - 04:12 PM

The turbo cables are longer than the NA, so since yours are longer I suspect they are correct. The extra girth of the cable might mean it has to be longer due to having wider radius bends.


#68 Gedi

Gedi

    404 Not Found

  • PipPipPipPipPipPip
  • 5,547 posts
  • Gender:Male
  • Location:North West
  • Interests:Nothing

Posted 11 November 2014 - 02:13 PM

Yep, I've just re-read the thread where people were finding the cables were too long, and it seems to be an NA only problem. Looks like the cables should be okay then. Oh well, I needed a new tap and die set anyway ;)


Thanks for the hint Tom.  thumbsup


#69 vocky

vocky

    Moderator

  • 11,969 posts
  • Gender:Male
  • Location:Earth

Posted 28 August 2015 - 06:28 PM

looking better already, we need more photos


#70 Gedi

Gedi

    404 Not Found

  • PipPipPipPipPipPip
  • 5,547 posts
  • Gender:Male
  • Location:North West
  • Interests:Nothing

Posted 28 August 2015 - 06:41 PM

looking better already, we need more photos


Haha, I'm sure you're being sarcastic, but the reality is that I have tonnes more photos and I missed a lot of stuff I've done (and redone, and re-redone) out. When you've left a thread as long as I have this one, it takes too long to bring back up to date. This update took me around 2 hours today.....


It's surprising how much better it looked once the windscreen frame was back in. It looks like a car again now :)


Edited by Gedi, 28 August 2015 - 06:45 PM.


#71 'Buchos'

'Buchos'

    Need to get Out More

  • PipPipPipPip
  • 792 posts
  • Gender:Male
  • Location:N.Ireland

Posted 31 August 2015 - 06:13 PM

It's just going to be an astounding car when done! (I can't see a lot of the pics for some reason tho!)

#72 Gedi

Gedi

    404 Not Found

  • PipPipPipPipPipPip
  • 5,547 posts
  • Gender:Male
  • Location:North West
  • Interests:Nothing

Posted 31 August 2015 - 07:06 PM

Yeah, the links to the pics have all become invalid.....

I'm gonna delete the threads and repost with updated links


#73 vocky

vocky

    Moderator

  • 11,969 posts
  • Gender:Male
  • Location:Earth

Posted 31 August 2015 - 07:26 PM

I was being serious about the pics, the more the better on rebuild threads  :)


#74 Gedi

Gedi

    404 Not Found

  • PipPipPipPipPipPip
  • 5,547 posts
  • Gender:Male
  • Location:North West
  • Interests:Nothing

Posted 31 August 2015 - 09:29 PM

looking better already, we need more photos

 
For anyone following this thread, I had 5 or 6 posts before this post from vocky, but the links to the pics became invaild, so techie deleted them and I'll repost them here with new links
 
.....................................................

I should probably update this.... It's such a slow moving project, I only get a few days a month to work on it.  It gives me time to properly research things though, and that's really helping to build my knowledge.
 
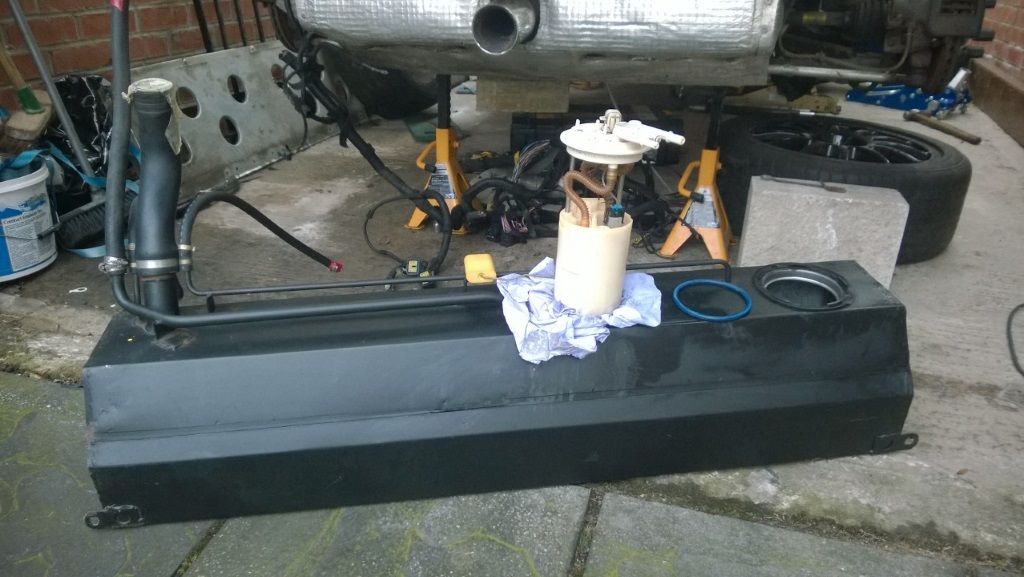
So after dropping the fuel tank and realizing how much of a ballache it was, I decided to try to make sure I didn't need to do it again.
I know these mods are controversial, but I did all my reading and I decided that it was something I wanted. I'll make up a cover / strengthener later
 
Posted Image
 
Posted Image
 
 
Once I had the fuel tank out, I started to strip it ready for cleaning up
 
Posted Image
 
 
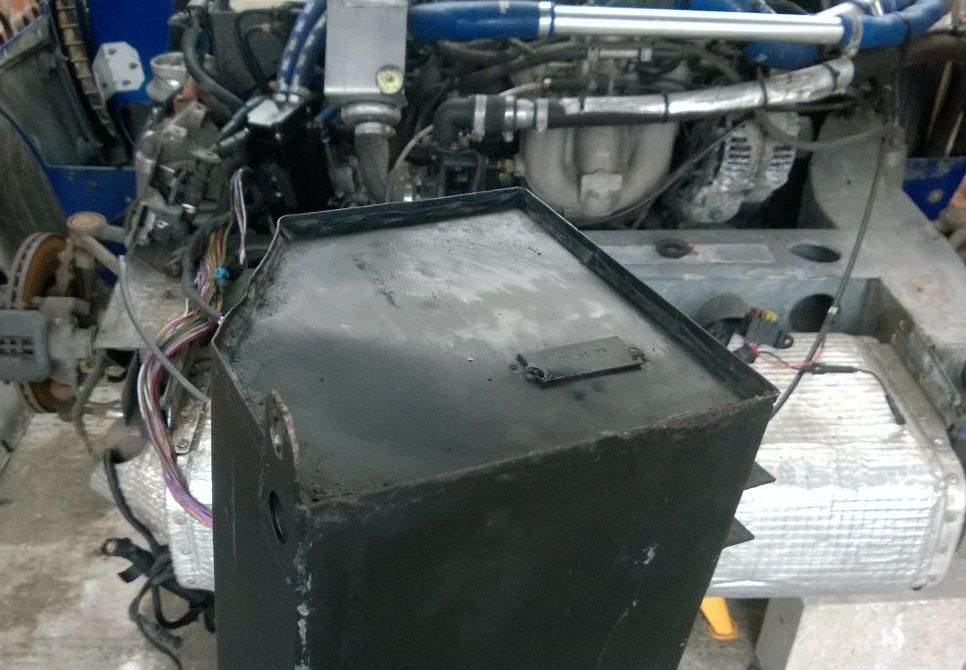
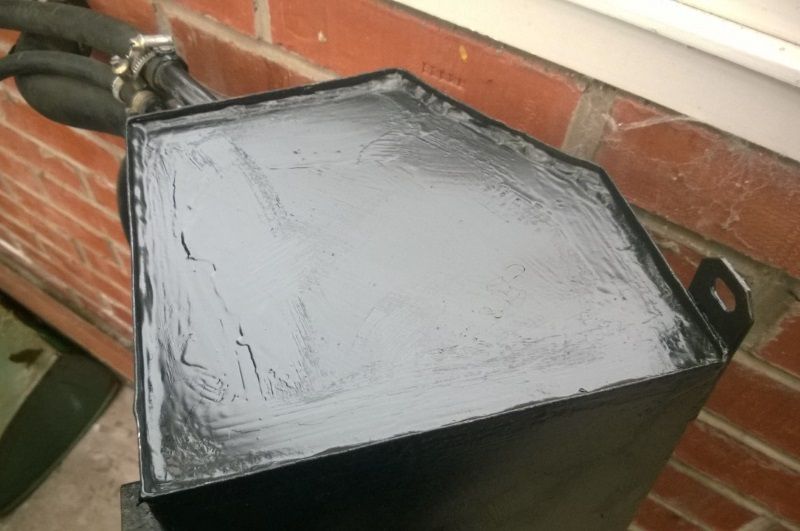
However I noticed it had started to corrode around the end where all the pipework is (driver side)
 
Posted Image
 
 
At this point I was thinking about replacing it with a proalloy tank, but at £600 at pop I thought I'd see if I could clean this one up.
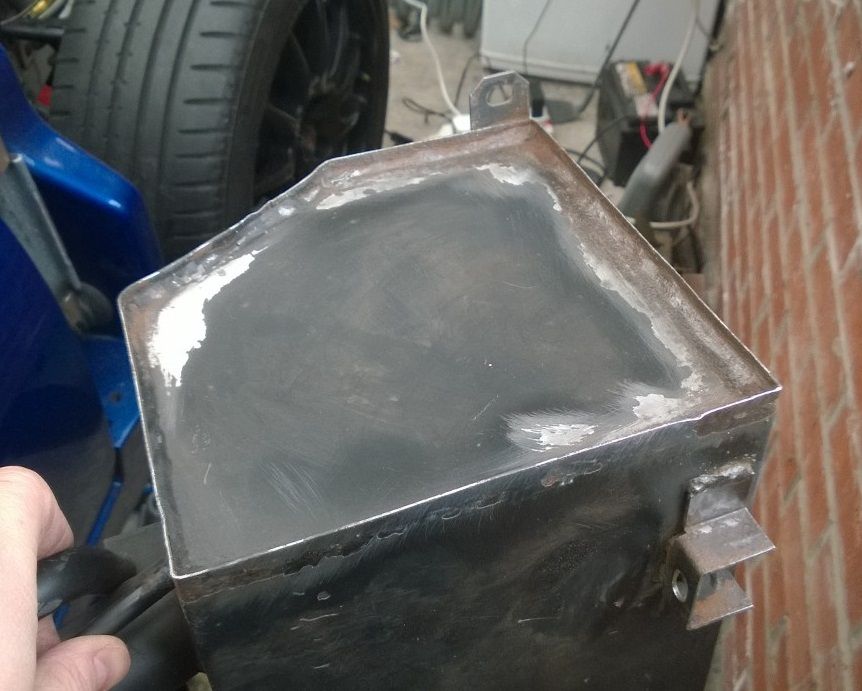
Thankfully it was just surface rust, and I managed to remove it all with a wire brush and drill attachment
 
Posted Image
 
Posted Image
 
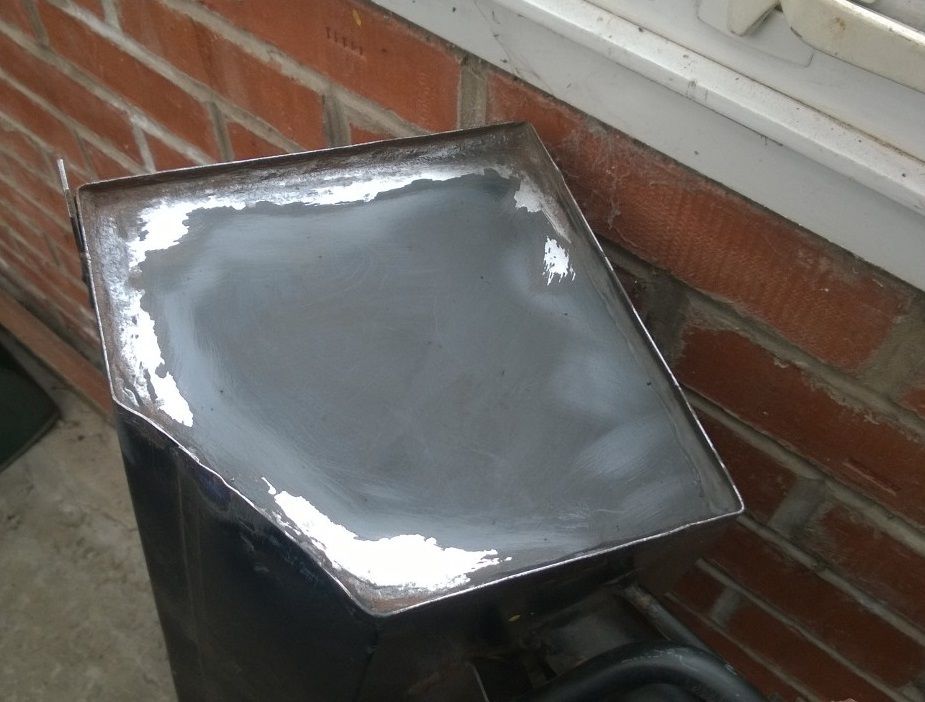
I smothered the whole tank in hammerite, especially the part that had been cleaned up
 
Posted Image
 
Posted Image
 
Rebuilt and ready to go back
 
Posted Image
 
 
That's a lot of pics of a fuel tank .... I reckon the fumes sent me a bit nuts

#75 Gedi

Gedi

    404 Not Found

  • PipPipPipPipPipPip
  • 5,547 posts
  • Gender:Male
  • Location:North West
  • Interests:Nothing

Posted 31 August 2015 - 09:34 PM

okay, one more tank related pic. A nice clean recess :huh: ready for the refurbed tank :)
 
Posted Image
 
 
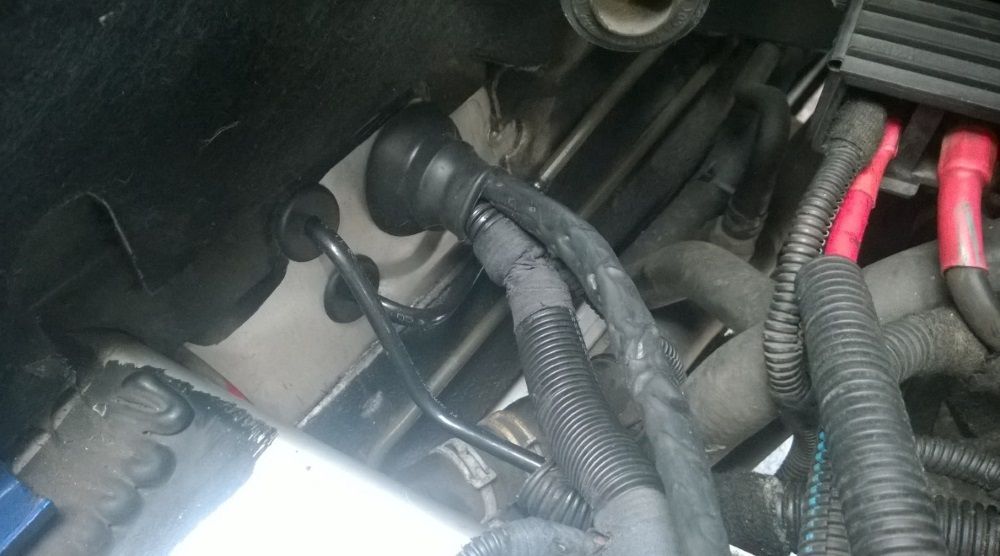
Next I cracked on with something I'd been meaning to do for a while. My traction control loom to the injector cuts originally exited the cabin through the same hole the gear linkage cables, traveled under the car and up into the engine bay. I was never happy with this as they were susceptible to damage and heat from the engine. I'd removed the loom and reinstalled it to follow the cars wiring loom. This was made much easier now I had the fuel tank out.
 
Posted Image
 
 
I shrink wrapped the cables to hold the loom together and protect it, and you can see it exiting into the engine bay through the grommet here.
Much neater  thumbsup
 
Posted Image
 
 
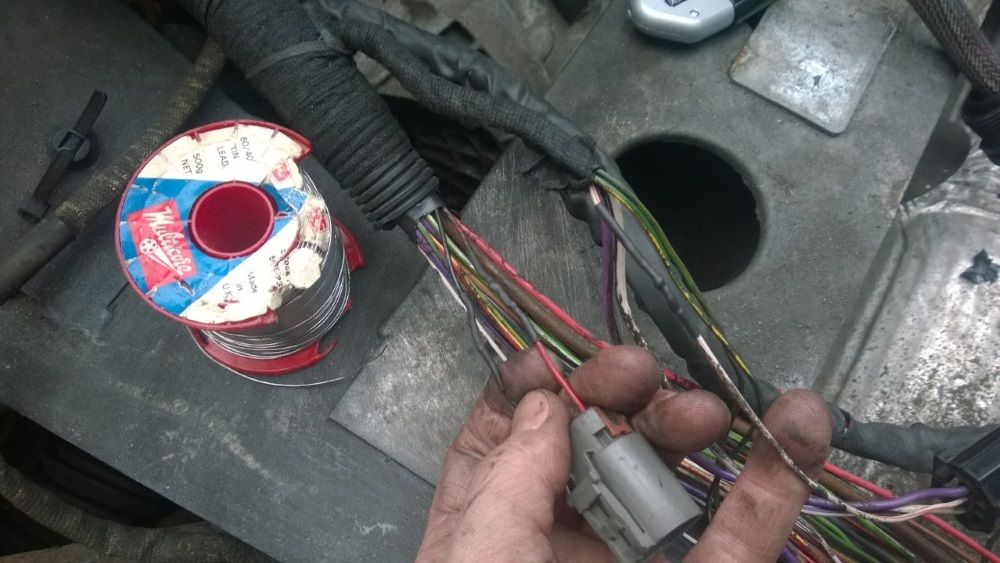
While I was installing this, I noticed that some kinks in the wiring loom that I'd recently installed from Gordon's VXR. I'd repaired various parts of the front section of the loom from the area that had taken the impact when Gordon wrote his har off. However with this now at the rear, I was starting to loose confidence in it. I had no other choice than to repair it though. You can see the three sections I repaired here
 
Posted Image
 
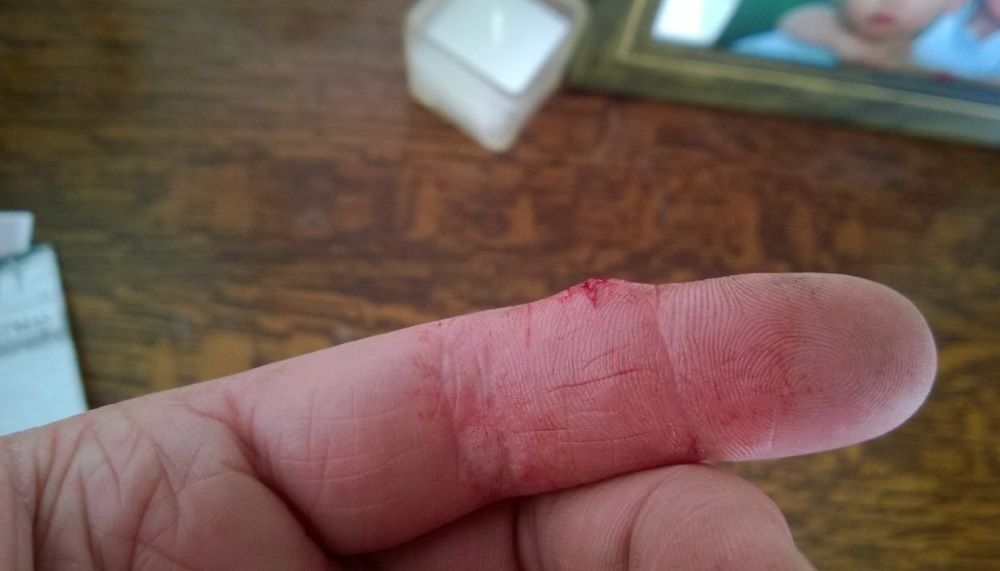
Shortly after this while messing with the loom again, I decided to stick a stanley knife blade in my finger. I hit it so hard that it jammed into the bone... I was really starting to hate this loom
 
Posted Image

#76 Gedi

Gedi

    404 Not Found

  • PipPipPipPipPipPip
  • 5,547 posts
  • Gender:Male
  • Location:North West
  • Interests:Nothing

Posted 31 August 2015 - 09:37 PM

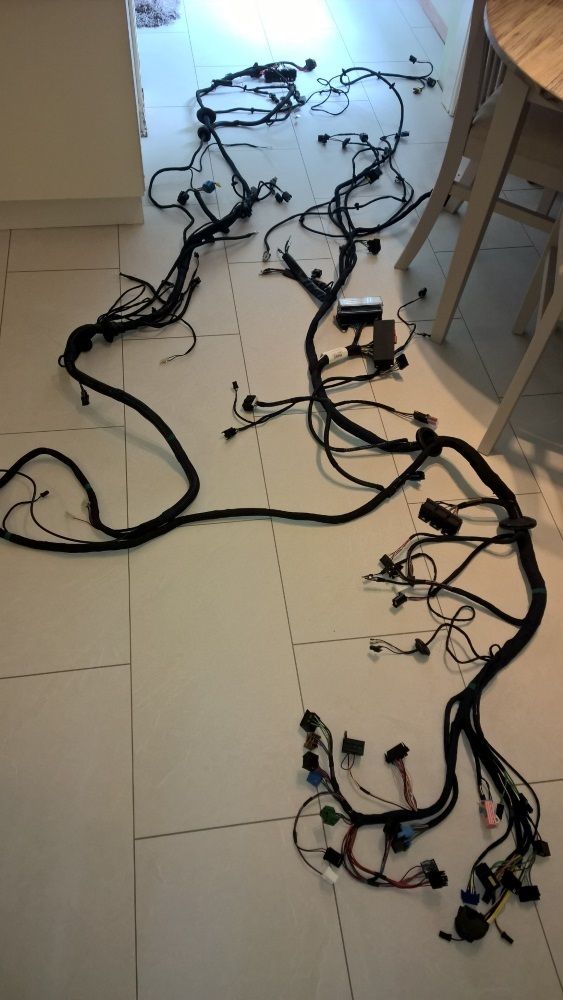
A few weeks later, lotus started selling old VX stock off, and low-and-behold they had VXT looms in stock  :groupjump:
The new loom contained all the fuses but none of the relays. It appears to have been stored in a large poly bag, and although it's been sitting in a storeroom for the last 10 years, all the cabling and tesa tape still feels like it's just been assembled.  thumbsup
Posted Image
 
 
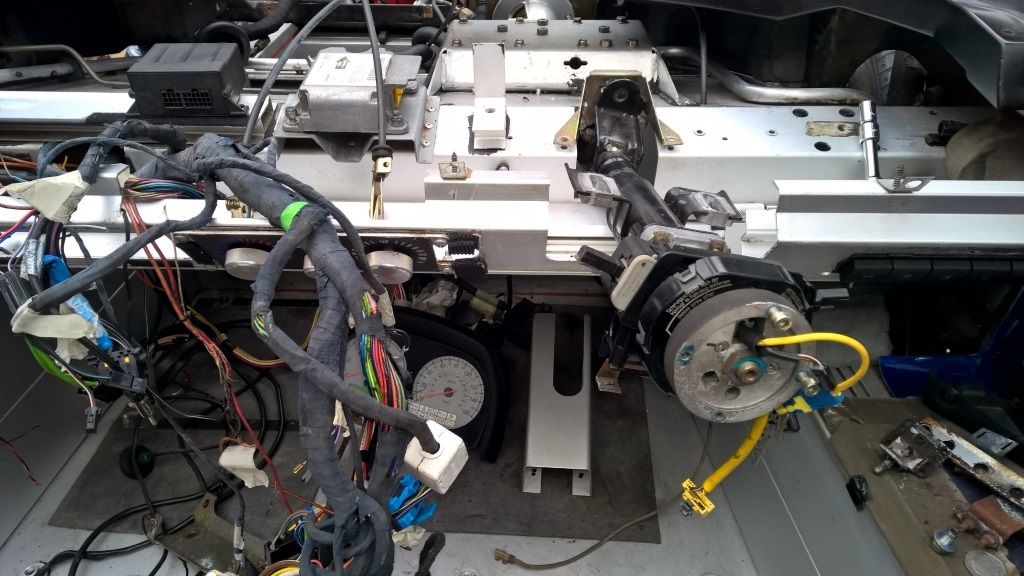
So now I had to take the loom out that I'd only recently installed, just to put another loom back in.... It's obviously easier the second time around, but it's a fcuking horrible job.
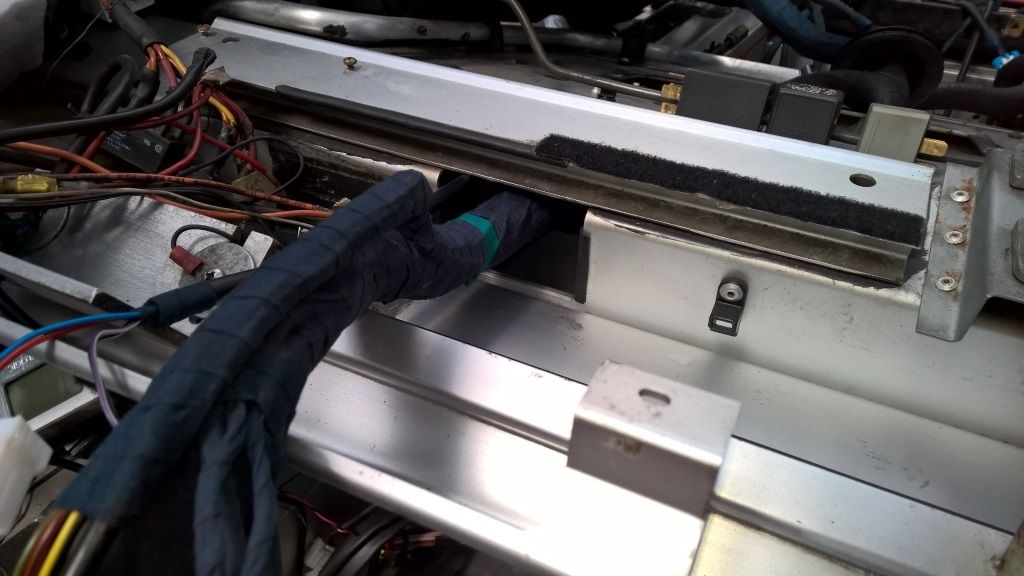
Out comes all the steering column again so it can be lifted out of the way while I get the far right side of the loom out, definitely the worst part of the job, bolting it up is incredibly fiddly and it takes a lot of patience and a magnetic screwdriver to pick up the washers and nuts you continuously drop...
 
Posted Image
 
 
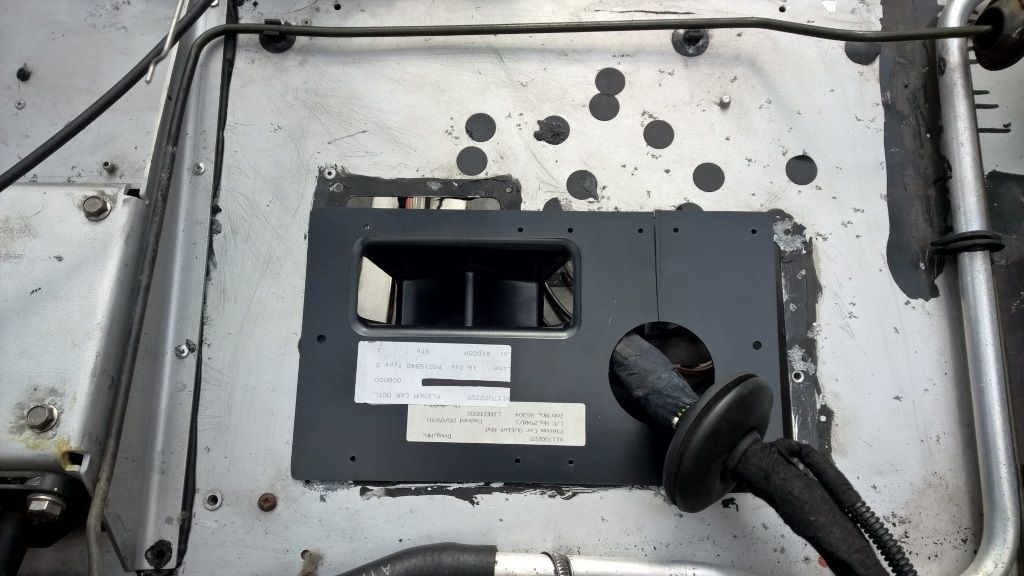
You also need to be able to dislocate your wrists to feed the loom through this hole and the slightly smaller one at the back of it. Here's a pic of the shiny new loom once I'd fed it through those holes
 
Posted Image

#77 Gedi

Gedi

    404 Not Found

  • PipPipPipPipPipPip
  • 5,547 posts
  • Gender:Male
  • Location:North West
  • Interests:Nothing

Posted 31 August 2015 - 09:43 PM

The hole for the deflector is an L shape like this (this hole is for the pedal box, but they're identical both sides)
 
Posted Image
 
 
The EPC diagrams showed it as being L shaped
Posted Image


So I picked up a new one from Lotus (number 1 in this pic)
https://www.deroure....1&ST=A120P0016F
 
and here it is in place
 
Posted Image
 
As it turns out, it doesn't fit at all...
 
Posted Image
 
So I'm guessing that what I really wanted was one of these (num 9 in pic), so I ordered one
https://www.deroure....&SMO=0&ST=&SC=0
 
 
But that doesn't fcuking fit either
 
Posted Image
 
 
I was starting to get pissed off, so I decided to just buy some 2mm plastic sheet and make my own up
 
Here it is in the process of being made, next to one of the incorrect ones I got.
 
Posted Image

#78 Gedi

Gedi

    404 Not Found

  • PipPipPipPipPipPip
  • 5,547 posts
  • Gender:Male
  • Location:North West
  • Interests:Nothing

Posted 31 August 2015 - 09:47 PM

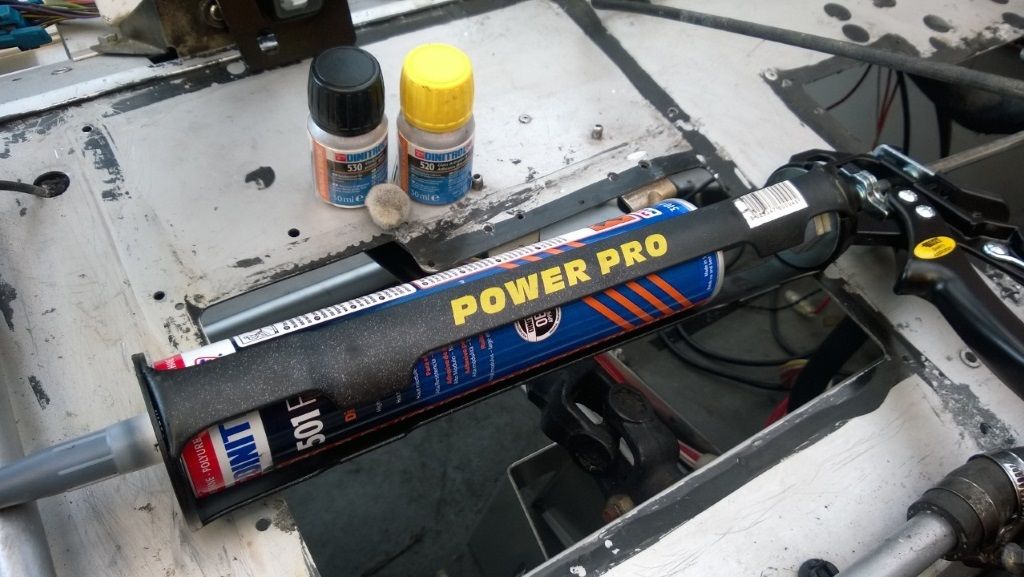
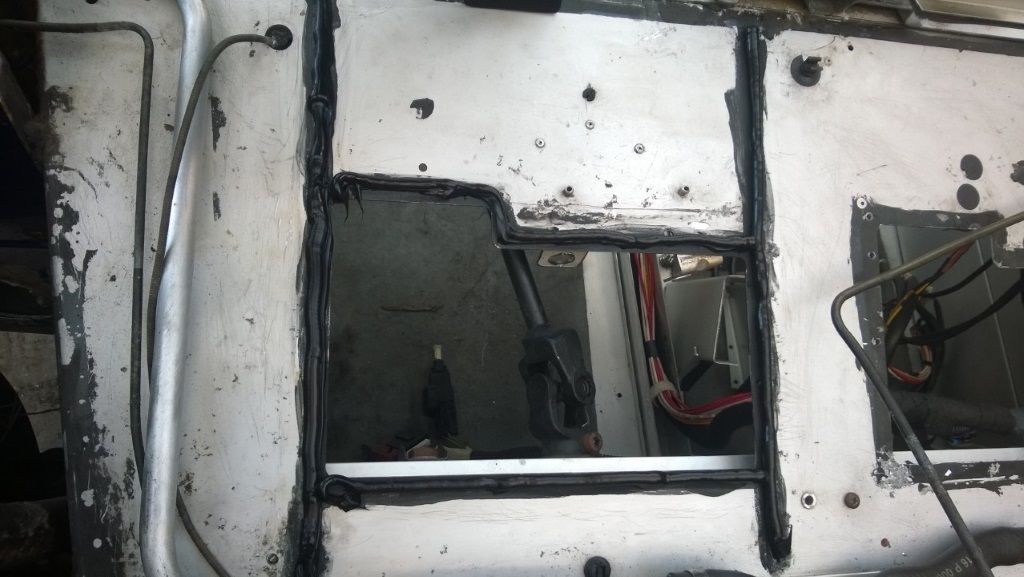
I'd previously taken the pedal box out to get it re-anodized and it needed to go back on. It's bonded into place using the same adhesive Lotus use for everything from the windscreen to the sills, and then it's rivited for good measure.
I'd done a lot of reading and opted to use Dinitrol 501 and the adhesive.
 
Posted Image
 
 
First the area is cleaned then a primer is applied, when that's dried a generous amount of adhesive is splurged into place
 
Posted Image
 
Posted Image
 
 
I then started to reassemble the brake servo and clutch master cylinder and reconnected the pedals back up.
 
Posted Image

#79 Gedi

Gedi

    404 Not Found

  • PipPipPipPipPipPip
  • 5,547 posts
  • Gender:Male
  • Location:North West
  • Interests:Nothing

Posted 31 August 2015 - 09:55 PM

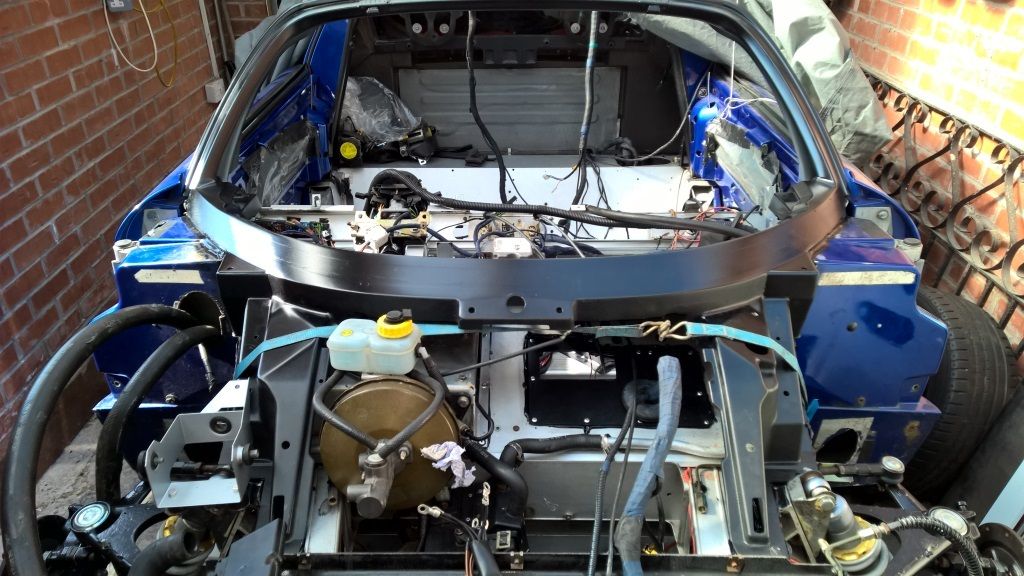
Having built up confidence with my silicone gun when fixing the pedal box into place, (and the fact that I'm currently doing a house renovation so silicone and decorators caulk is becoming second nature), I decided that it was time to tackle the windscreen frame. 
 
Here it is hanging in the spray booth getting 3 coats of satin black along with 2 final coats of satin lacquer
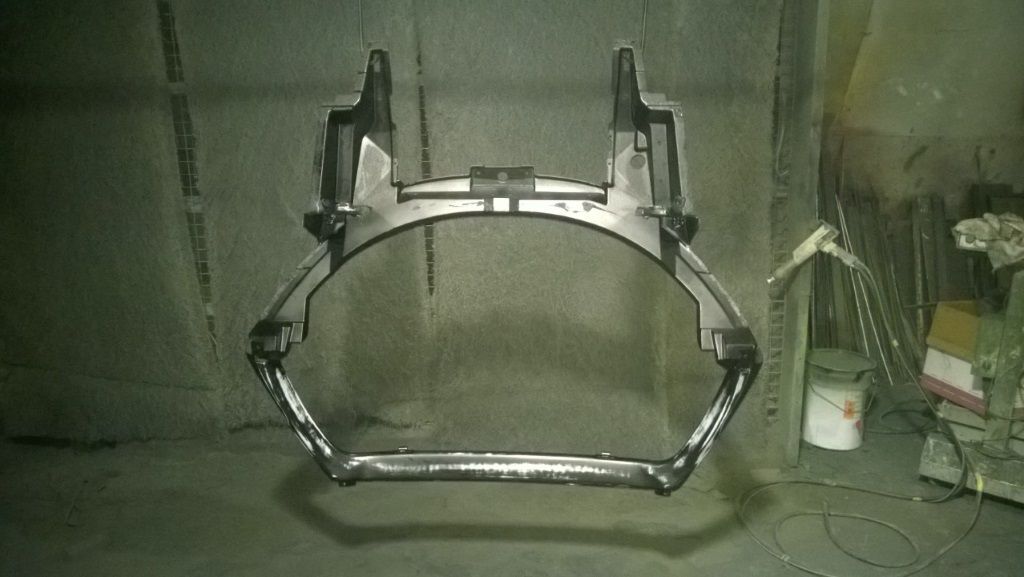
 
Posted Image
 
 
This was the thing I was most worried about on the entire build. It's part of the main structure in case of the car rolling, so I had that aspect to worry about. Added to the fact that you only really get one shot once it's glued into place, it was definitely not a relaxed job
There's no record of anyone having tackled this on the forums, so armed with just this doc and my silicone gun skills, I got on with it
http://www.speedster...me, Replace.pdf
 
 
First I bonded the scuttle panel into place, it bonds to the chassis and the underside of the windscreen frame and acts as a seal between the front end and the cabin. 
I forgot to get a pic, but it's the thing with the lotus sticker on it in this picture
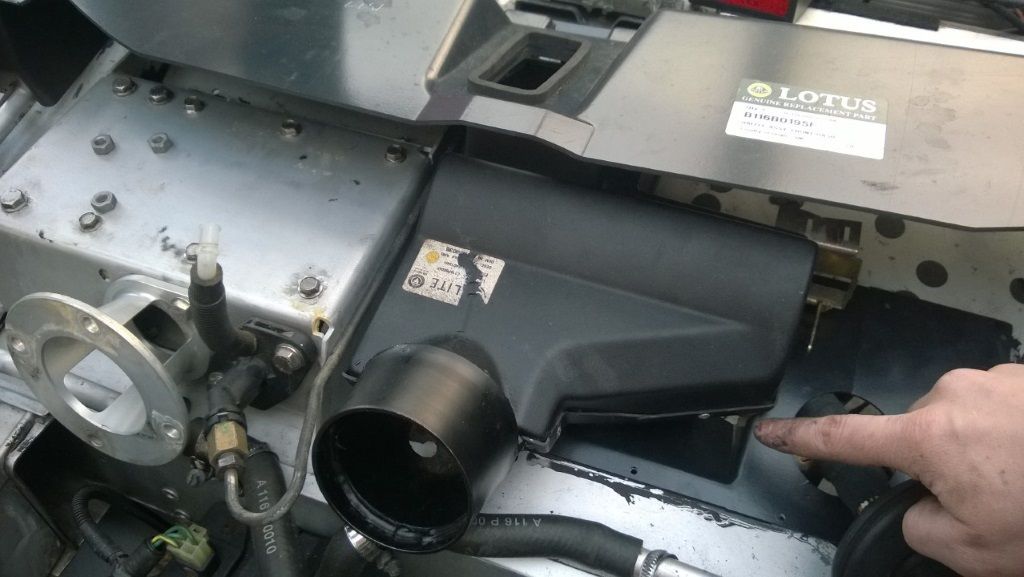
Posted Image
 
 
I then did about 10 dry runs of fitting the windscreen frame, making sure that I could lift the screen into place slowly and carefully without it fouling anything, and making sure it ended up in the perfect position. I tried lots of different angles and when I was finally happy I made a start. First I cleaned off the entire bonding area on the chassis using the Dinitrol cleaning solution. I then applied the primer and once dry I applied the the adhesive. Taking pics was the last thing on my mind at this point.
 
I then slowly moved the frame into place, made sure it was positioned perfectly and used a ratchet and strap to tightly hold it in place while the adhesive went off.
 
Pics time, more Dinitrol 
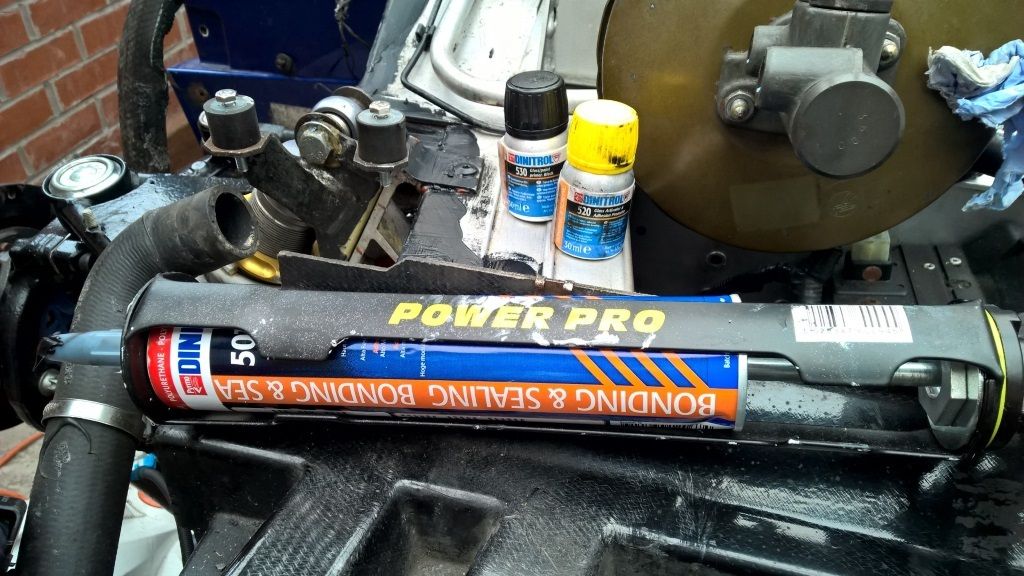
 
Posted Image
 
 
Held into place with the strap
 
Posted Image
 
 
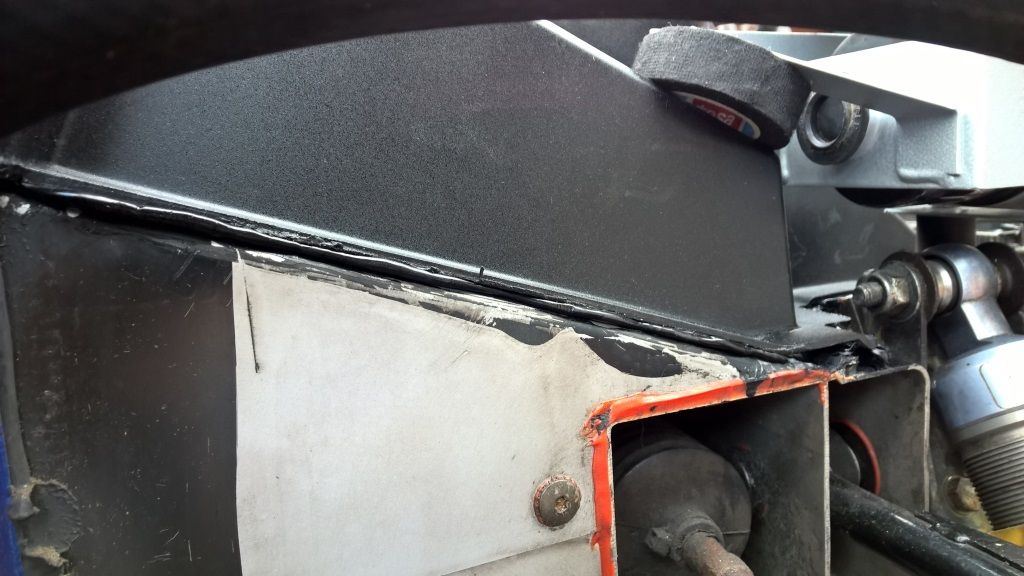
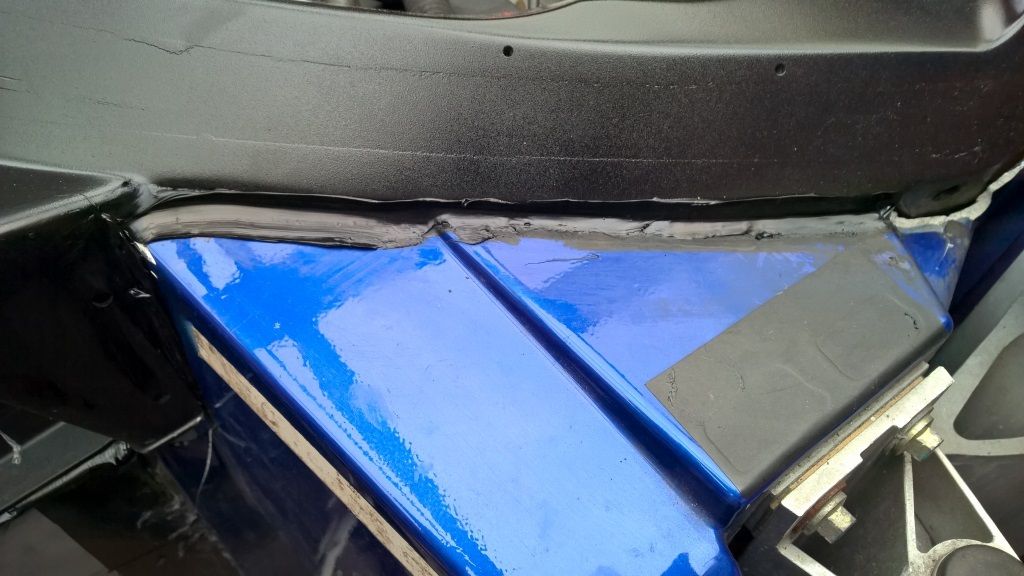
As long as it was oozing out of the sides, I knew I'd applied enough adhesive. There was a more oozing out on the insides than the oursides, so I was pleased with that as it kept things neat(ish) and I didn't need to trim things afterwards.
You can see the strap mark on this pic.
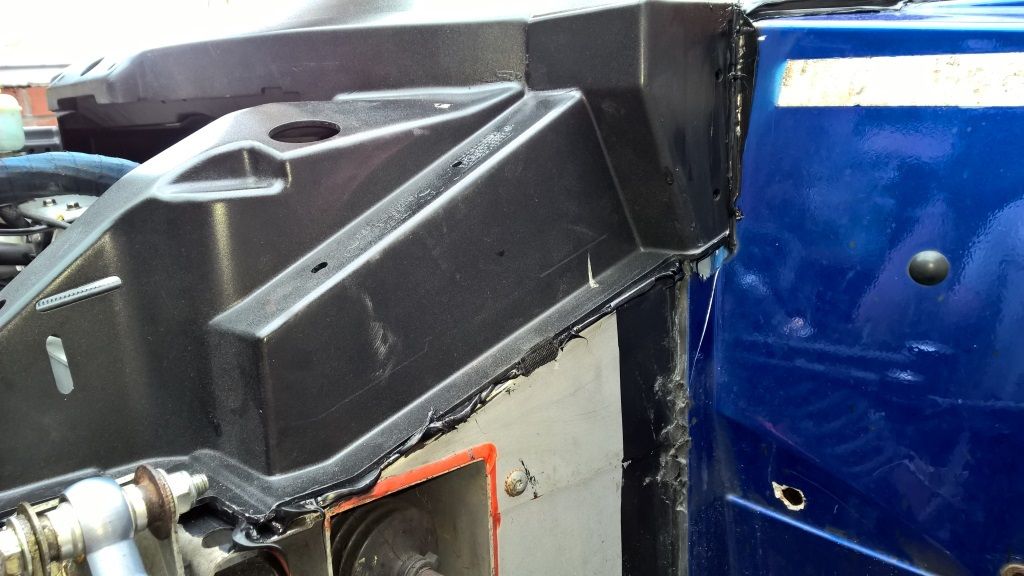
 
Posted Image
 
 
Posted Image
 
 
And finally I made sure it was well sealed around the bodywork so no moisture could get in
 
Posted Image

#80 Gedi

Gedi

    404 Not Found

  • PipPipPipPipPipPip
  • 5,547 posts
  • Gender:Male
  • Location:North West
  • Interests:Nothing

Posted 31 August 2015 - 09:57 PM

I got a few other bits bolted on last weekend
 
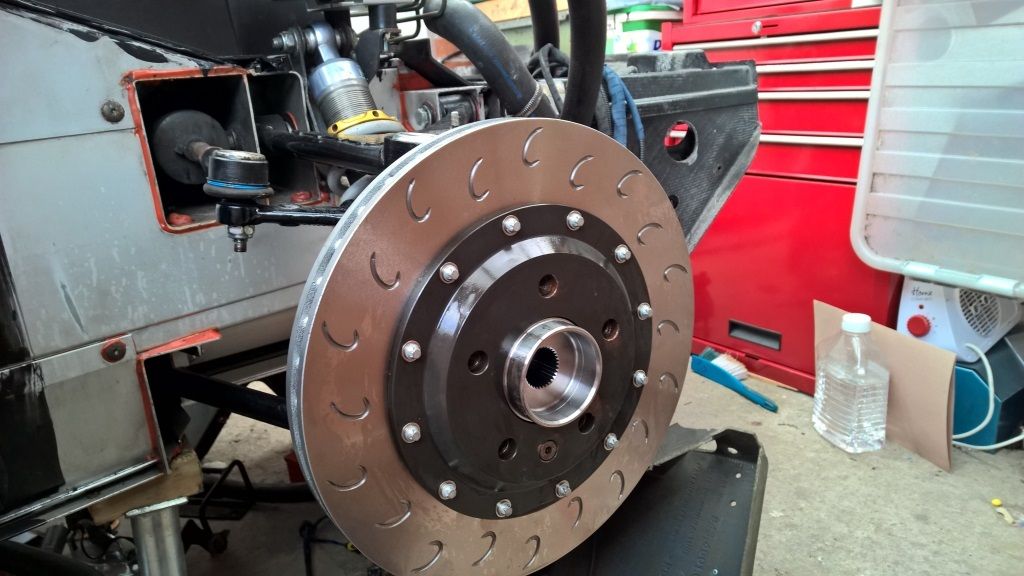
New 308mm discs from reyland motorsport http://www.reyland.co.uk/discs/ 
I opted for the j-hook pattern  :wub:
Posted Image
 
 
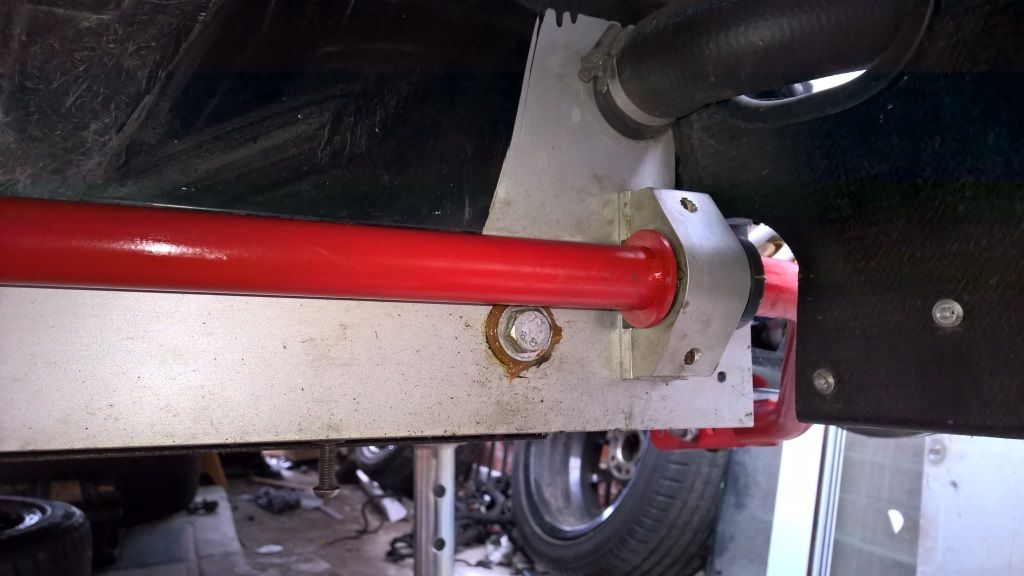
Eliseparts 1" anti roll bar
 
Posted Image
 
 
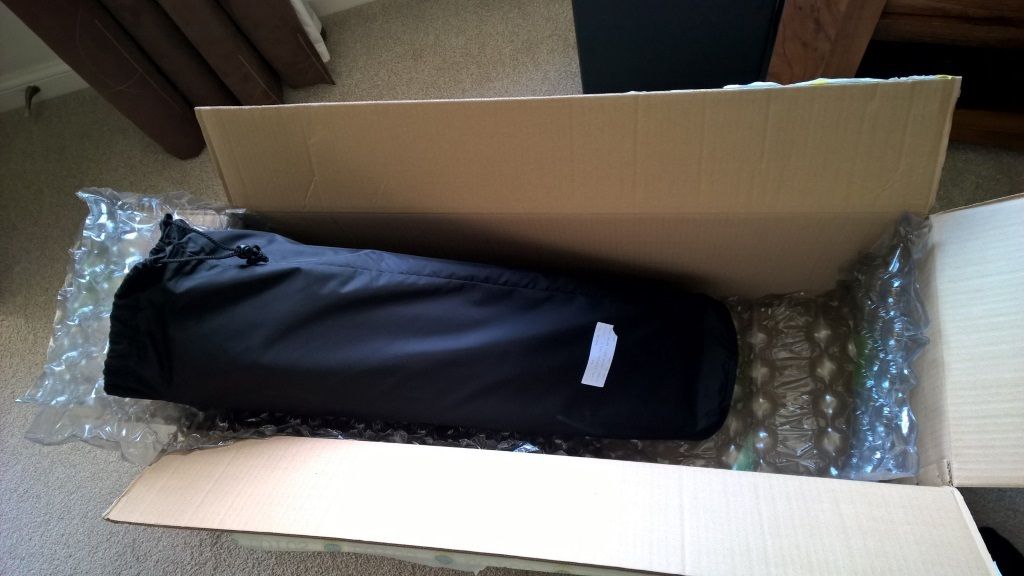
And a brand new new soft top arrived from Lotus. I've bought _so_ many things from the recent lotus auctions.....
 
Posted Image


Also tagged with one or more of these keywords: rebuild, refresh

1 user(s) are reading this topic

0 members, 1 guests, 0 anonymous users