Impressed with your attention to detail Alex :![]()
Project Black Bat
#201

Posted 11 November 2017 - 10:10 PM
#203

Posted 12 November 2017 - 01:02 PM
More Pictures of the inside door side please.
Br, Per
#204

Posted 24 November 2017 - 05:10 PM
MOT Passed today. Once again with no advisories. ![]()
Best get on with re-fitting the flame thrower ![]()
#205

Posted 25 November 2017 - 08:17 AM
MOT Passed today. Once again with no advisories.
Didn't the MOT man advise you to ![]() it a bit more?!
it a bit more?! ![]()
Are you on hols during Xmas? Often a good time to get out (providing the shops are shut) as everyone is too busy over eating and boozing.... I have some new (hopefully better traction) front wheels to test on Nipper too, so a trip to Wales could be in order. BTW the Severn bridge will become free soon - hoorah!
Edited by Nev, 25 November 2017 - 08:25 AM.
#206

Posted 25 November 2017 - 08:27 AM
MOT Passed today. Once again with no advisories.
Didn't the MOT man advise you to drive it a bit more?!

Are you on hols during Xmas? Often a good time to get out (providing the shops are shut) as everyone is too busy over eating and boozing....
I have some new (better traction) front wheels to test on Nipper too, so a trip to Wales could be in order. BTW the Severn bridge will become free soon - hoorah!
When the guy on the front desk handed the keys to the MOT guy, he said "done a load of miles since last time this one", and did take the p*ss a little ![]() I will add that the guys are really good... seen them every MOT since I moved down south and highly recommend!
I will add that the guys are really good... seen them every MOT since I moved down south and highly recommend!
Got some time off between Chrismas and New Year!! I'll try and secure some time for a run ![]()
![]()
#207

Posted 11 February 2018 - 11:24 AM
As I said above, I've ordered the plastic, and will make some simple lightweight door cards as a little project at some point soon.
As above, I followed through with my promise to make some new door cards, just in time to keep my project thread on page 1 ![]()
How I burned so many hours doing this, I will never know. As with all of my mods, I make them reversable for some reason, so no cutting of fibreglass etc.
So...
First off, I needed to get the door surface as flat as possible, and those buggers in Hethel attatched the loom and connector for the central locking actuator using platic clips that protrude into the cabin:
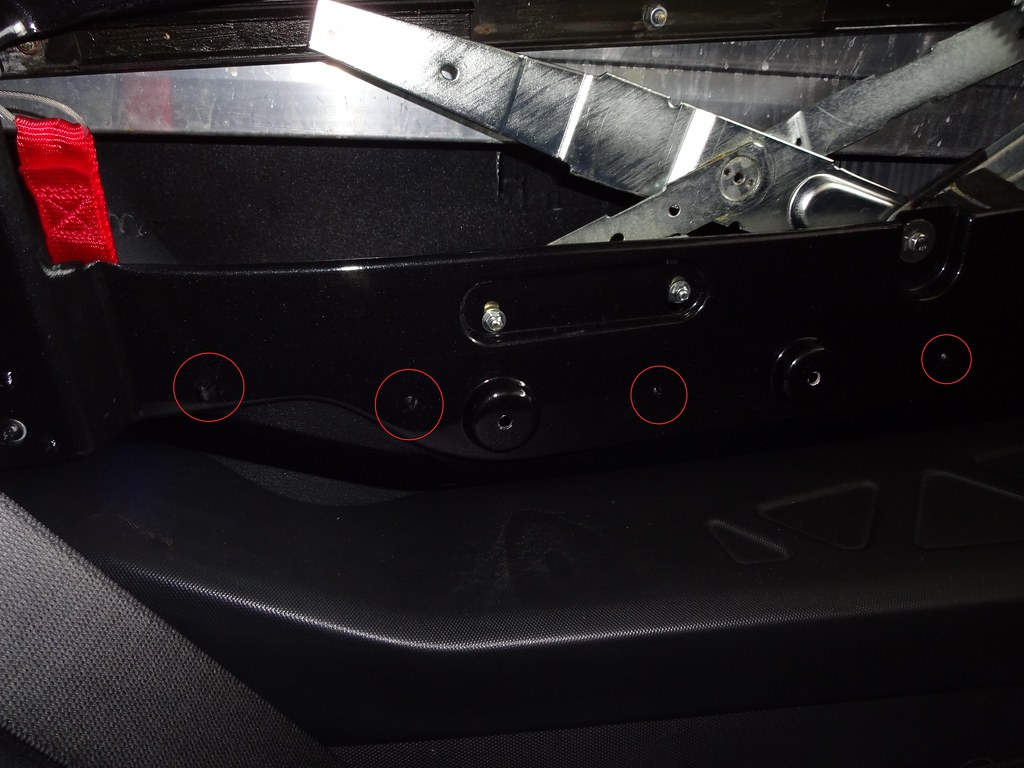
The protruding mounting points for the original door cards were looking shabby, and were going to be left exposed:
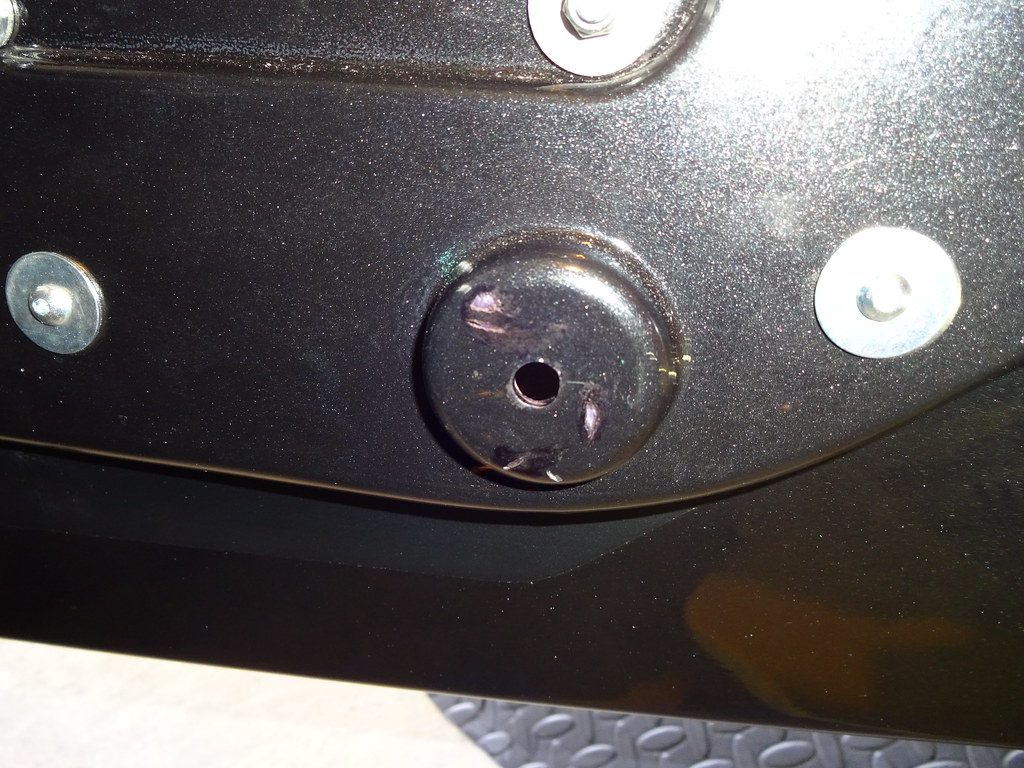
(continued...)
#208

Posted 11 February 2018 - 11:26 AM
After looking at lots of options, settled on a standard right angle bracket from Homebase (I know I could have made my own ![]() ), some cable clips, and some button heads and nylocs:
), some cable clips, and some button heads and nylocs:
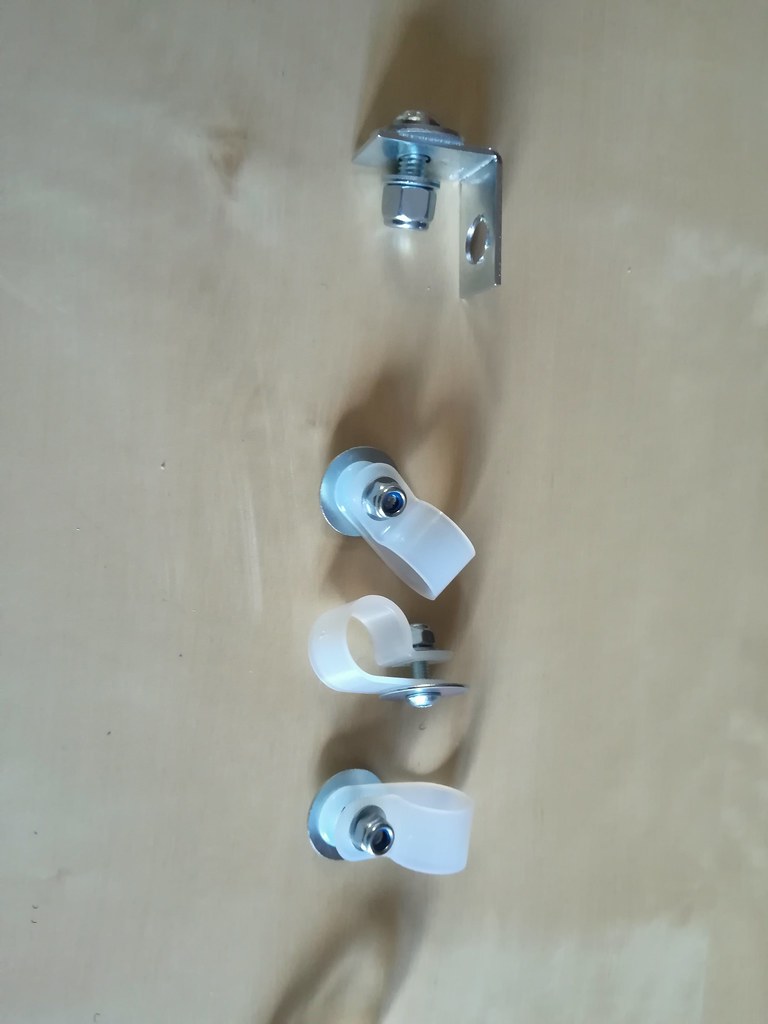
To tidy the original mounting points, I cut a little disk of vinyl and used a Christmas tree fixing for the hole... could be better but it will do for now:
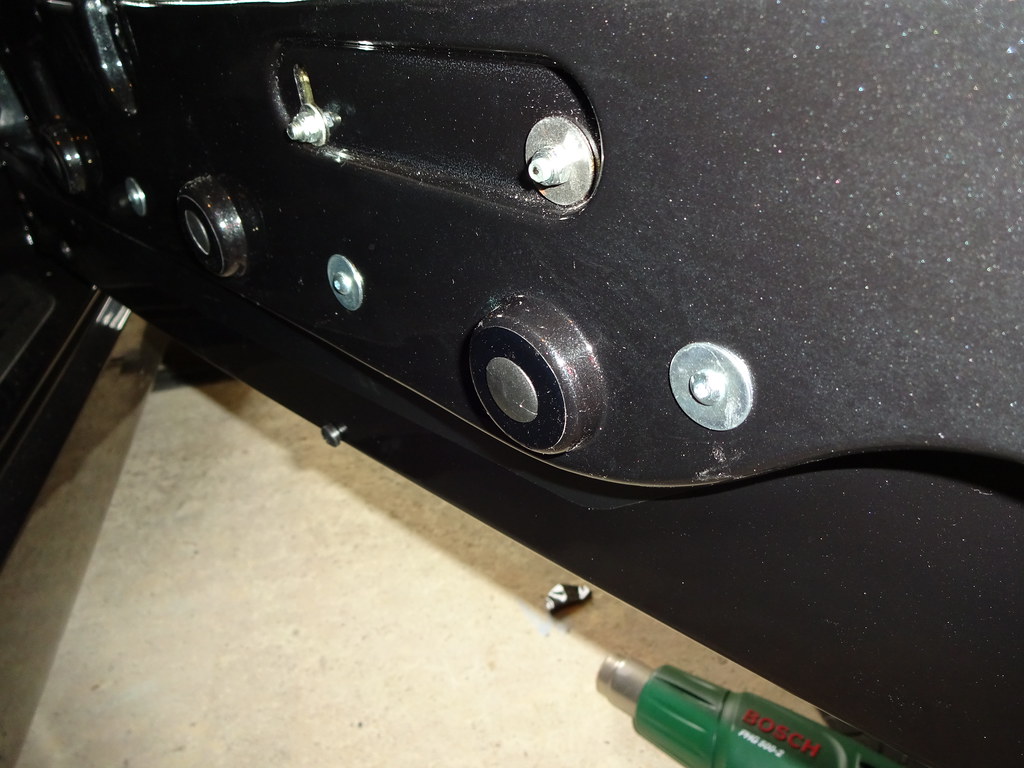
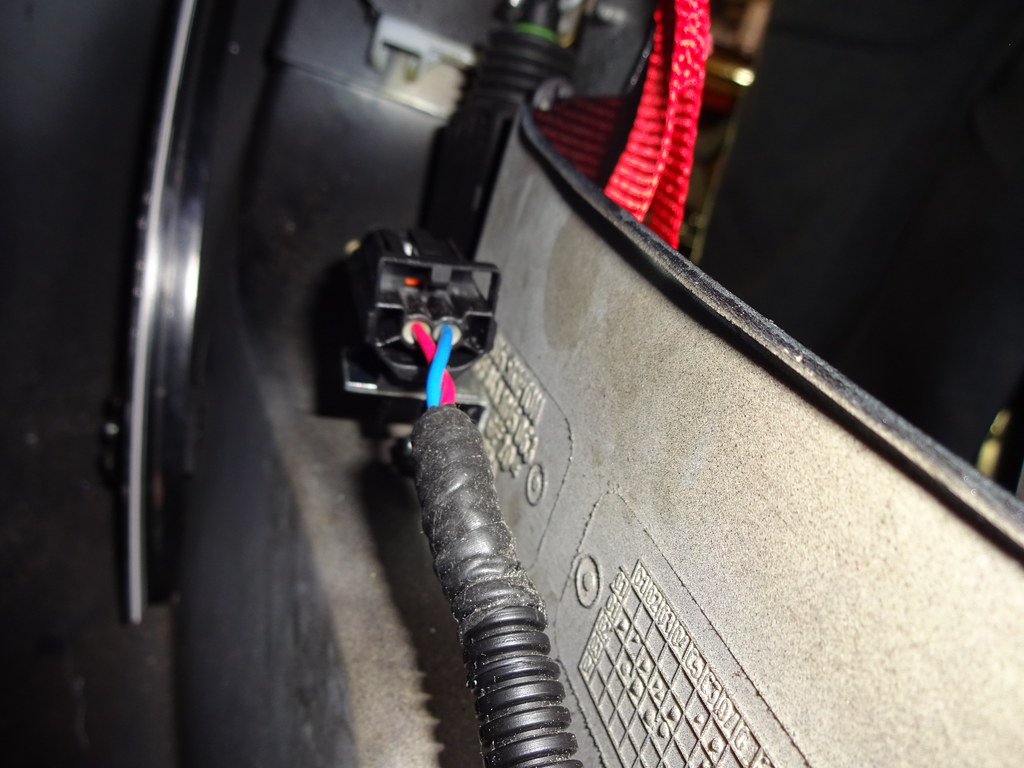
(continued...)
#209

Posted 11 February 2018 - 11:32 AM
I then set about making a cardboard template, more challenging than I thought but got to a reasonable approach with a little thought:
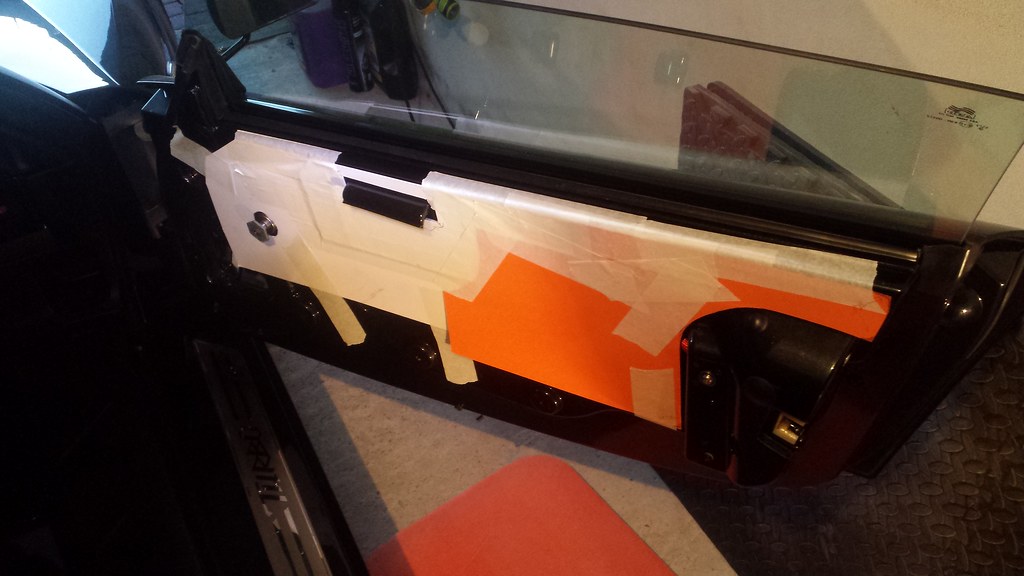
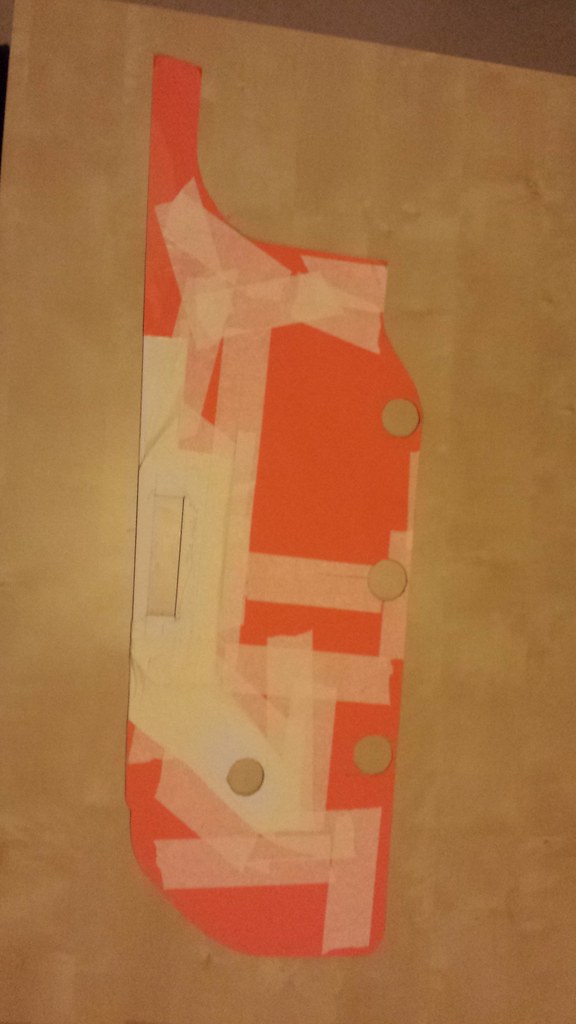
Then transfered onto a single piece of black card and tidied up the design a little:
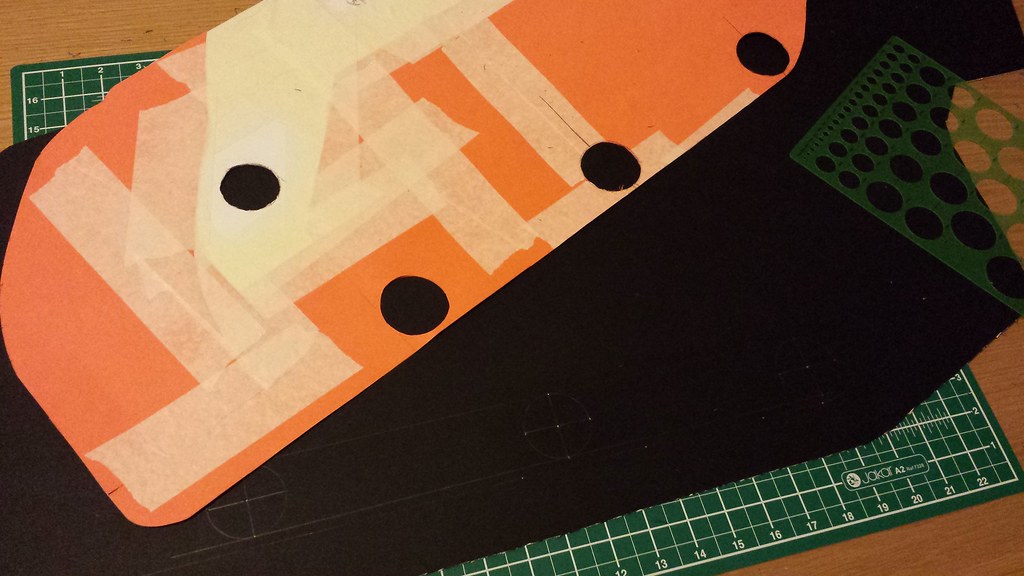
Then marked the plastic and cut using a knife and a dremel:
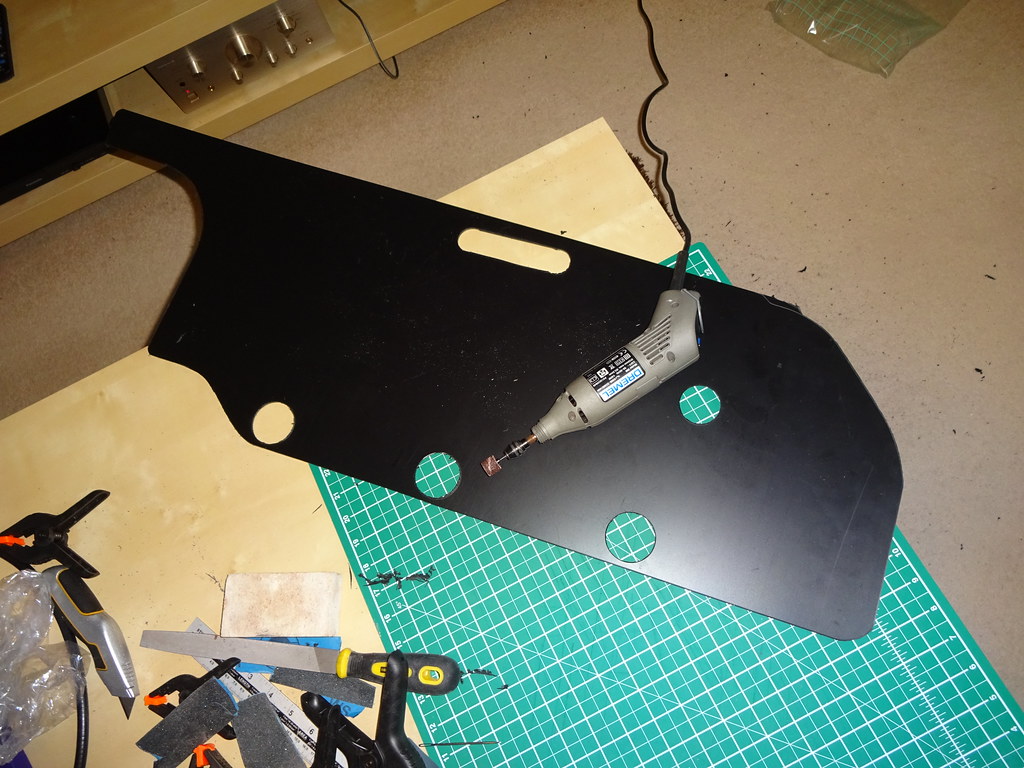
(continued...)
#210

Posted 11 February 2018 - 11:38 AM
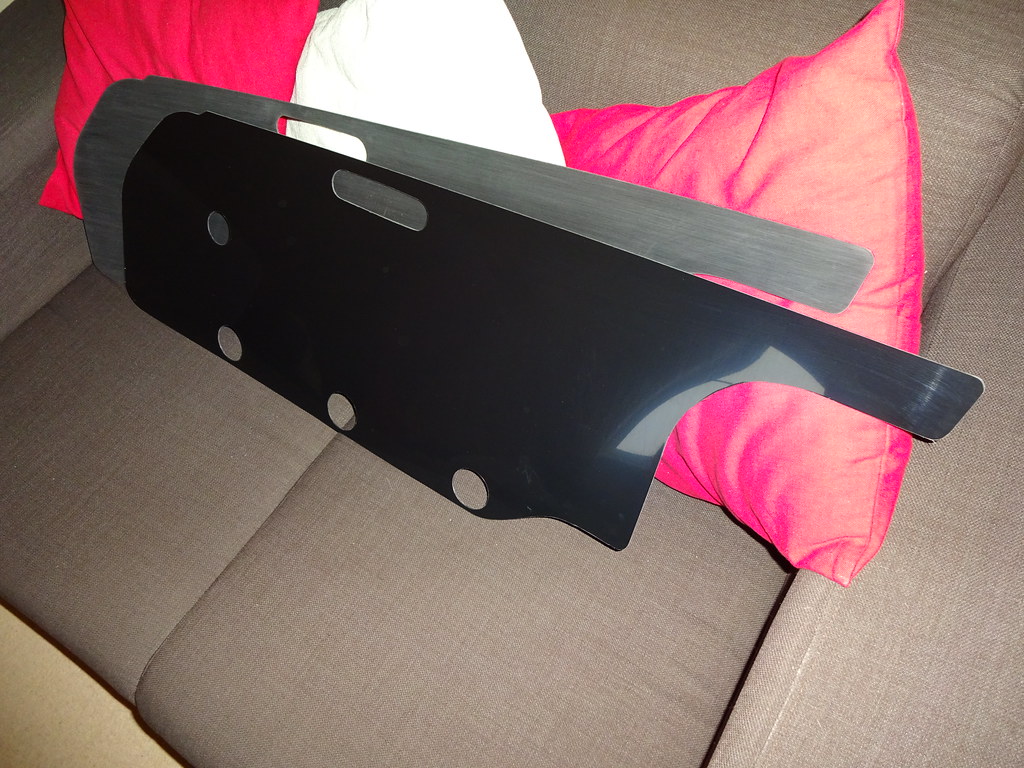
Managed to scratch the rear (unseen) side of the plastic, which my OCD won't accept, so brushed it with 280 grit ![]() Ended up with...
Ended up with...
Bought some edge trim from my hand local... Merlin Motorsport as Castle Combe, which fit perfectly:
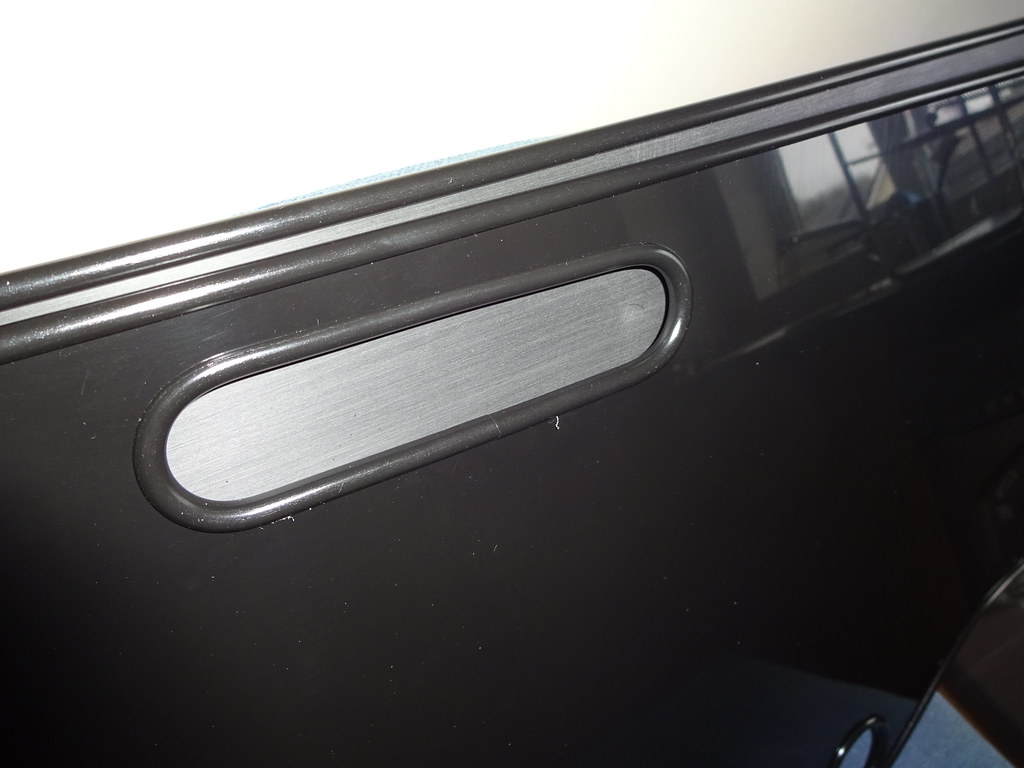
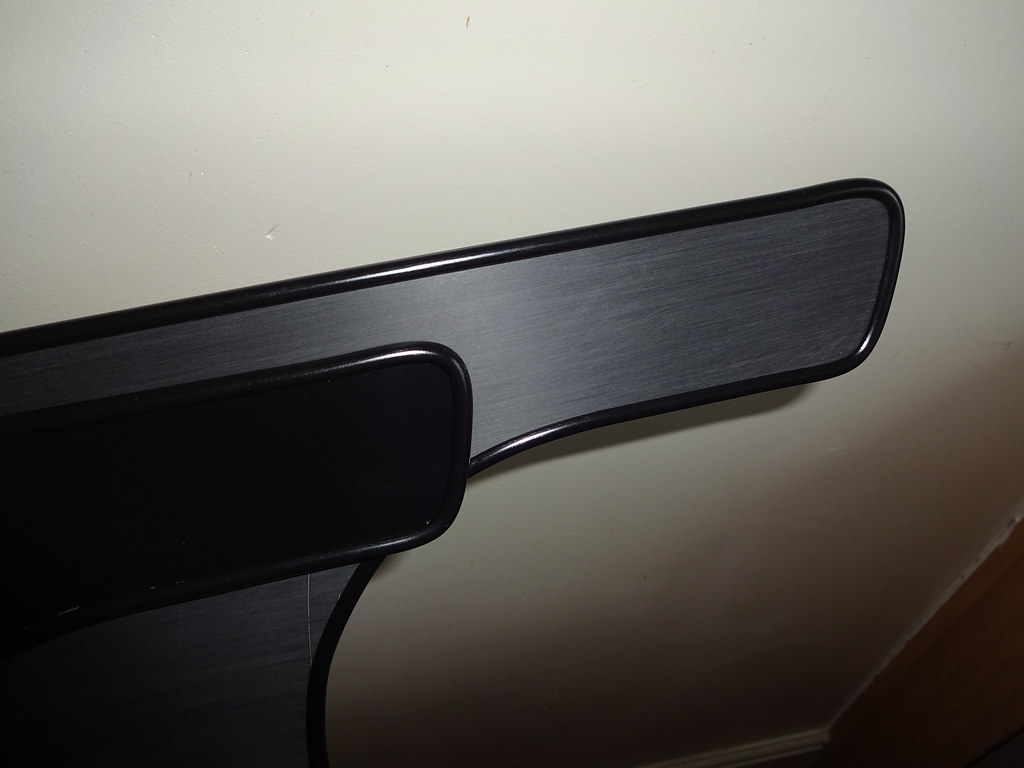
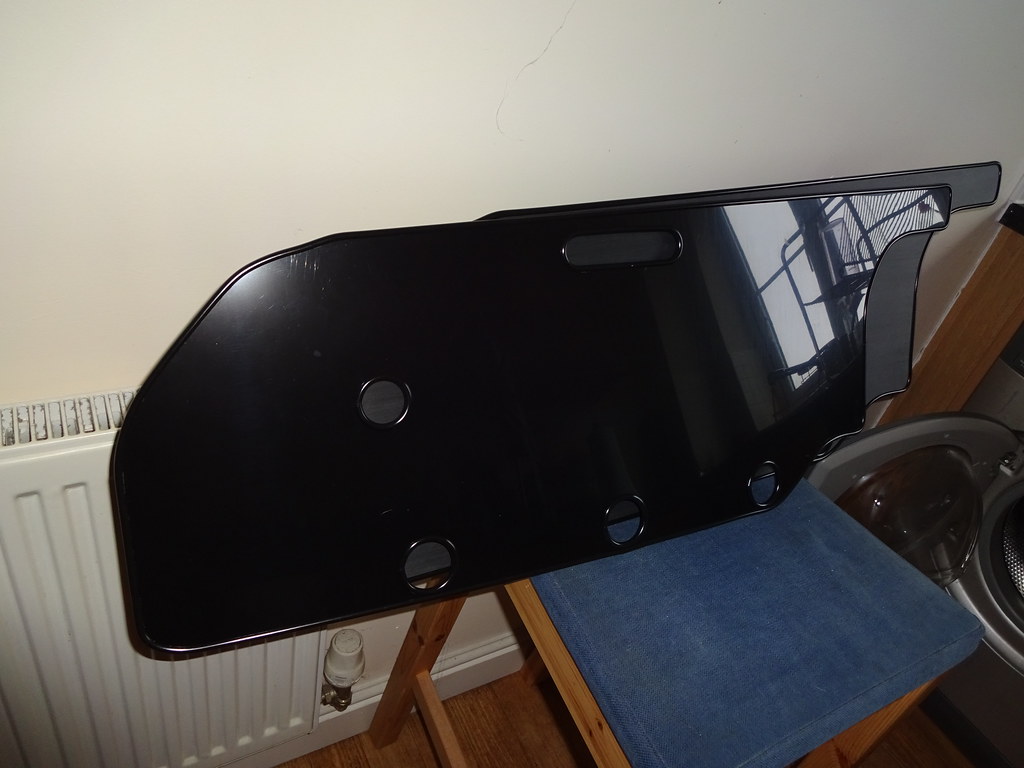
(continued...)
#211

Posted 11 February 2018 - 11:44 AM
Strategically placed some Velcro on the door and then the cards:
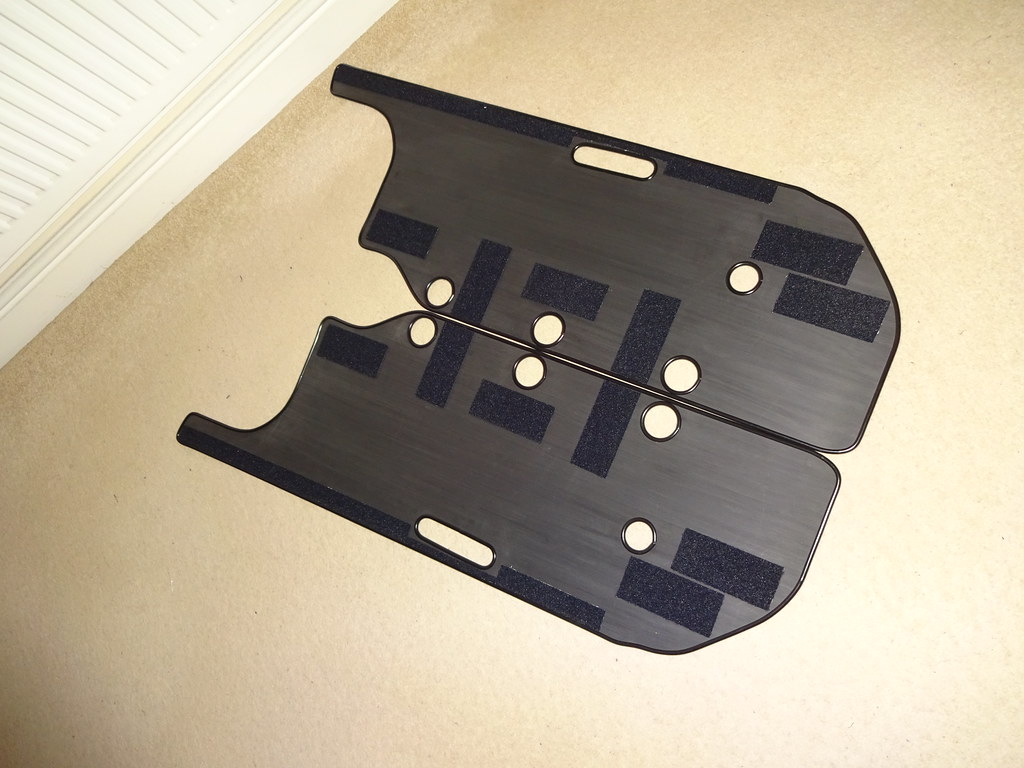
Then fitted it ![]()
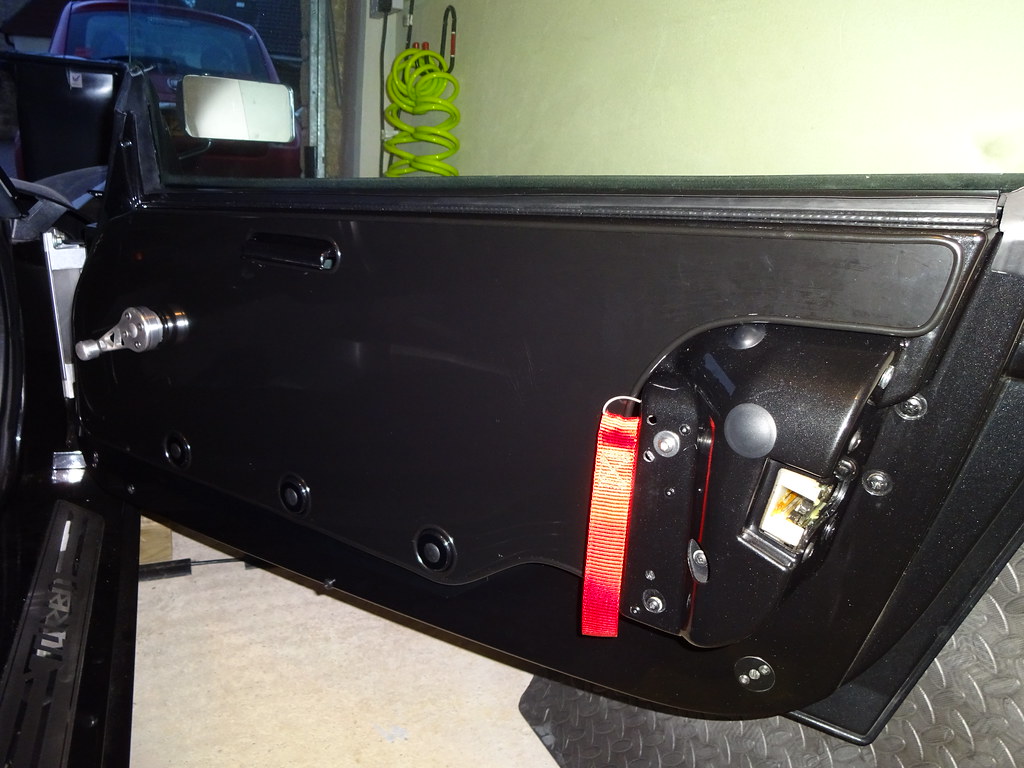
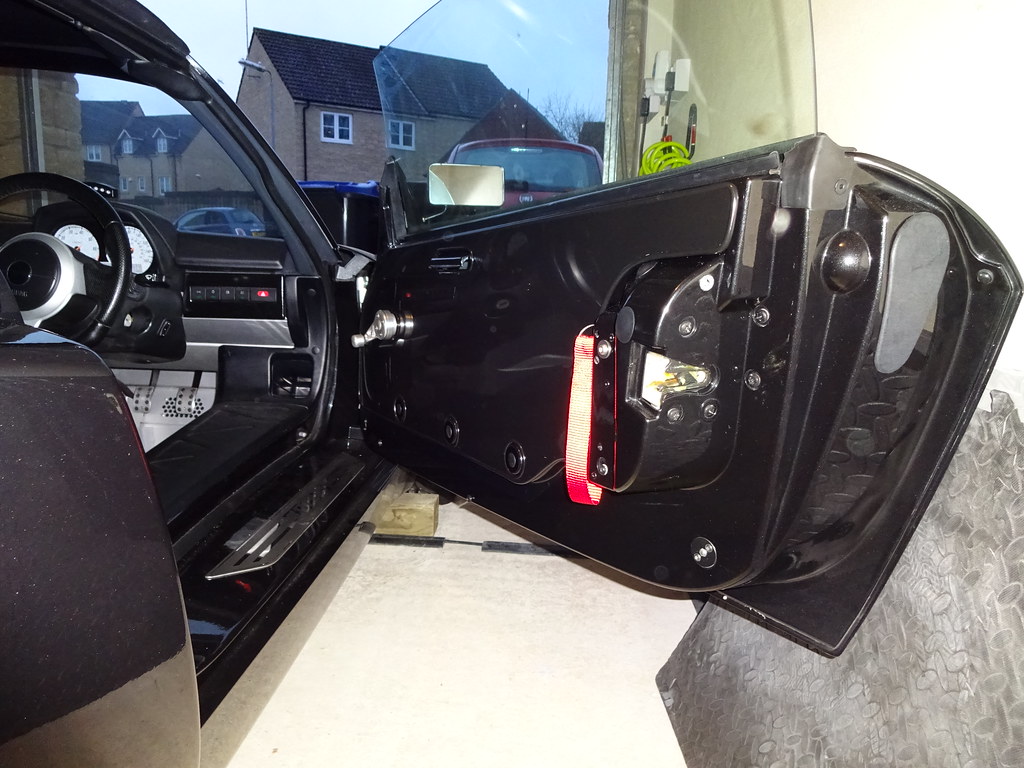
Fits almost perfectly and am happy with the results... just got to move the car to the other side of the garage and fit the other side now!
![]()
#212

Posted 14 February 2018 - 11:19 AM
Wow does look good, fancy making me a pair? ![]()
#213

Posted 15 February 2018 - 07:04 PM
Thanks for the feedback Jimmy ![]()
I will give it some thought ![]()
#214

Posted 13 May 2018 - 01:53 PM
Update: Headlights ![]()
Following the announcement around MOT regulation changes for HID headlights I figured I'd put some standard bulbs back in... easy you'd think... however in doing so, I found that the projector in the o/s unit was flapping around due to the adjusters being snapped. So...
It took me hours to split the rear case from the body, using a combination of the oven, a heat gun, various knives and lots and lots of swearing:
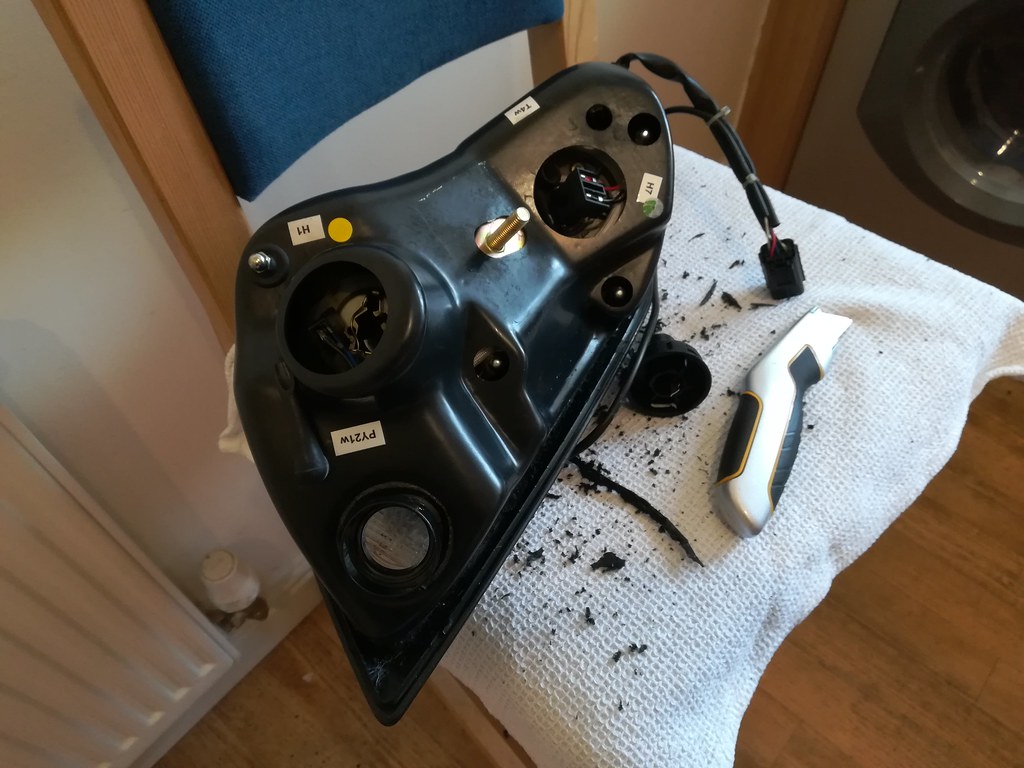
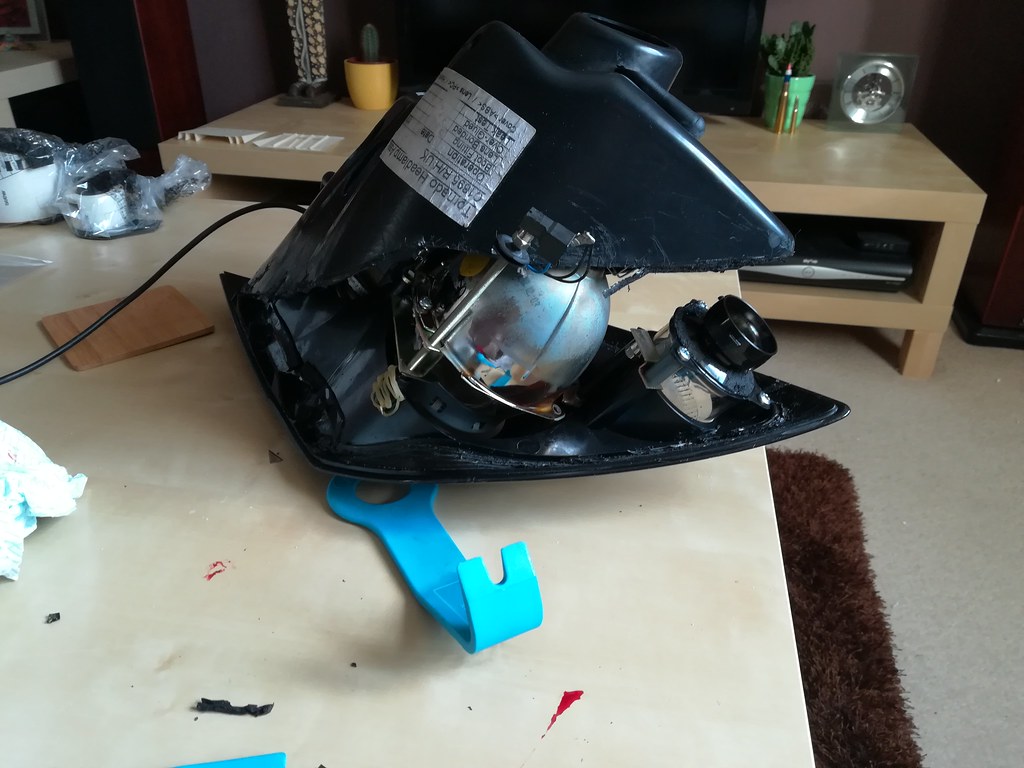
Once apart, it was clear that 2 out of 3 adjusters were completely knackered and one was fine (albeit I deliberately snapped it off so I could apply the same solution to all 3):
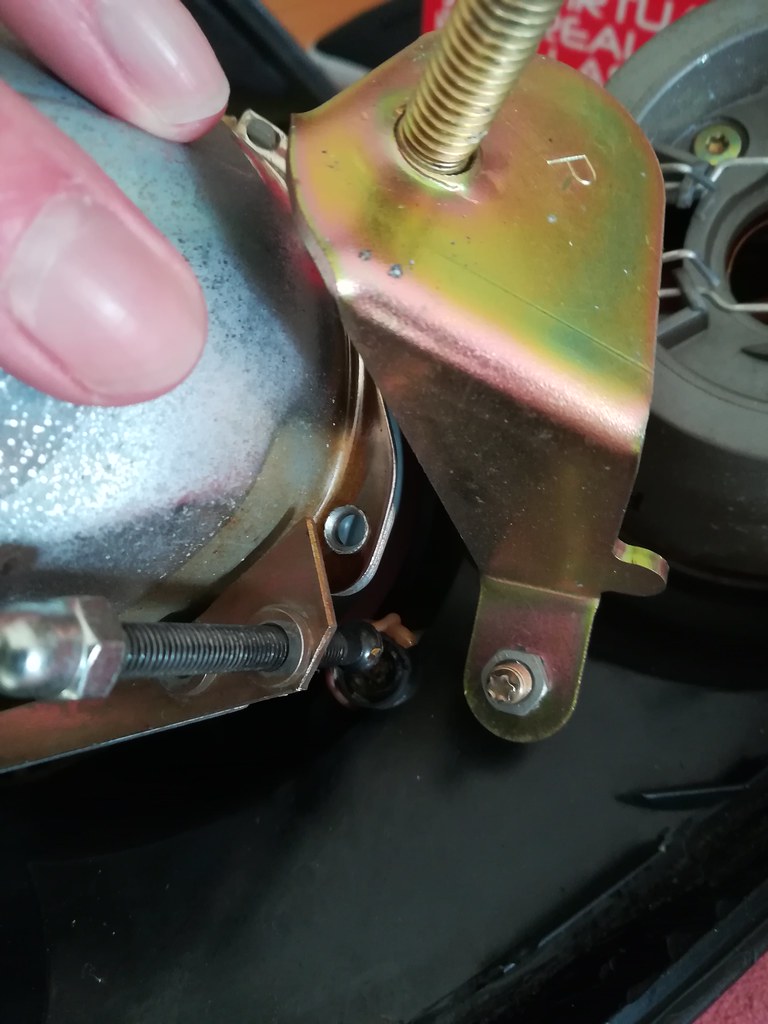
Continued...
#215

Posted 13 May 2018 - 01:54 PM
Then set about the clean-up operation, removing all of the old adhesive etc.
What I was then left with was a scratched up rear case, plastic locating tabs both snapped in multiple places (yes I was getting rather impatient with the removal of the rear case!), and last but not least, the need for a solution to the broken adjuster mounts.
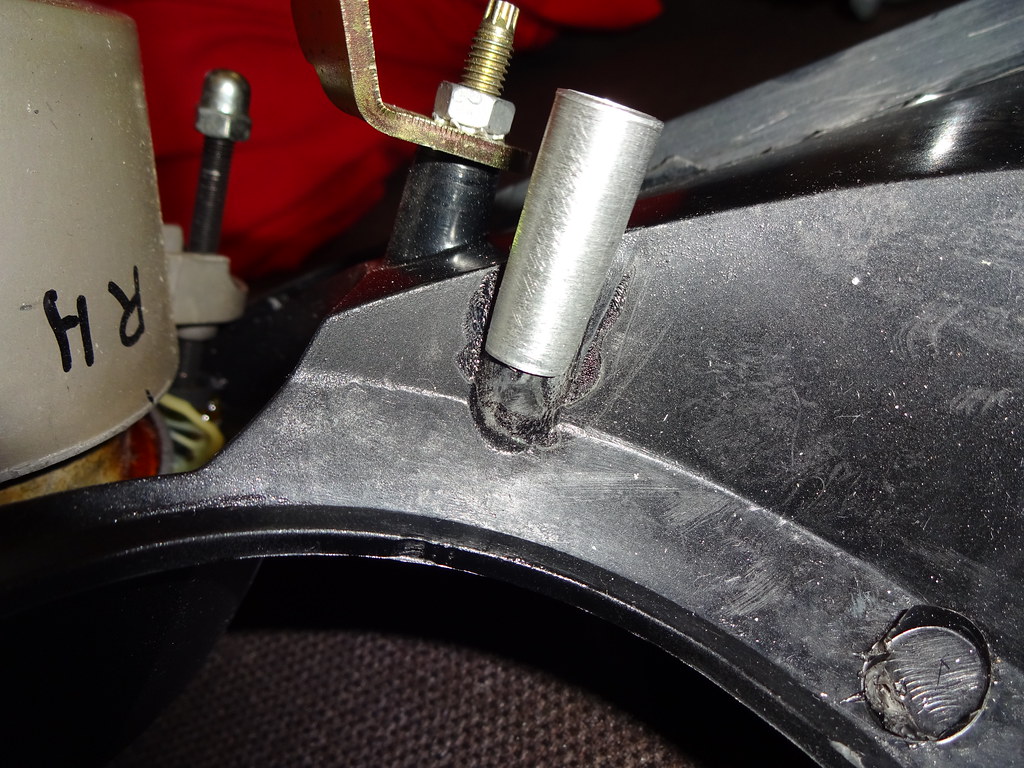
Had many ideas, and as usual, ended up spending lots of ££ on random objects from B&Q that I didn't end up using, however in B&Q, stumbled upon aluminium tubes of varying diameter, that slid snugly into one another. Did a few drawings and settled on:
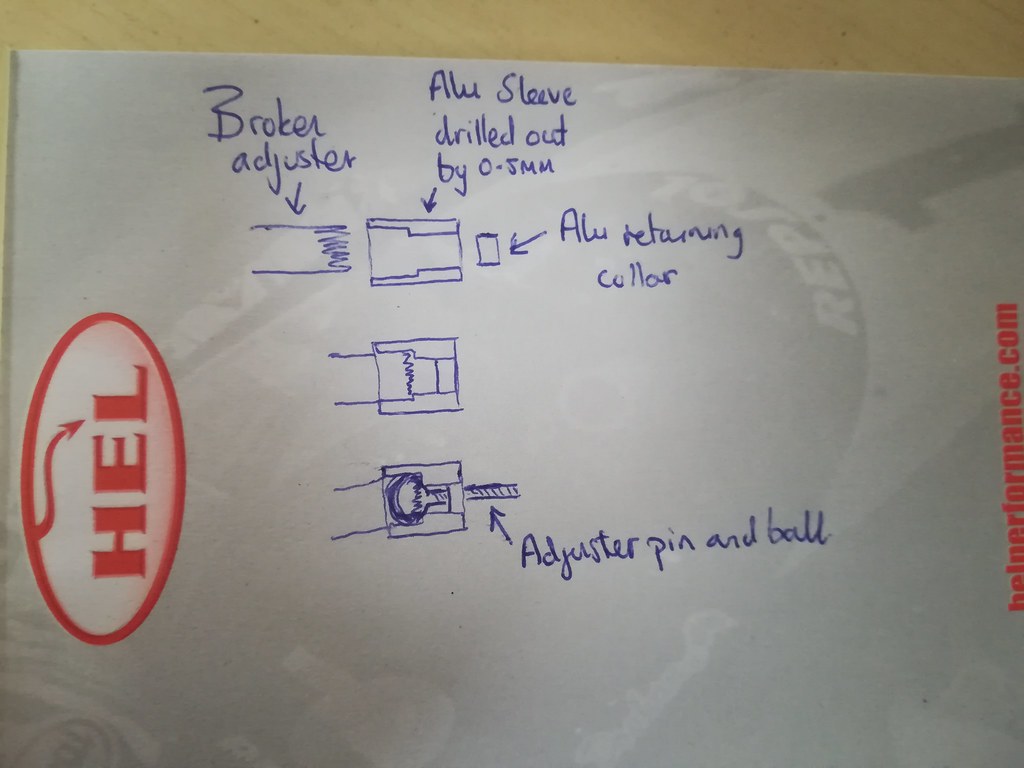
Continued...
#216

Posted 13 May 2018 - 01:56 PM
What I ultimately came up with:
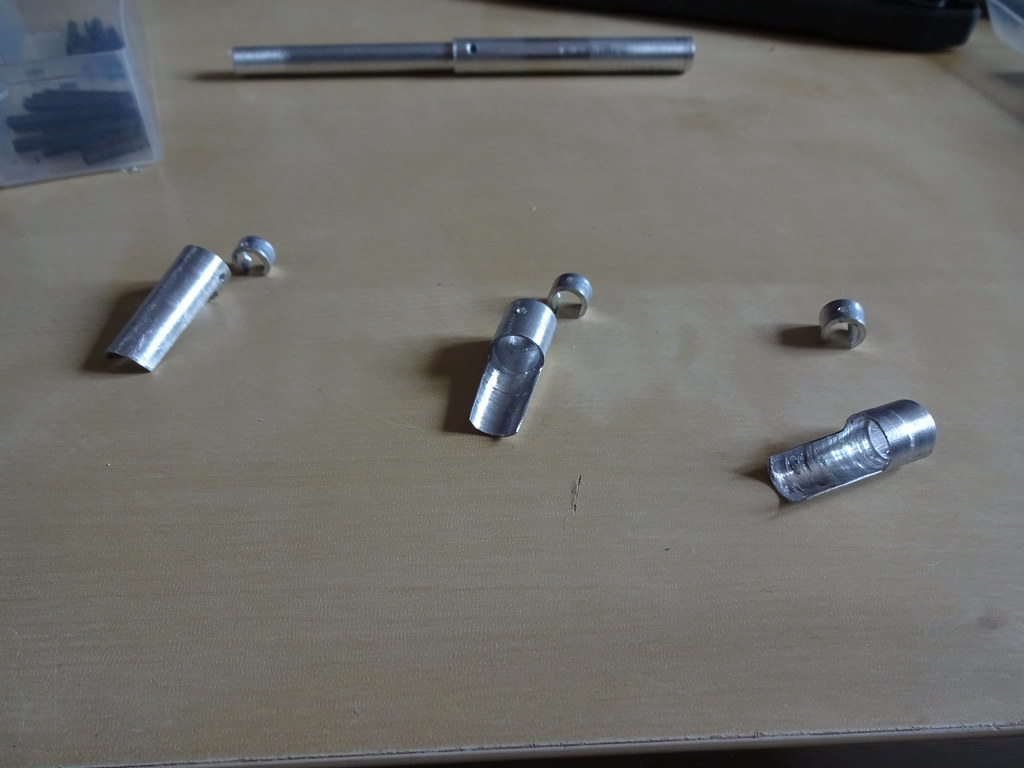
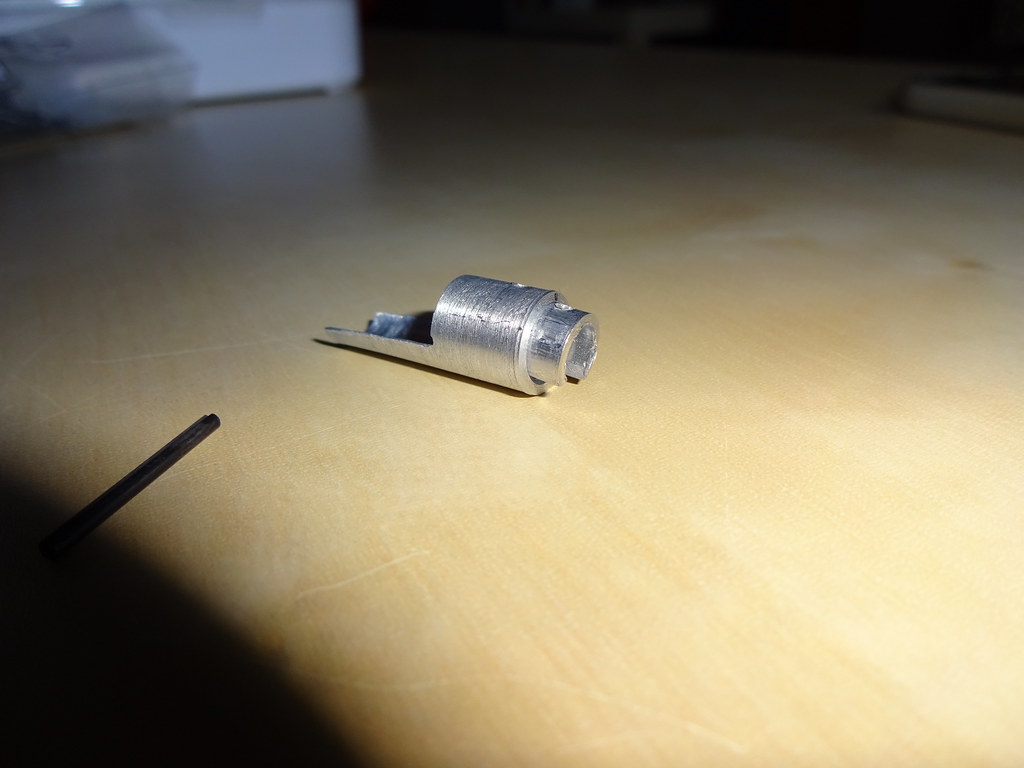
Continued...
#217

Posted 13 May 2018 - 01:57 PM
Now 2 key questions:
1) How to bond the tubes to the body of the headlight (since I gave up on the Epoxy idea).
2) How to secure the Alu retaining collars in the Alu sleeves (since I gave up on the roll pin idea).
So, after much research into product specifications, operating temperatures etc., I settled on ye olde faithful Sikaflex 221 for (1) which would also be used for bonding the rear case back on later.
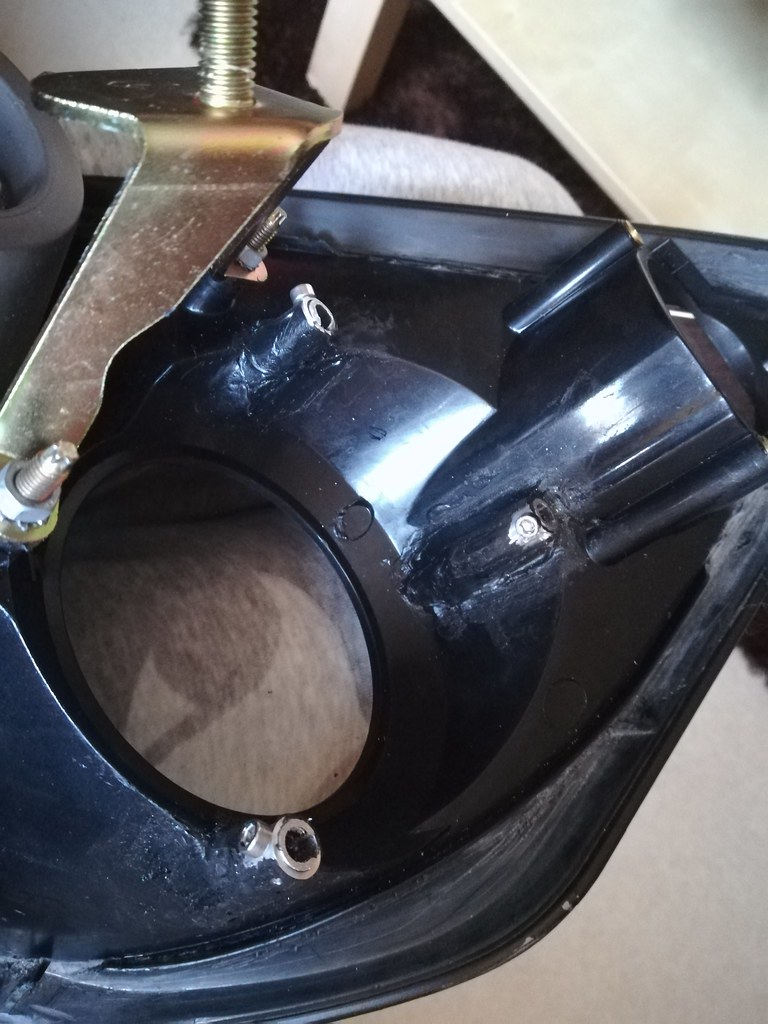
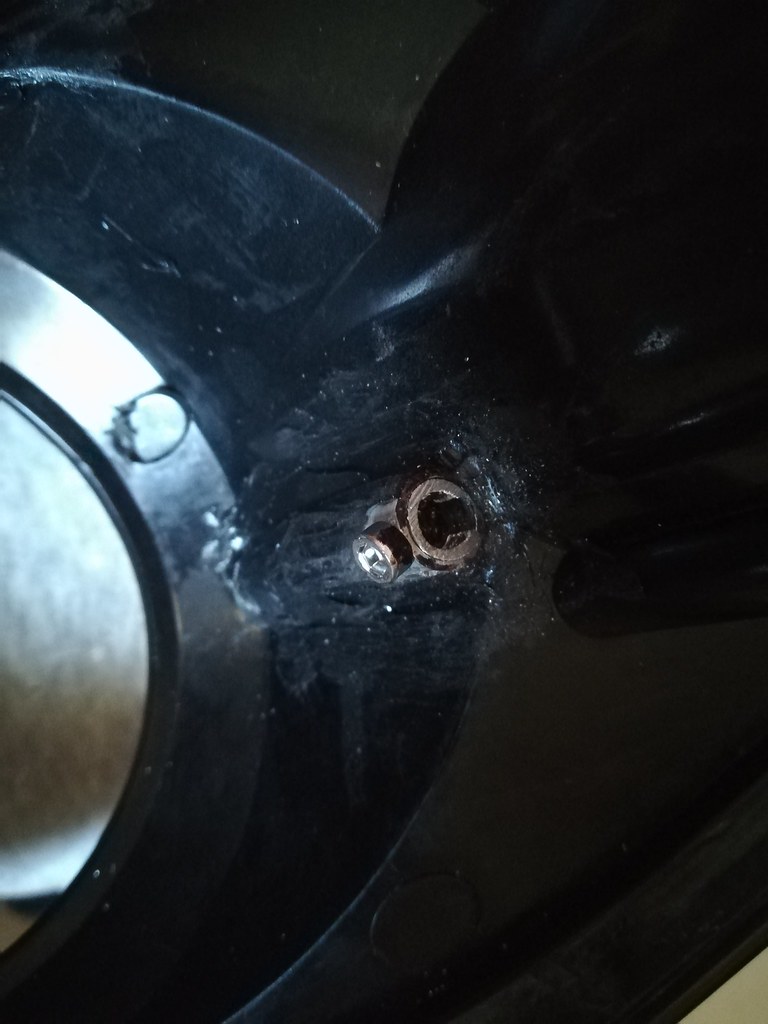
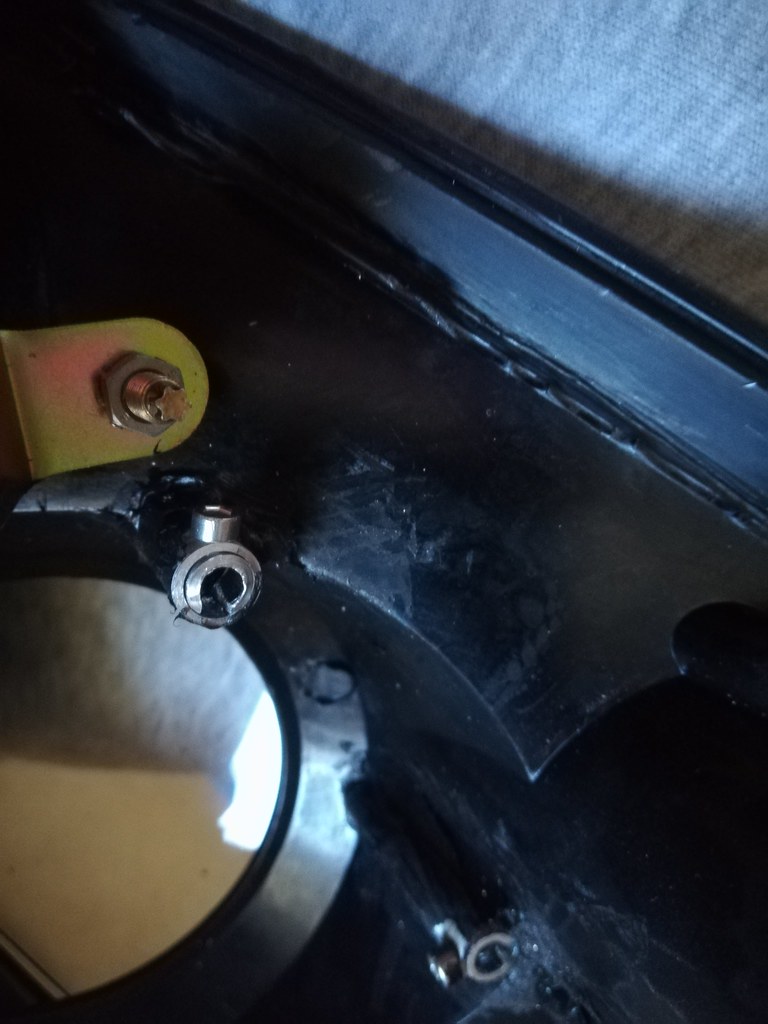
Again, after much messing around, to address (2) I decided to drill and tap an M2 hole through the two tubes, and use a tiny little cap head to secure them.
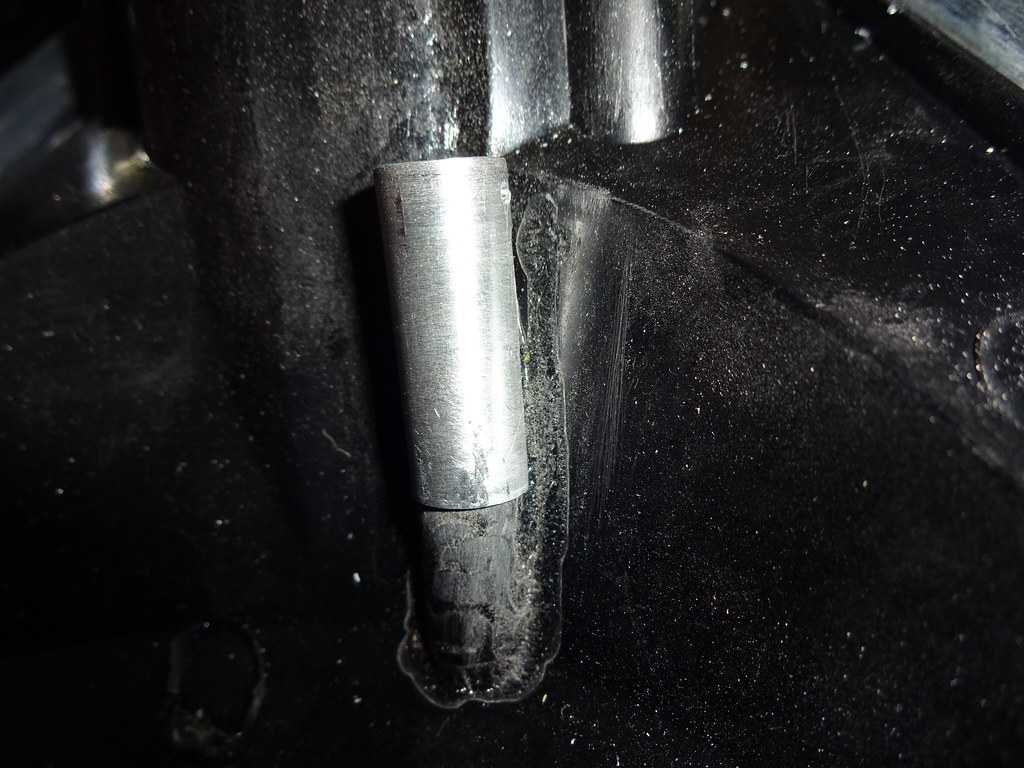
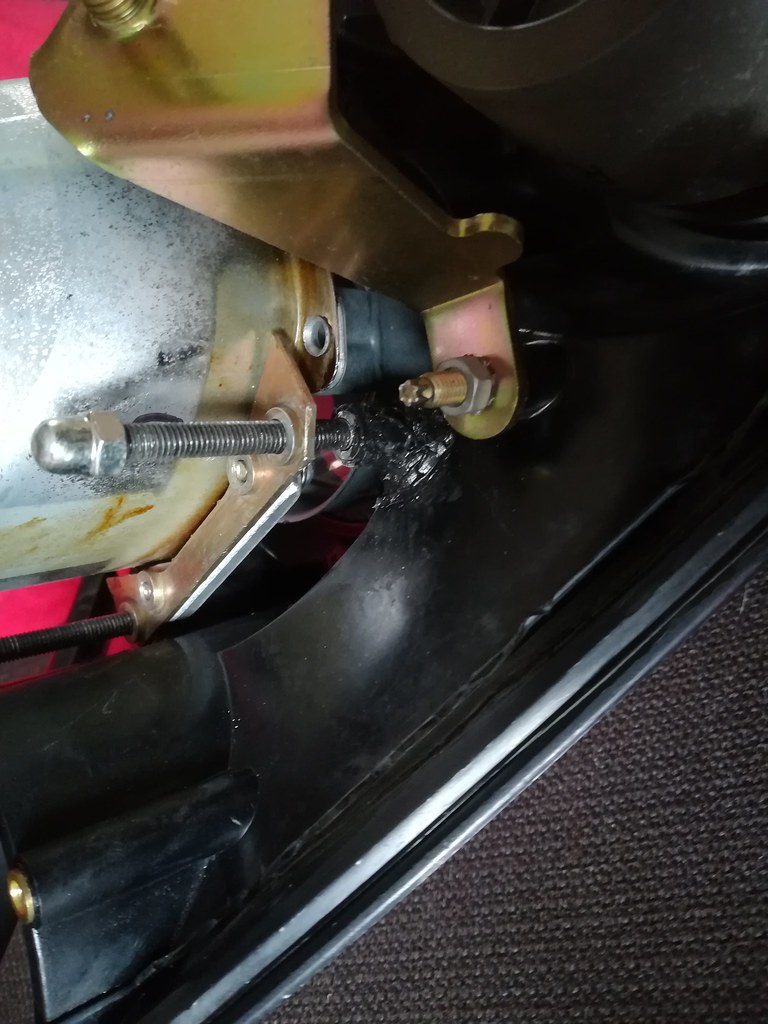
The finished adjuster mounts bonded in:
Continued...
#218

Posted 13 May 2018 - 01:59 PM
Now to sort the scratched up case. Made the big mistake of attacking it with 150 grit and although I managed to get rid of the deep scratches, it looked generally terrible. Got as far as around 400 grit and realised I would need to invest around 100 hours to get a good finish. Did some reading, and found that acetone vapour baths were good on this material... didn't have a big bucket of acetone but popped and bought these:
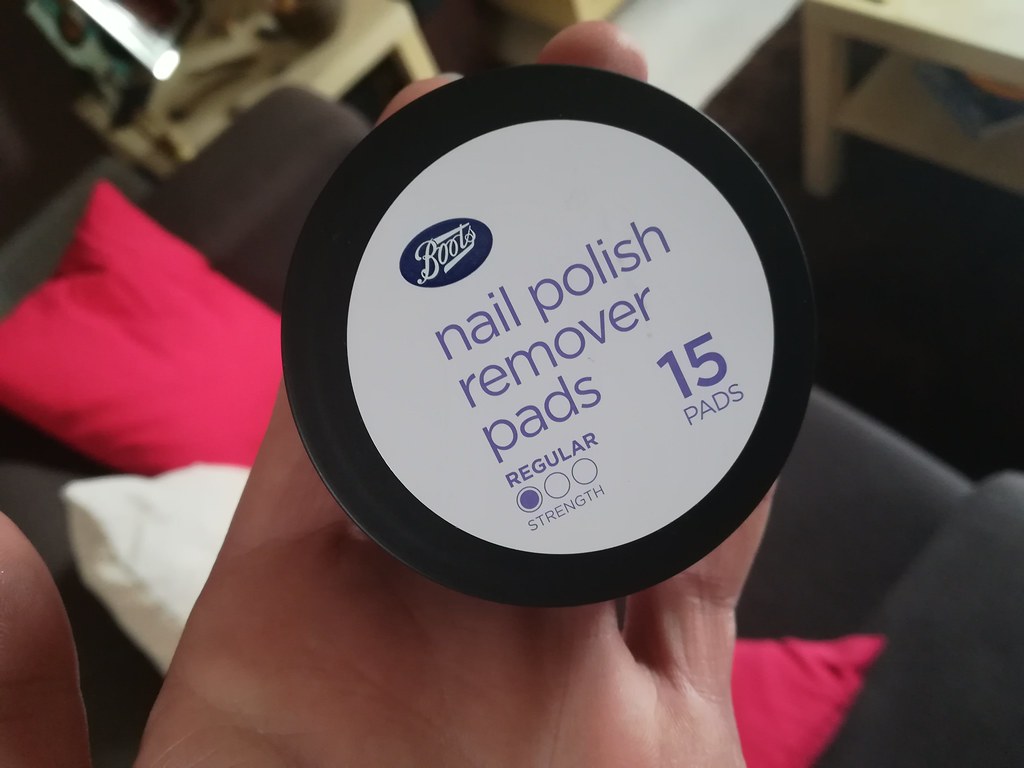
I could not believe my eyes... a gentle wipe and most of the sanding marks were replaced by lovely shiny glossy plastic ![]()
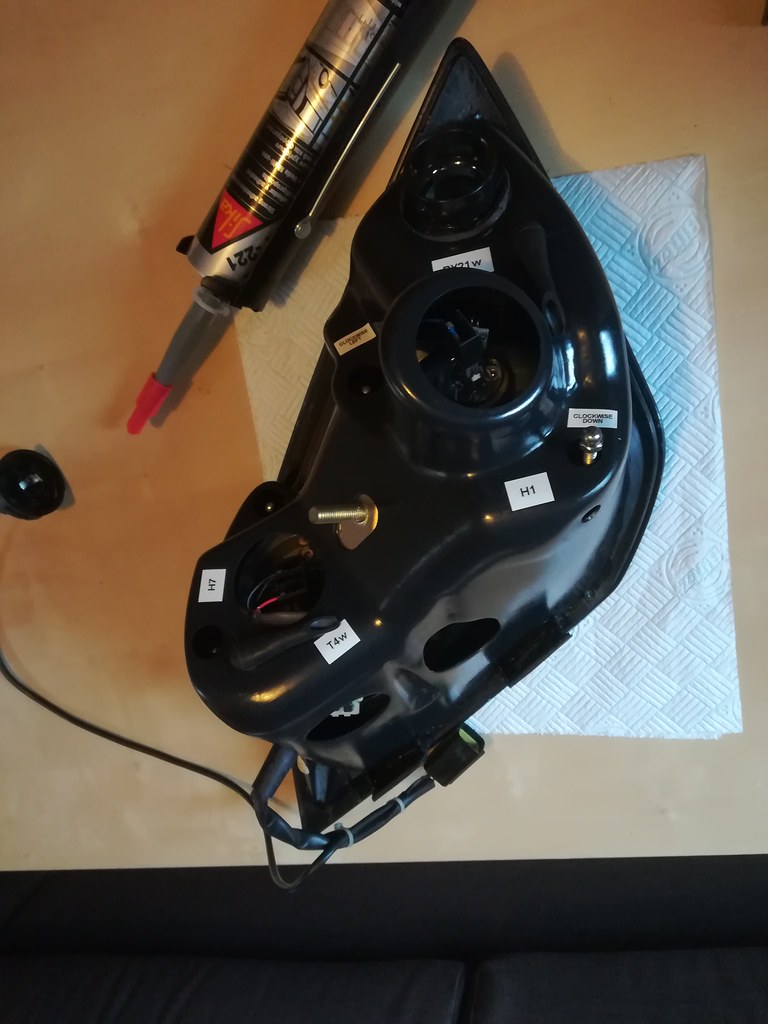
Also ran off some new labels on the dymo printer to keep it looking OEM ![]()
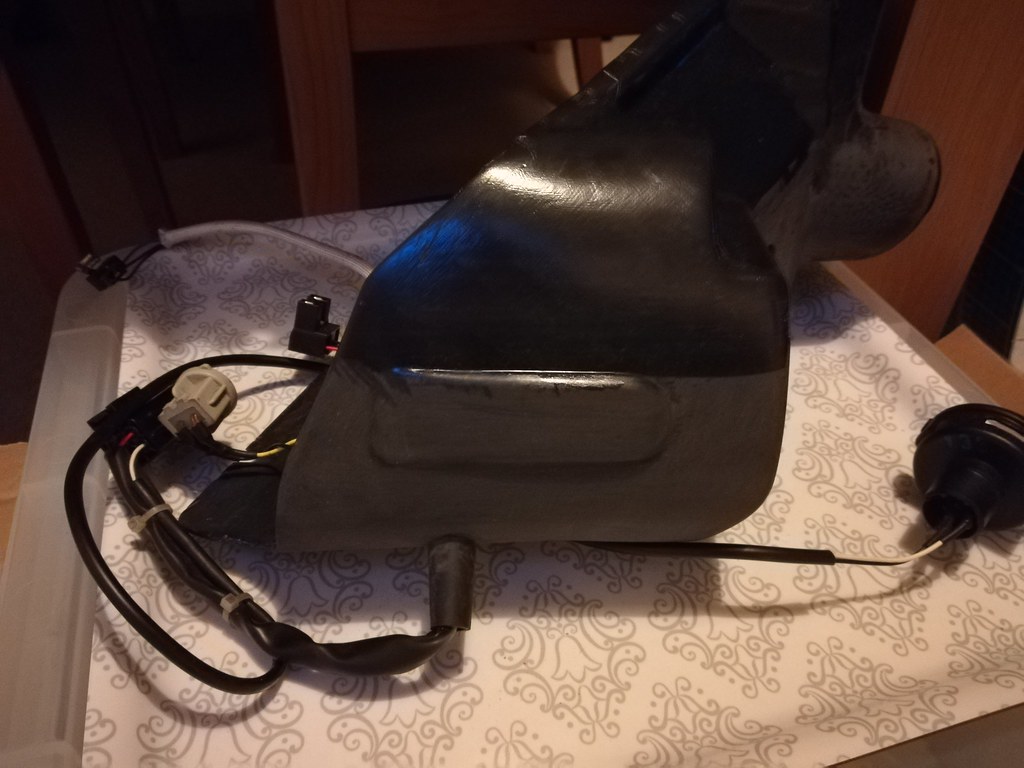
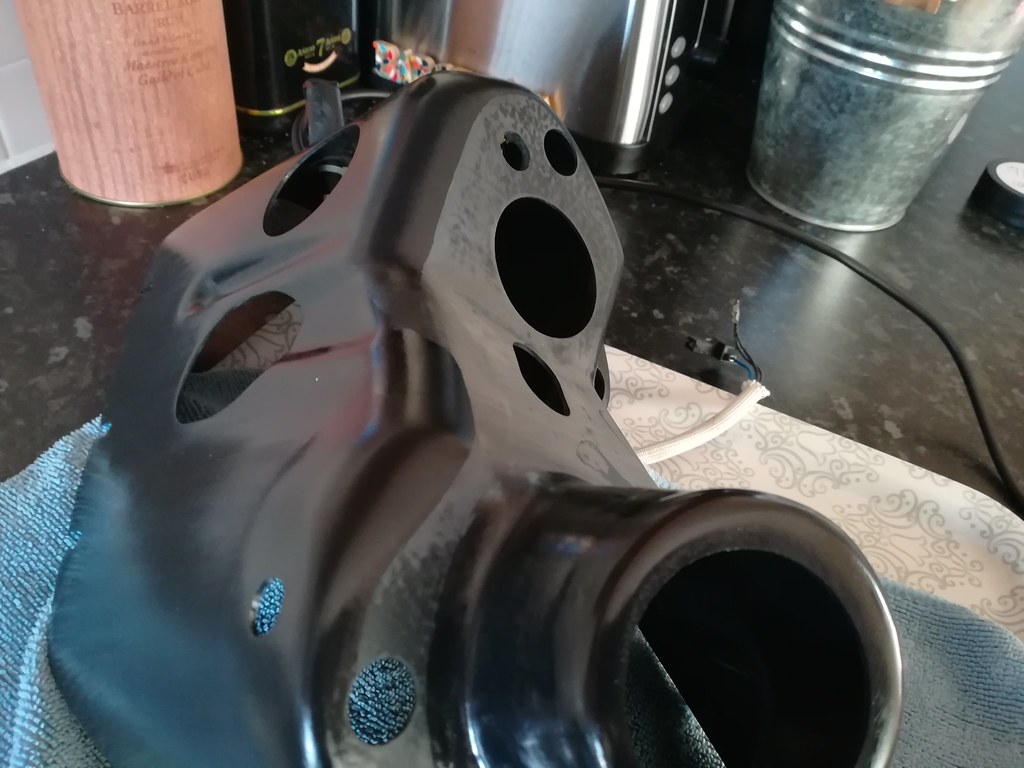
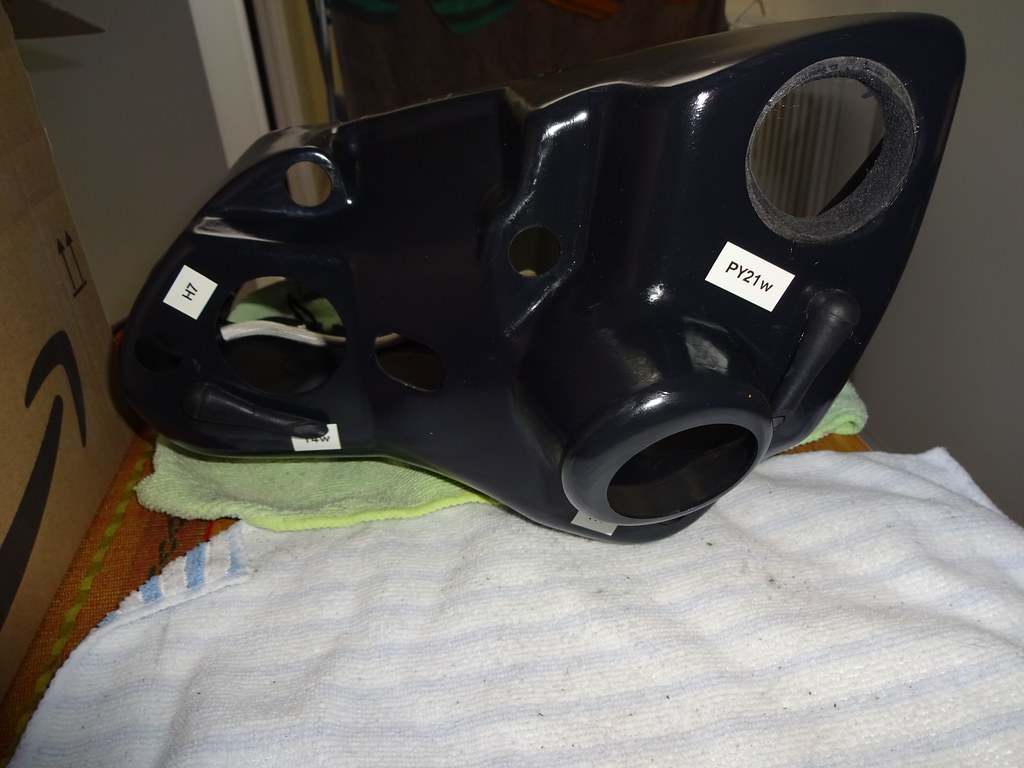
Continued...
#219

Posted 13 May 2018 - 02:00 PM
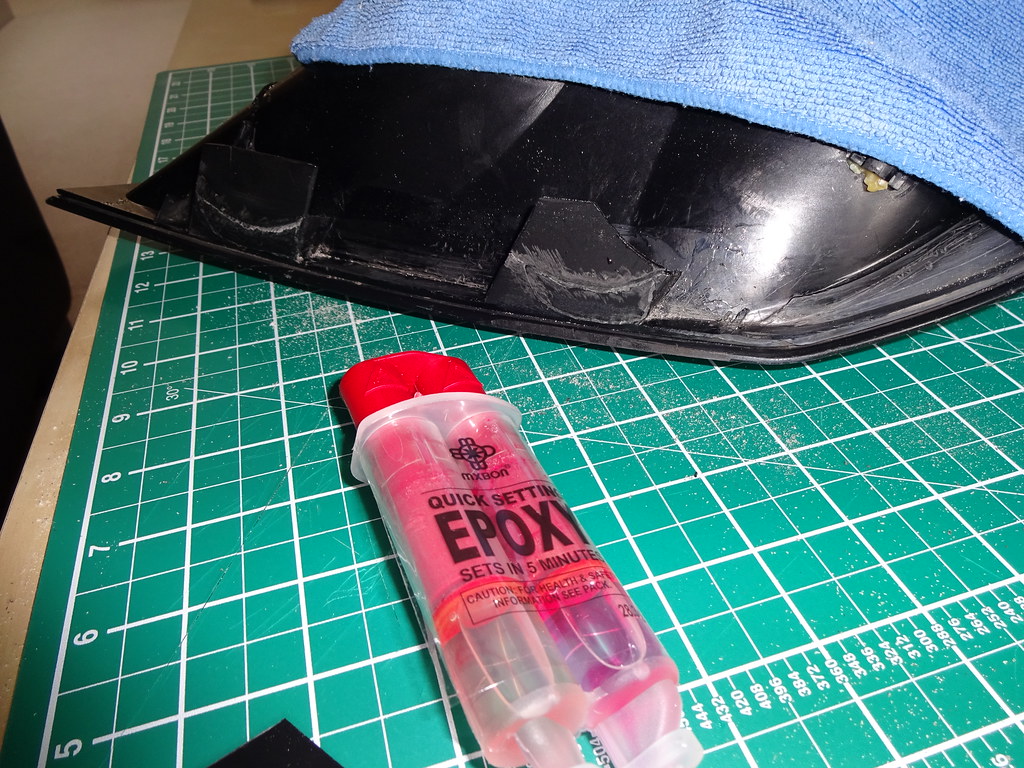
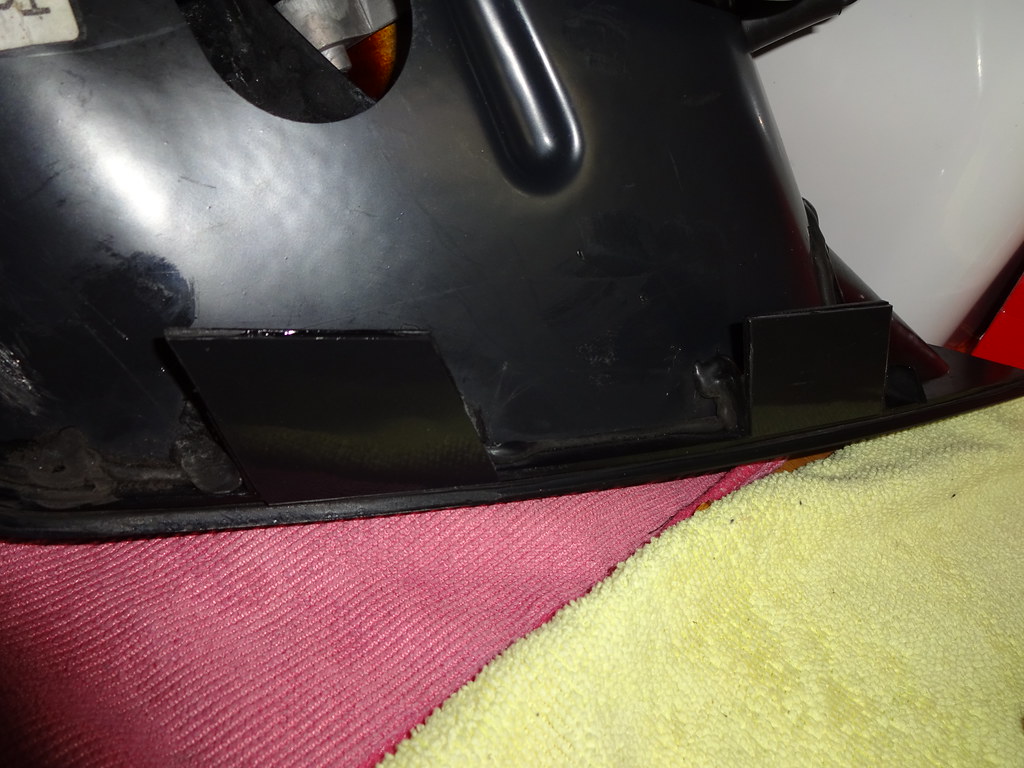
Now for fixing the snapped locating tabs. Used epoxy to fix the bits back together, then used some random plastic bonded over the top with sikaflex for a bit of strength:
Continued...
#220

Posted 13 May 2018 - 02:01 PM
Then fitted the projector, adjusted as best as I could, and bonded the back of the case back on!:
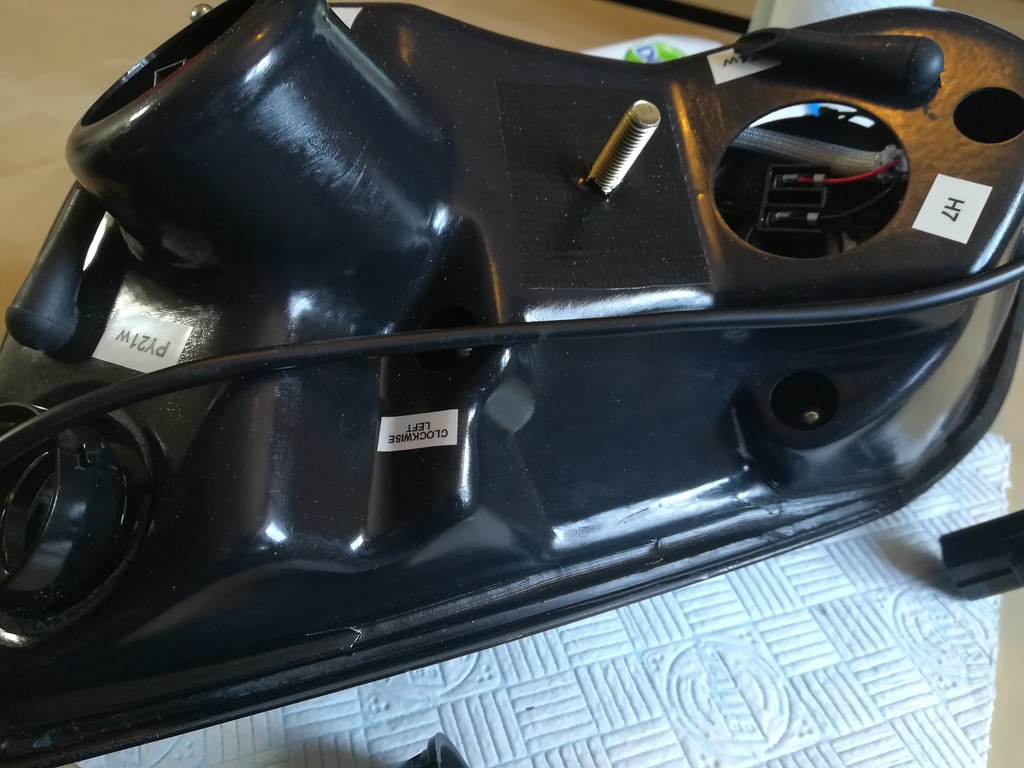
I am happy with the end result, but my god that was an epic job, and didn't even gain me a horse power ![]()
Not sure what is next on the list... driving it I think, but parts bin is overflowing so need to fit some bits soon!
![]()
1 user(s) are reading this topic
0 members, 1 guests, 0 anonymous users


