Jump to content


Photo

Project Fracas - 6Sp A20Nft


  • Please log in to reply
1268 replies to this topic

#461 Doctor Ed

Doctor Ed

    Need to get Out More

  • PipPipPipPip
  • 1,188 posts
  • Location:Germany

Posted 17 August 2016 - 07:50 AM

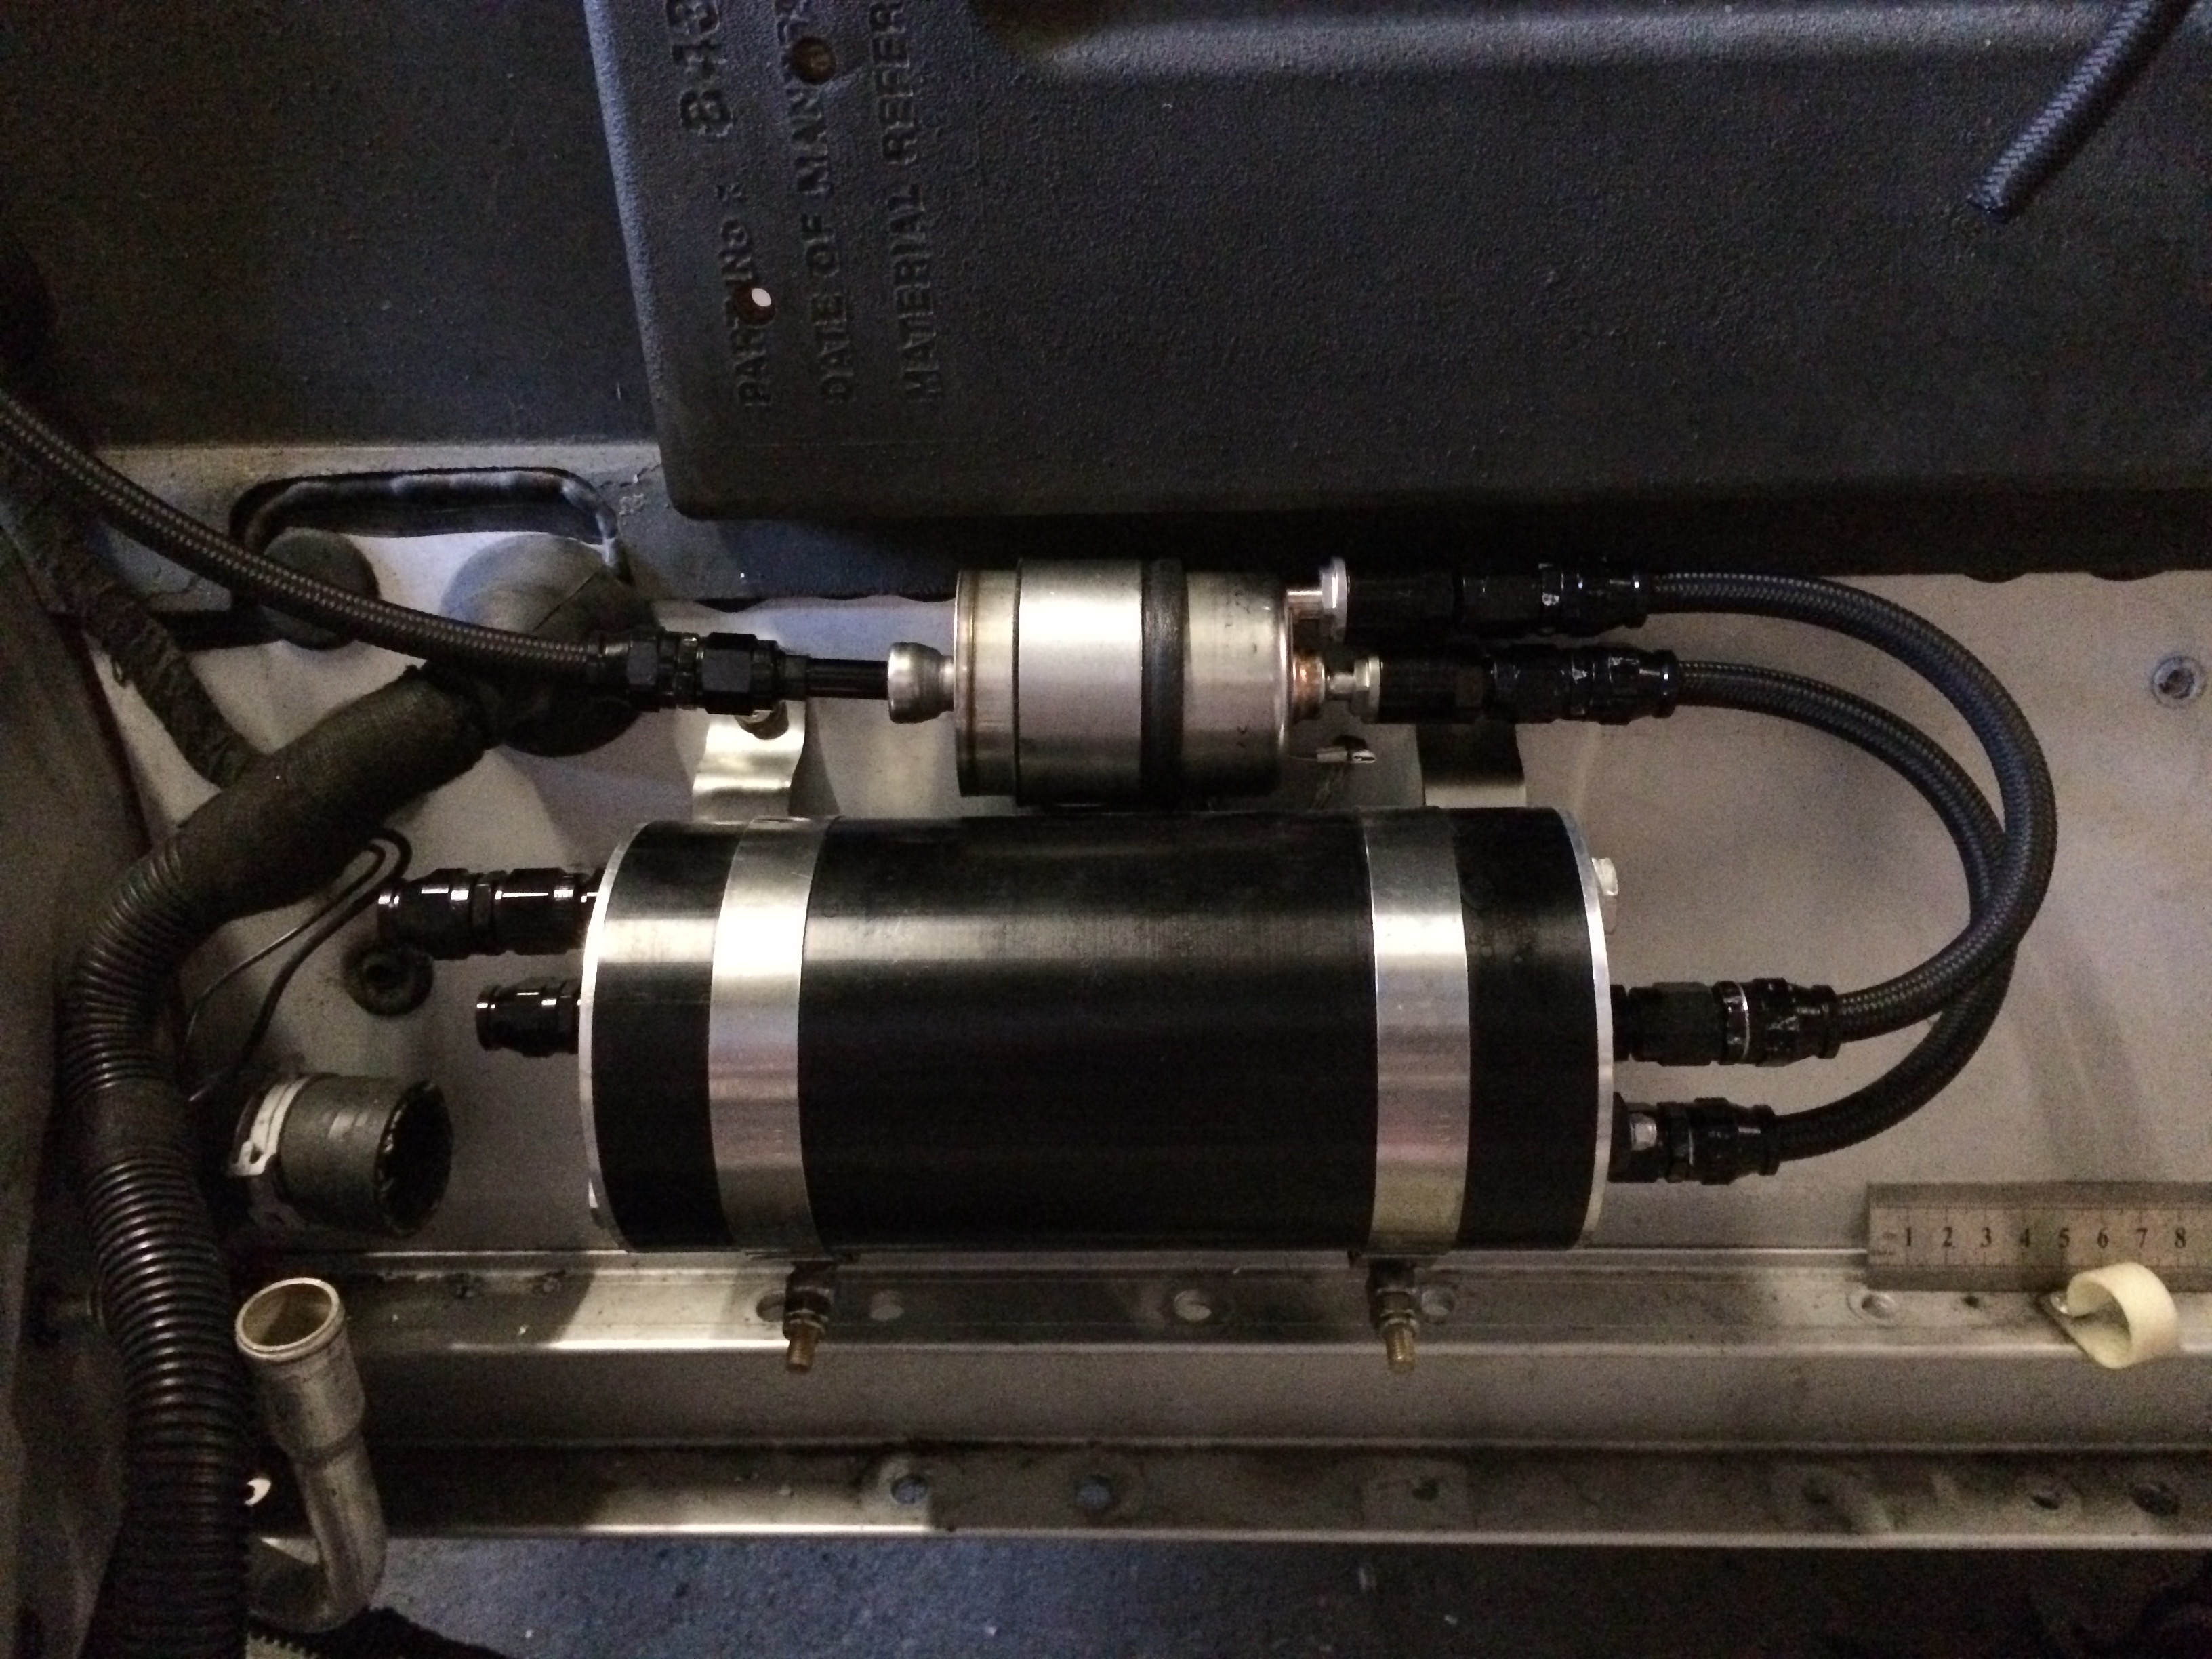
the tank has an internal port that facilitates it being mounted horizontally

x2 90's doesnt work as the hose ends dont look at each other/line up well enough for such a short run of hose to compensate the offset.

the hoses as they sit are too long though (i originally had the filter mounted further away) so ill trim them back a few inches to neaten it up further.
 

Posted Image


Edited by Doctor Ed, 17 August 2016 - 07:52 AM.


#462 Doctor Ed

Doctor Ed

    Need to get Out More

  • PipPipPipPip
  • 1,188 posts
  • Location:Germany

Posted 17 August 2016 - 09:09 PM

like so...

Posted Image

Posted Image

#463 Doctor Ed

Doctor Ed

    Need to get Out More

  • PipPipPipPip
  • 1,188 posts
  • Location:Germany

Posted 19 August 2016 - 07:57 PM

I've decided to bump up the tube size a notch. Simply stepping up a size tube (same 1.5mm wall thickness) drops deflection to 22mm @ 7300bar

Managed to find myself some imperial spec tube with a 2mm wall diameter, which put me into 0.1mm interference fit with the tube I had. Chamfered edge, blowtorch, hammer. Done. Stuff was an utter doodah to weld though, contaminating itself like a motherfucker as the weld pool moved along. Thank Christ for the linisher. Same maths on tube deflection as above: 100kg load gets only 16mm at 5400bar. Fat-ass bounce test confirmed. 20g crash with offset harness mount yields only 21mm deflection. Win. Edit... Doodah? Really? Oh dear... :)

Edited by Doctor Ed, 19 August 2016 - 08:02 PM.


#464 Doctor Ed

Doctor Ed

    Need to get Out More

  • PipPipPipPip
  • 1,188 posts
  • Location:Germany

Posted 19 August 2016 - 08:41 PM

Posted Image

#465 Nev

Nev

    Nipper's Minion

  • PipPipPipPipPipPipPipPip
  • 11,587 posts
  • Gender:Male
  • Location:Bristol
  • Interests:Rock climbing, skiing, kayaking, surfing, mountaineering, budgies, chess, practical mechanics.

Posted 20 August 2016 - 01:02 PM

What's those black bits of plastic in the rose joint itself please? Some sort of stuck on shielding or does the black plasticy bit extrude out from the inside bush of the rose joint? Never seen that before, looks unusual to my eyes.


Edited by Nev, 20 August 2016 - 01:06 PM.


#466 Doctor Ed

Doctor Ed

    Need to get Out More

  • PipPipPipPip
  • 1,188 posts
  • Location:Germany

Posted 20 August 2016 - 01:57 PM

These are a Chromoly/Kevlar rose joint... a Kevlar polymer liner is injected into the joint space of the spherical bearing. In the pic it looks like a "piece" but it's actually just a surface coating/discoloration that you see there. "The effects of the mechanical properties of Kevlar fabric-reinforced polymer-based self-lubricating liners on the performance of the self-lubricating spherical plain bearings were investigated to improve the evaluation technology of the performance of the self-lubricating liners and the bearings. ... These results show that: the mechanical properties of the liners has an important influence on the performance of the bearings; Owing to the elastic properties of the liners, the contact area is increased, and the contact stress between sliding faces are decreased, which improve the load capacity and service life of the bearings; An optimum elastic property of the liners is existed for the performance of the spherical plain bearings" Makes for good service life of the bearing... Which is completely redundant in this application... lol. I bought them because of the chromoly :)

Edited by Doctor Ed, 20 August 2016 - 01:58 PM.


#467 Nev

Nev

    Nipper's Minion

  • PipPipPipPipPipPipPipPip
  • 11,587 posts
  • Gender:Male
  • Location:Bristol
  • Interests:Rock climbing, skiing, kayaking, surfing, mountaineering, budgies, chess, practical mechanics.

Posted 20 August 2016 - 06:52 PM

Ah, self lubricating kevlar in there, never heard of it before.


#468 Doctor Ed

Doctor Ed

    Need to get Out More

  • PipPipPipPip
  • 1,188 posts
  • Location:Germany

Posted 23 August 2016 - 07:53 PM

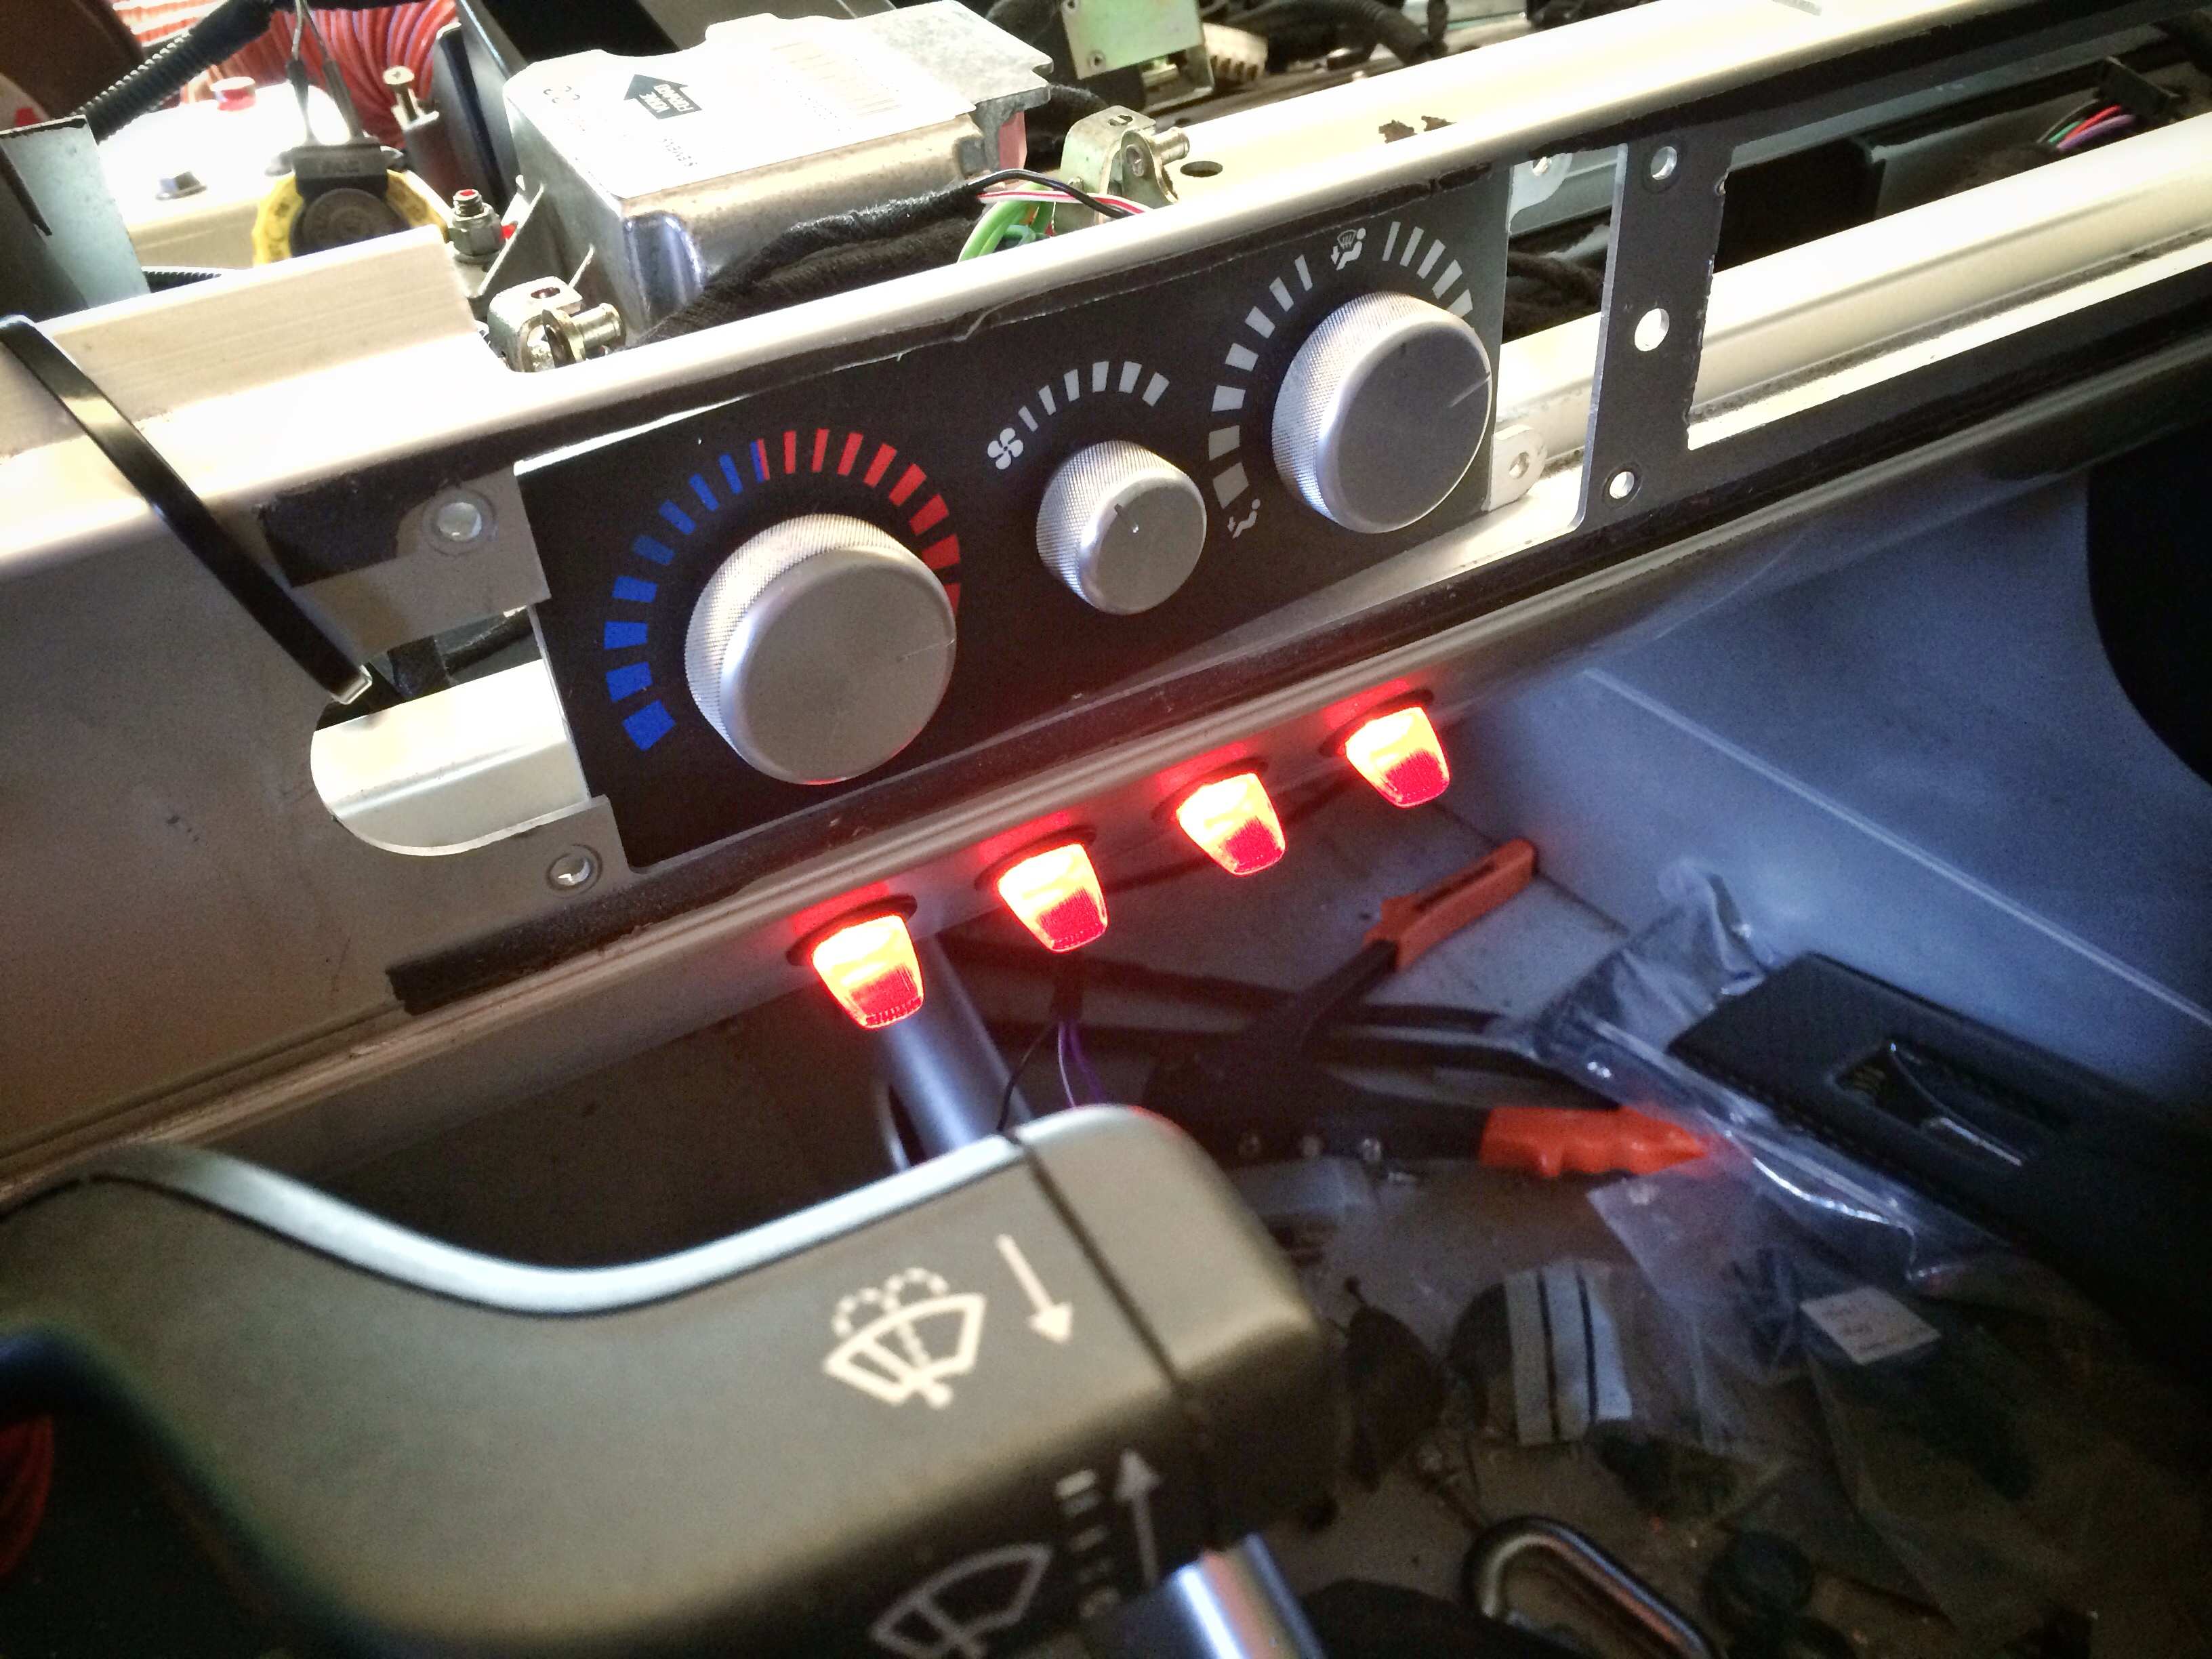
got my aux dash switches fired up today. Another case of something simple made complicated..

Basically I wanted to put in a total of 6 dash switches to do a manner of different things, I wanted them to look the same/similar, and I wanted an illuminated indication of when the switch was activated.

Which sounds easy enough, but for example I wanted two of the switches to switch the continunity of two wheel speed sensors, and I wanted 'on' to be an open circuit. So I needed a NC SPST to switch the continuity of the circuit (with no applied voltage or anything), but also needed a powered switch to illuminate on, so an NO SPST integrated powered lamp.

Yeah no, closest I got was a 6 pole DPST but would need an external indicator. Plus the style of the switch was a bit sh*t. Anyway, decided to just get a bunch of simple 3 pole SPST illuminated toggles, which switches 12v to load, and I've run the secondary switching functions via separate relays. So relays hooked up NC (at least for the simple continuity speed sensor switching). The setup also means I can use the same switch style for actual load switching for fan override and accs etc

So to quote my mate rob, here's a pic of me scratching my ass
Posted Image

#469 Doctor Ed

Doctor Ed

    Need to get Out More

  • PipPipPipPip
  • 1,188 posts
  • Location:Germany

Posted 24 August 2016 - 06:24 PM

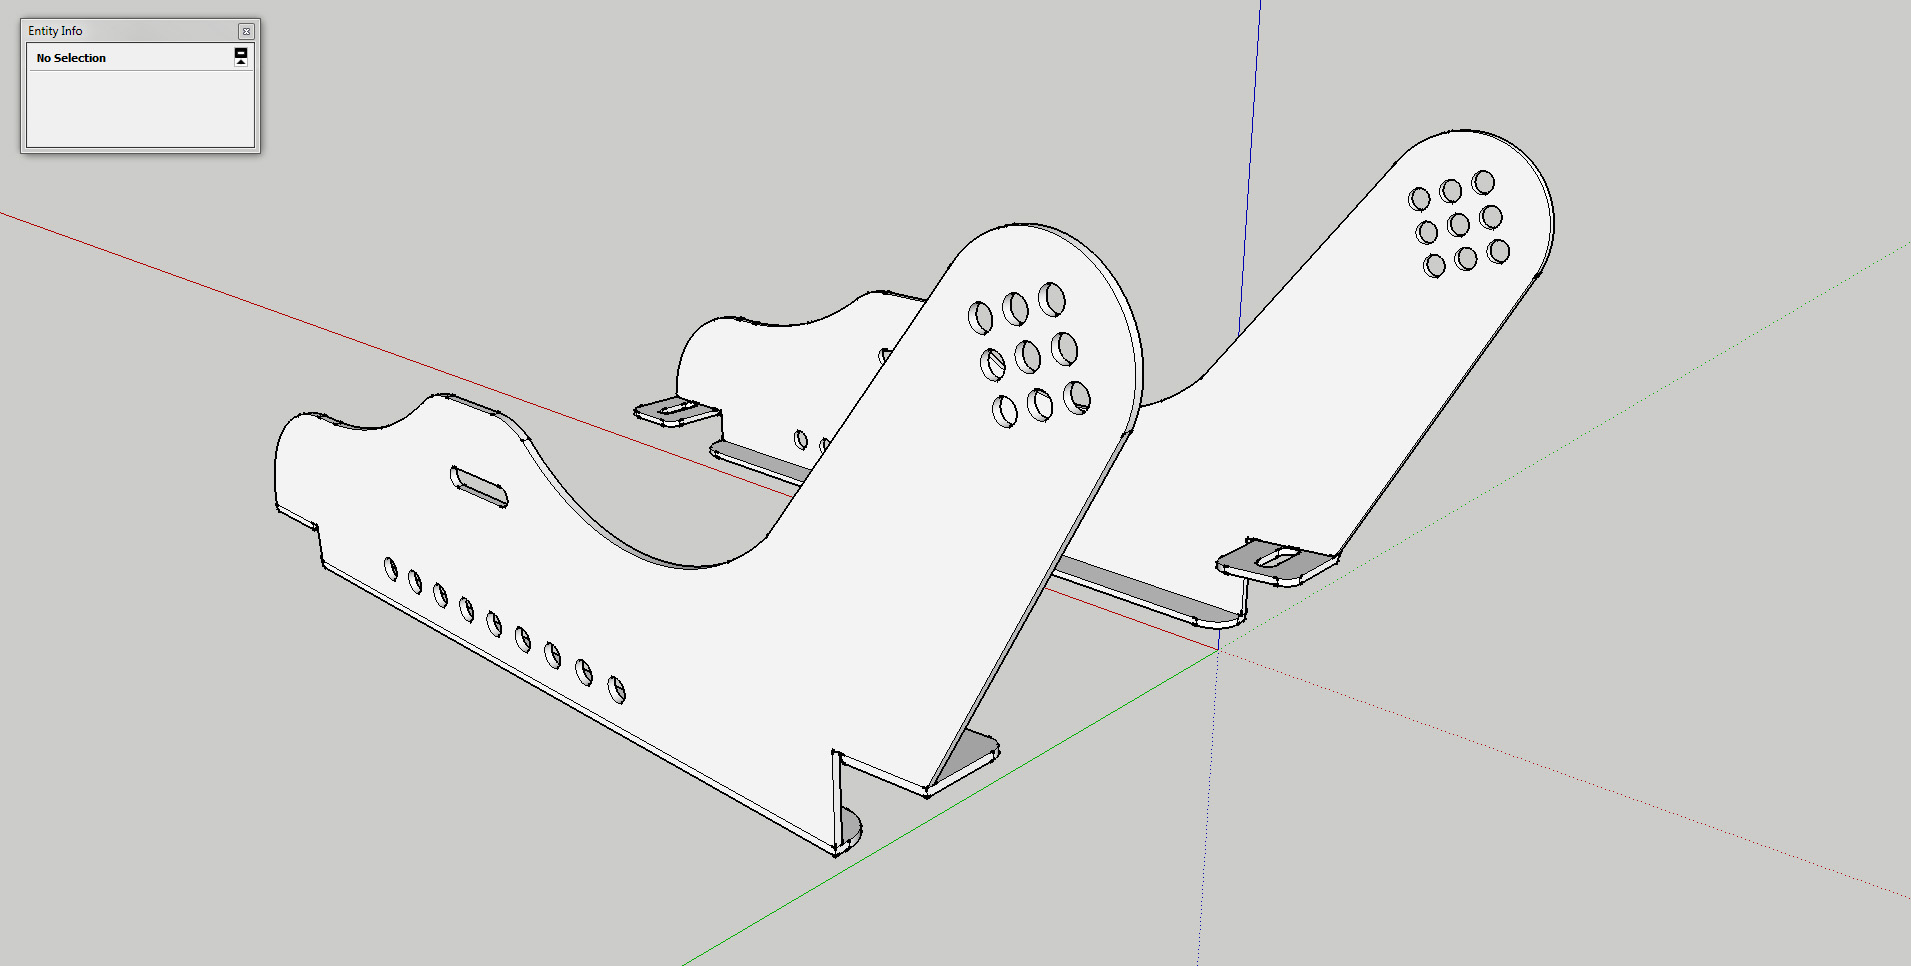
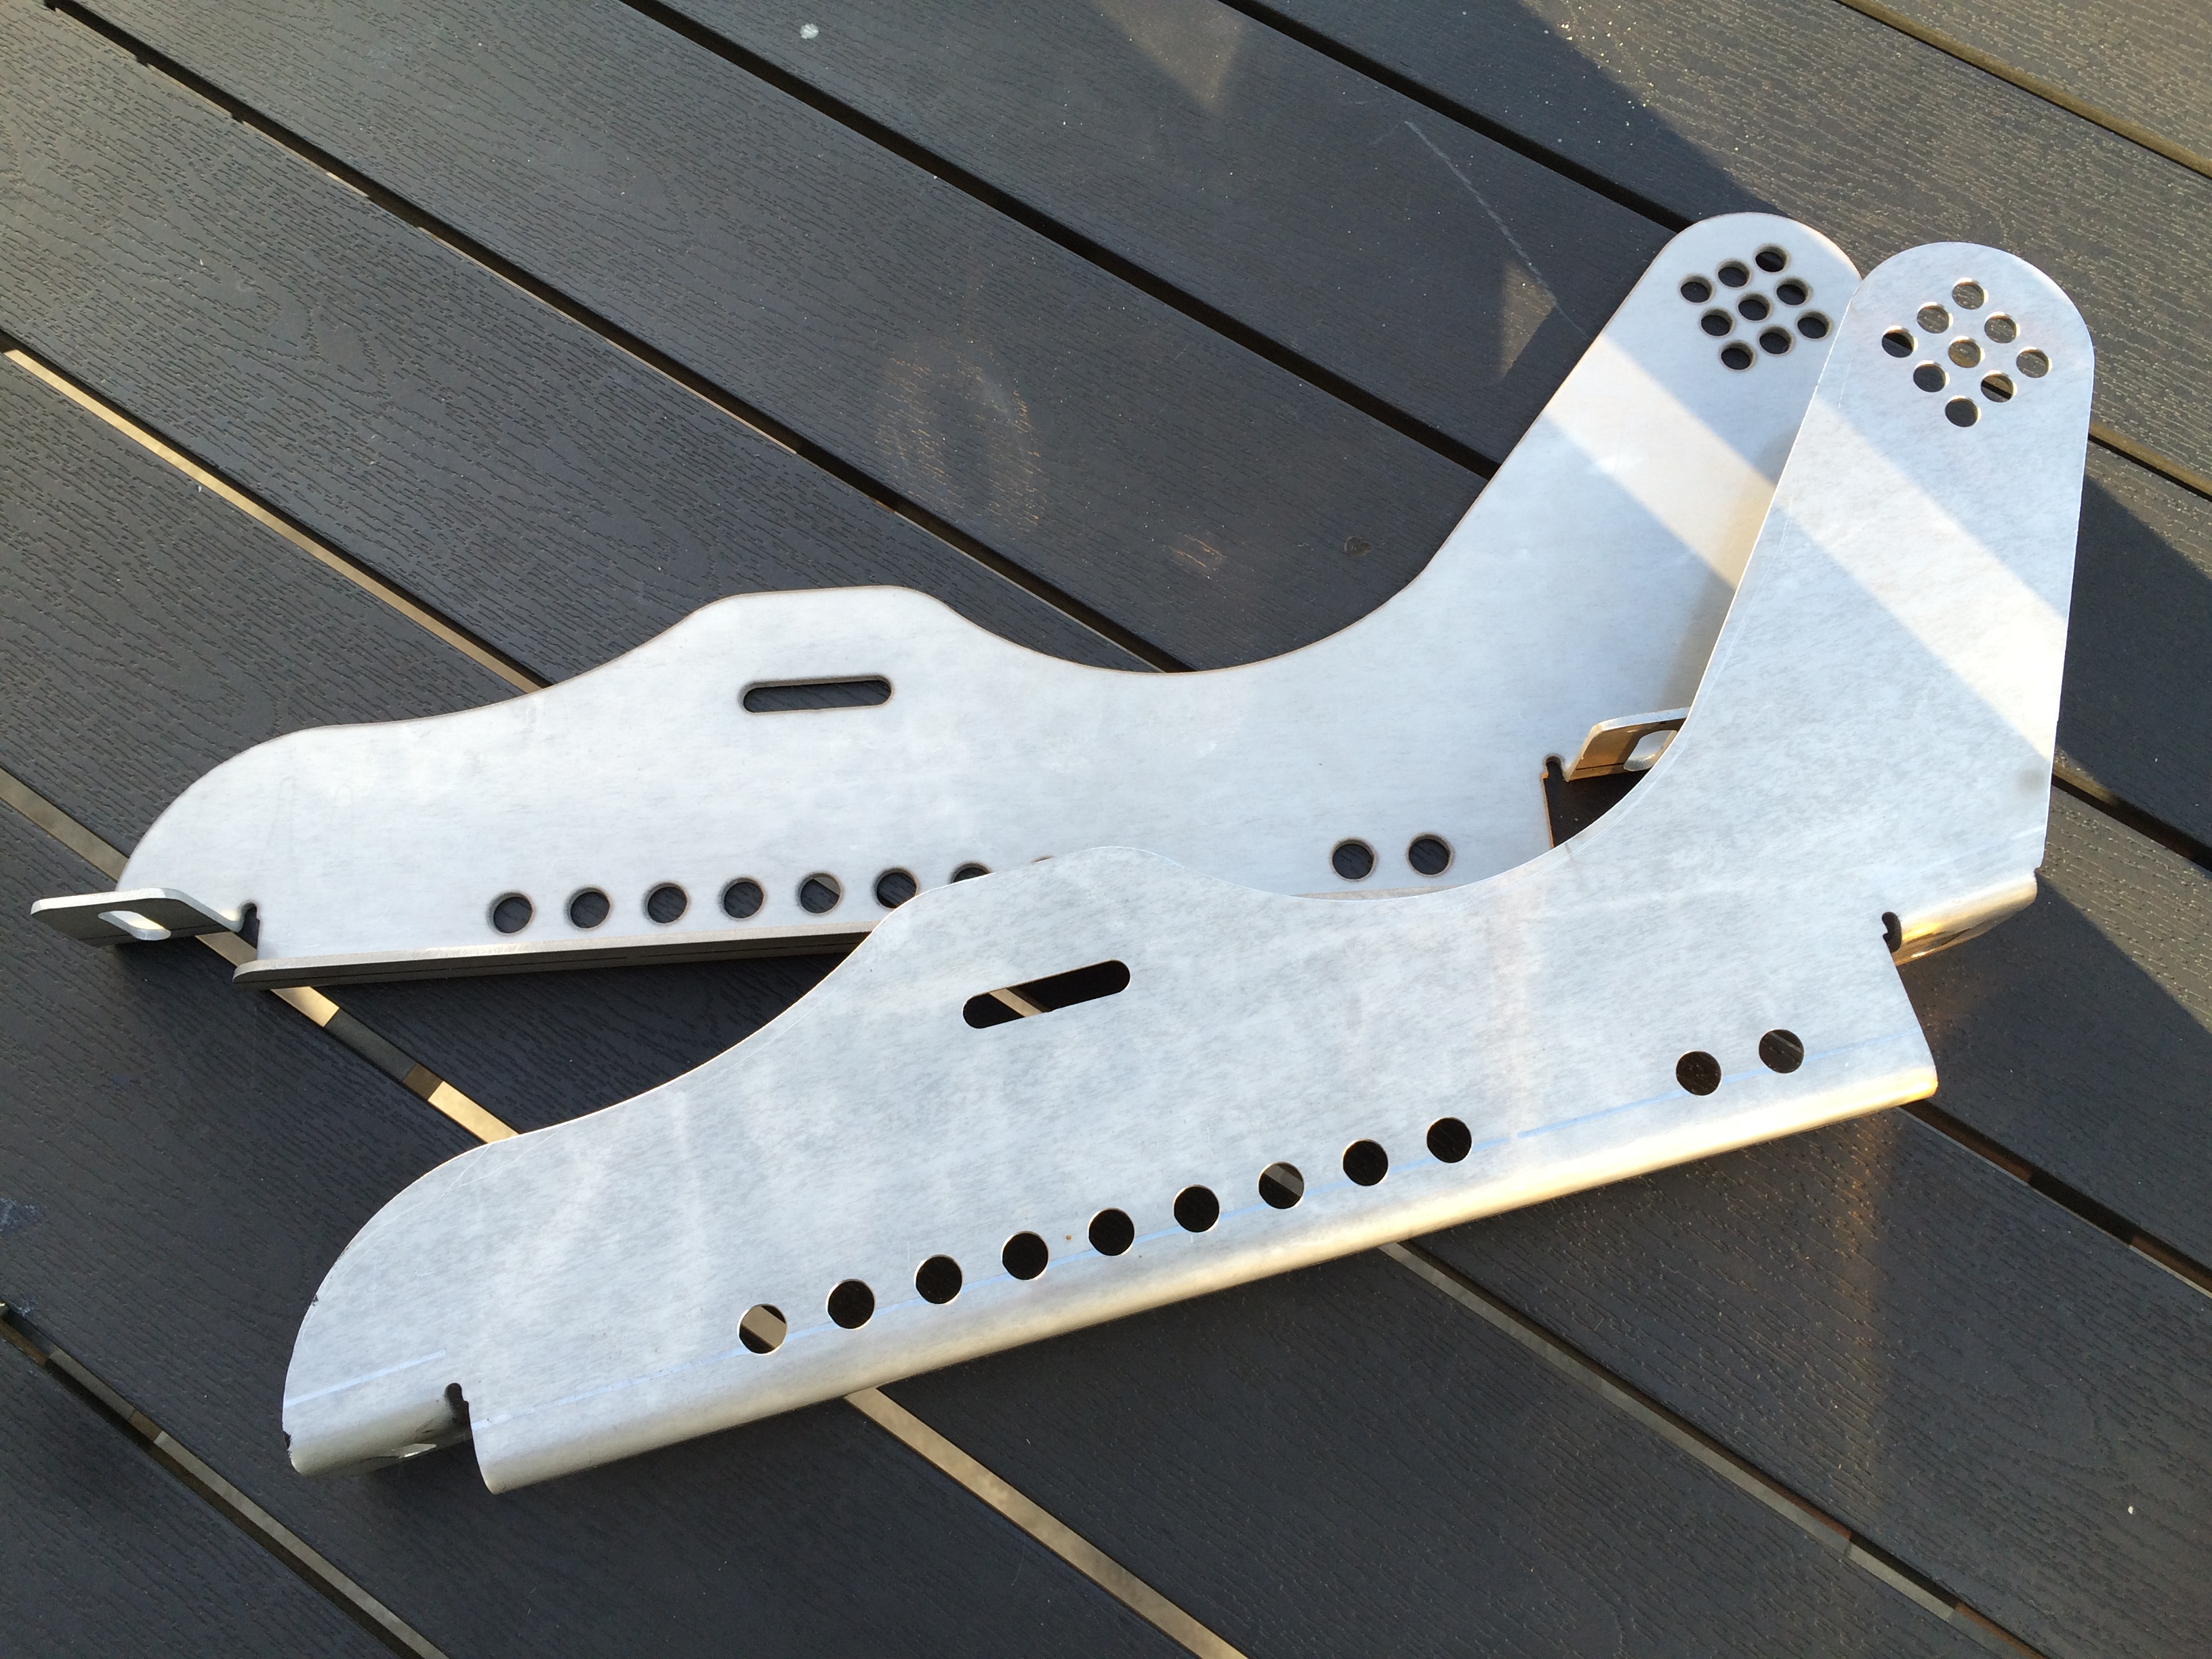
off to the waterjet today...

Posted Image

had a small false-start with the mounts due to a unit scaling error, lucky we caught it at proof stage before wasting machine time. And they arrived today with the DHL man :)

Posted Image

#470 Bargi

Bargi

    Scary Internerd

  • PipPipPipPipPipPip
  • 4,483 posts
  • Gender:Male
  • Location:London

Posted 24 August 2016 - 07:43 PM

Someone stole the rest of your ice skates....

#471 Doctor Ed

Doctor Ed

    Need to get Out More

  • PipPipPipPip
  • 1,188 posts
  • Location:Germany

Posted 25 August 2016 - 08:03 PM

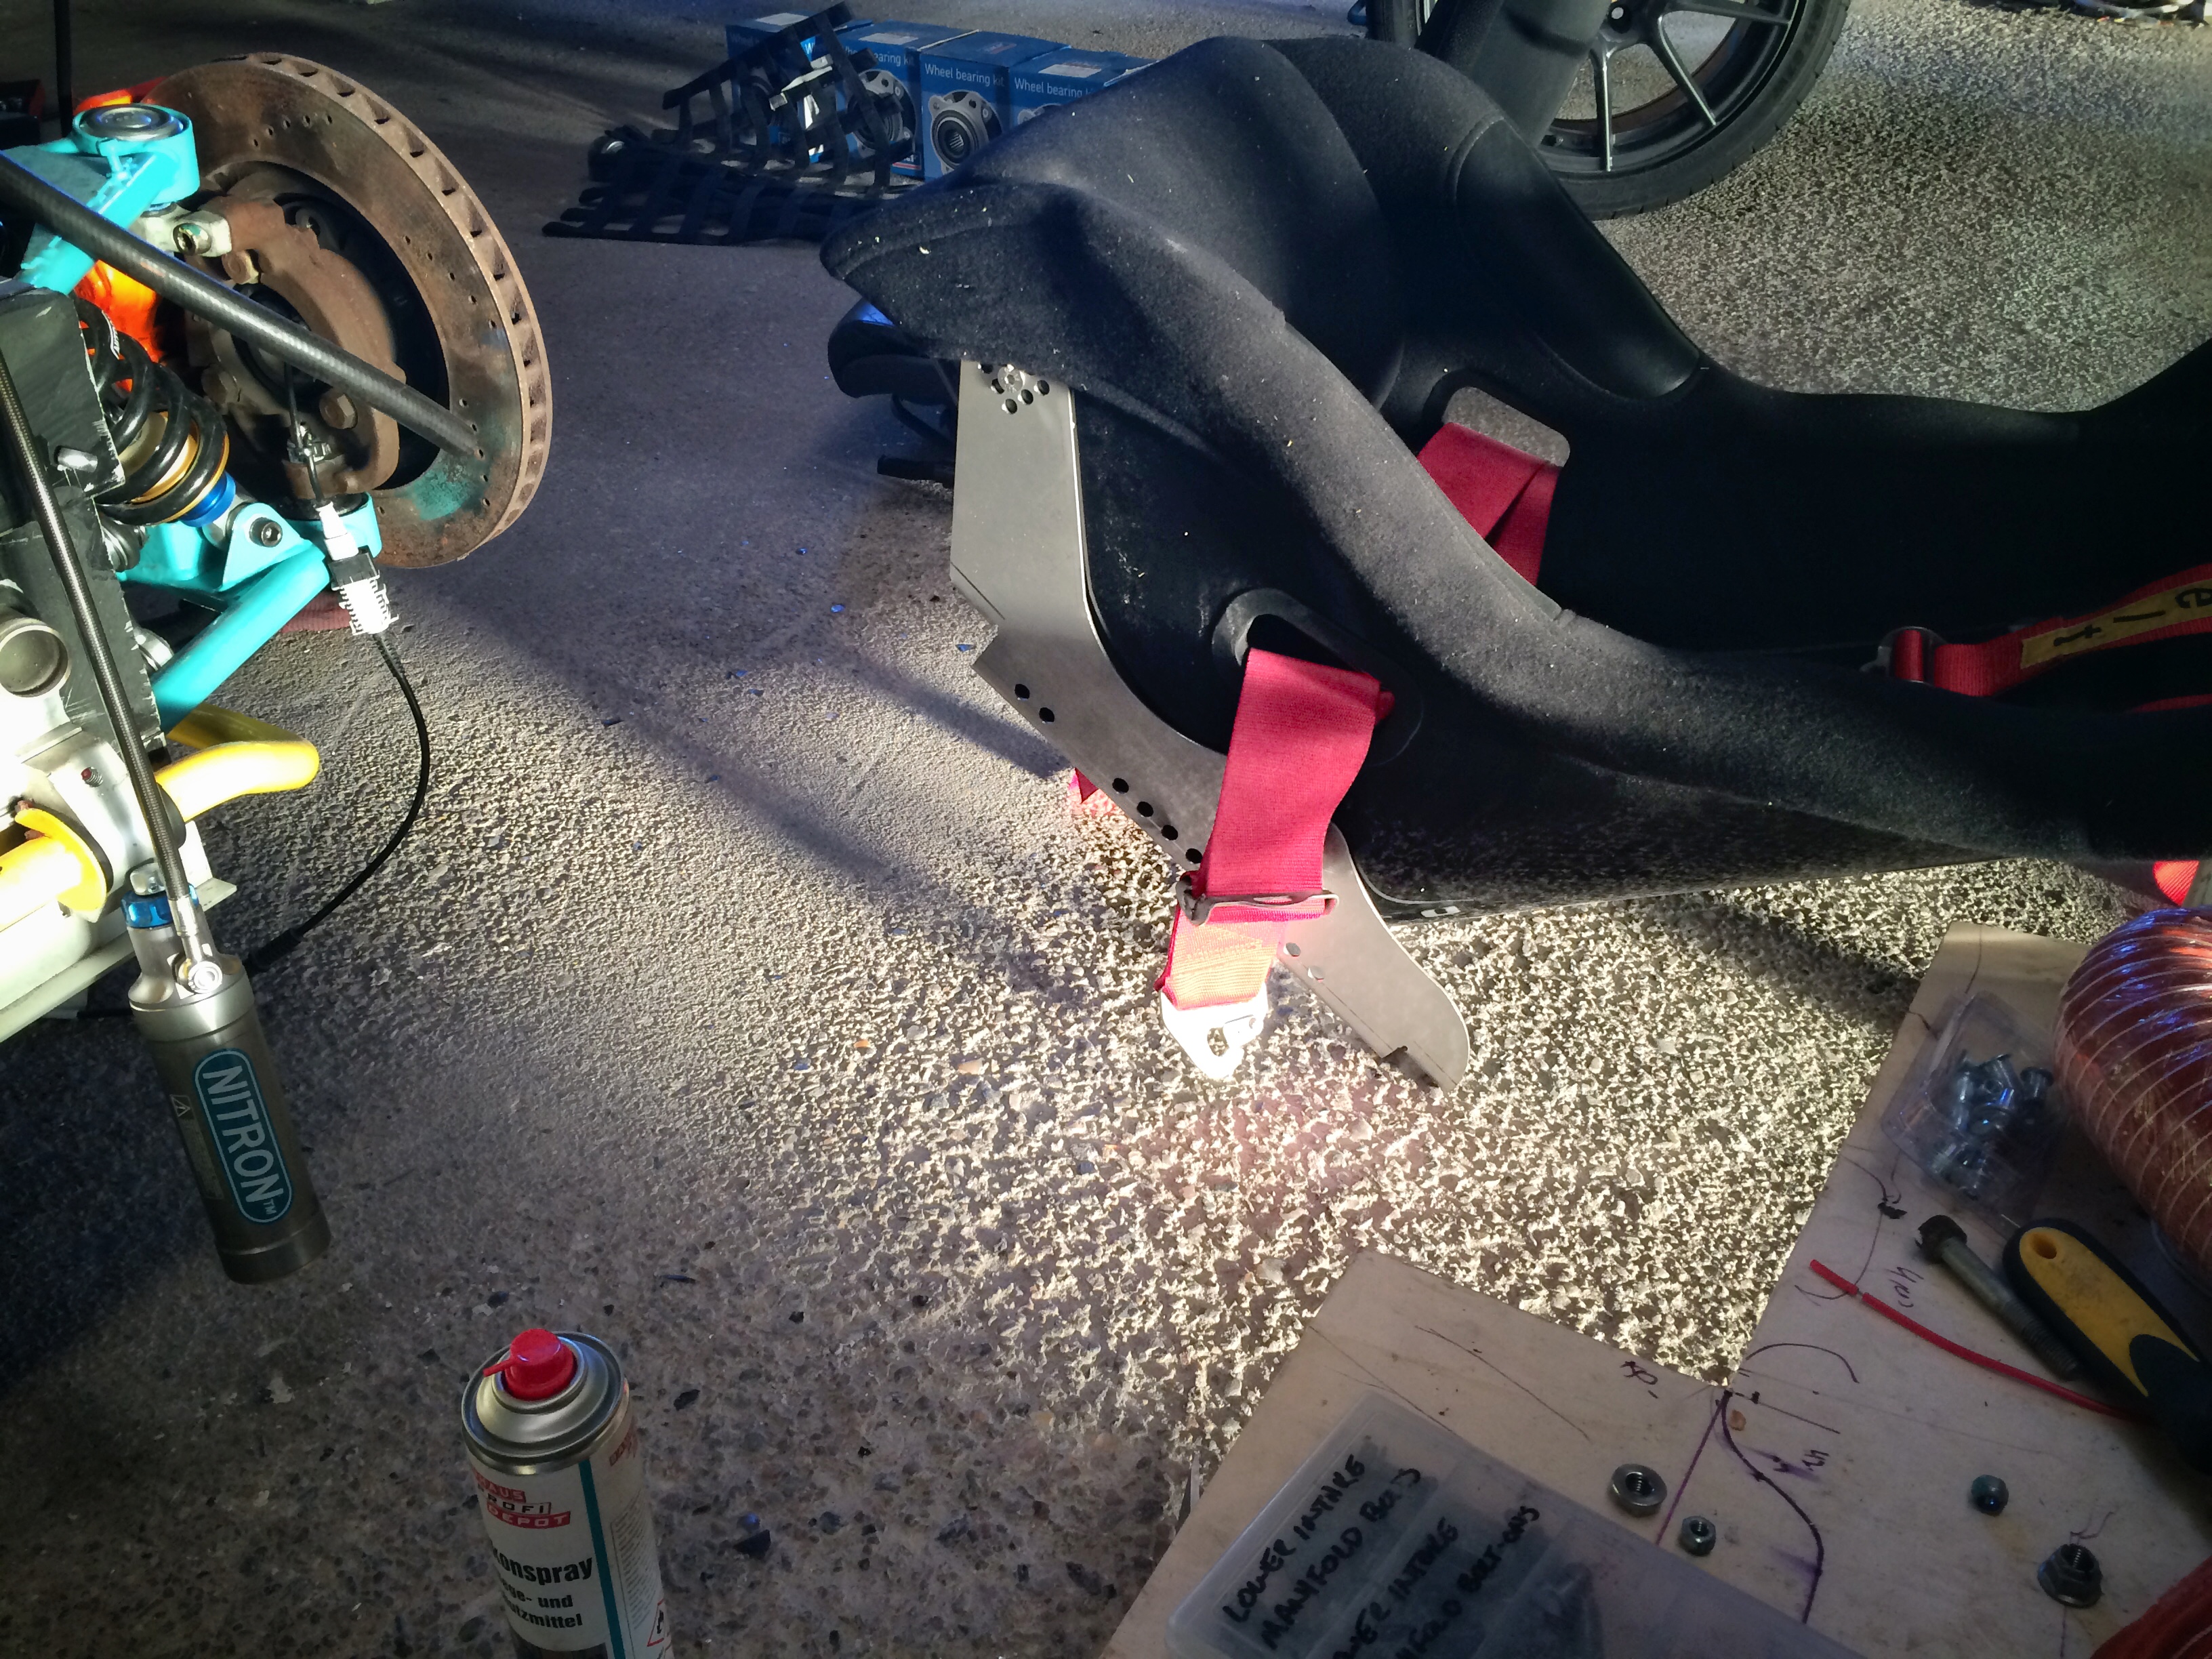
fits like a glove :)
 
bum sits about 2mm from the floor, headrest about 2mm from the rear glass. have adjusted it for the best compromise of helmet vs leg clearance possible. 
 
its the goldilocks combination :)
 
Posted Image
 
Posted Image
 
Posted Image
 
Posted Image


#472 stu8v

stu8v

    Super Duper Member

  • PipPipPip
  • 745 posts
  • Location:Grimsby

Posted 26 August 2016 - 08:44 AM

Nice job.

#473 Mopeytitan

Mopeytitan

    Billy No Mates

  • PipPipPipPipPip
  • 1,908 posts
  • Gender:Male
  • Location:Yeovil, Somerset
  • Interests:Cars, Motorbikes, well anything mechanical.
    My dogs (love my dogs).
    F1.

Posted 28 August 2016 - 10:25 PM

Sorry if I missed it but what seats have you gone for? Are they still standard?...

#474 Doctor Ed

Doctor Ed

    Need to get Out More

  • PipPipPipPip
  • 1,188 posts
  • Location:Germany

Posted 29 August 2016 - 07:46 PM

Sorry if I missed it but what seats have you gone for? Are they still standard?...

Drivers side is a Mirco. Passenger side is standard. Center console is shifted over a set of holes, making the drivers side around 20-30mm bigger (and the passenger side consequently smaller). Makes the driver ergonomics for a bloke my size much nicer :)

#475 Doctor Ed

Doctor Ed

    Need to get Out More

  • PipPipPipPip
  • 1,188 posts
  • Location:Germany

Posted 29 August 2016 - 07:46 PM

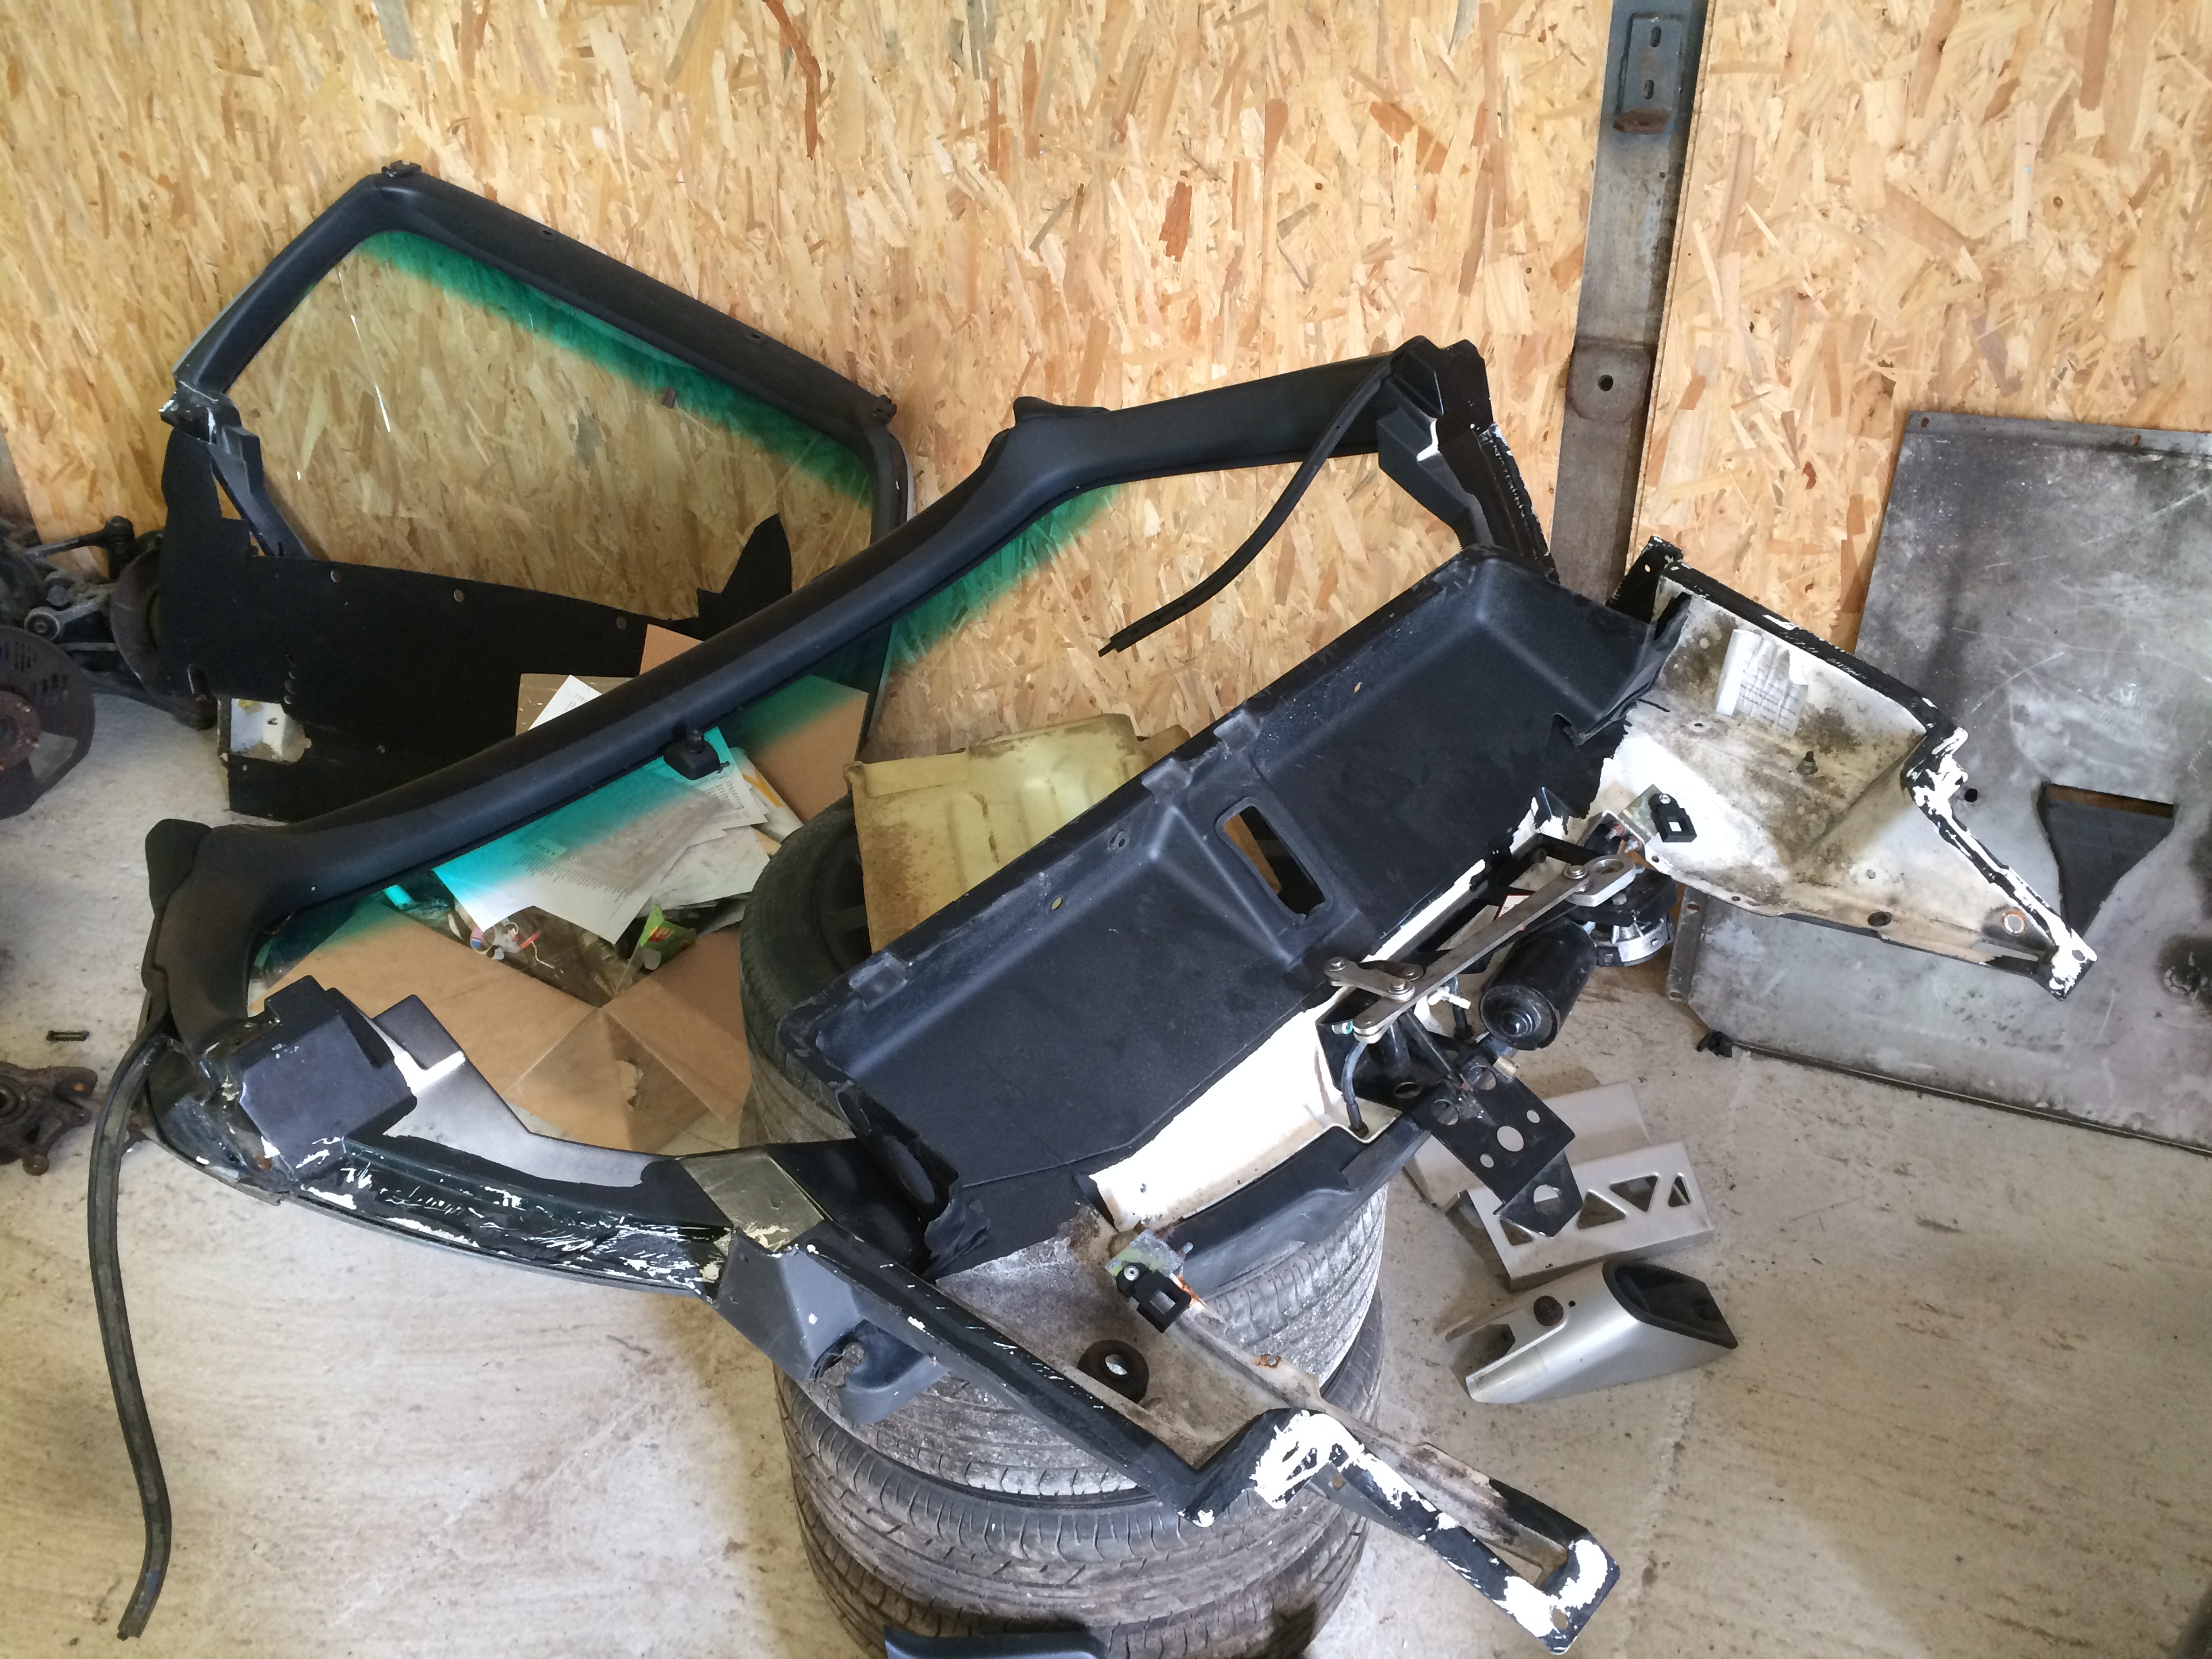
Doesn't look like much, but big milestone today... Made up a big wooden framework to jig up the windscreen surround whilst still installed on the donor, and then whipped out the (new) breadknife in anger... surround and glass are now a separated single piece waiting for reassembly (with the aforementioned jig) into mine!

Basically means the front of my car is finished to a stage where where I can wrap it up and call it done :)

I dummy fit it just to see what was going to foul, and what other problems were likely going to get thrown up, and spent the rest of the day sorting them out. (I only have about 30min tack time on the PU to play with, so need to get it right).

Seriously good to see my chassis have a windscreen again :)

Posted Image

Posted Image

One interesting things I noted... On my chassis the windscreen was a complete fcuker to get off. The existing PU was thickly laid on, and dense as buggery. I busted breadknife #1 getting that bastard off. This one in comparison came off piece of cake. PU was thin, small beads, even absent in some sections. A welcome surprise, but seriously big differences in build method.

#476 Mopeytitan

Mopeytitan

    Billy No Mates

  • PipPipPipPipPip
  • 1,908 posts
  • Gender:Male
  • Location:Yeovil, Somerset
  • Interests:Cars, Motorbikes, well anything mechanical.
    My dogs (love my dogs).
    F1.

Posted 01 September 2016 - 03:38 PM

That's not very comforting :lol: the windscreen acts as part of the roll over system doesn't it?

#477 Arno

Arno

    Need to get Out More

  • PipPipPipPip
  • 1,237 posts
  • Gender:Male
  • Location:Netherlands

Posted 01 September 2016 - 04:40 PM

That's not very comforting :lol: the windscreen acts as part of the roll over system doesn't it?


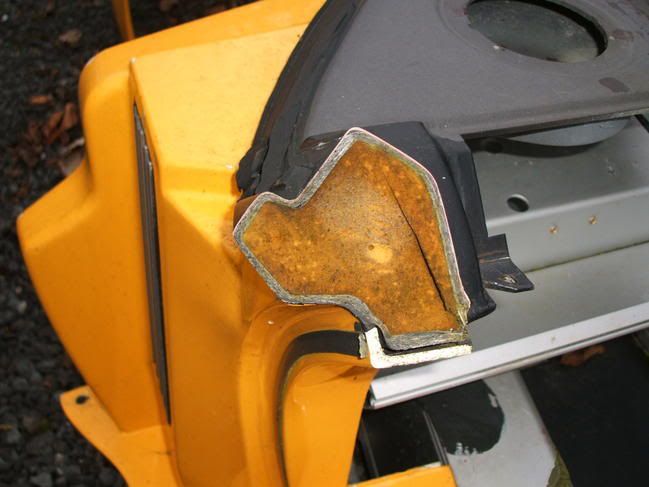
Nope.. It's just a foam-filled bit of GRP when all is said and done.


Provides pretty much no rigidity or roll-over protection. That job is for the roll-over bar behind the seats.


Bye, Arno.


#478 Doctor Ed

Doctor Ed

    Need to get Out More

  • PipPipPipPip
  • 1,188 posts
  • Location:Germany

Posted 01 September 2016 - 07:36 PM

^^^^ this

The windscreen will fold faster than a hooker given a hand full of 50s

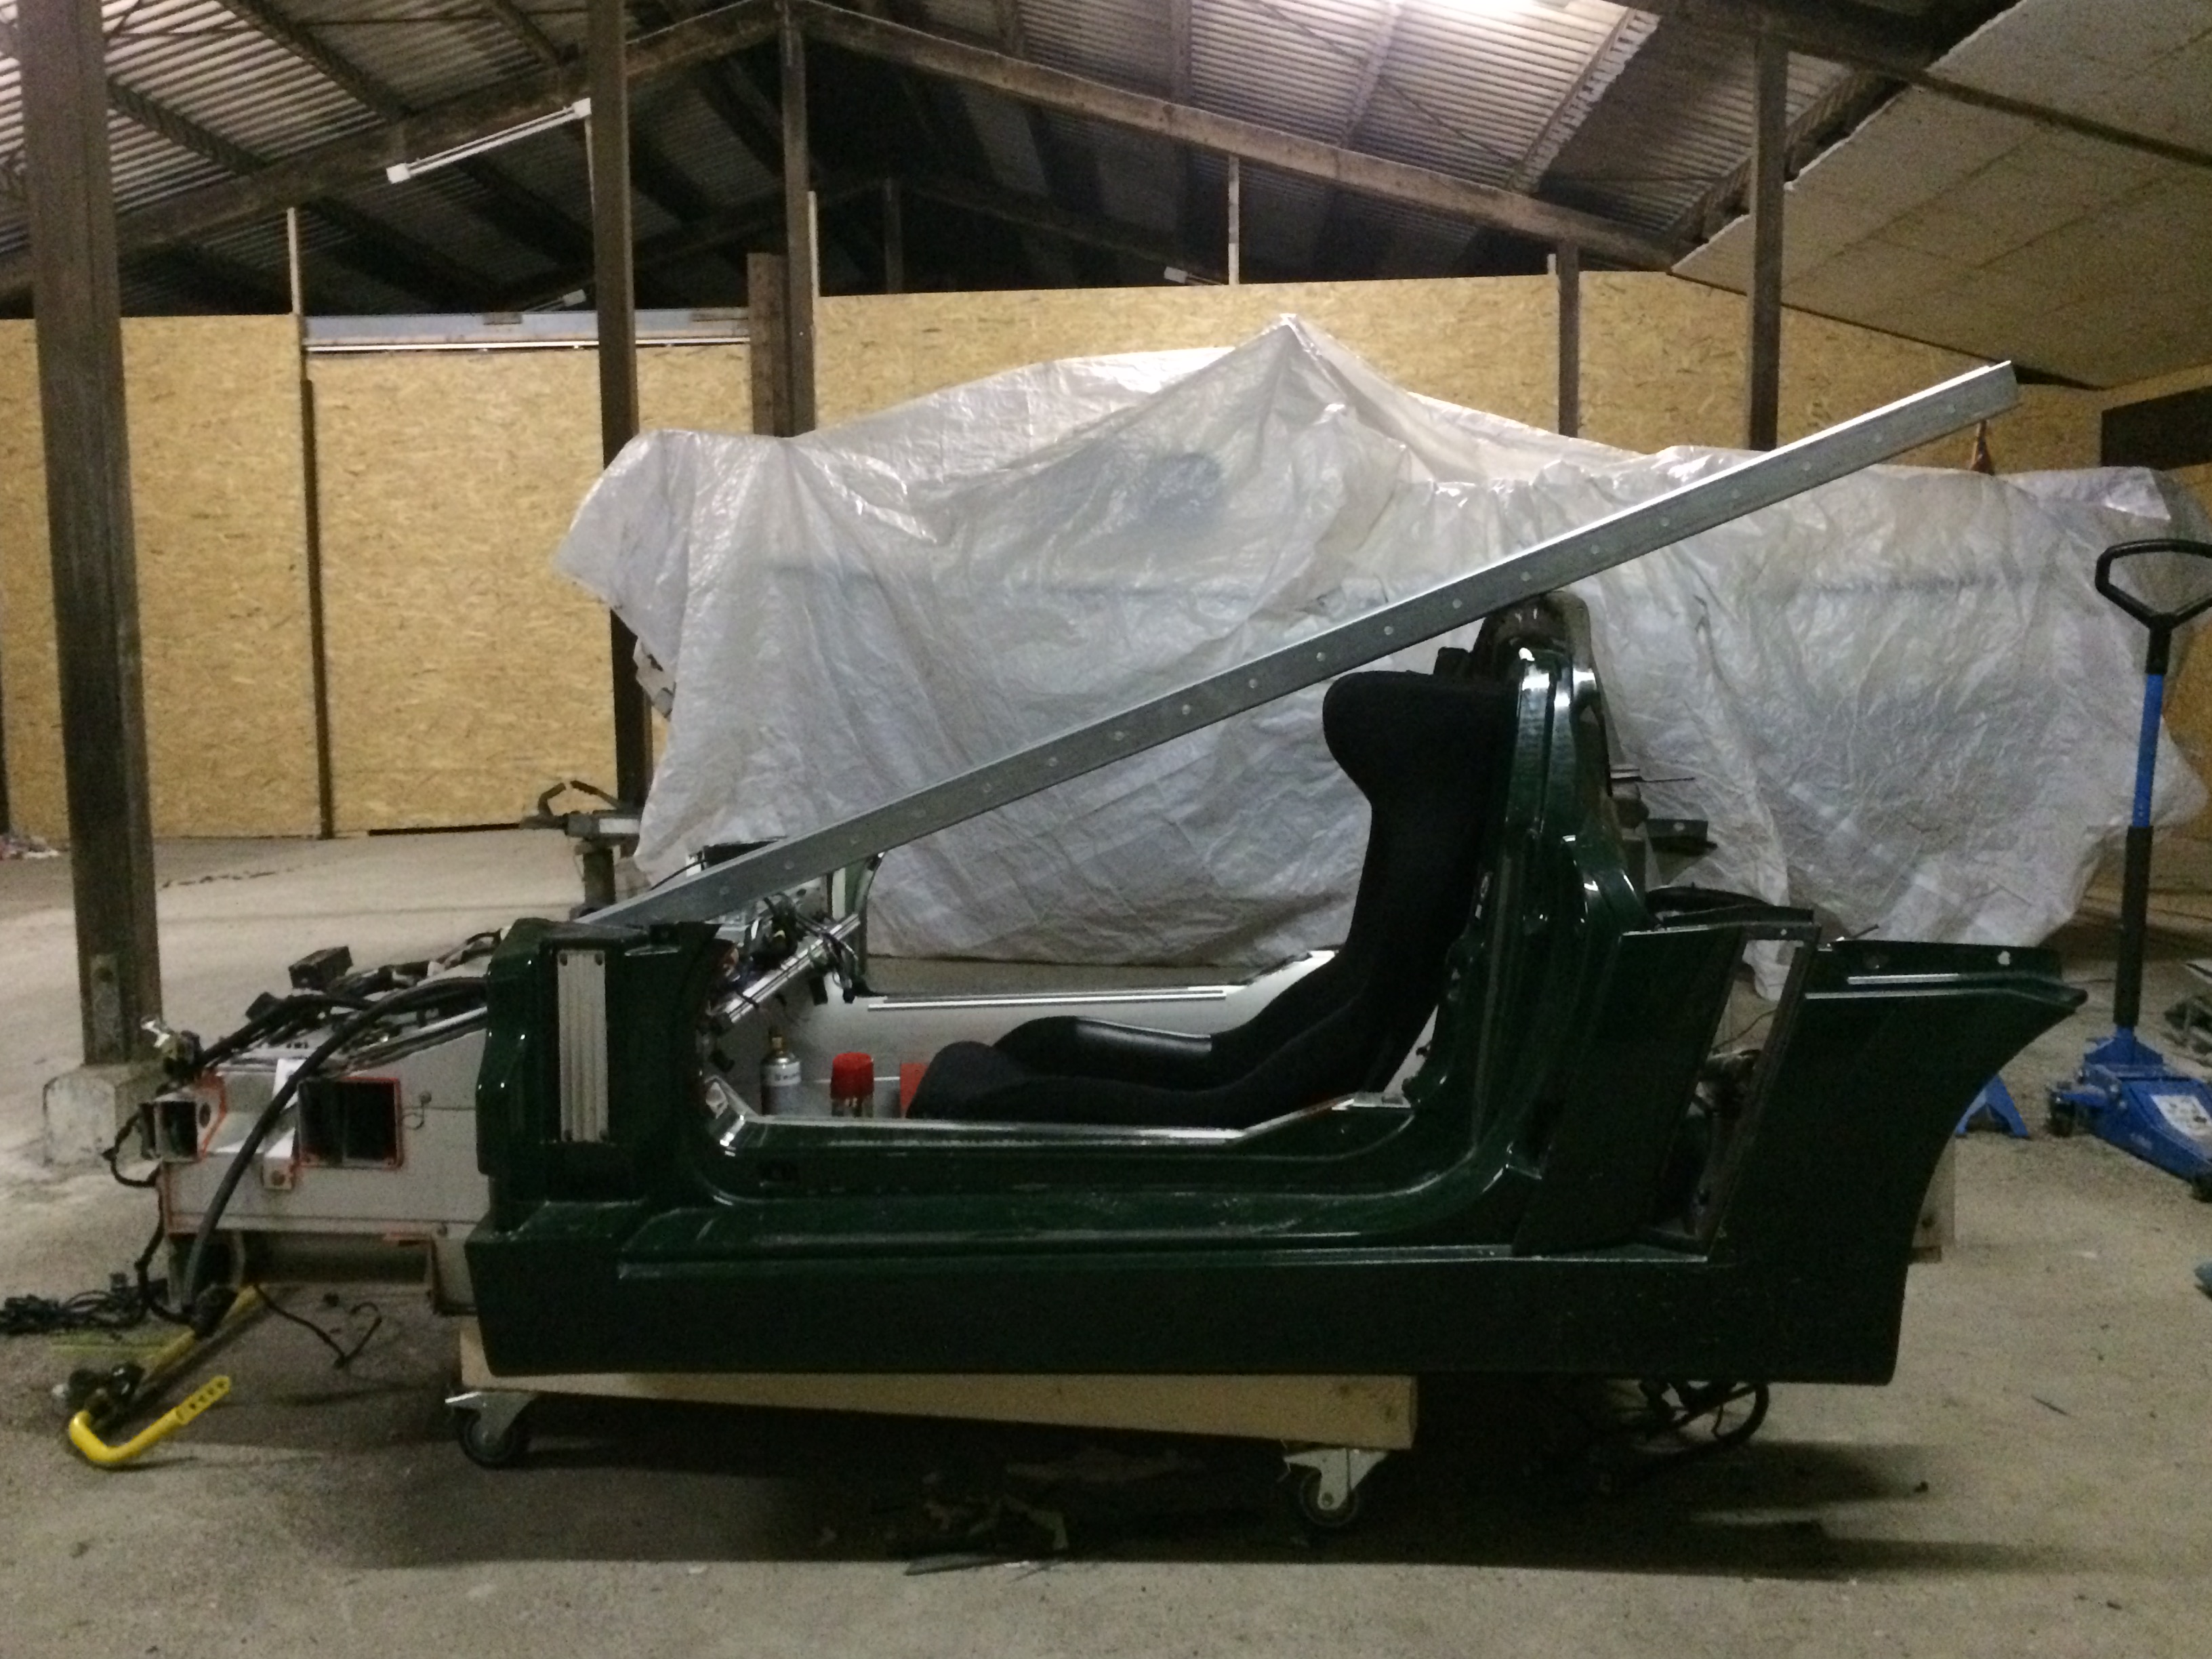
Best to consider the roll-over protection as if it's not there. Look at the forward most solid metal element. One of my backburner projects is a small front roll-over hoop mounted to the chassis rails immediately behind the crashbox flange. Considerably improves the safety aperture.

Posted Image

Posted Image

#479 Doctor Ed

Doctor Ed

    Need to get Out More

  • PipPipPipPip
  • 1,188 posts
  • Location:Germany

Posted 01 September 2016 - 07:44 PM

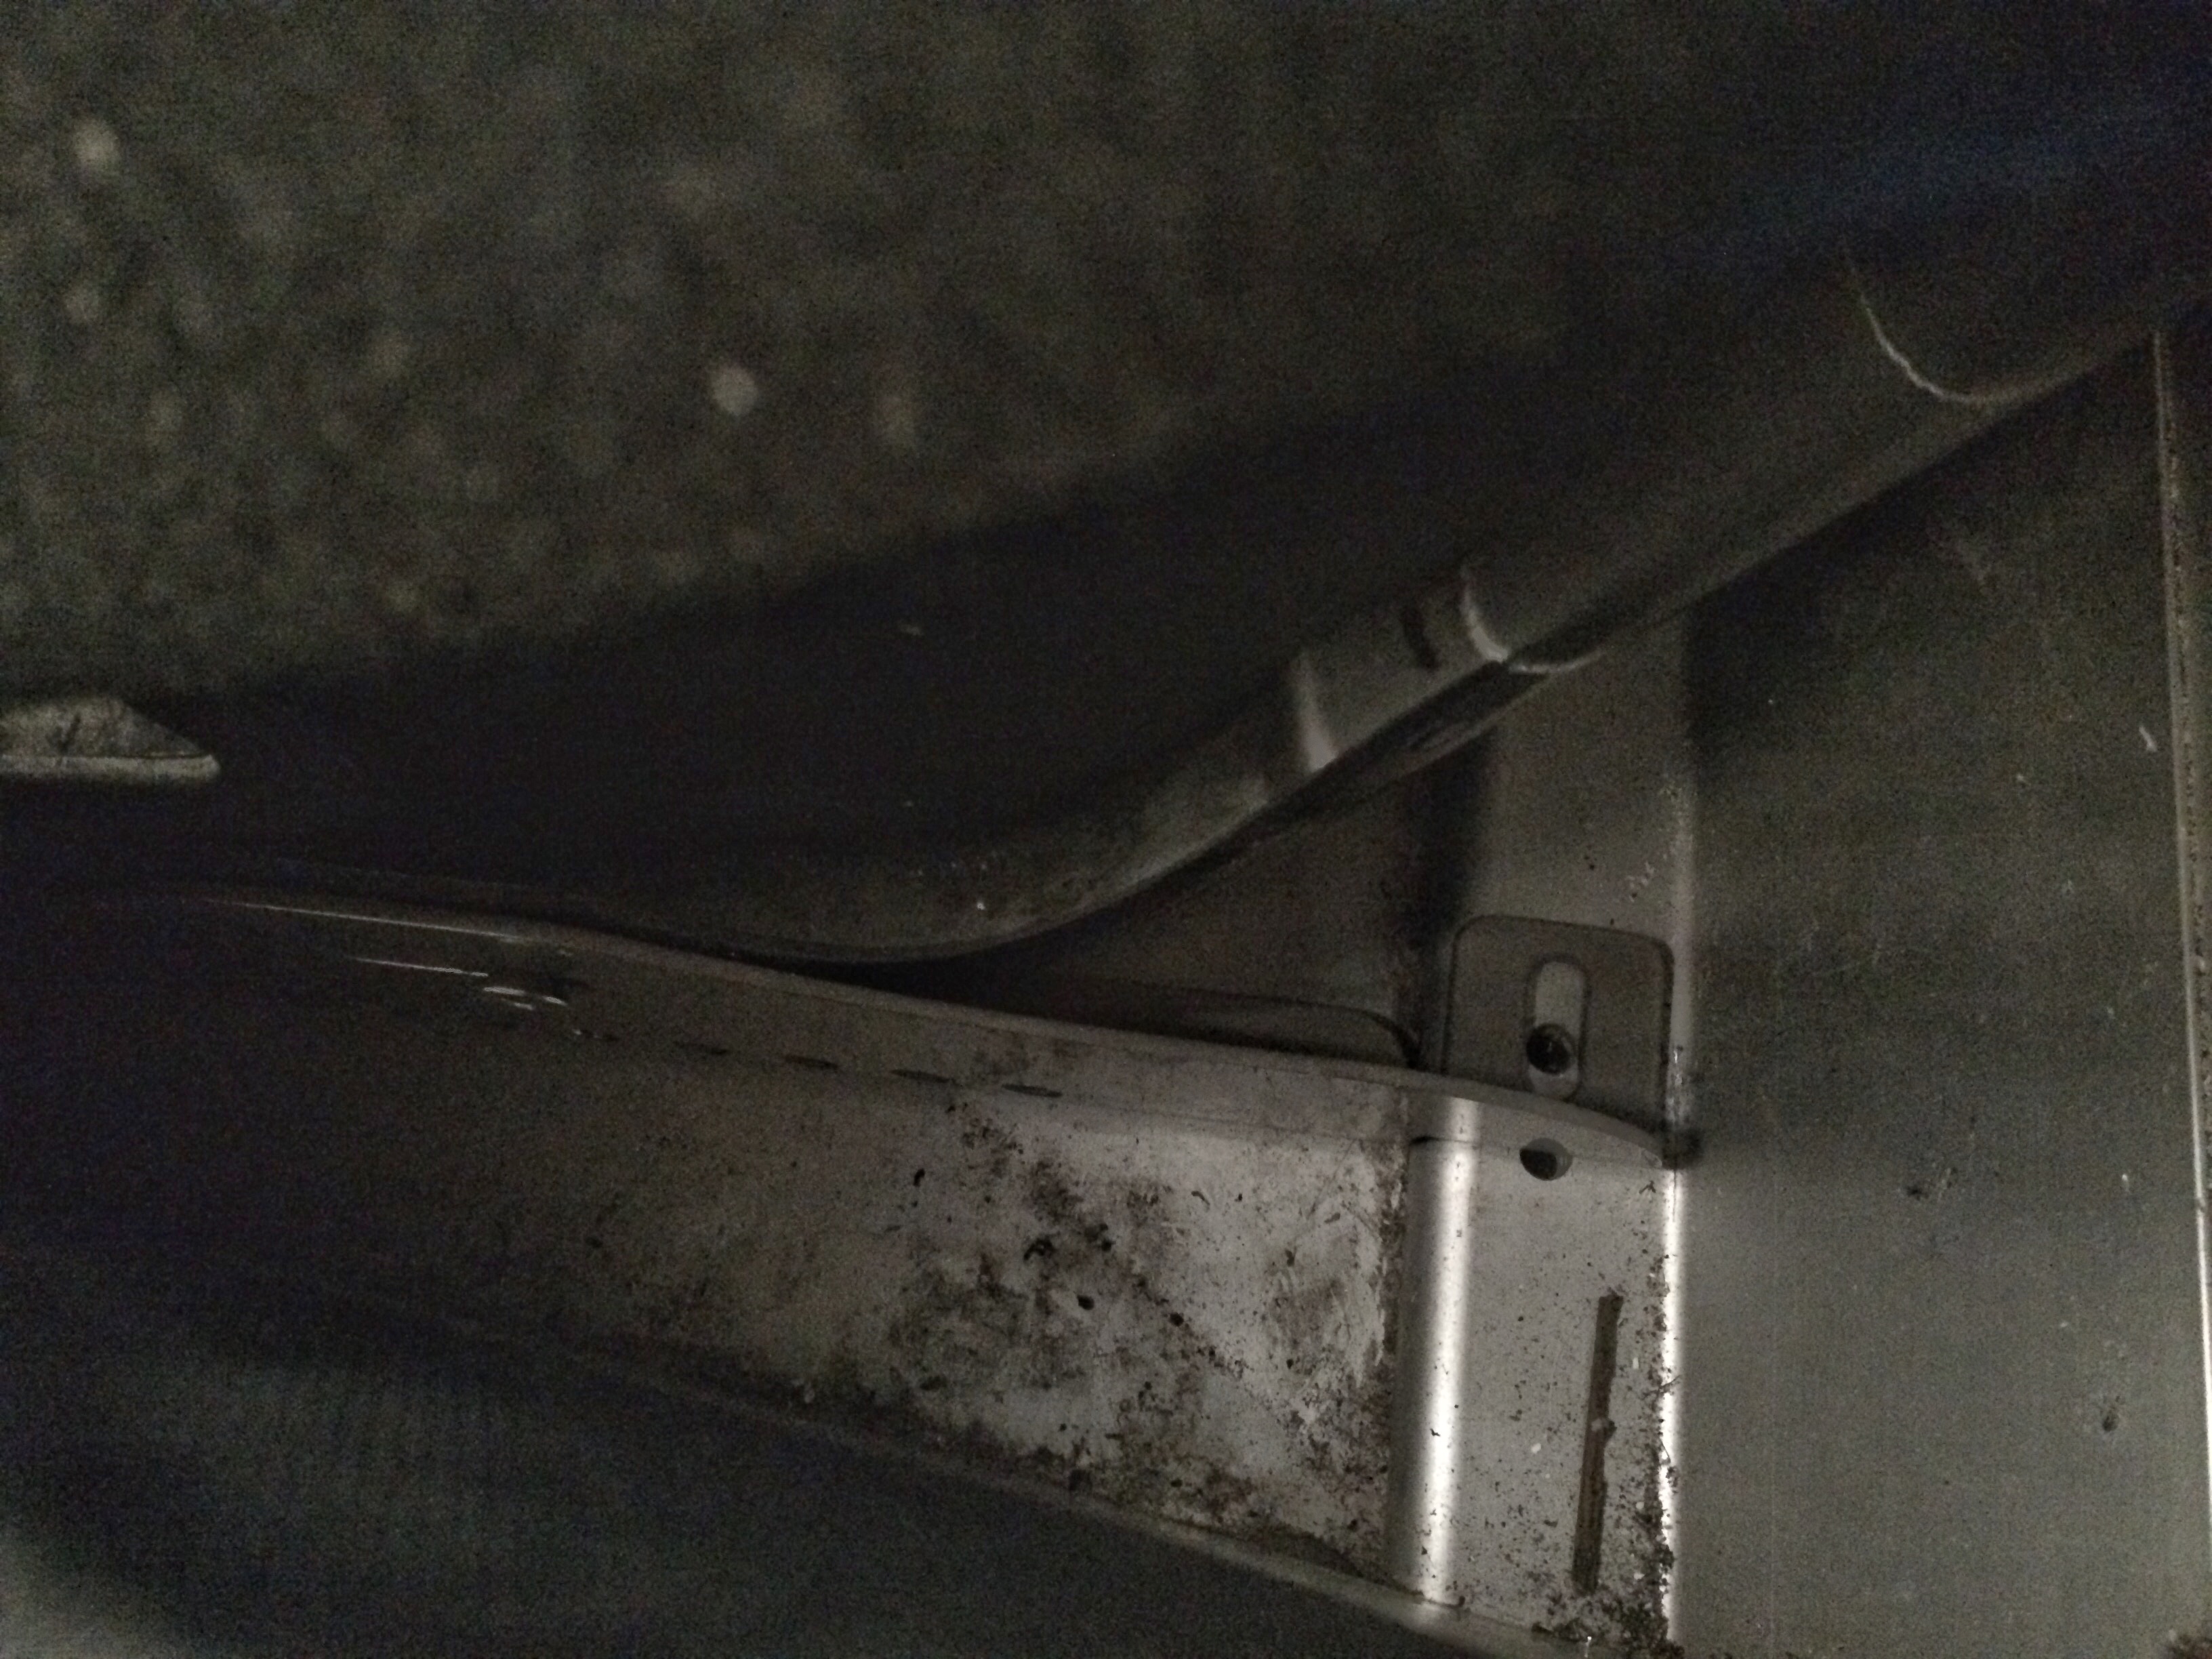
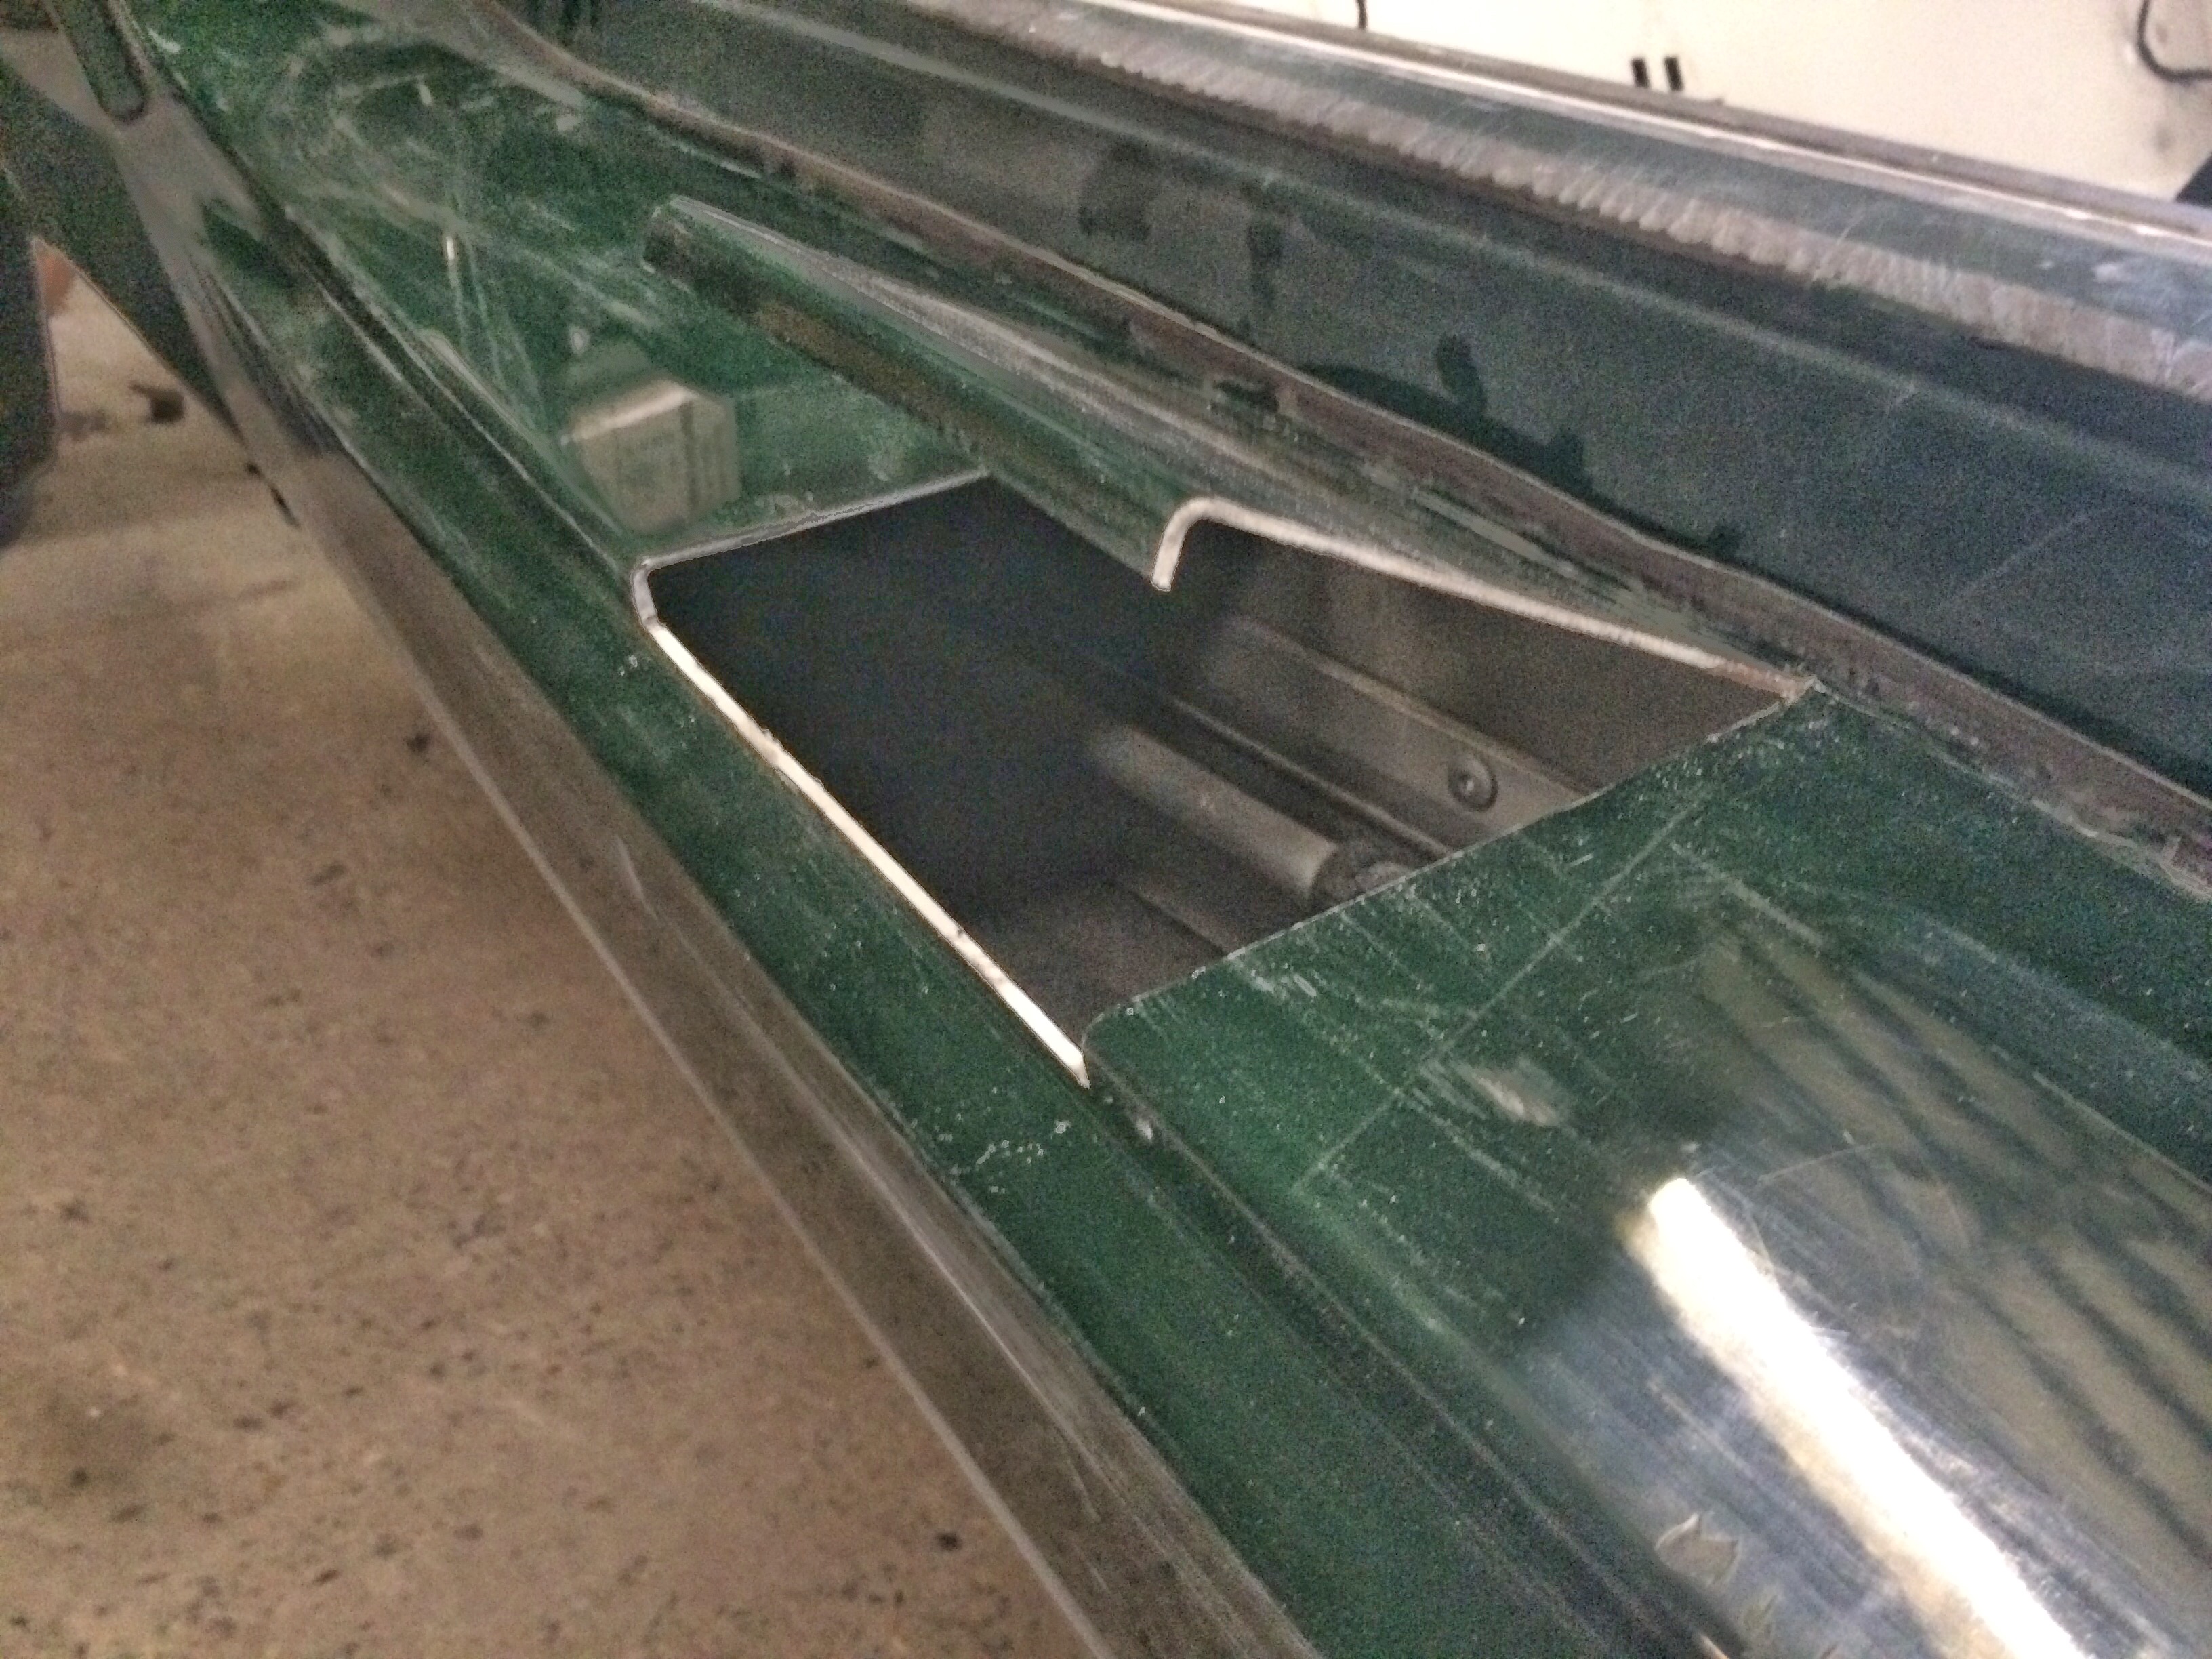
And in other news, discovered my right rear brake hardline was damaged. Fortunately I had a good spare in the donor car, but obviously had a bit of work to 1) get the donor part out, and the 2) get it reinstalled in mine. Had to cut a small window flap in the right sill to get decent access, but on the upside, I can run the IC cooler piping along the same route, and now it'll be easier than the keyhole surgery I had planned.

Posted Image

Posted Image

#480 smiley

smiley

    Thetan level 15

  • PipPipPipPipPipPipPip
  • 10,427 posts
  • Gender:Male
  • Location:Netherlands

Posted 01 September 2016 - 07:46 PM


That's not very comforting :lol: the windscreen acts as part of the roll over system doesn't it?


Nope.. It's just a foam-filled bit of GRP when all is said and done.


:yeahthat:
 

Posted Image


2 user(s) are reading this topic

0 members, 2 guests, 0 anonymous users