Have you concerns about the emissions side? I was under the impression the A20 engine would easily pass the Euro 3 classification of the existing chassis.. Or do they test (in Germany) based on the engine type / model itself?

Project Fracas - 6Sp A20Nft
#721

Posted 27 September 2017 - 09:41 AM
#722

Posted 27 September 2017 - 11:41 AM

#723

Posted 27 September 2017 - 11:44 AM
nah, it'll be tested to meet the requirements of the chassis, so the A20 will walk it in, but i do need a functioning cat. i dont think itll be an issues, its not that far wawy from the turbo outlet. just closer is betterHave you concerns about the emissions side? I was under the impression the A20 engine would easily pass the Euro 3 classification of the existing chassis.. Or do they test (in Germany) based on the engine type / model itself?
#724

Posted 28 September 2017 - 06:18 PM
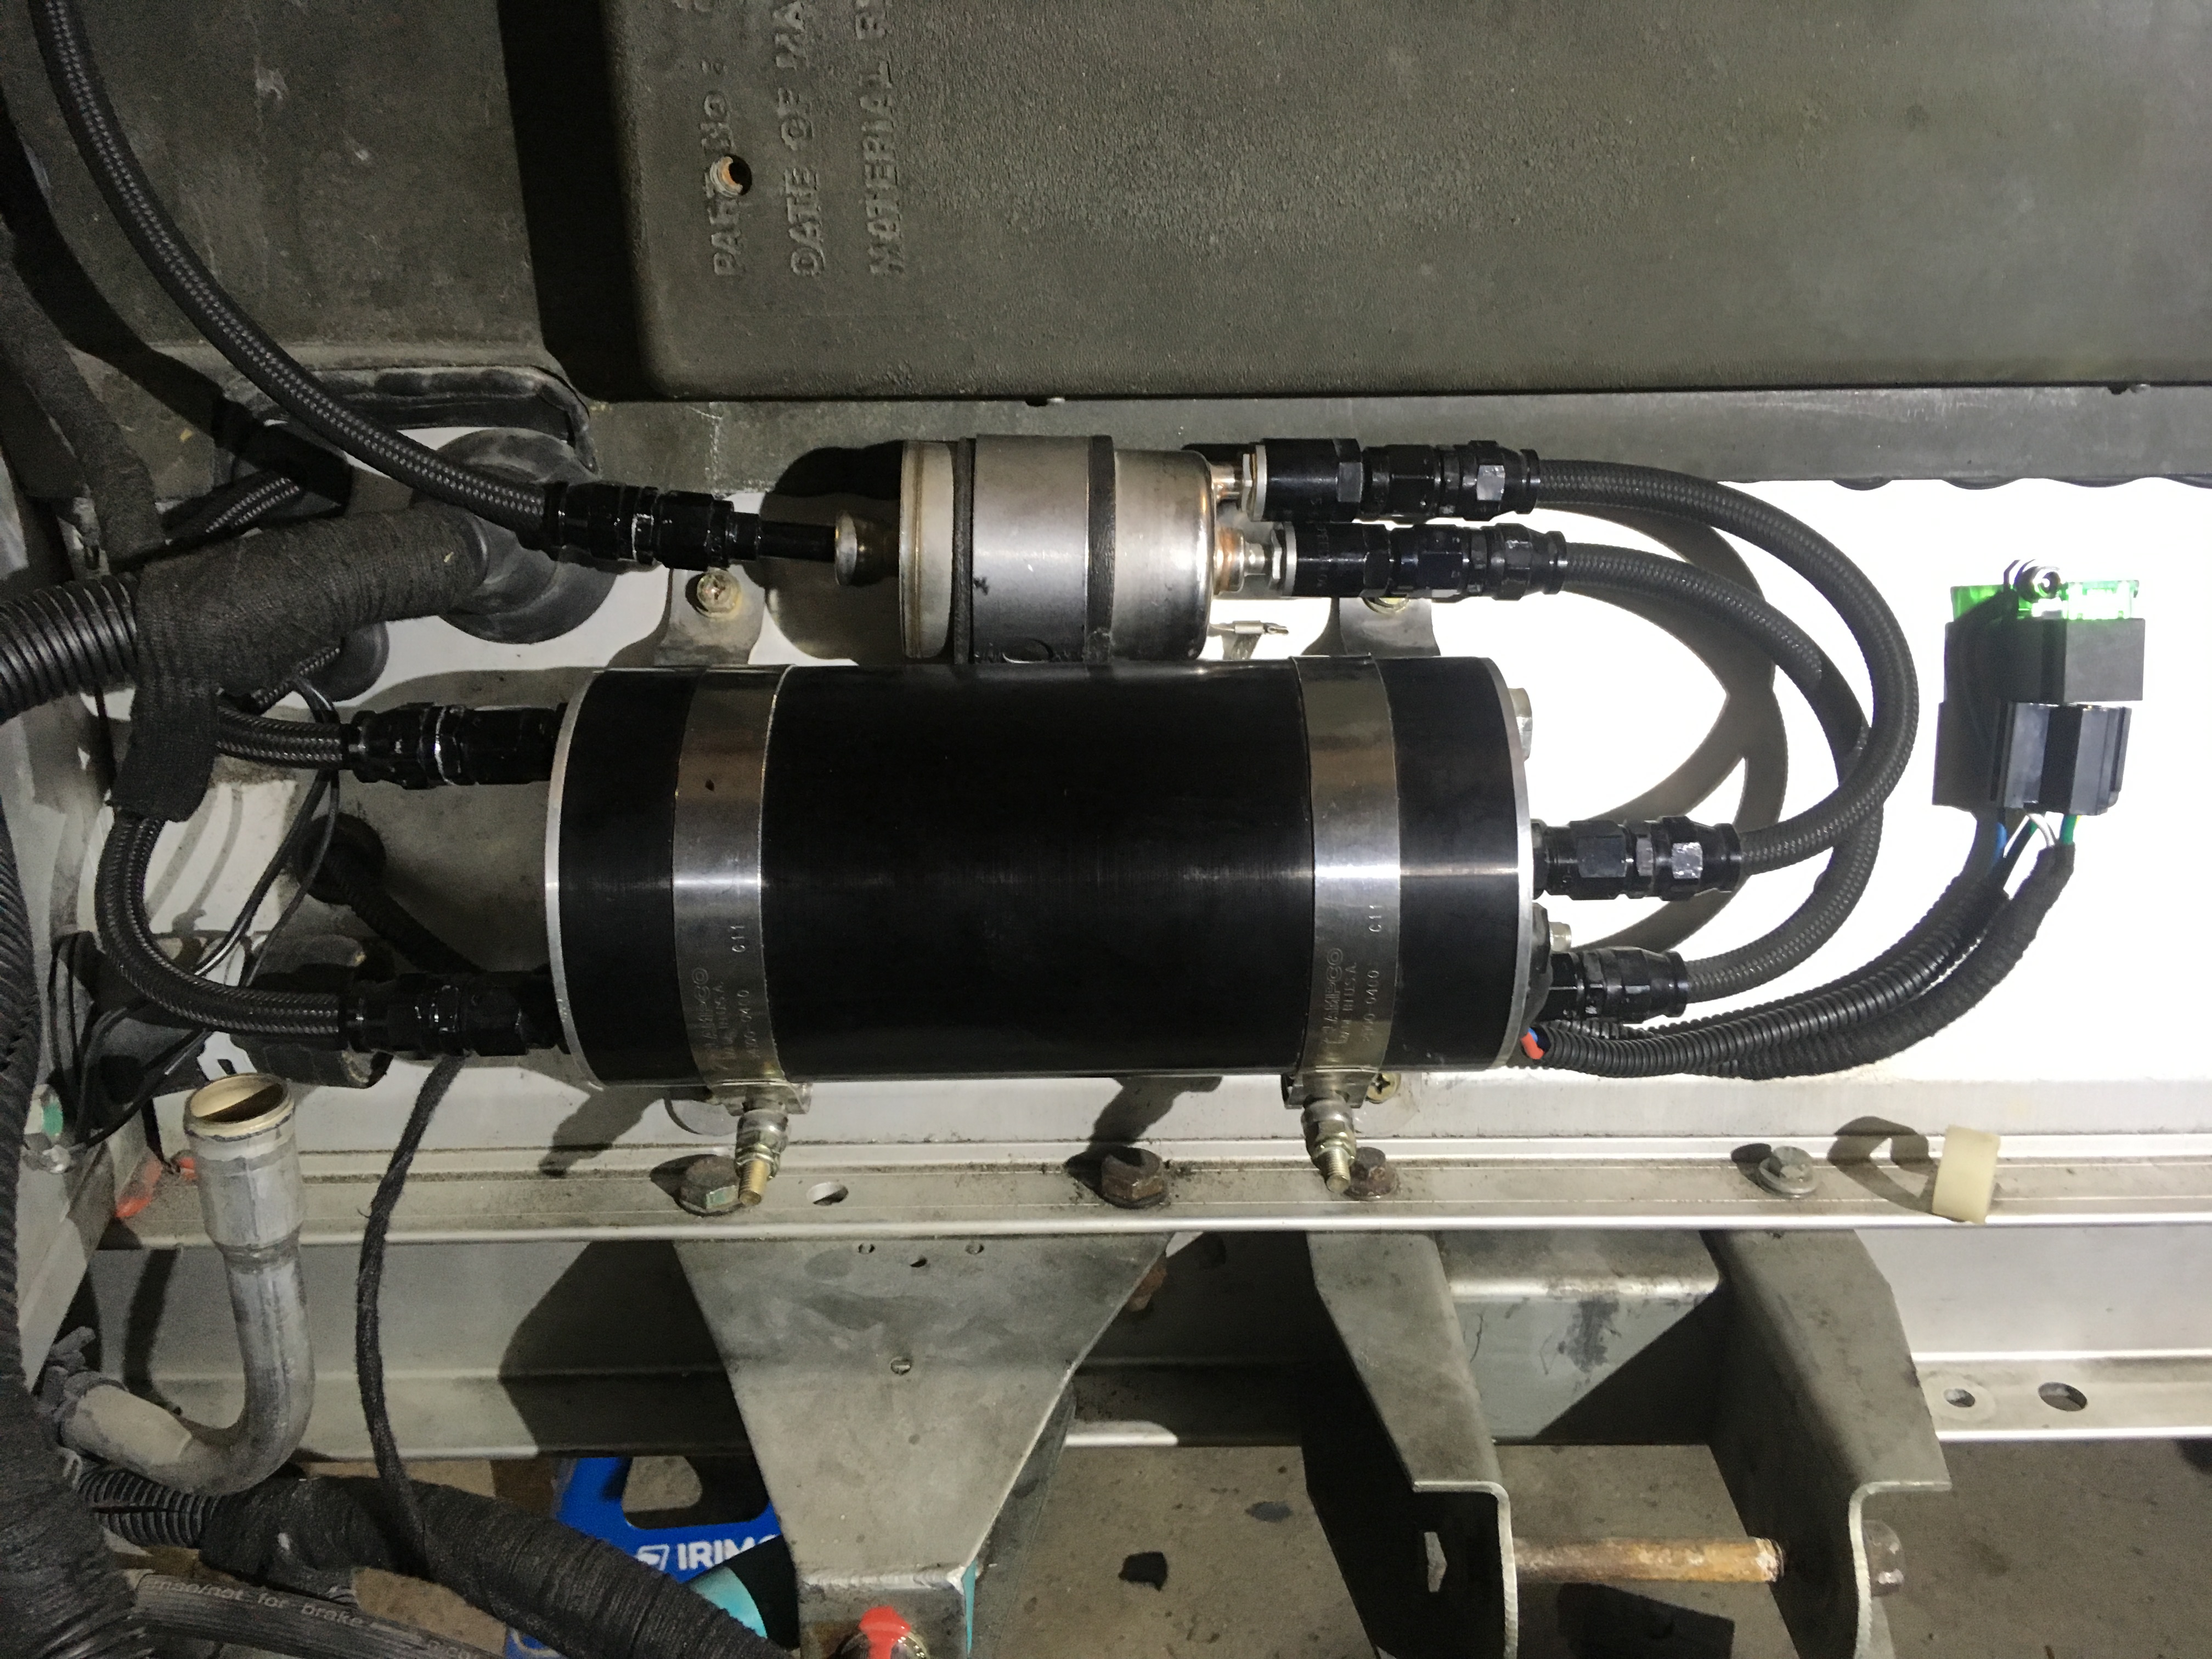
Edited by Doctor Ed, 28 September 2017 - 06:18 PM.
#725

Posted 04 October 2017 - 12:33 AM
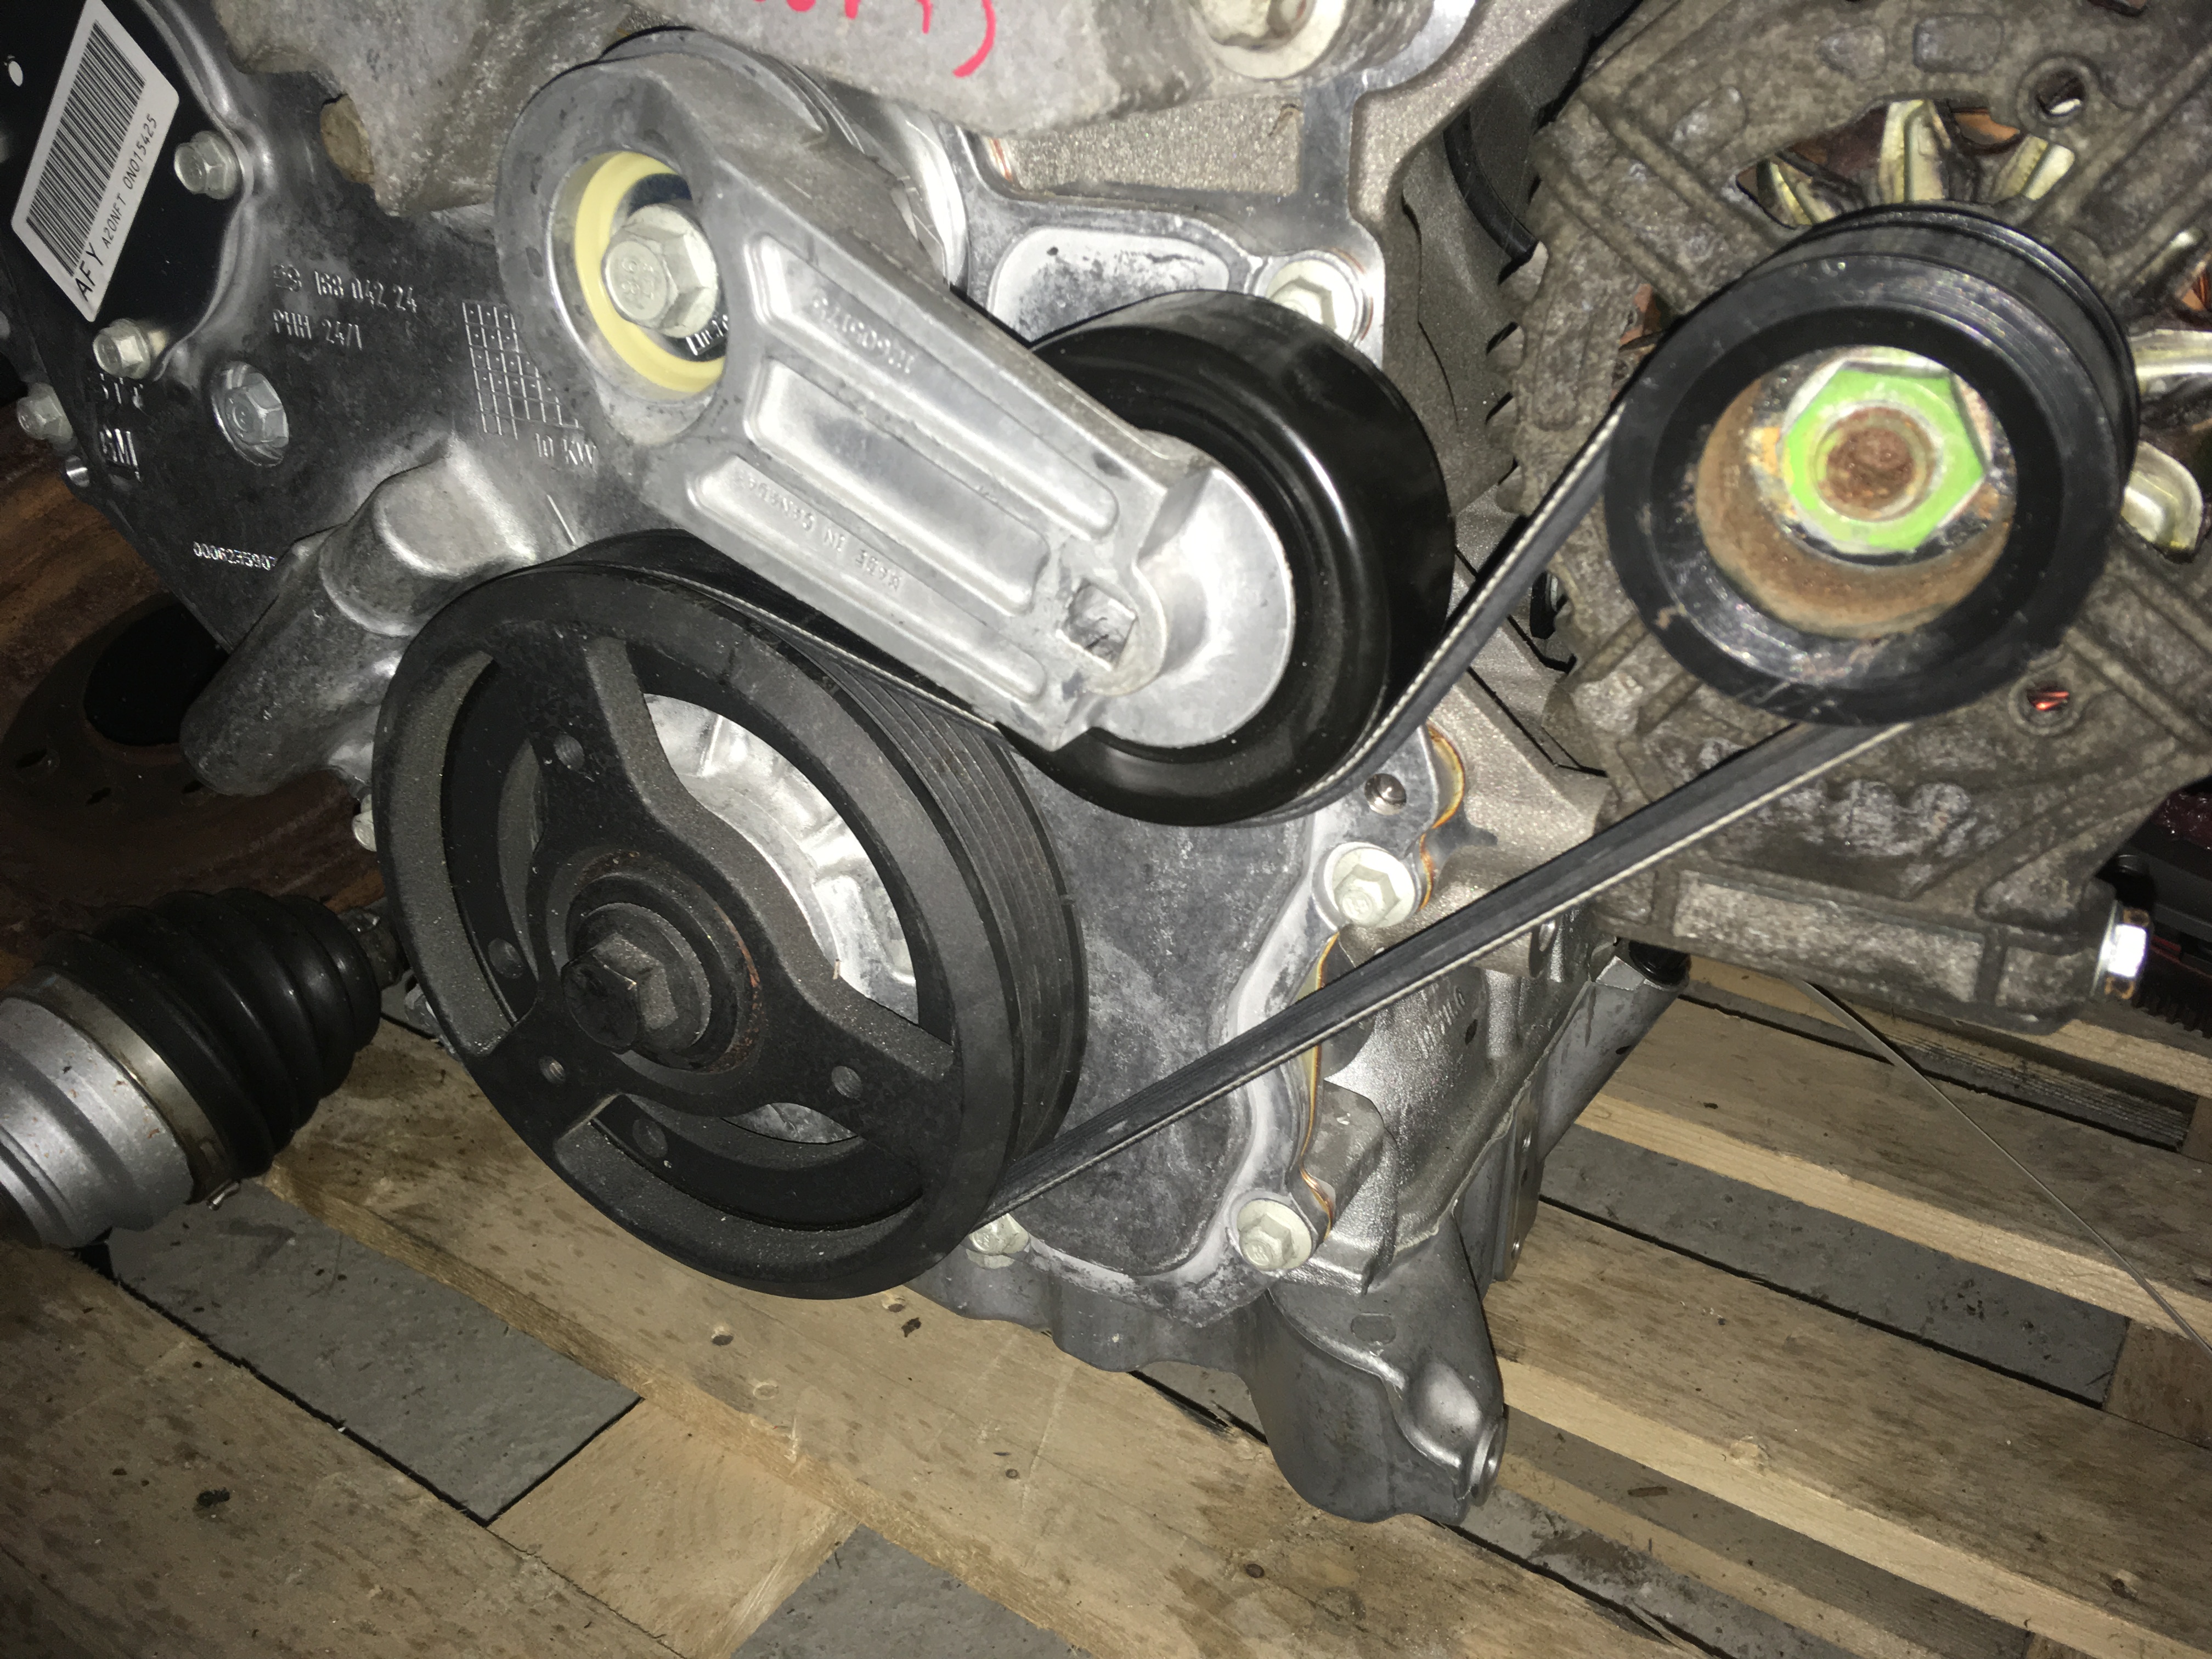
And note to players at home, that's a 10mm square drive for the tensioner pulley arm, but a 3/8" socket drive fits in there just fine.
#726

Posted 04 October 2017 - 12:48 AM
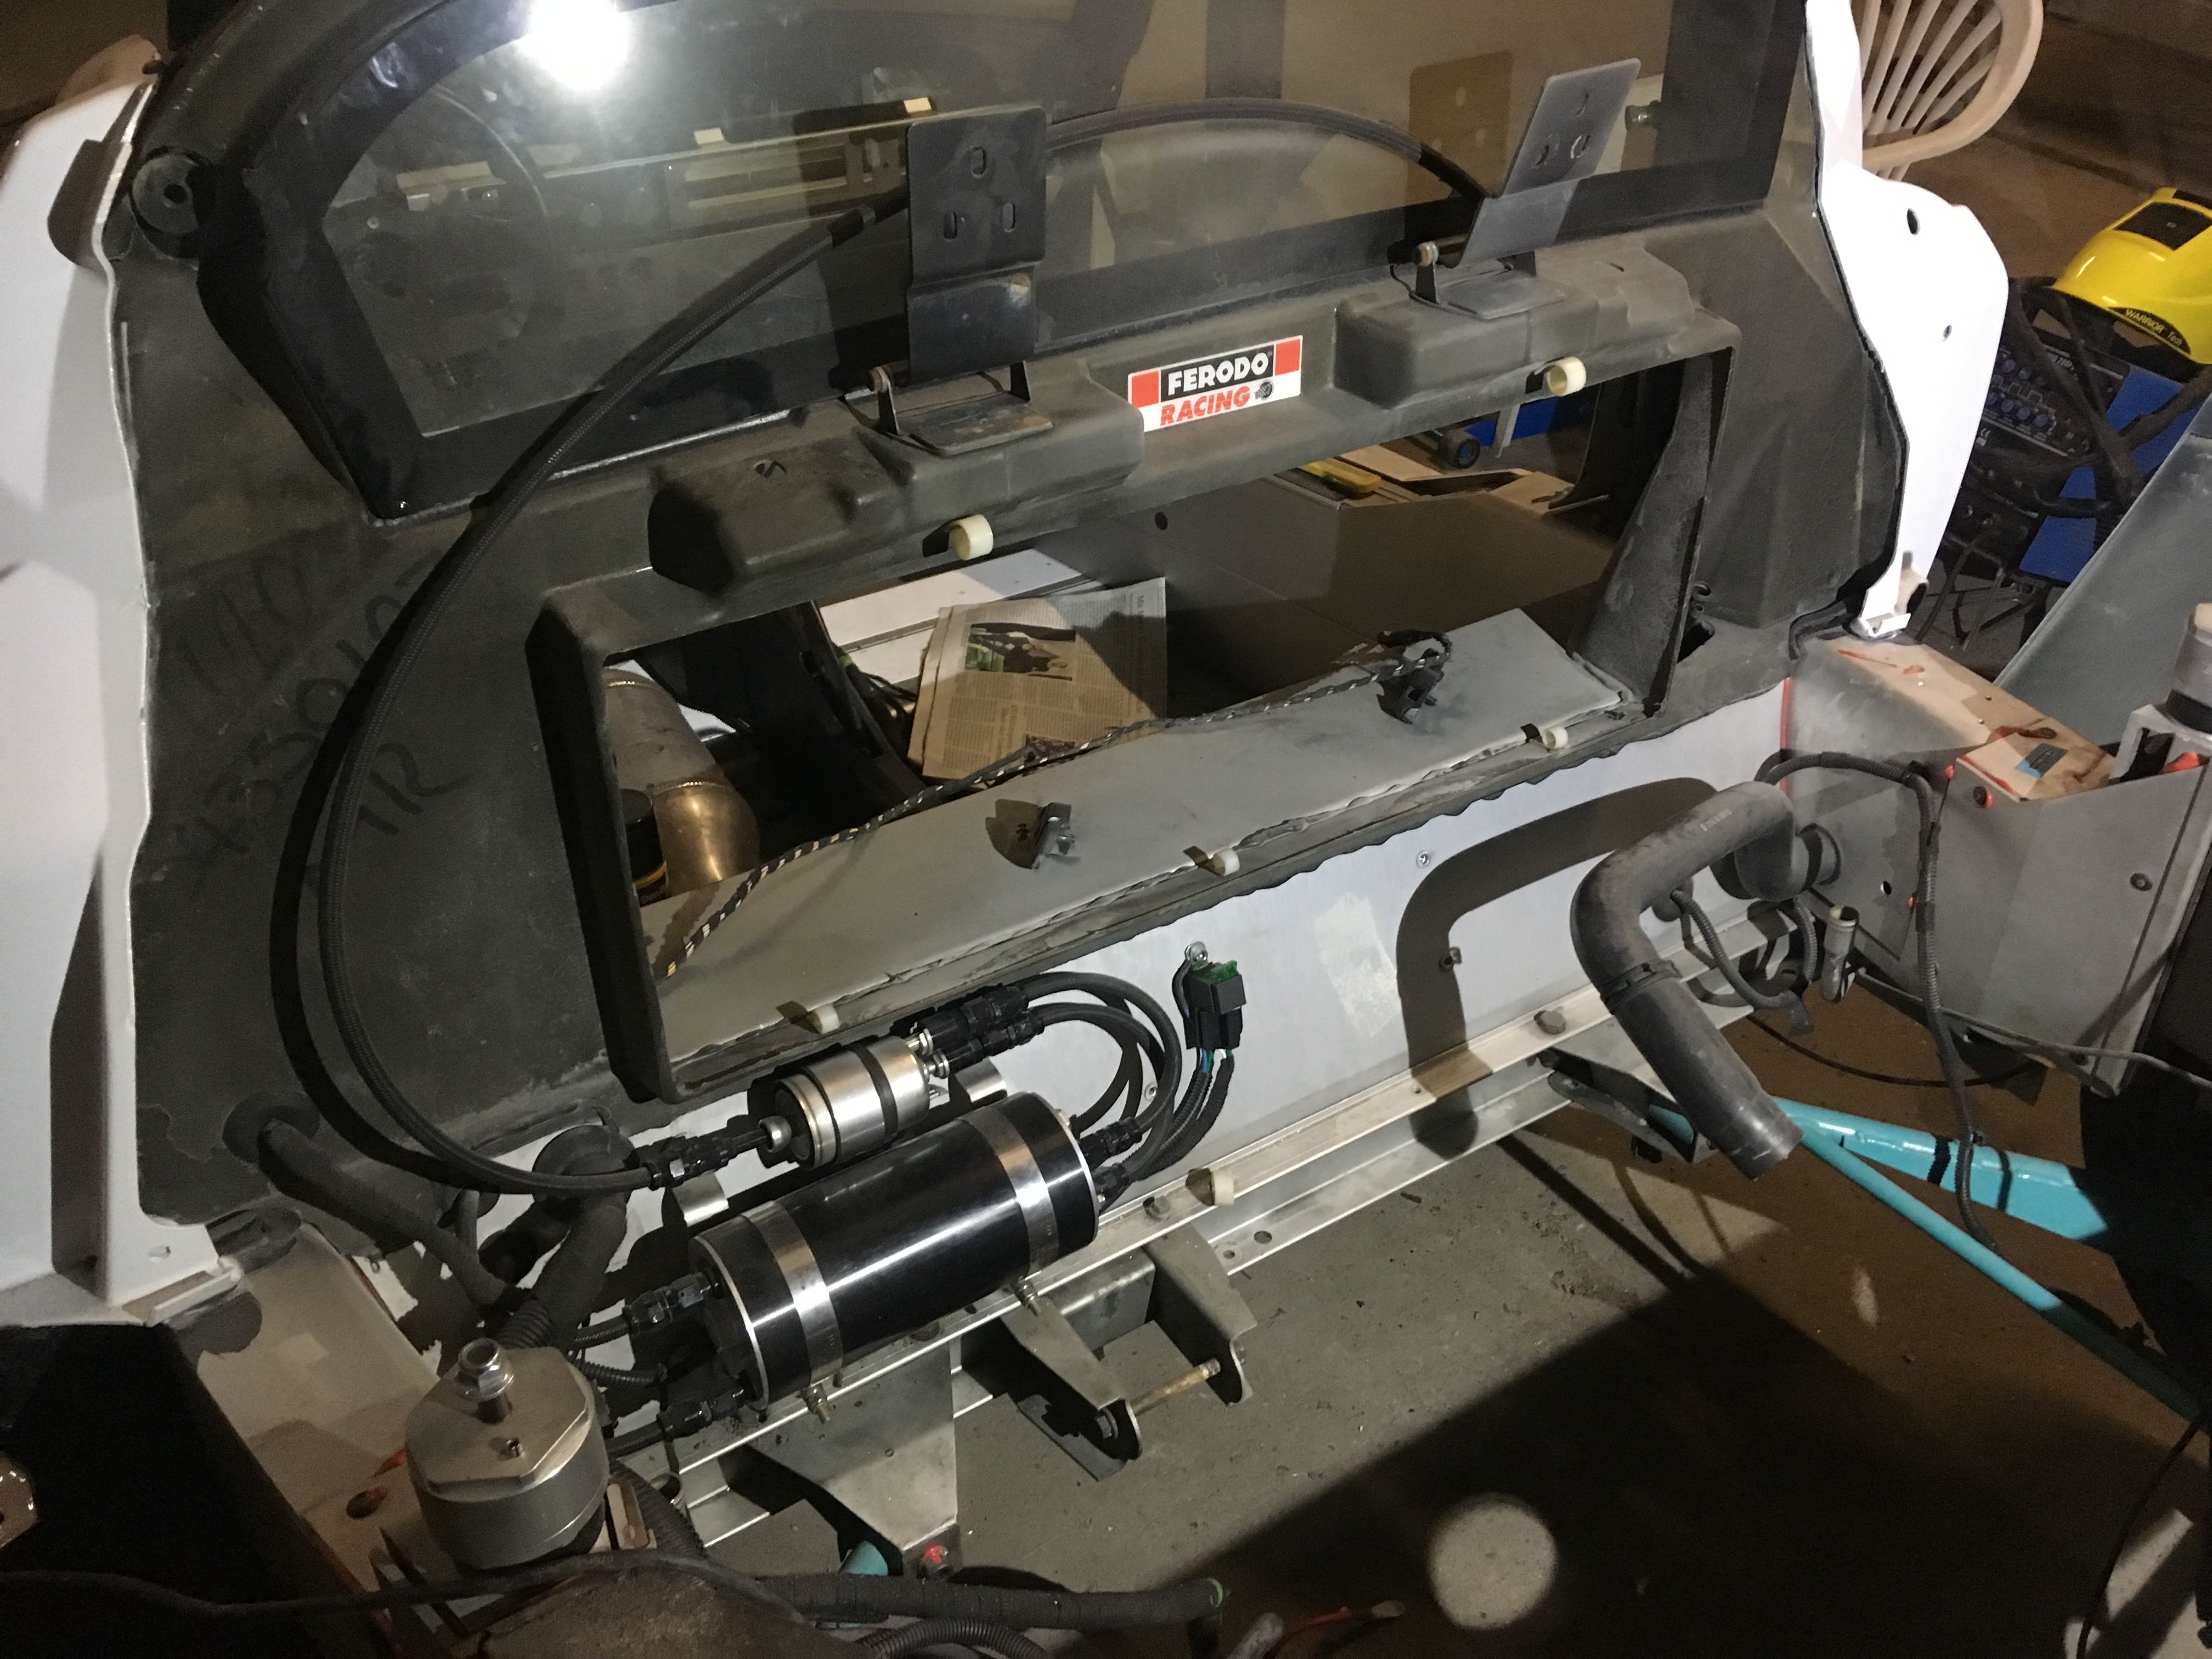
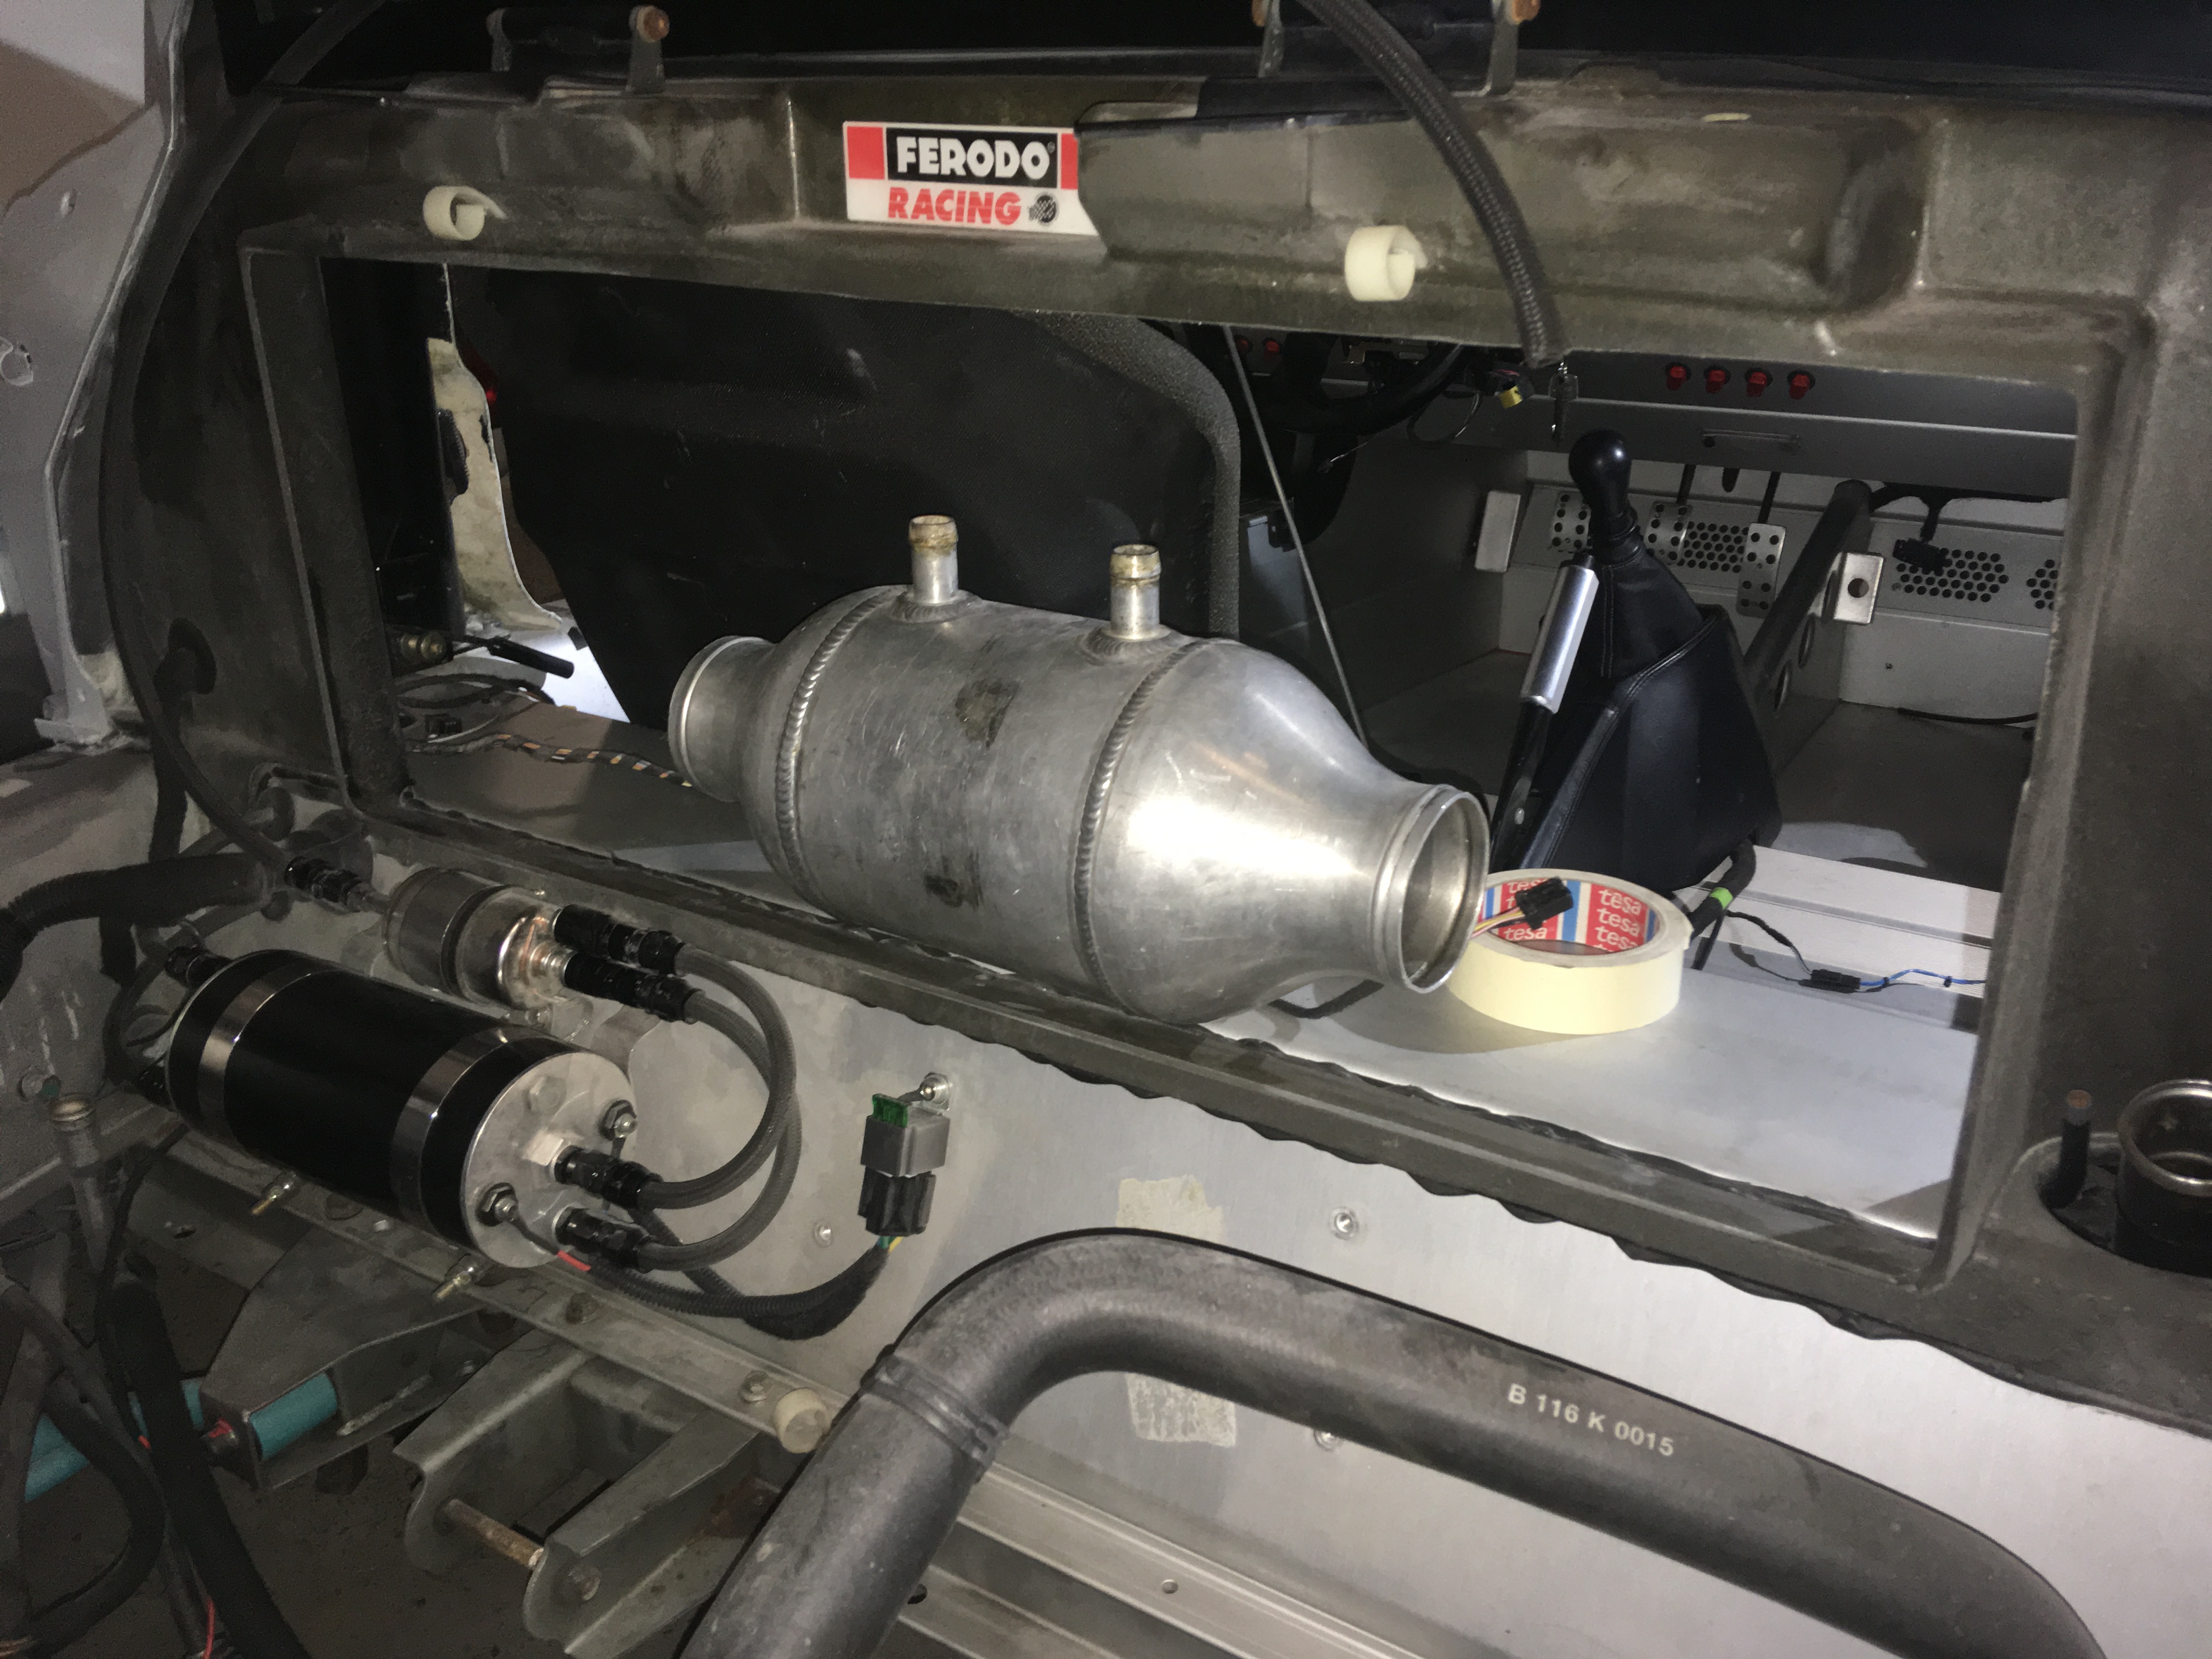
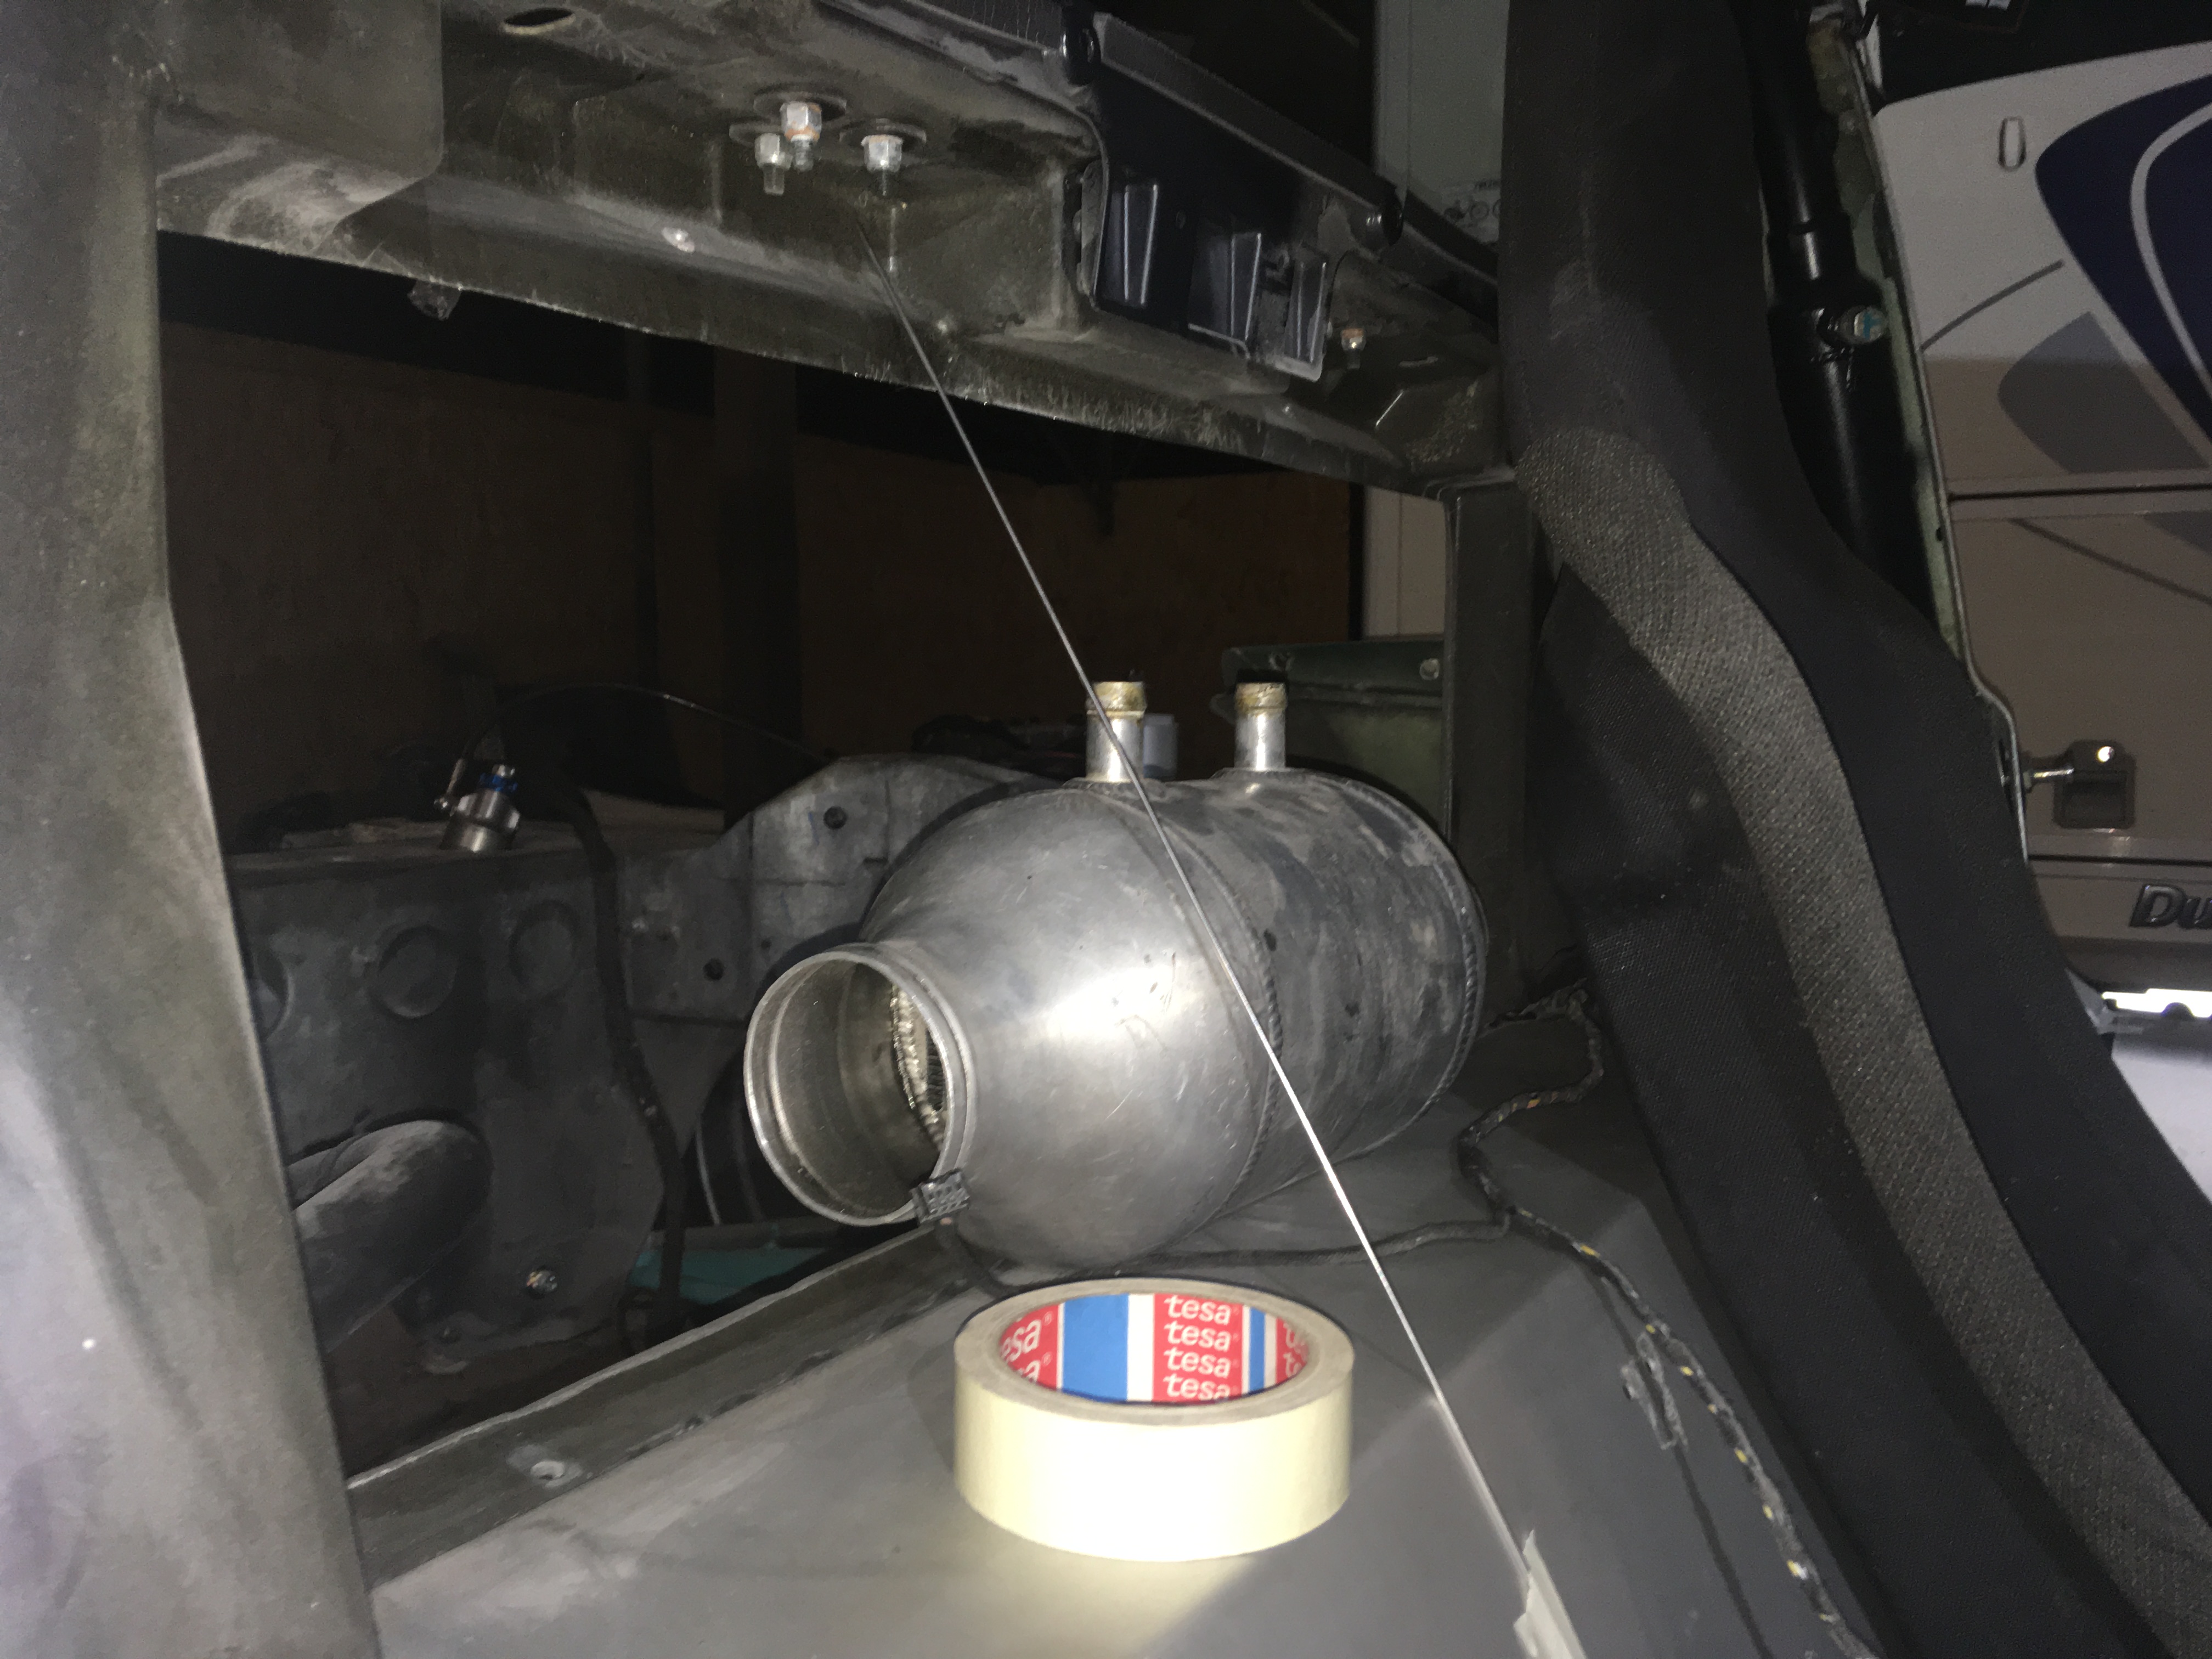
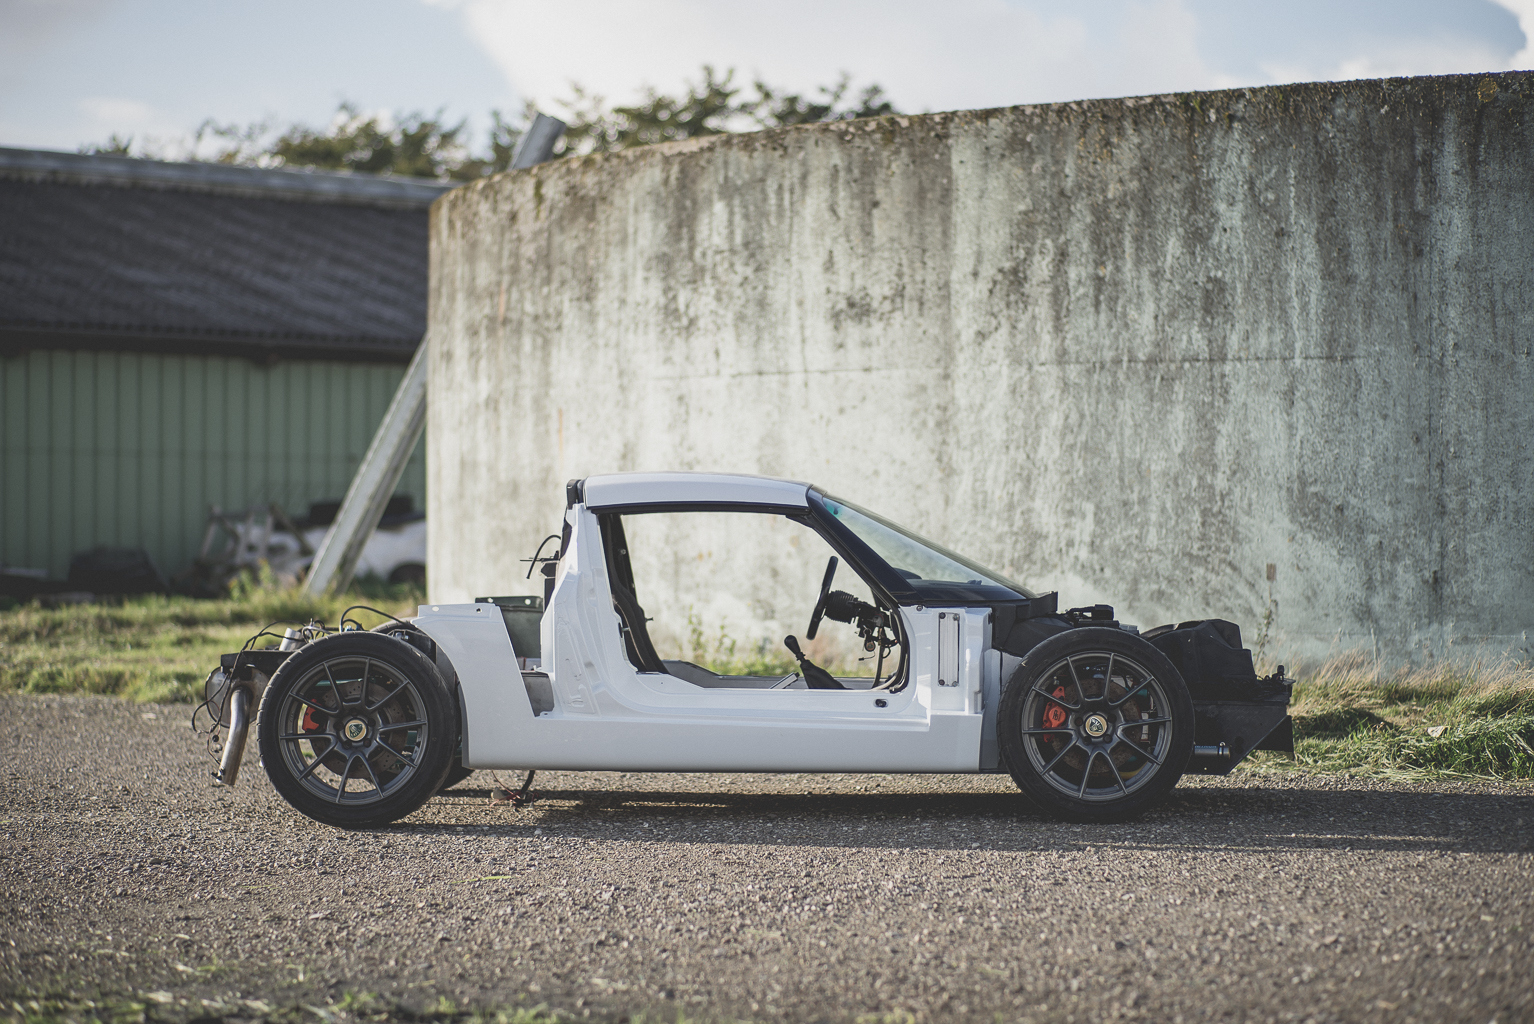
The engine bay really lacked space for the PWR W2A core. You could stuff it off to the side in a sill but the pipework becomes pretty ridiculous and cramped, and as I'm hoping to run most of the intercooler piping as 2.5-3" I wanted to keep the pipe runs short and simple.
So, adios firewall. Left behind is a pretty deceptive space. The triangle produced by extending the fuel tank bulkhead is 21deg and narrows quite dramatically. Fitting a round object in there isn't particularly efficient, but with a bit of fcuking around it should all fit in quite neatly.
On the up side, there's plenty of room for a new harness bar
Also re-welded (again!) the hardtop roof mounts to the roll bar. No pics as it's pretty mundane, but essentially got them to within 1mm of OEM, and everything Lines/bolts up. That said, I checked the diagonals on evererything too this evening... windscreen is dead straight, so that's a good, but the roll bar is about 6mm too far back on the right side. The rear stays aren't in/made yet, so that's going to change things considerably, still was surprised that it's that far out just as is.
Edited by Doctor Ed, 04 October 2017 - 12:54 AM.
#727

Posted 04 October 2017 - 03:35 PM
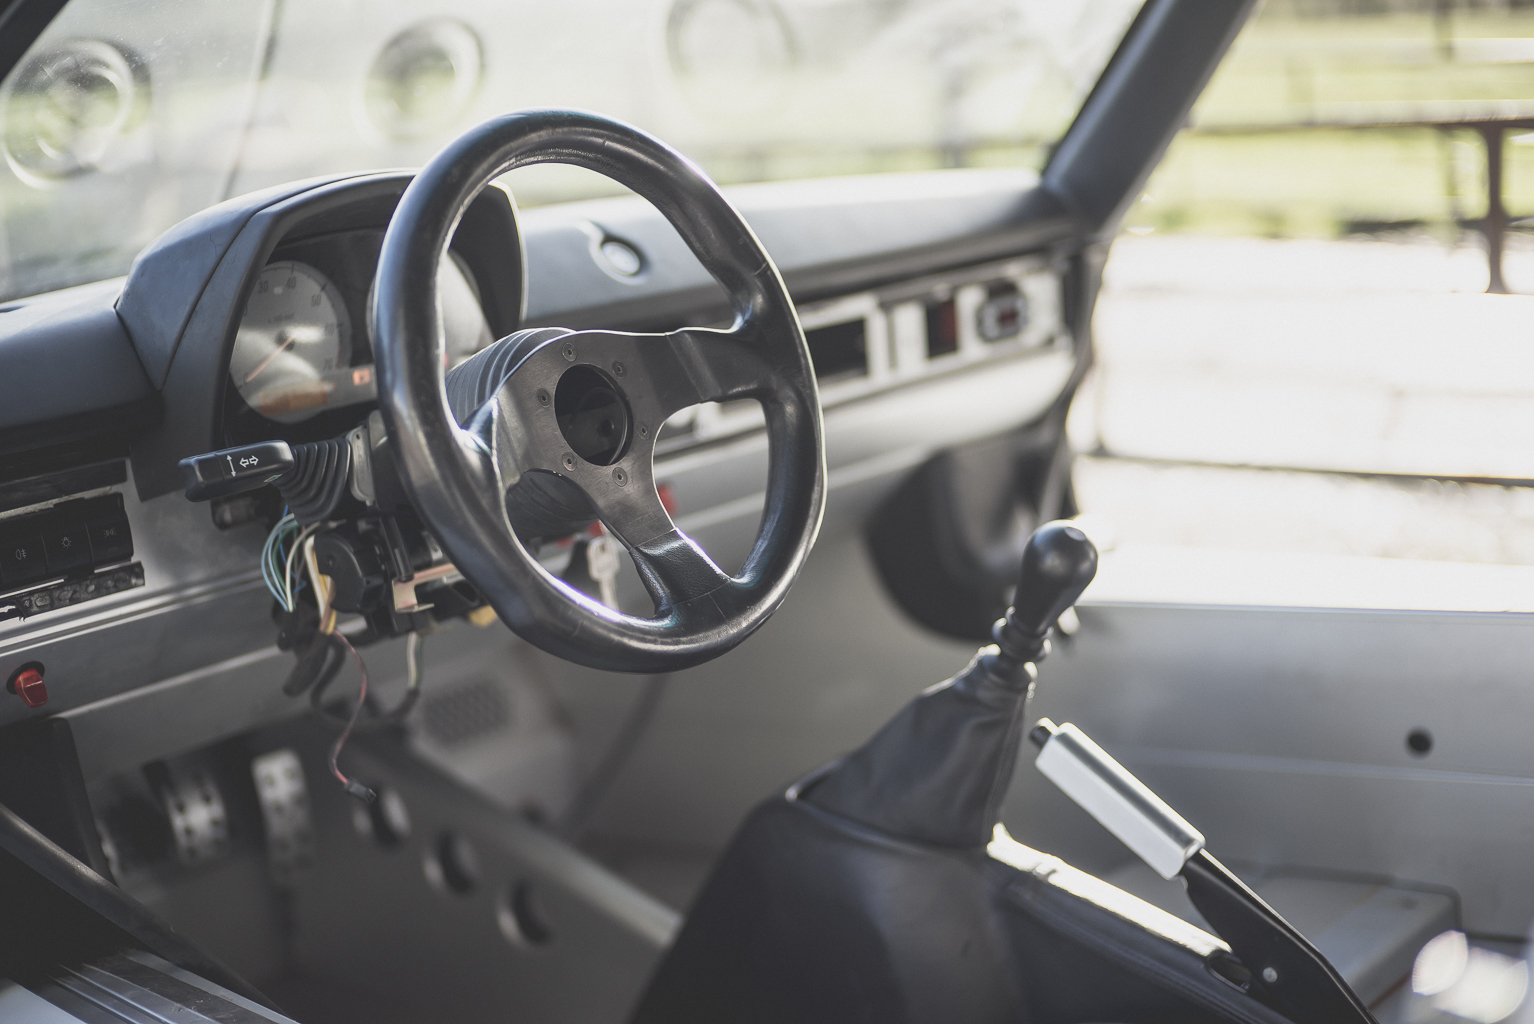
Nice cabin heater ![]()
#728

Posted 04 October 2017 - 05:48 PM
Rear stays will change/fix the roll bar angle considerablly. ![]()
(3" intercooler piping is pretty big, as it's pressurised air...)
#729

Posted 04 October 2017 - 05:56 PM
#730

Posted 04 October 2017 - 06:04 PM
Edited by tibby, 04 October 2017 - 06:11 PM.
#731

Posted 04 October 2017 - 06:29 PM
yeah, thats about what mine will end up looking like. 76mm/3" is pretty big - not only from and airflow point of view, but simply the space needed to run 3" pipework and bends is mental.
Im only wanting 340hp ish out of this, so should be fine for purpose ![]()
#732

Posted 05 October 2017 - 04:48 PM
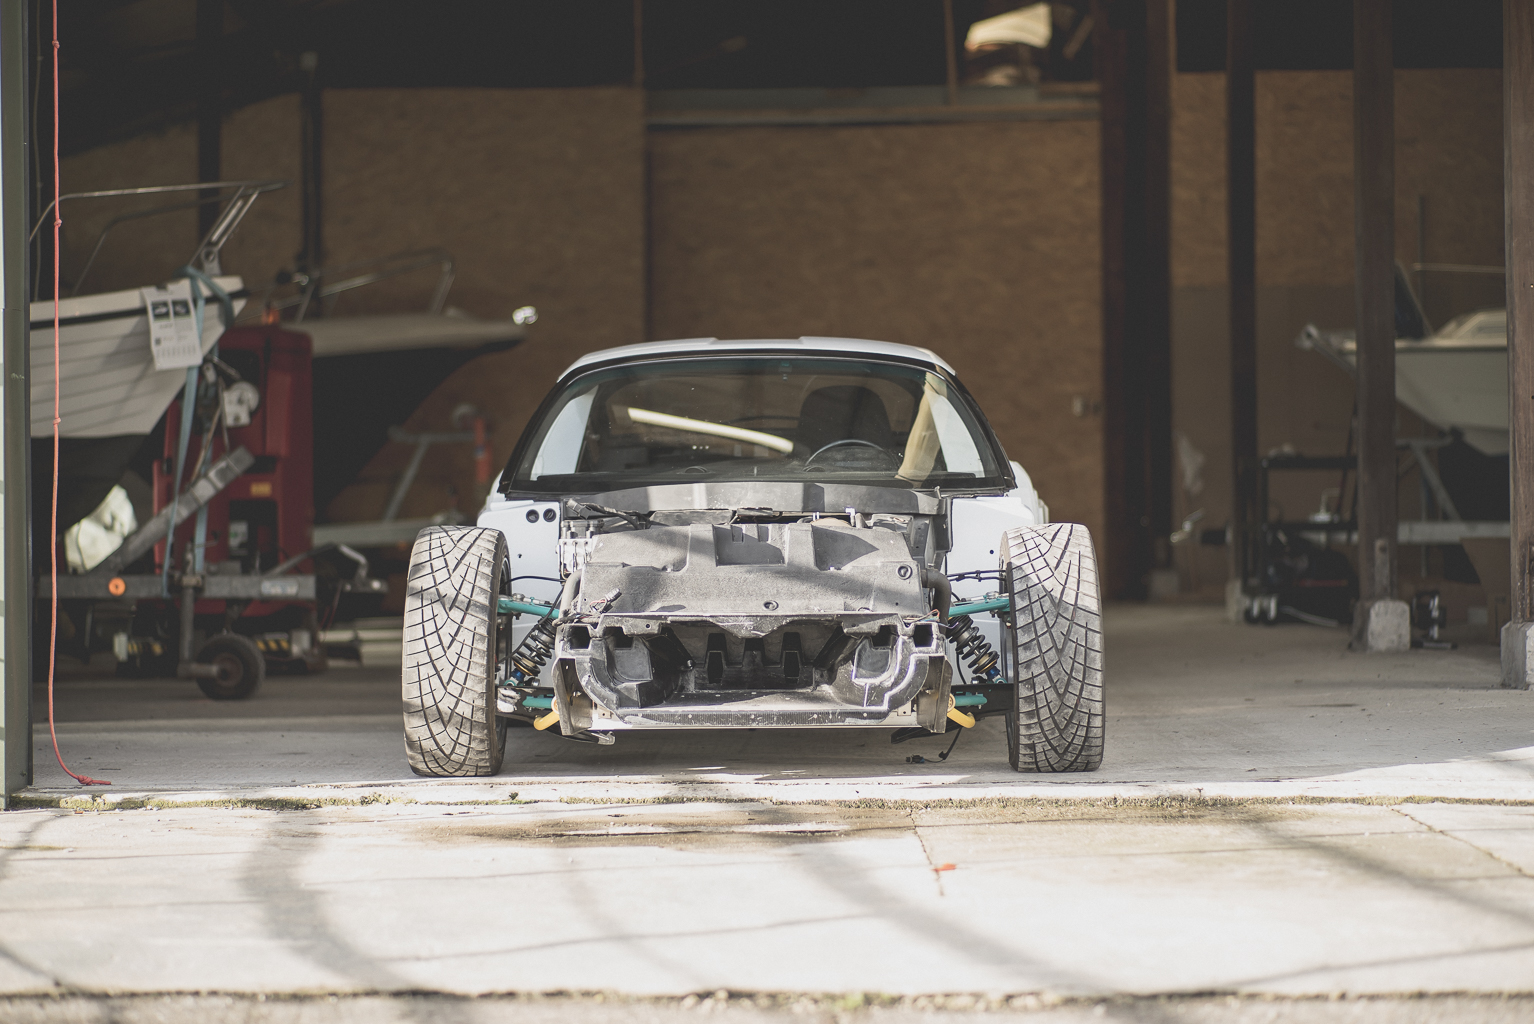
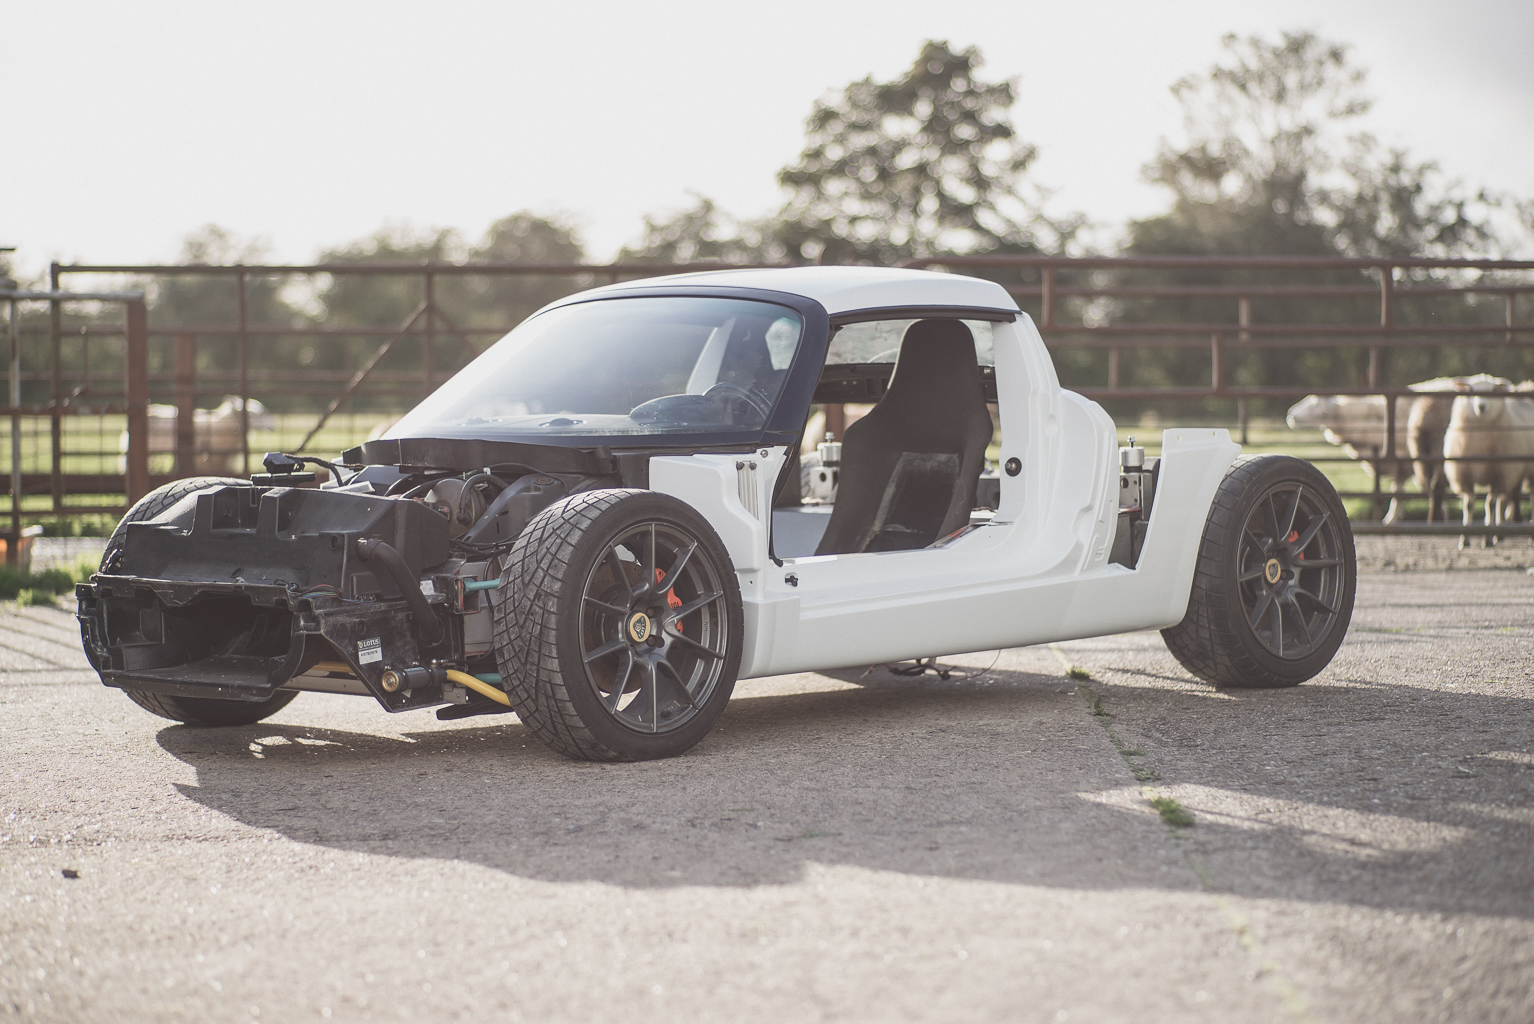
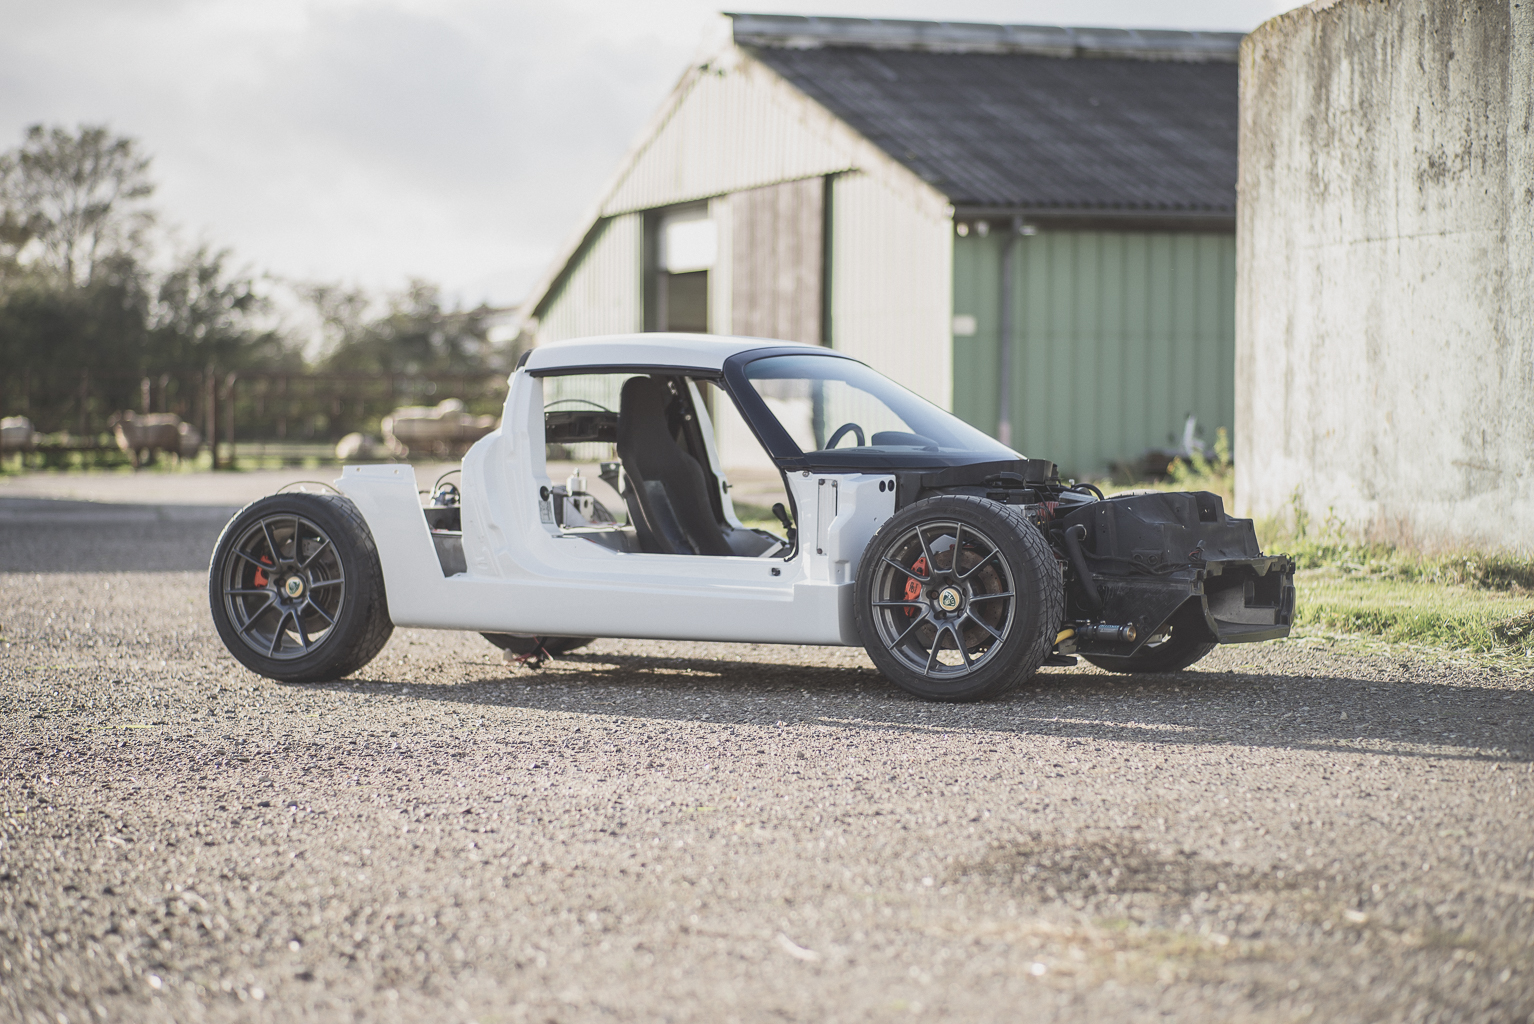
#733

Posted 07 October 2017 - 10:15 PM
Ignoring the 'fuel-saver' marketing jazz, these little buggers are pretty damn good vortex generators (each tab creates 2 decent sized siamesed counter-rotating vortices). Planning a line of them, located late along the flat floorpan say 20cm before the leading edge of the diffuser. Idea being that they themselves drop local pressure a little, but more importantly they'll energise the boundary layer entering the diffuser, and let me use every degree and cm length of it.
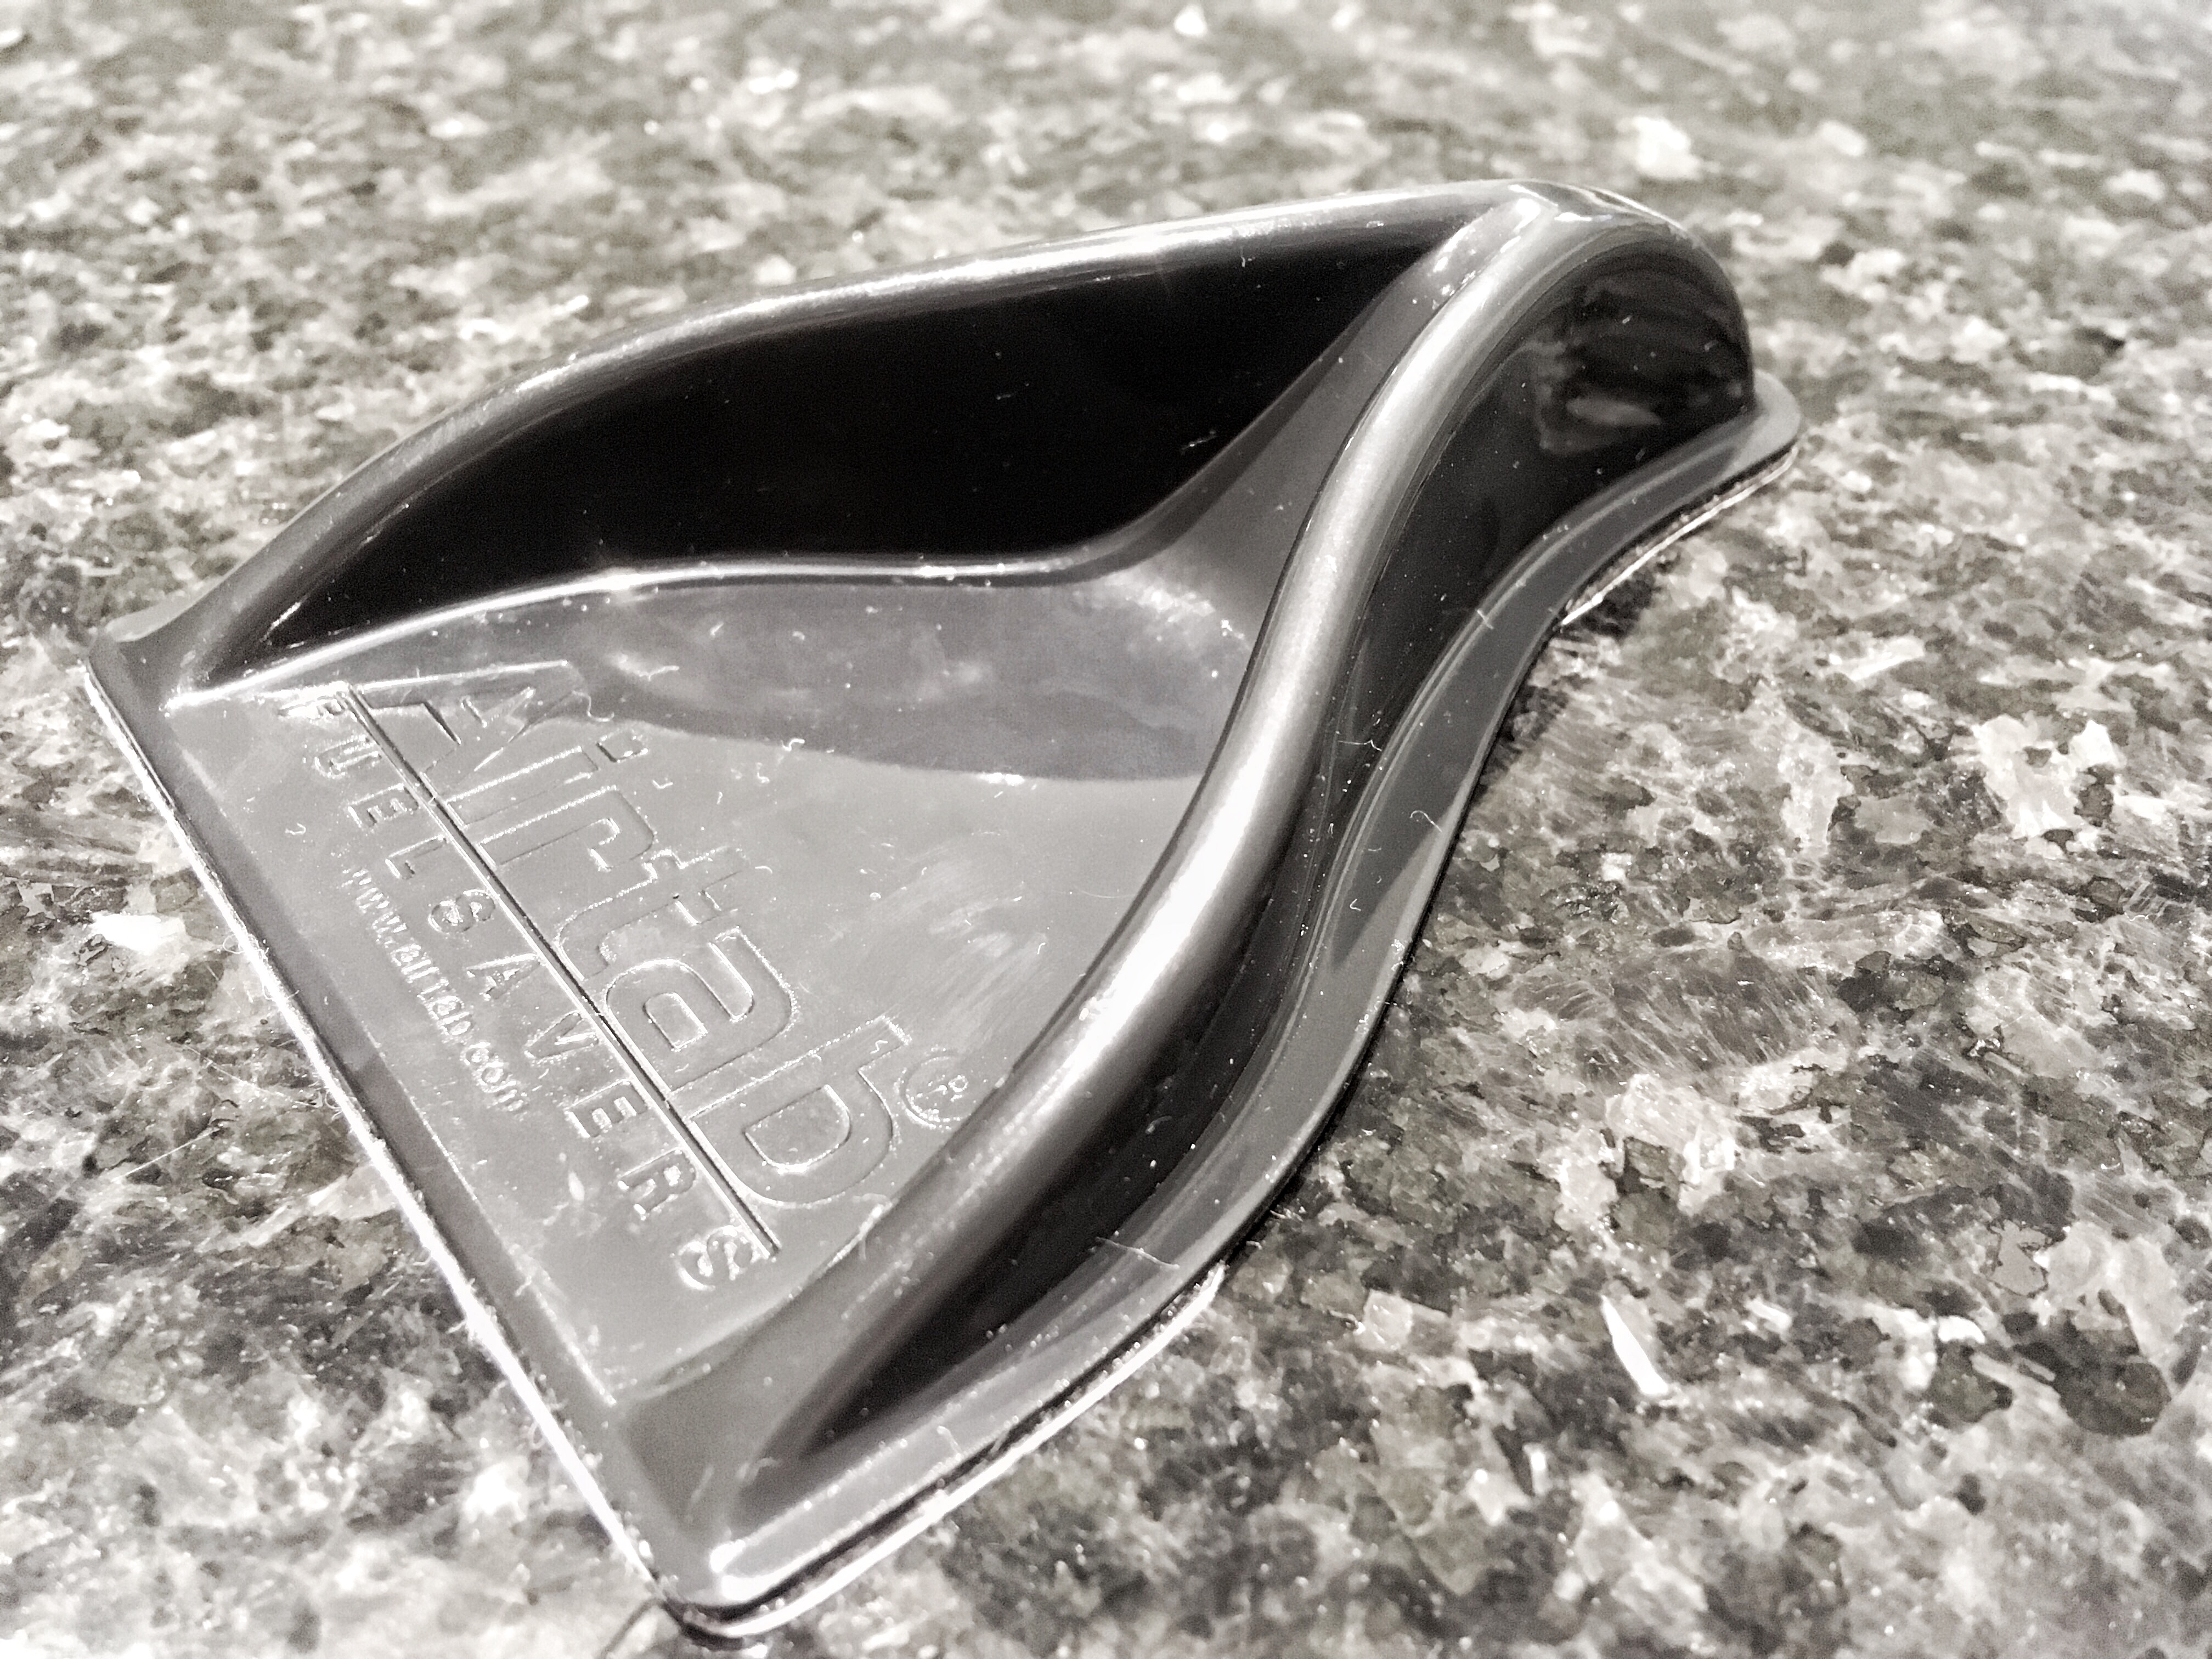
May also try something similar along the sill-lines to help seal the sides. I'm planning turning vanes behind the front wheel wells (which themselves may throw off a vortex) so not sure. But that's the direction of thinking at least.
#734

Posted 10 October 2017 - 08:08 PM
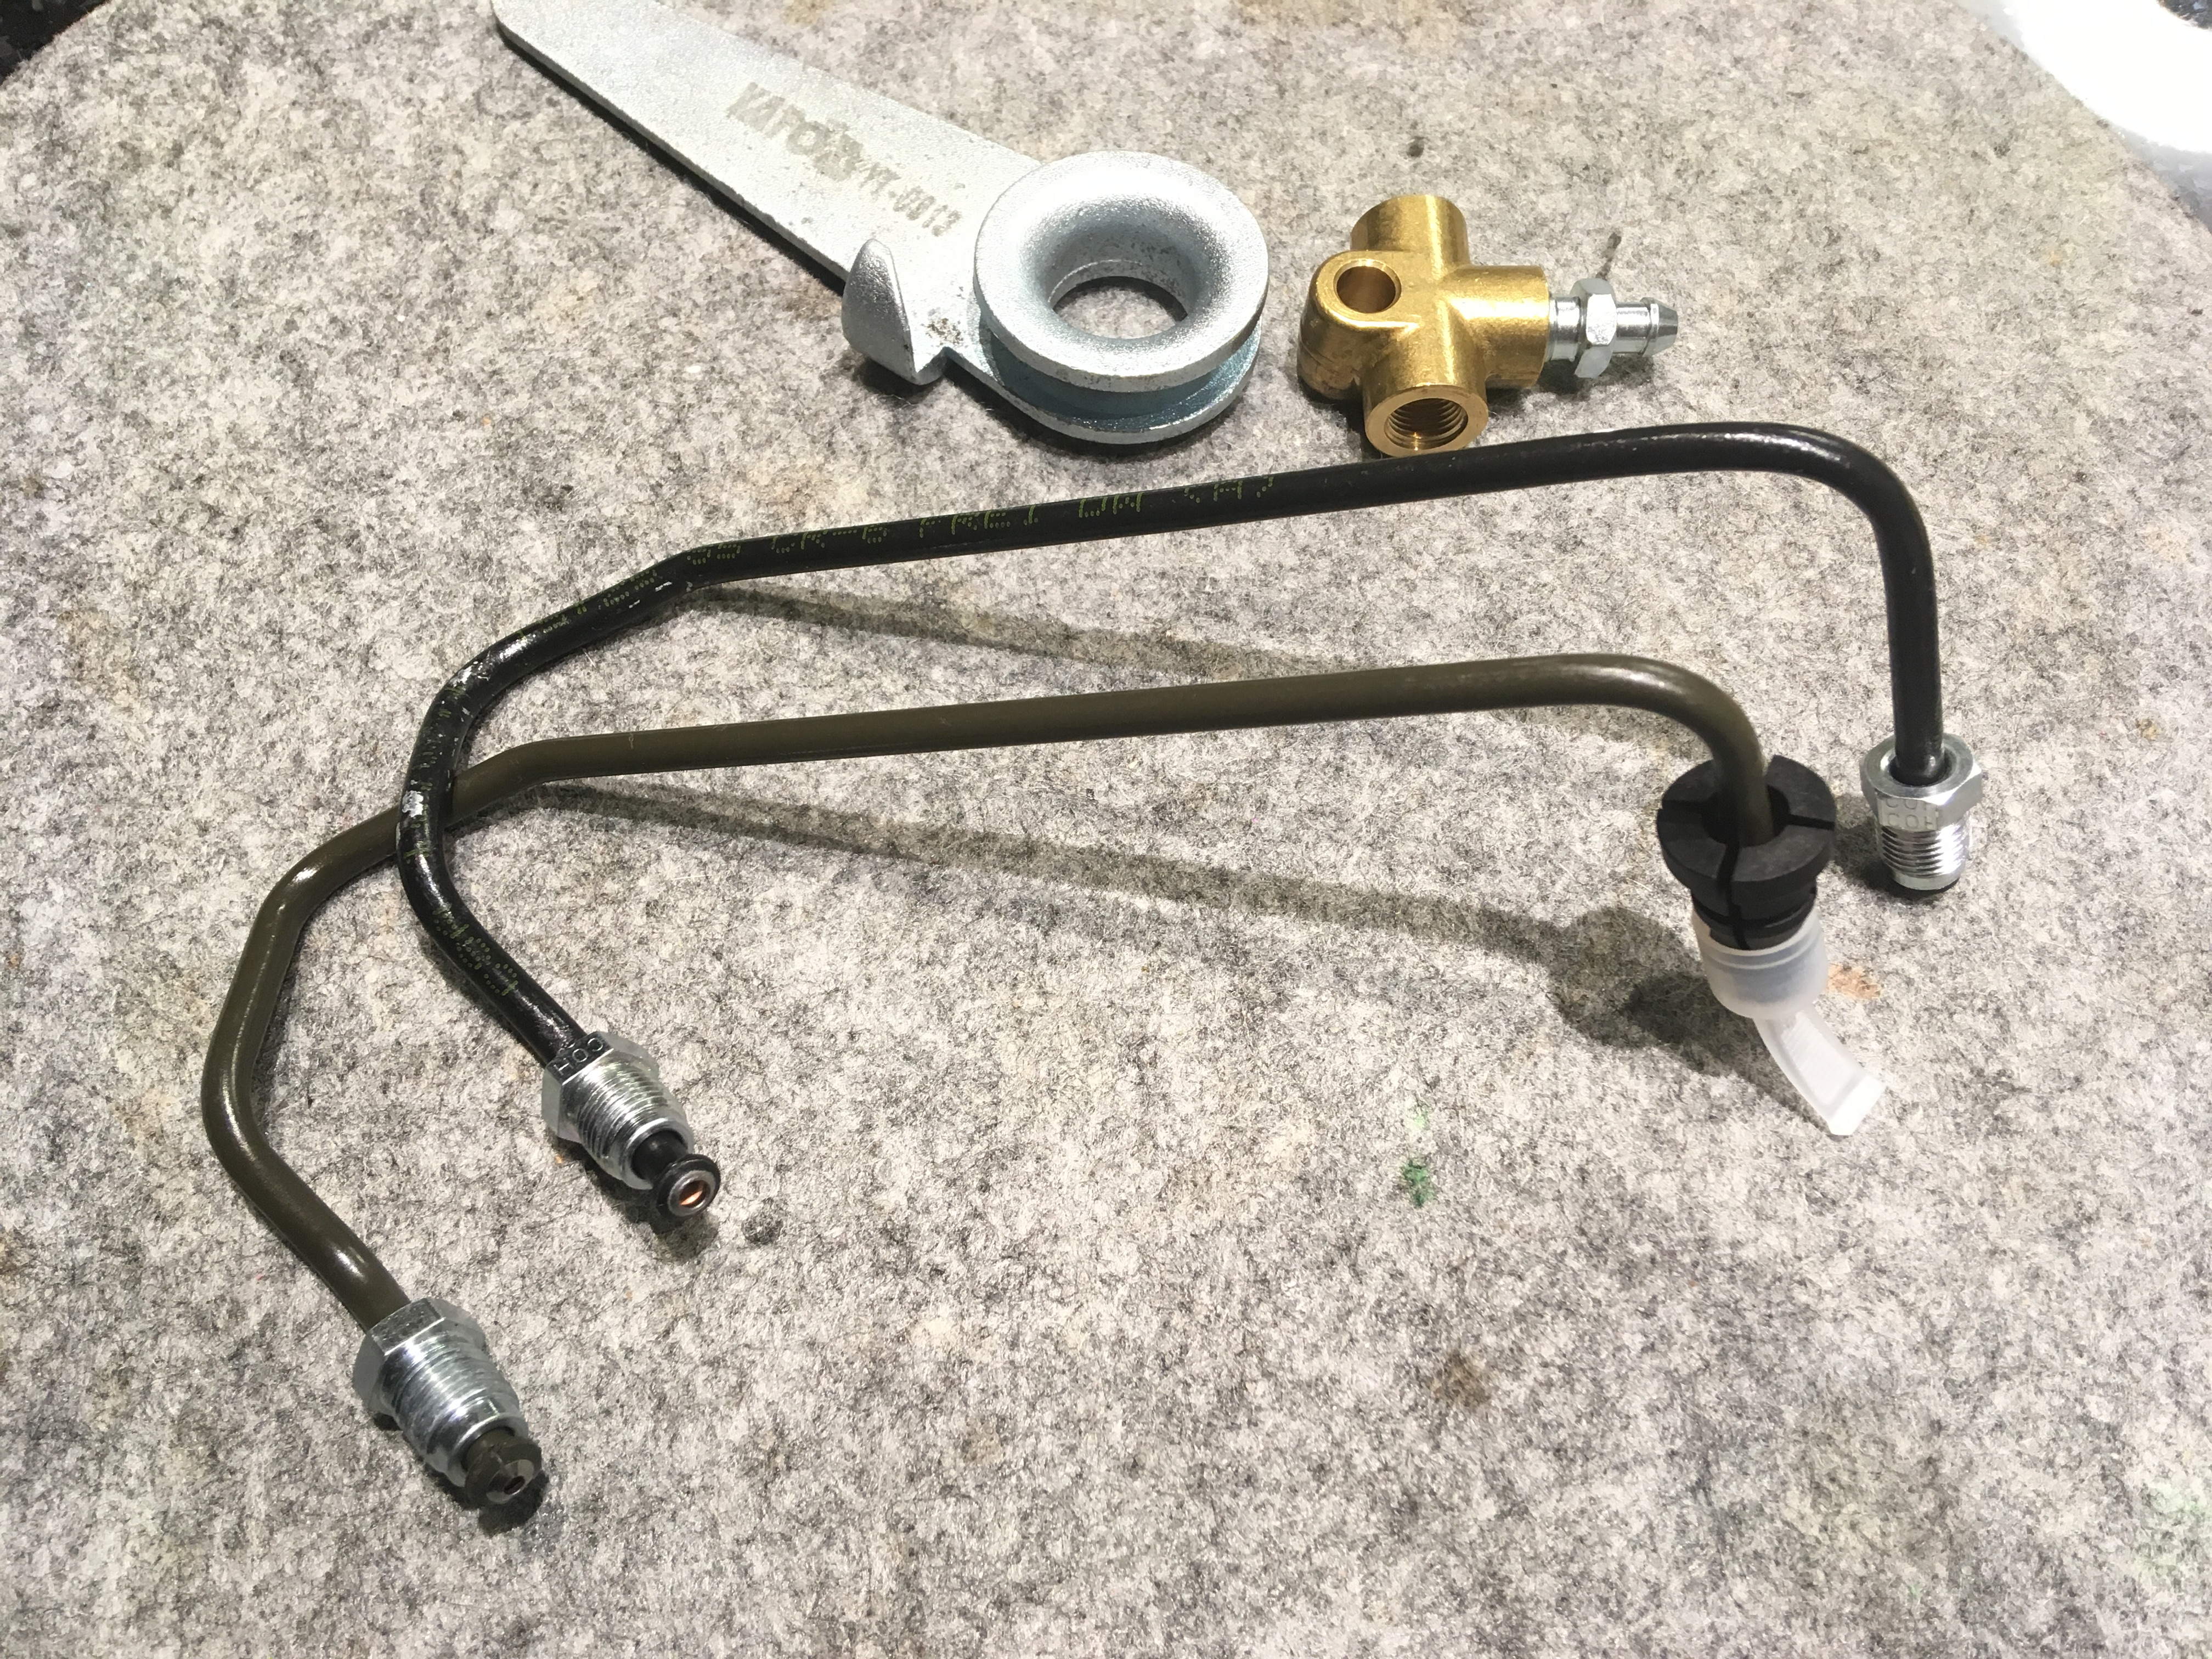
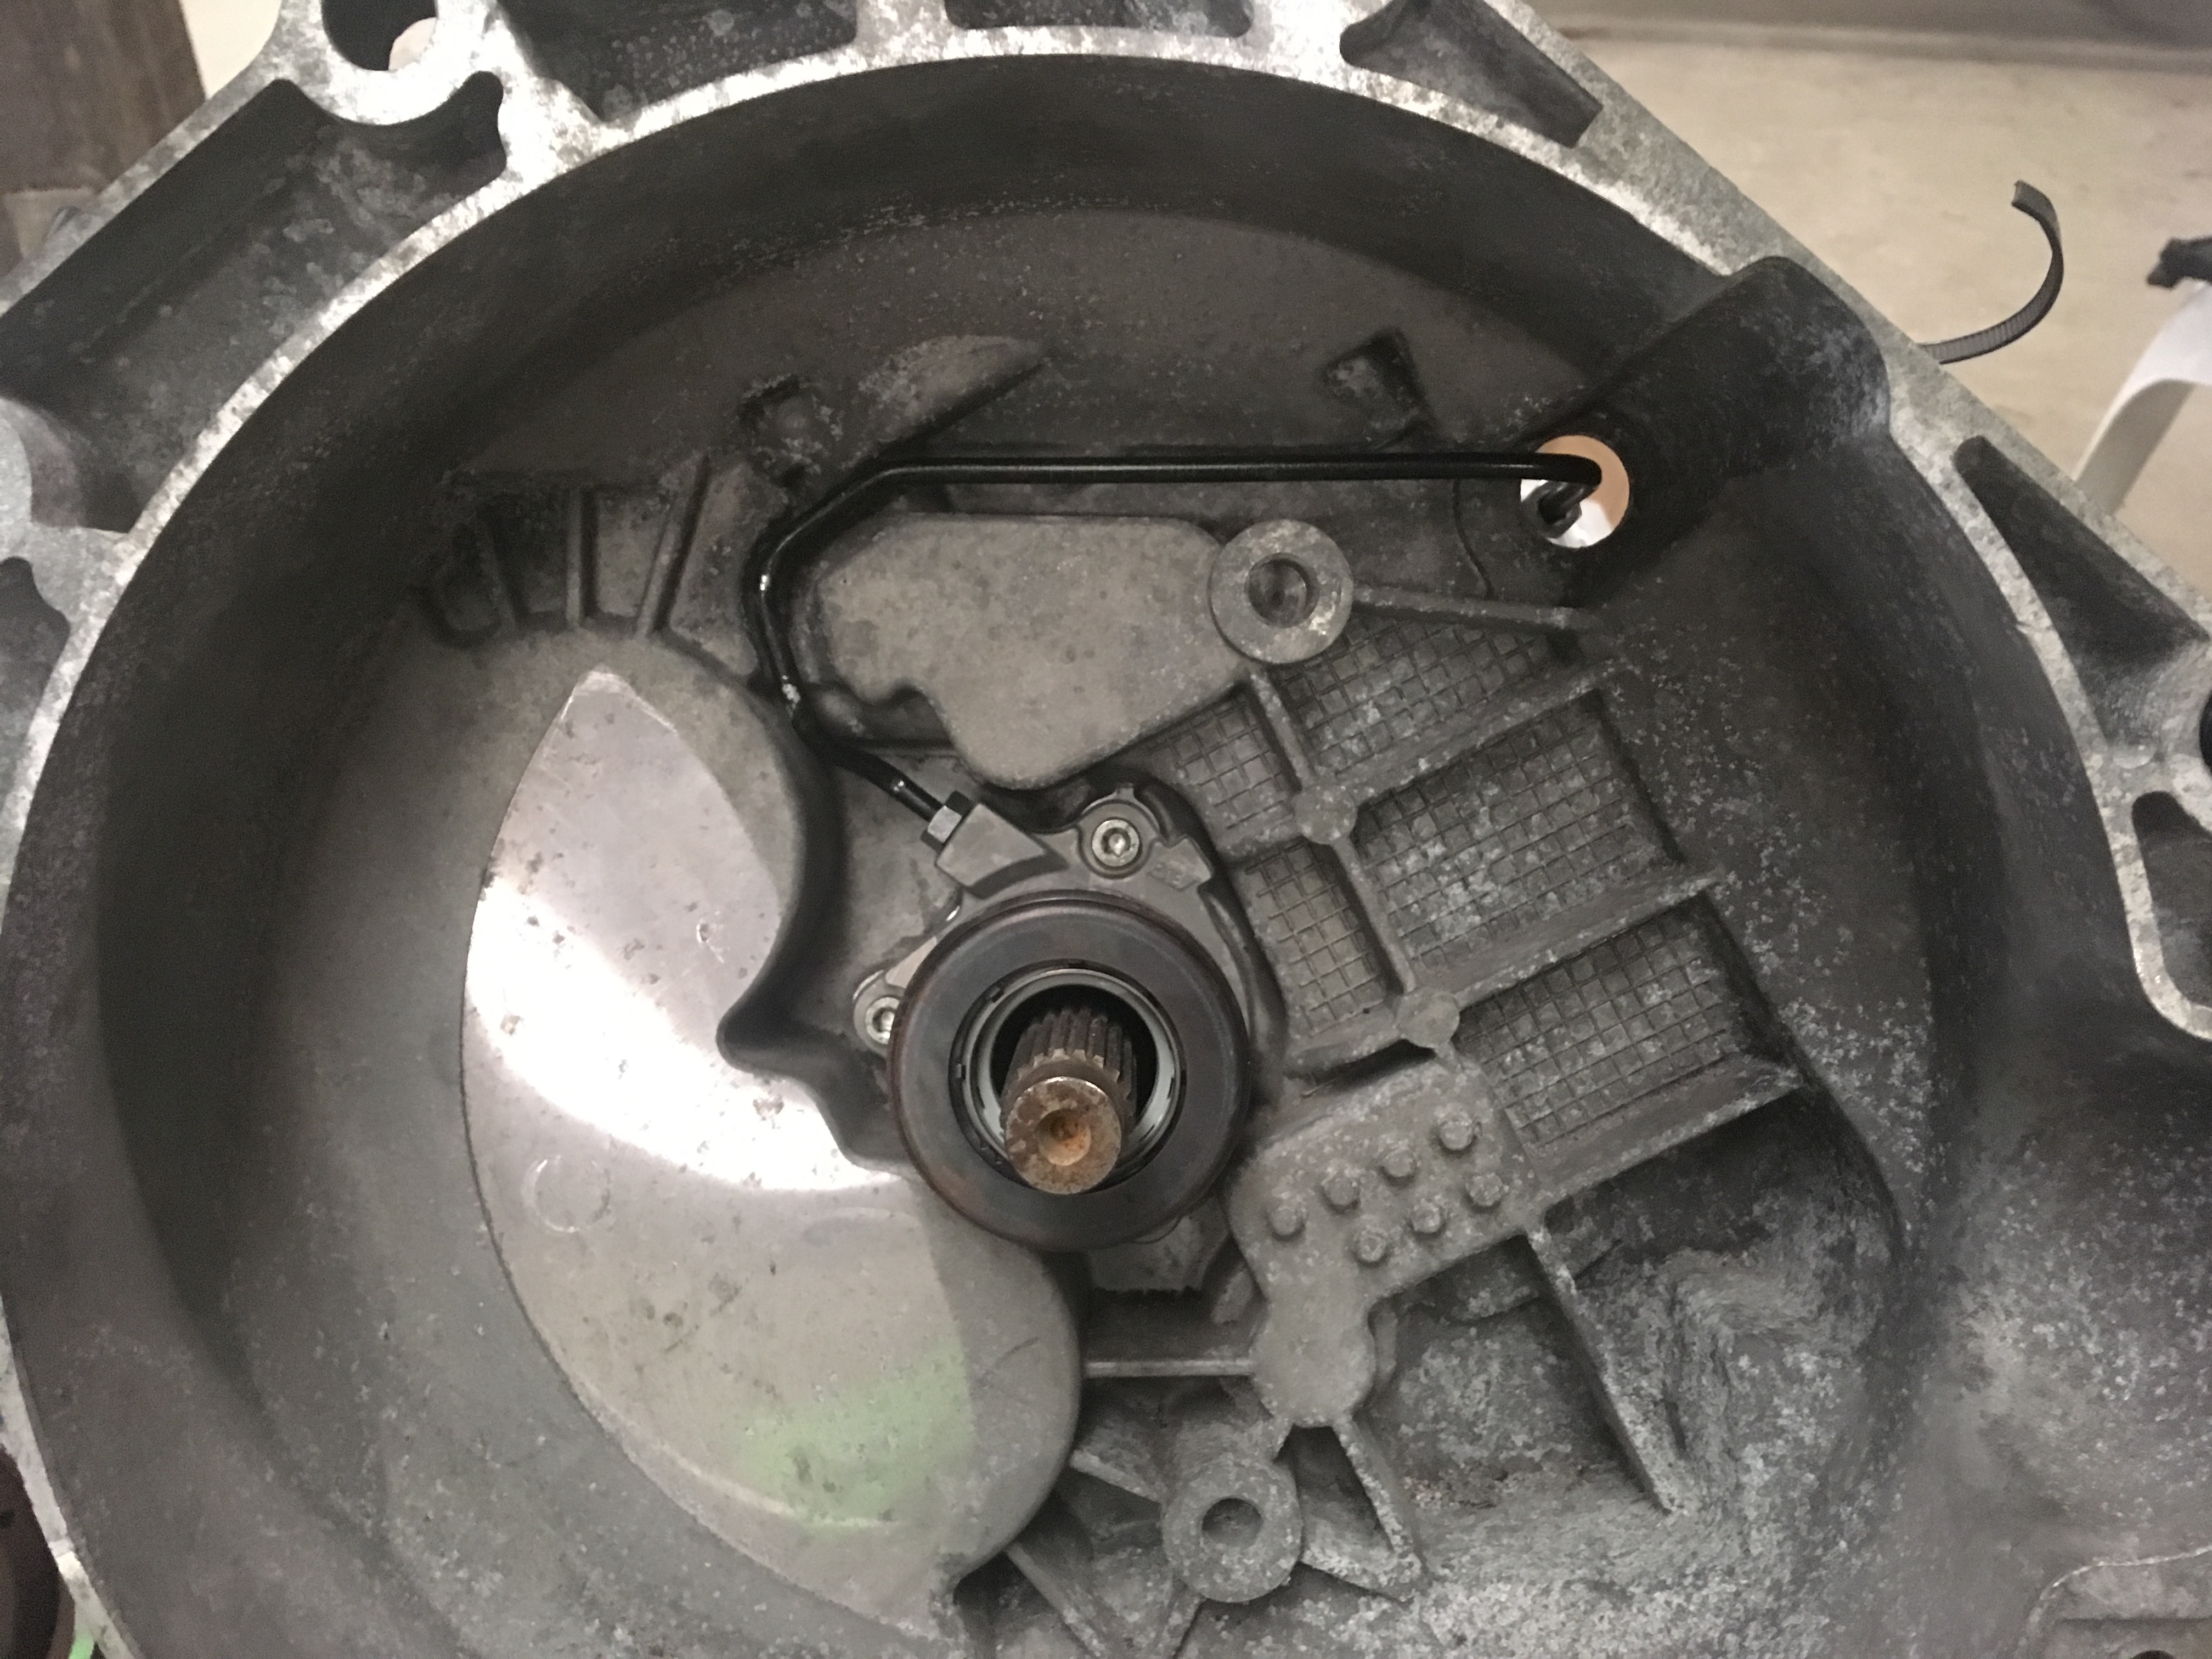
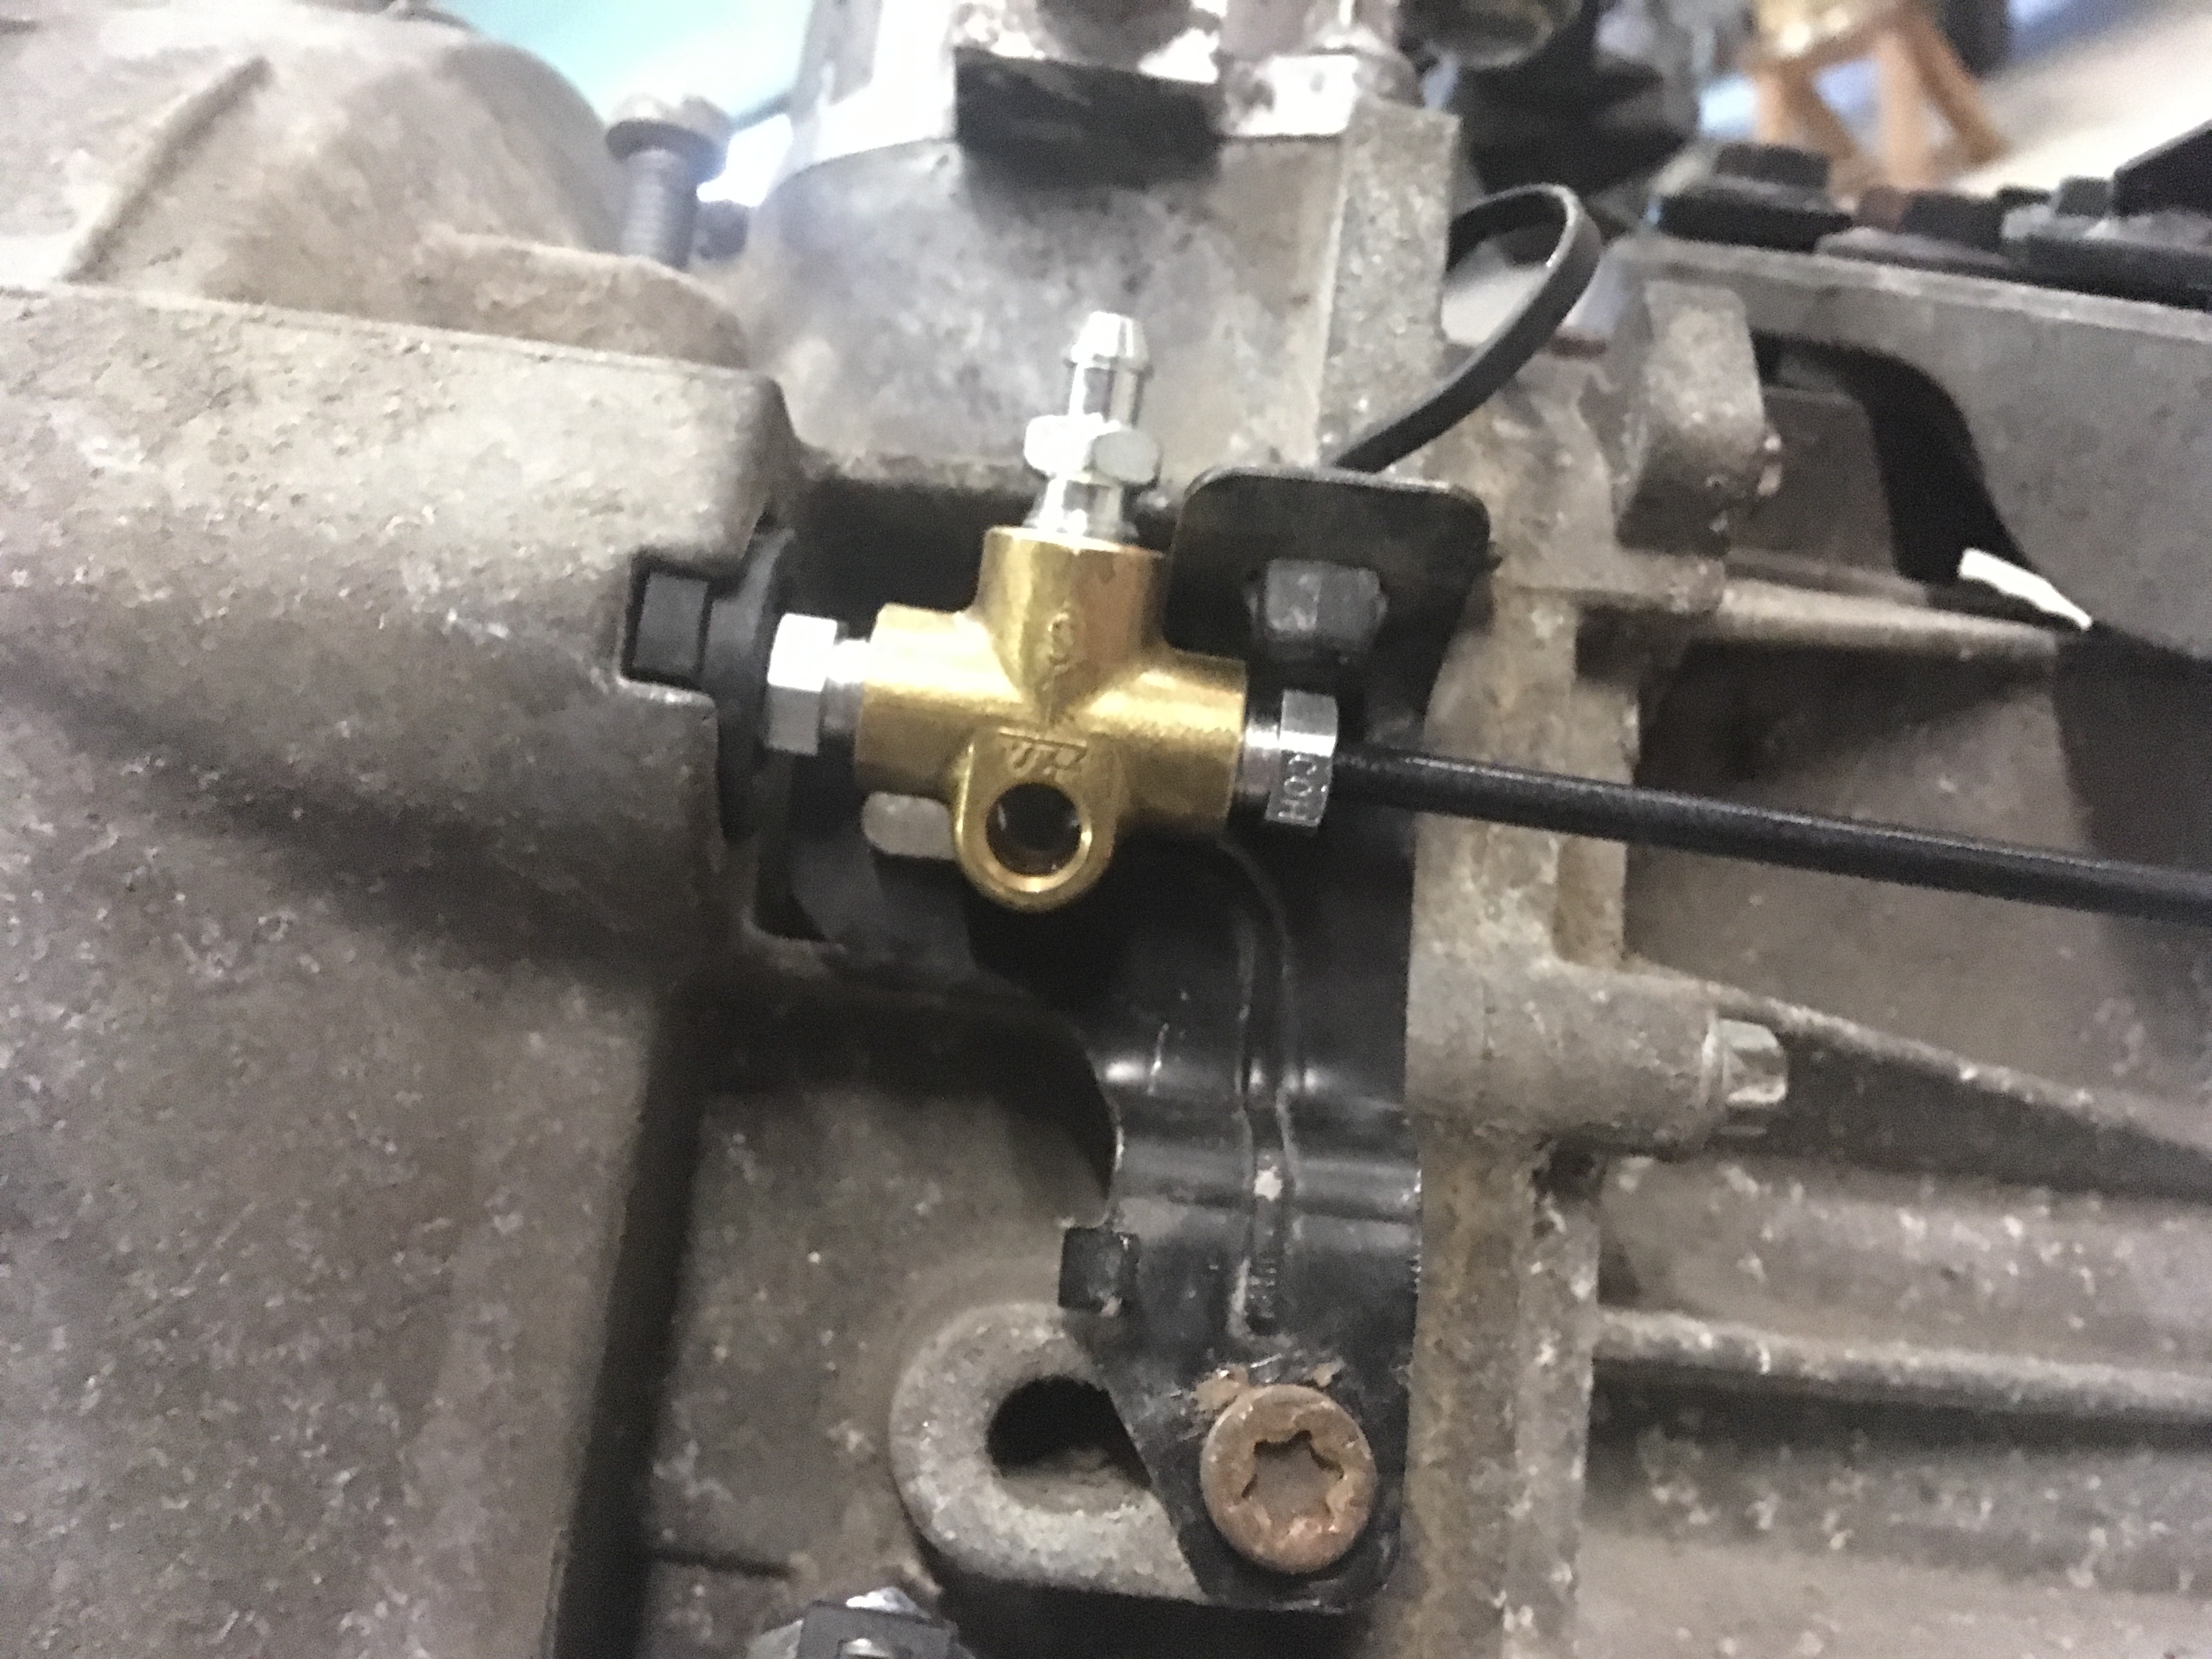
So. Made up some replacement hardlines, bought a 3-way brass fitting and a bleeder nipple. Done-ski.
Now, I was planning on mounting the box to the motor, and dropping it all as a single unit into the engine bay, but I'm thinking I might actually get the box and driveshafts in first, and get everything hooked up and working (including clutch hydraulics etc). There should then still be enough room to slot the engine in, along with enough wiggle-room to get the input shaft through the clutch into the flywheel etc. I can see me swearing about this and regretting it later, but it'll get the box out of the way plus let me get a bunch of other stuff in that corner done too
#735

Posted 11 October 2017 - 06:34 AM
the original vx220 alloy clutch fitting simply clips straight onto the M32 clutch slave pipe, then all you need is a new pipe from that to the flexi hose
#736

Posted 11 October 2017 - 10:44 AM
#737

Posted 11 October 2017 - 11:30 AM
hmm, ok, my chassis only had the flex hose hanging out into the engine bay with an M10 female flare fitting on the end. obviously didnt have anything to compare it to.
all sorted now, so no dramas, simply M10 flare fittings all the way through now ![]()
#738

Posted 11 October 2017 - 03:13 PM
at least you will never lose the stupid seal from the vx220 alloy clutch fitting ![]()
#739

Posted 11 October 2017 - 05:09 PM
If you ever need one let me know.at least you will never lose the stupid seal from the vx220 alloy clutch fitting
#740

Posted 12 October 2017 - 07:05 AM
and get everything hooked up and working (including clutch hydraulics etc).
Make sure to block/lock the slave cylinder from extending if you intend to pressure bleed the clutch circuit without the engine fitted. If not done then it can blow the slave cylinder out or at least over-extend it.. Tends to lead to leaks afterwards and then you need to pull the engine again just to swap in a new slave which is fairly annoying ![]()
Bye, Arno.
1 user(s) are reading this topic
0 members, 1 guests, 0 anonymous users


