Jump to content


Photo

Project Fracas - 6Sp A20Nft


  • Please log in to reply
1268 replies to this topic

#1101 siztenboots

siztenboots

    RaceMode

  • 26,613 posts
  • Gender:Not Telling
  • Location:Surrey
  • Interests:french maids

Posted 22 October 2018 - 09:29 AM

e39a using HP tuners?


#1102 Rosssco

Rosssco

    Scary Internerd

  • 4,181 posts
  • Gender:Male
  • Location:Aberdeen

Posted 22 October 2018 - 09:54 AM

Yeah I think I know... -  the guys using the A20NFT for their airboats? :D


But on a car I'd highly recommend using VSS + TM on a car.

Even a racecar is so much better with the Torque Management on because the ECU knows your speed and calculates power demand and the sharpness of response.


For example when driving through the pit in first or second gear without TM and the throttle set to maximum response you look like an idiot riding a mental camel from the side :D

TM smoothes it out perfectly without inducing lag.


It gives you smooth load transition out of the 2nd / 3rd gear bends which means you can floor it at the apex, the throttle blade instantly goes WOT and then the boost comes in quickly but smoothly.


Not only A20NFT - they use the ECU from 1.0l 3-Cyl up to 7.0l Chevy stroker V8 :)

That is why I specialized on that E39A - because its super versatile and has built in high voltage converters for driving Direct Injection.


-.- somehow I cant copy the tables...


OK, here are just the US vehicles:


Well yeah the airboat guys just want POWER!!! Yeah, that sort of torque distribution is very important for a road car, and why I often prefer to use an OEM ECU where possible.. Plus no one wants to be a camel jockey :lol:


Well, the (non-turbo) engine I was thinking of is on your very very small list.. So...:) Perhaps I'll PM you rather than polluting Ed's thread!


#1103 Rosssco

Rosssco

    Scary Internerd

  • 4,181 posts
  • Gender:Male
  • Location:Aberdeen

Posted 22 October 2018 - 10:12 AM

e39a using HP tuners?


I think the likes of HP Tuners allows you to remove certain CEL's / fault codes and reconfigure for a manual g/box, remove immobiliser etc. but can't solve issue such as the lack of VSS and some other inputs / outputs that may be lacking.


A number of US companies offer 'standalone' options on certain popular engine swaps, but so far I've not found one that is truly standalone, given they still require some processed signal from somewhere.. Plus the GM gearboxes like the F23 don't have a speedo drive output.


#1104 BadCop

BadCop

    Member

  • Pip
  • 96 posts
  • Location:Germany

Posted 22 October 2018 - 10:15 AM

Yep, sorry for the pollution Ed.


Thats the sacrifice when dealing with new engines  :)


e39a using HP tuners?


The list are just vehicles that run E39A as a factory ECU.


HP Tuners can not get the engine running standalone.

"HP Tuners" as well as "EFI live"  is just a well done GUI for changing parameters, tables, equations,...


They are designed to function as a translator for adresses of numbers and tables on factory cars.


Edited by BadCop, 22 October 2018 - 10:20 AM.


#1105 Doctor Ed

Doctor Ed

    Need to get Out More

  • PipPipPipPip
  • 1,188 posts
  • Location:Germany

Posted 22 October 2018 - 11:59 AM

Don’t apologize for answering the blokes question! Lol. This thread is normally pretty quiet otherwise, so feel free to carry on :)

#1106 Doctor Ed

Doctor Ed

    Need to get Out More

  • PipPipPipPip
  • 1,188 posts
  • Location:Germany

Posted 22 October 2018 - 09:23 PM

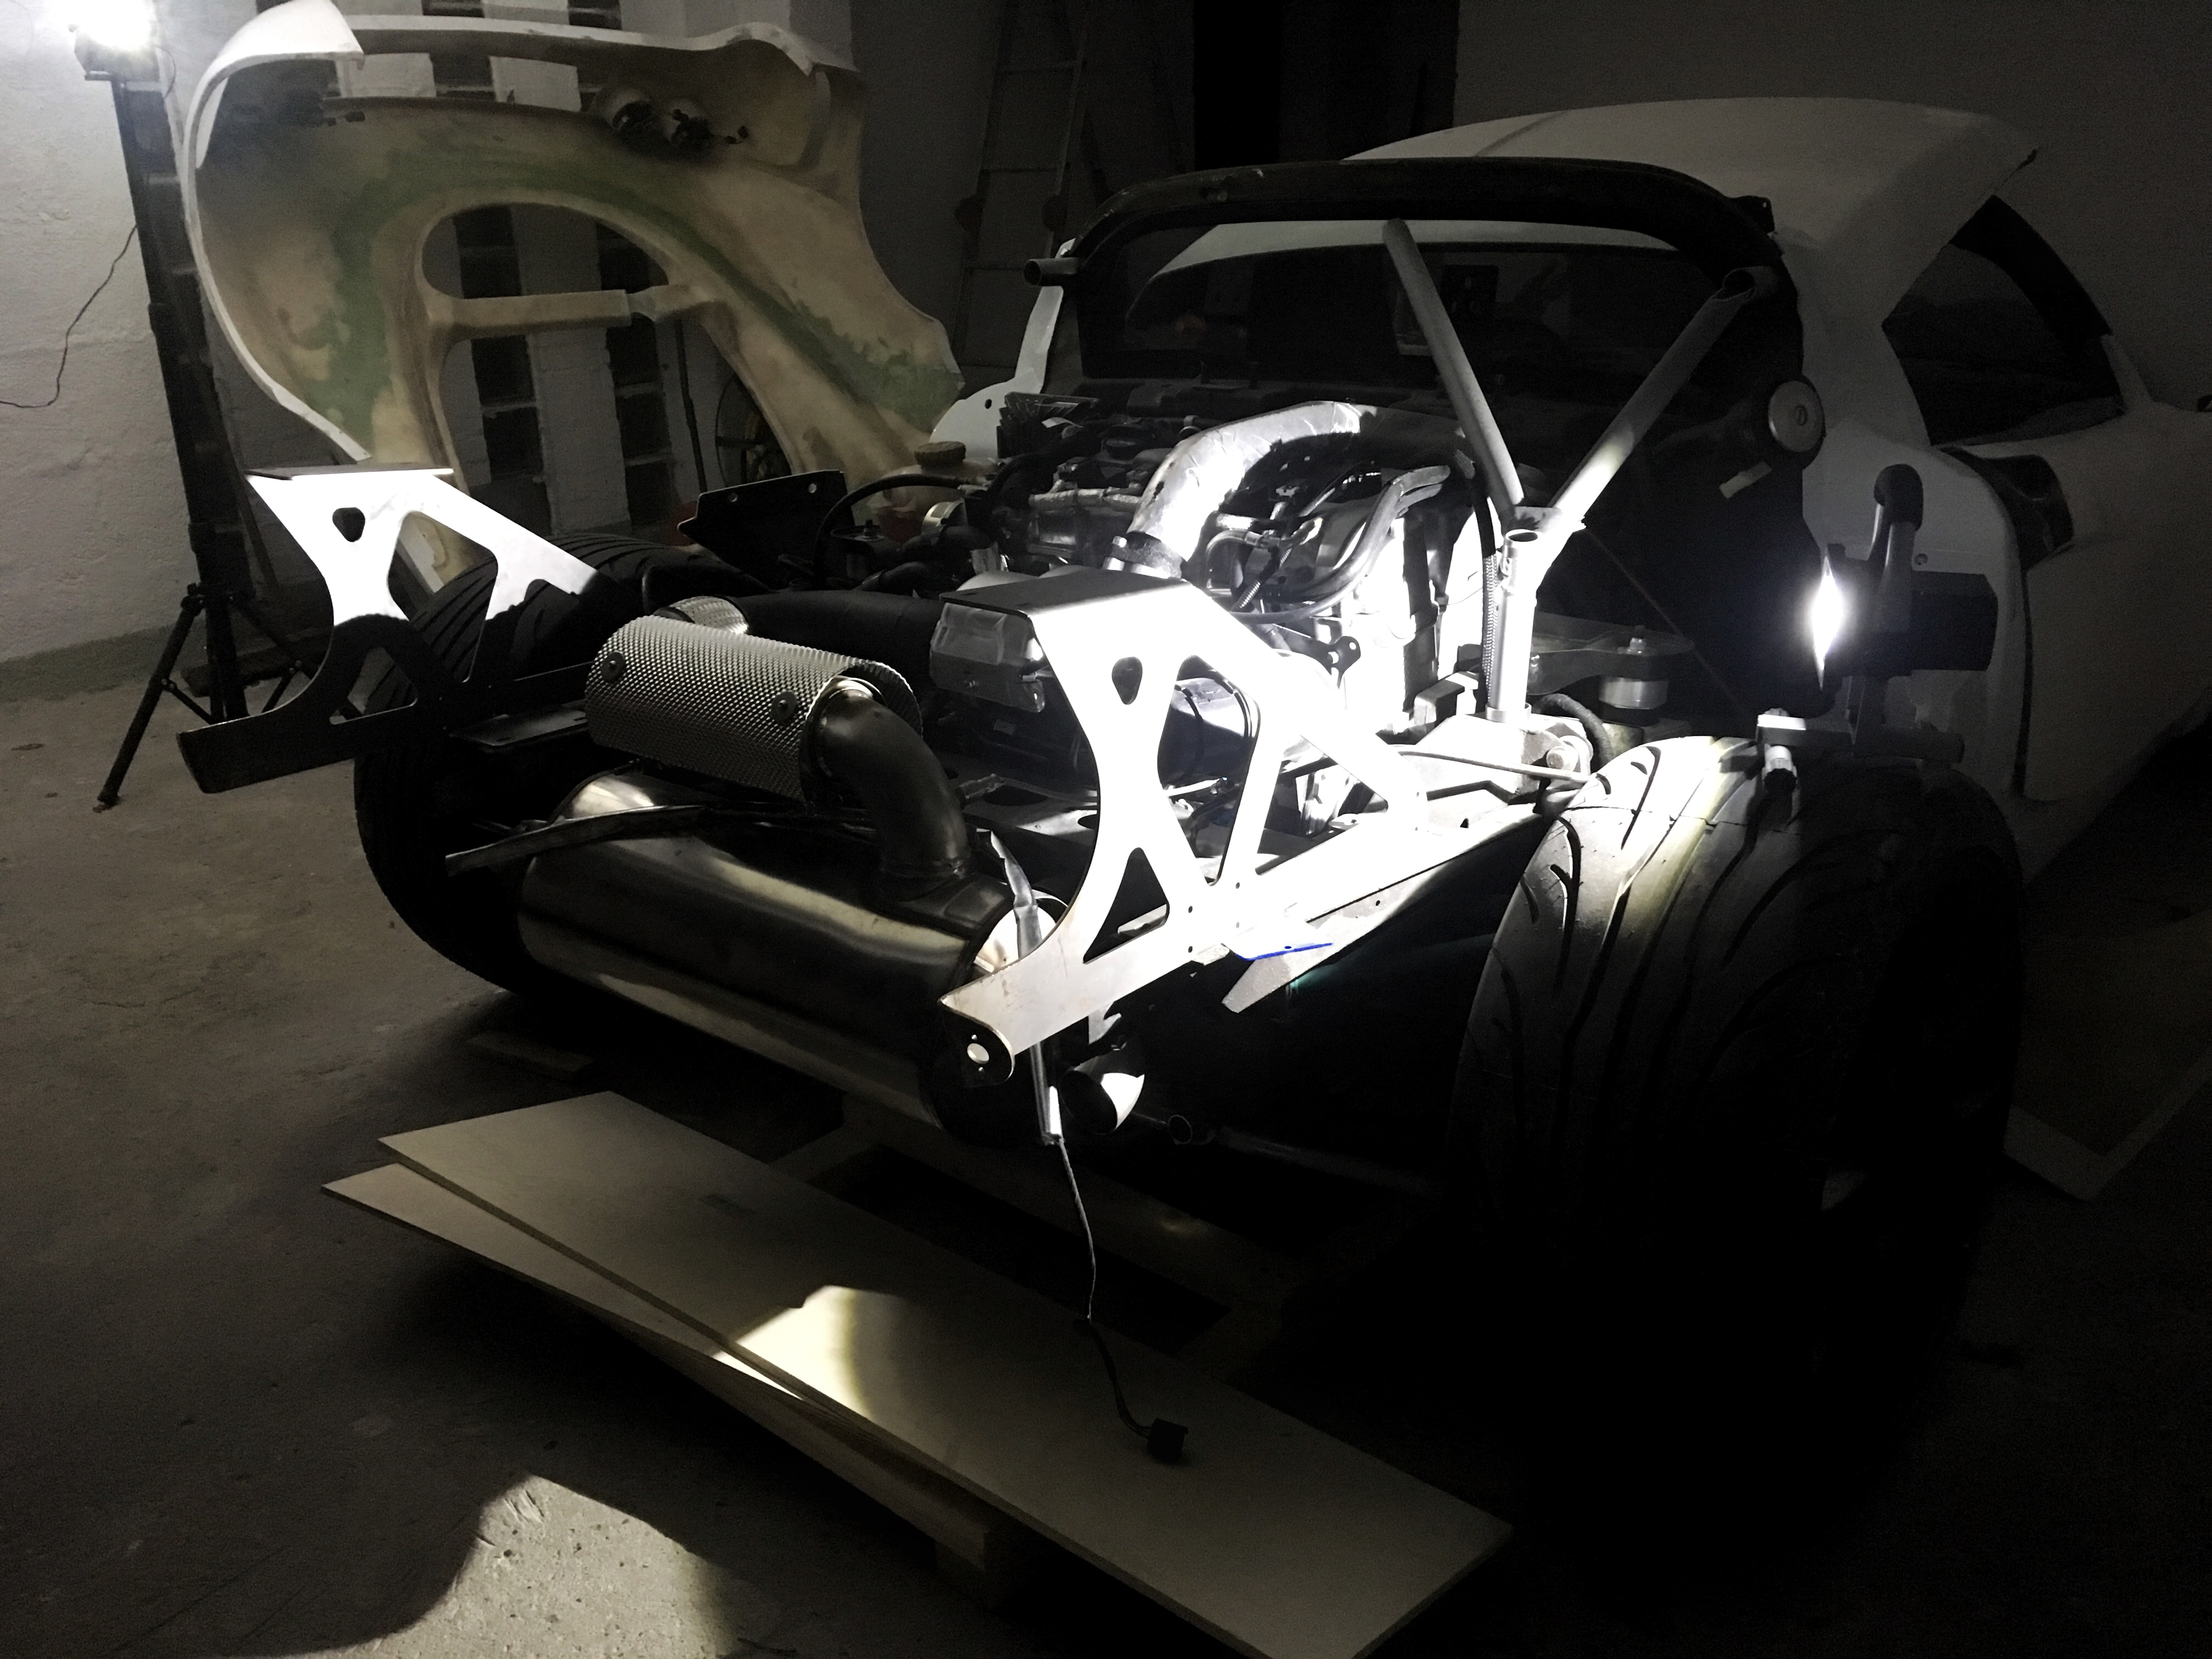
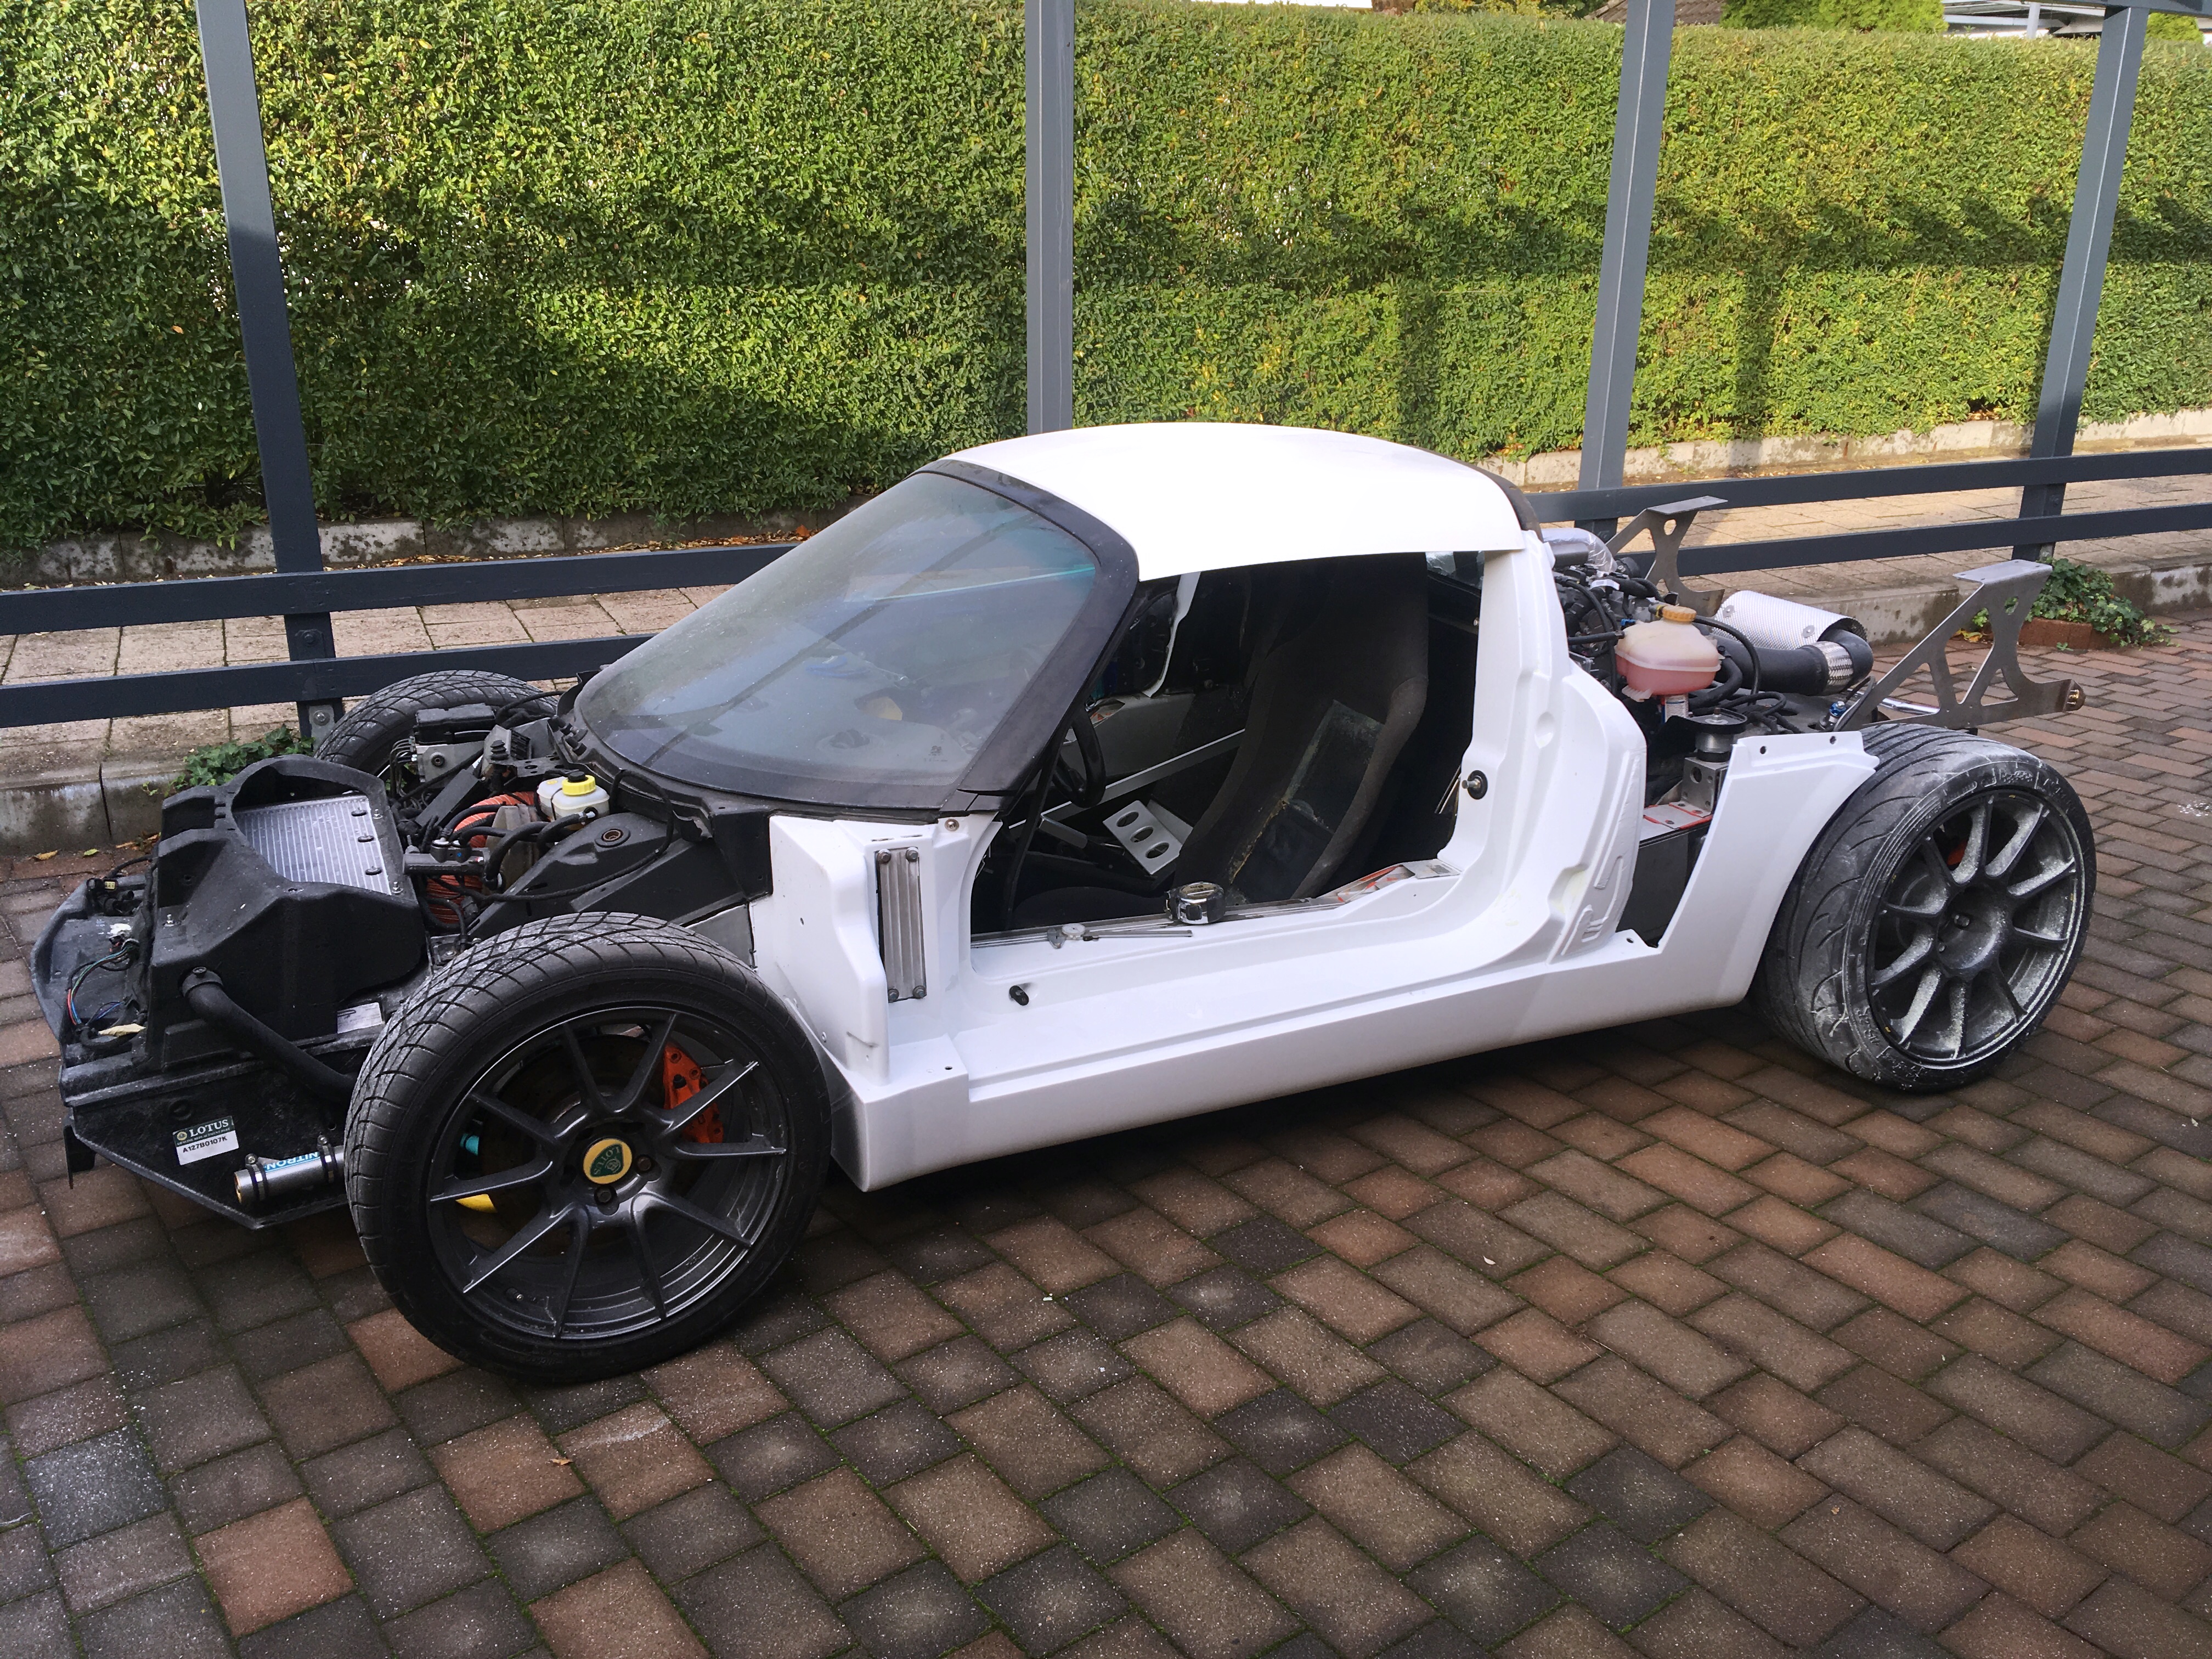
wing/clam supports arrived today from essex laser :)

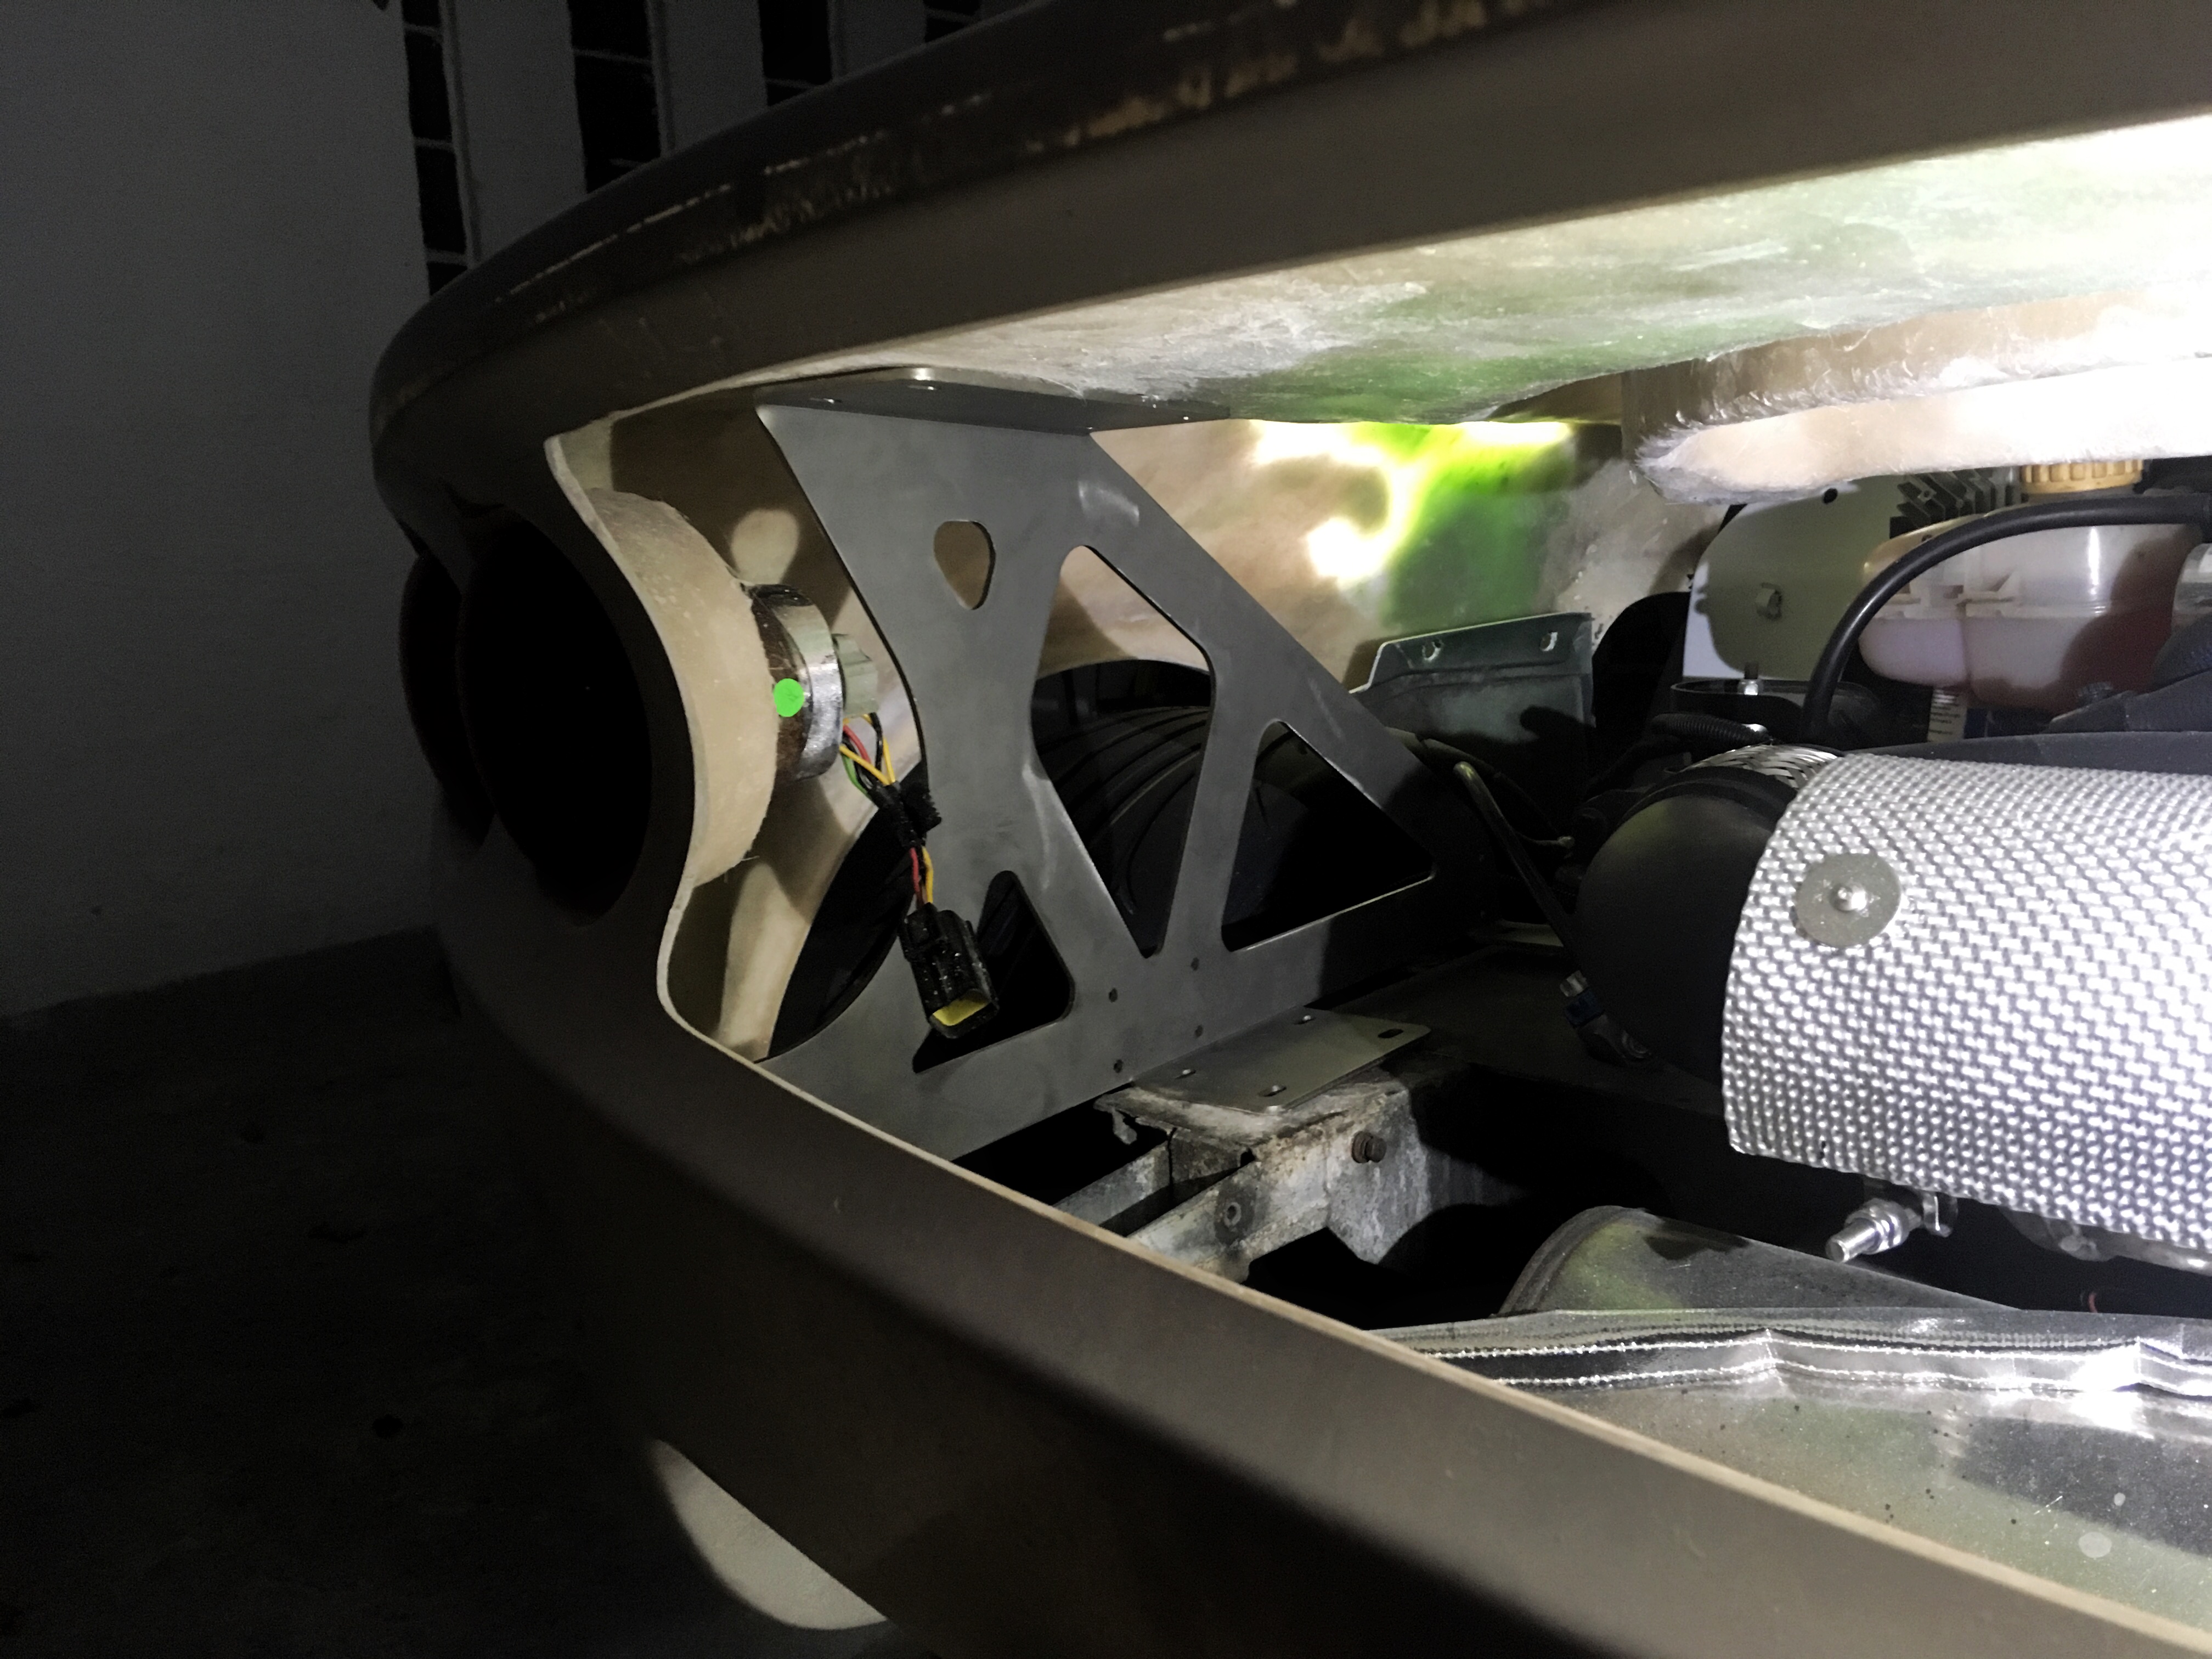
fit is nearly perfect. i need to adjust an angle for the 1/4turn fastener support at the back, but otherwise looking like theyll go in relatively effortlessly, and so far the end position of the clam is within a poofteeth of what id measured. ill adjust the angle thing tomorrow, and itll get bolted down on wednesday. itll be nice to see the clam finally sitting all on its own, and not chocked up with chunks of wood!
IMG_1791.JPG

#1107 Doctor Ed

Doctor Ed

    Need to get Out More

  • PipPipPipPip
  • 1,188 posts
  • Location:Germany

Posted 23 October 2018 - 10:56 PM

random photo update... here's a step back view of the wing supports/uprights. i fixed the angle on the quick release receptacle and have dummied up where to drill tomorrow. tonight, before i get that far tomorrow, i decided it was worth reinforcing the clam on the mounting areas - i noticed a bit of sag in the panel over the mounts, wasnt pretty (particularly after sanding like a motherfucker to make it flat and smooth). might still not be perfect tomorrow, but itl be stiff enough to mount properly. i can further reinforce the panel later if necessary

IMG_1800.JPG

#1108 Rosssco

Rosssco

    Scary Internerd

  • 4,181 posts
  • Gender:Male
  • Location:Aberdeen

Posted 24 October 2018 - 07:24 AM

Did you spec up / draw those mounts yourself Ed and out source the fabrication from somewhere?


#1109 Doctor Ed

Doctor Ed

    Need to get Out More

  • PipPipPipPip
  • 1,188 posts
  • Location:Germany

Posted 24 October 2018 - 08:28 AM

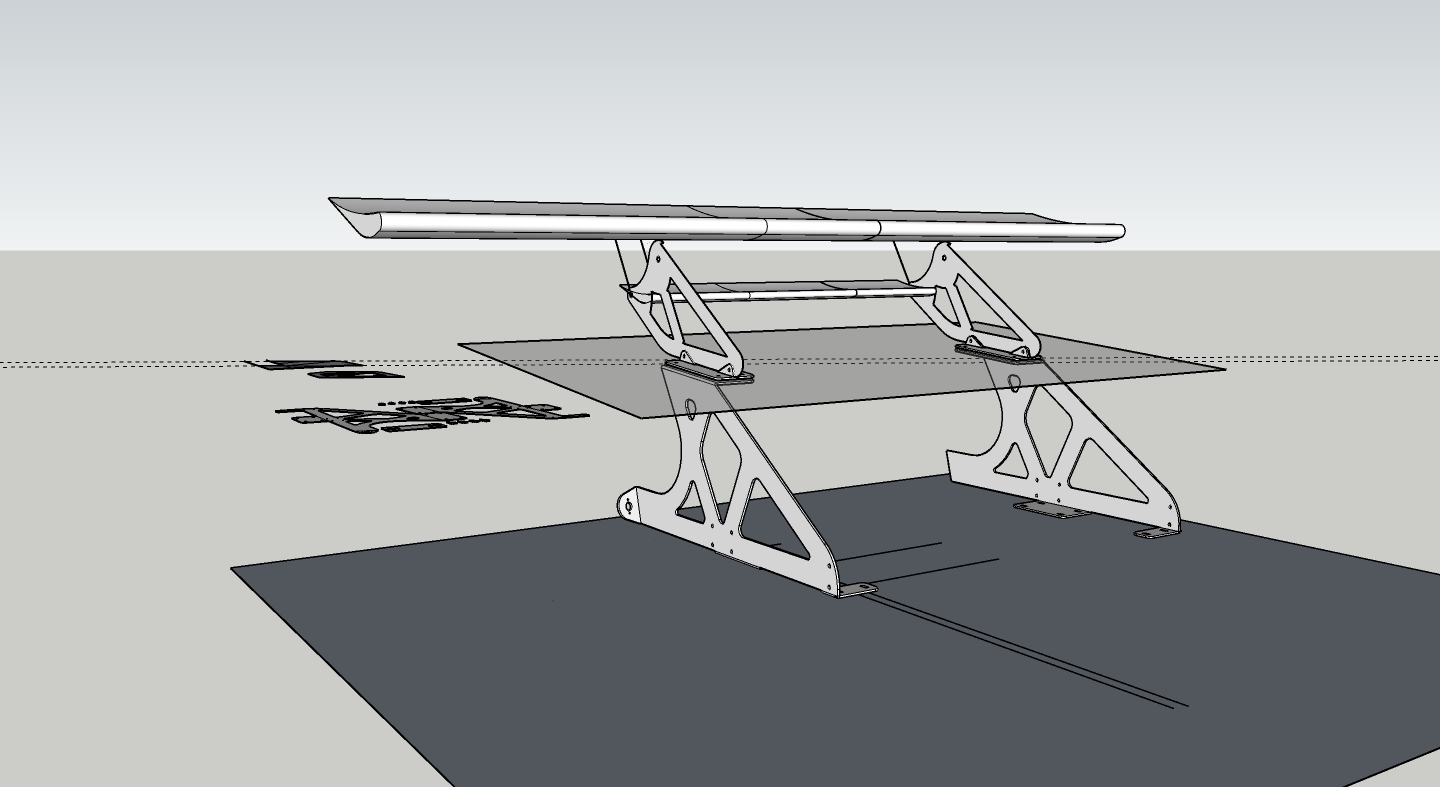
drew them up lounging on the sofa over a beer, laser cutting and folding outsourced to Essex Laser (blatant plug)

https://www.essexlaser.co.uk/

upper deck parts arent made yet, need to talk to the wing guy about mounting etc. for now just happy to get the clam mounted
wing_support_v2.jpg

Edited by Doctor Ed, 24 October 2018 - 08:31 AM.


#1110 Rosssco

Rosssco

    Scary Internerd

  • 4,181 posts
  • Gender:Male
  • Location:Aberdeen

Posted 24 October 2018 - 08:54 AM

Ah nice.. I guess these guys will produce anything you send them a CAD file for (other than knives or stabbing weapons :D)


And their name makes me think of a Ford Capri..  :huh: 


#1111 Doctor Ed

Doctor Ed

    Need to get Out More

  • PipPipPipPip
  • 1,188 posts
  • Location:Germany

Posted 24 October 2018 - 11:34 AM

so... ive just hard mounted the clam :) got it to within a mm of symmetrical, which was no mean feat considering the piece (although very good) has a diagonal bow/pull in it which is a major headfuck. plus im convinced its physically 5-10mm shorter on one side if you measure the diagonals and fr/rr offsets. i slotted the clam/wing mounts for this very reason, allowing a bit of adjustability. worked a treat, and pulled up well. you cant see the 5-10mm unless you sit down with a tape measure and start looking for it.

#1112 Doctor Ed

Doctor Ed

    Need to get Out More

  • PipPipPipPip
  • 1,188 posts
  • Location:Germany

Posted 24 October 2018 - 01:12 PM

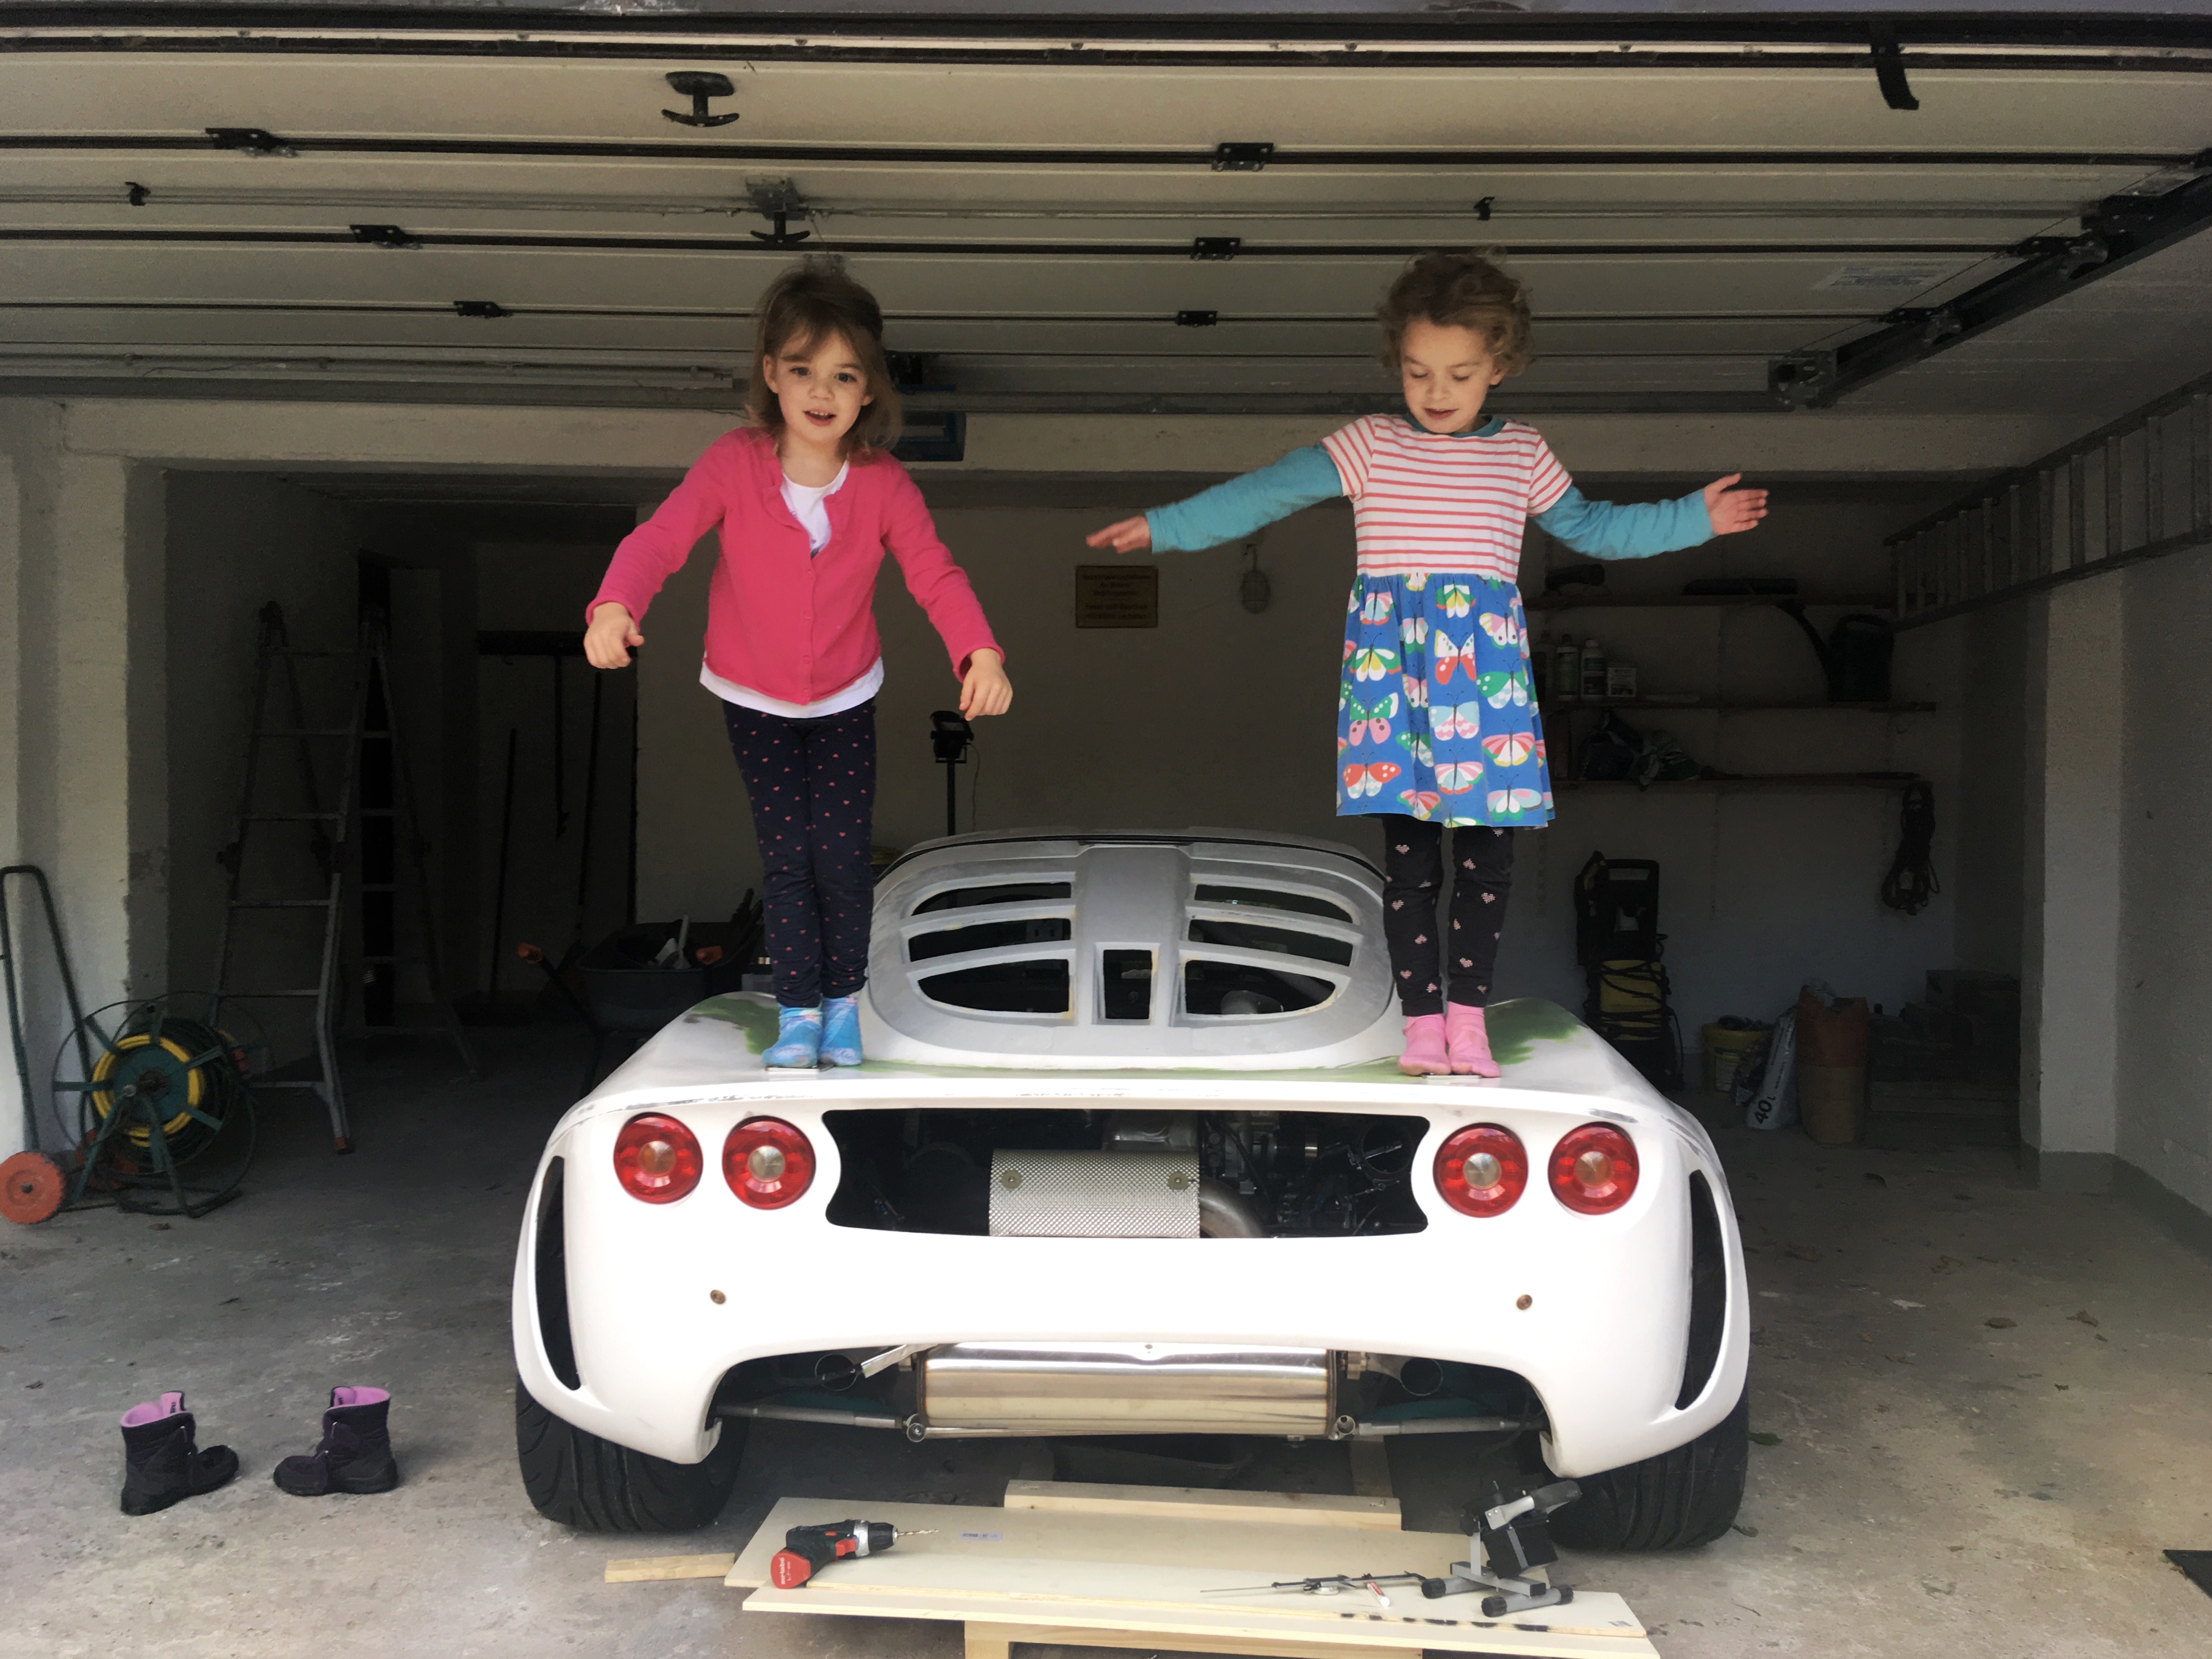
Dynamic load testing

IMG_1813.JPG

#1113 Doctor Ed

Doctor Ed

    Need to get Out More

  • PipPipPipPip
  • 1,188 posts
  • Location:Germany

Posted 28 October 2018 - 06:15 PM
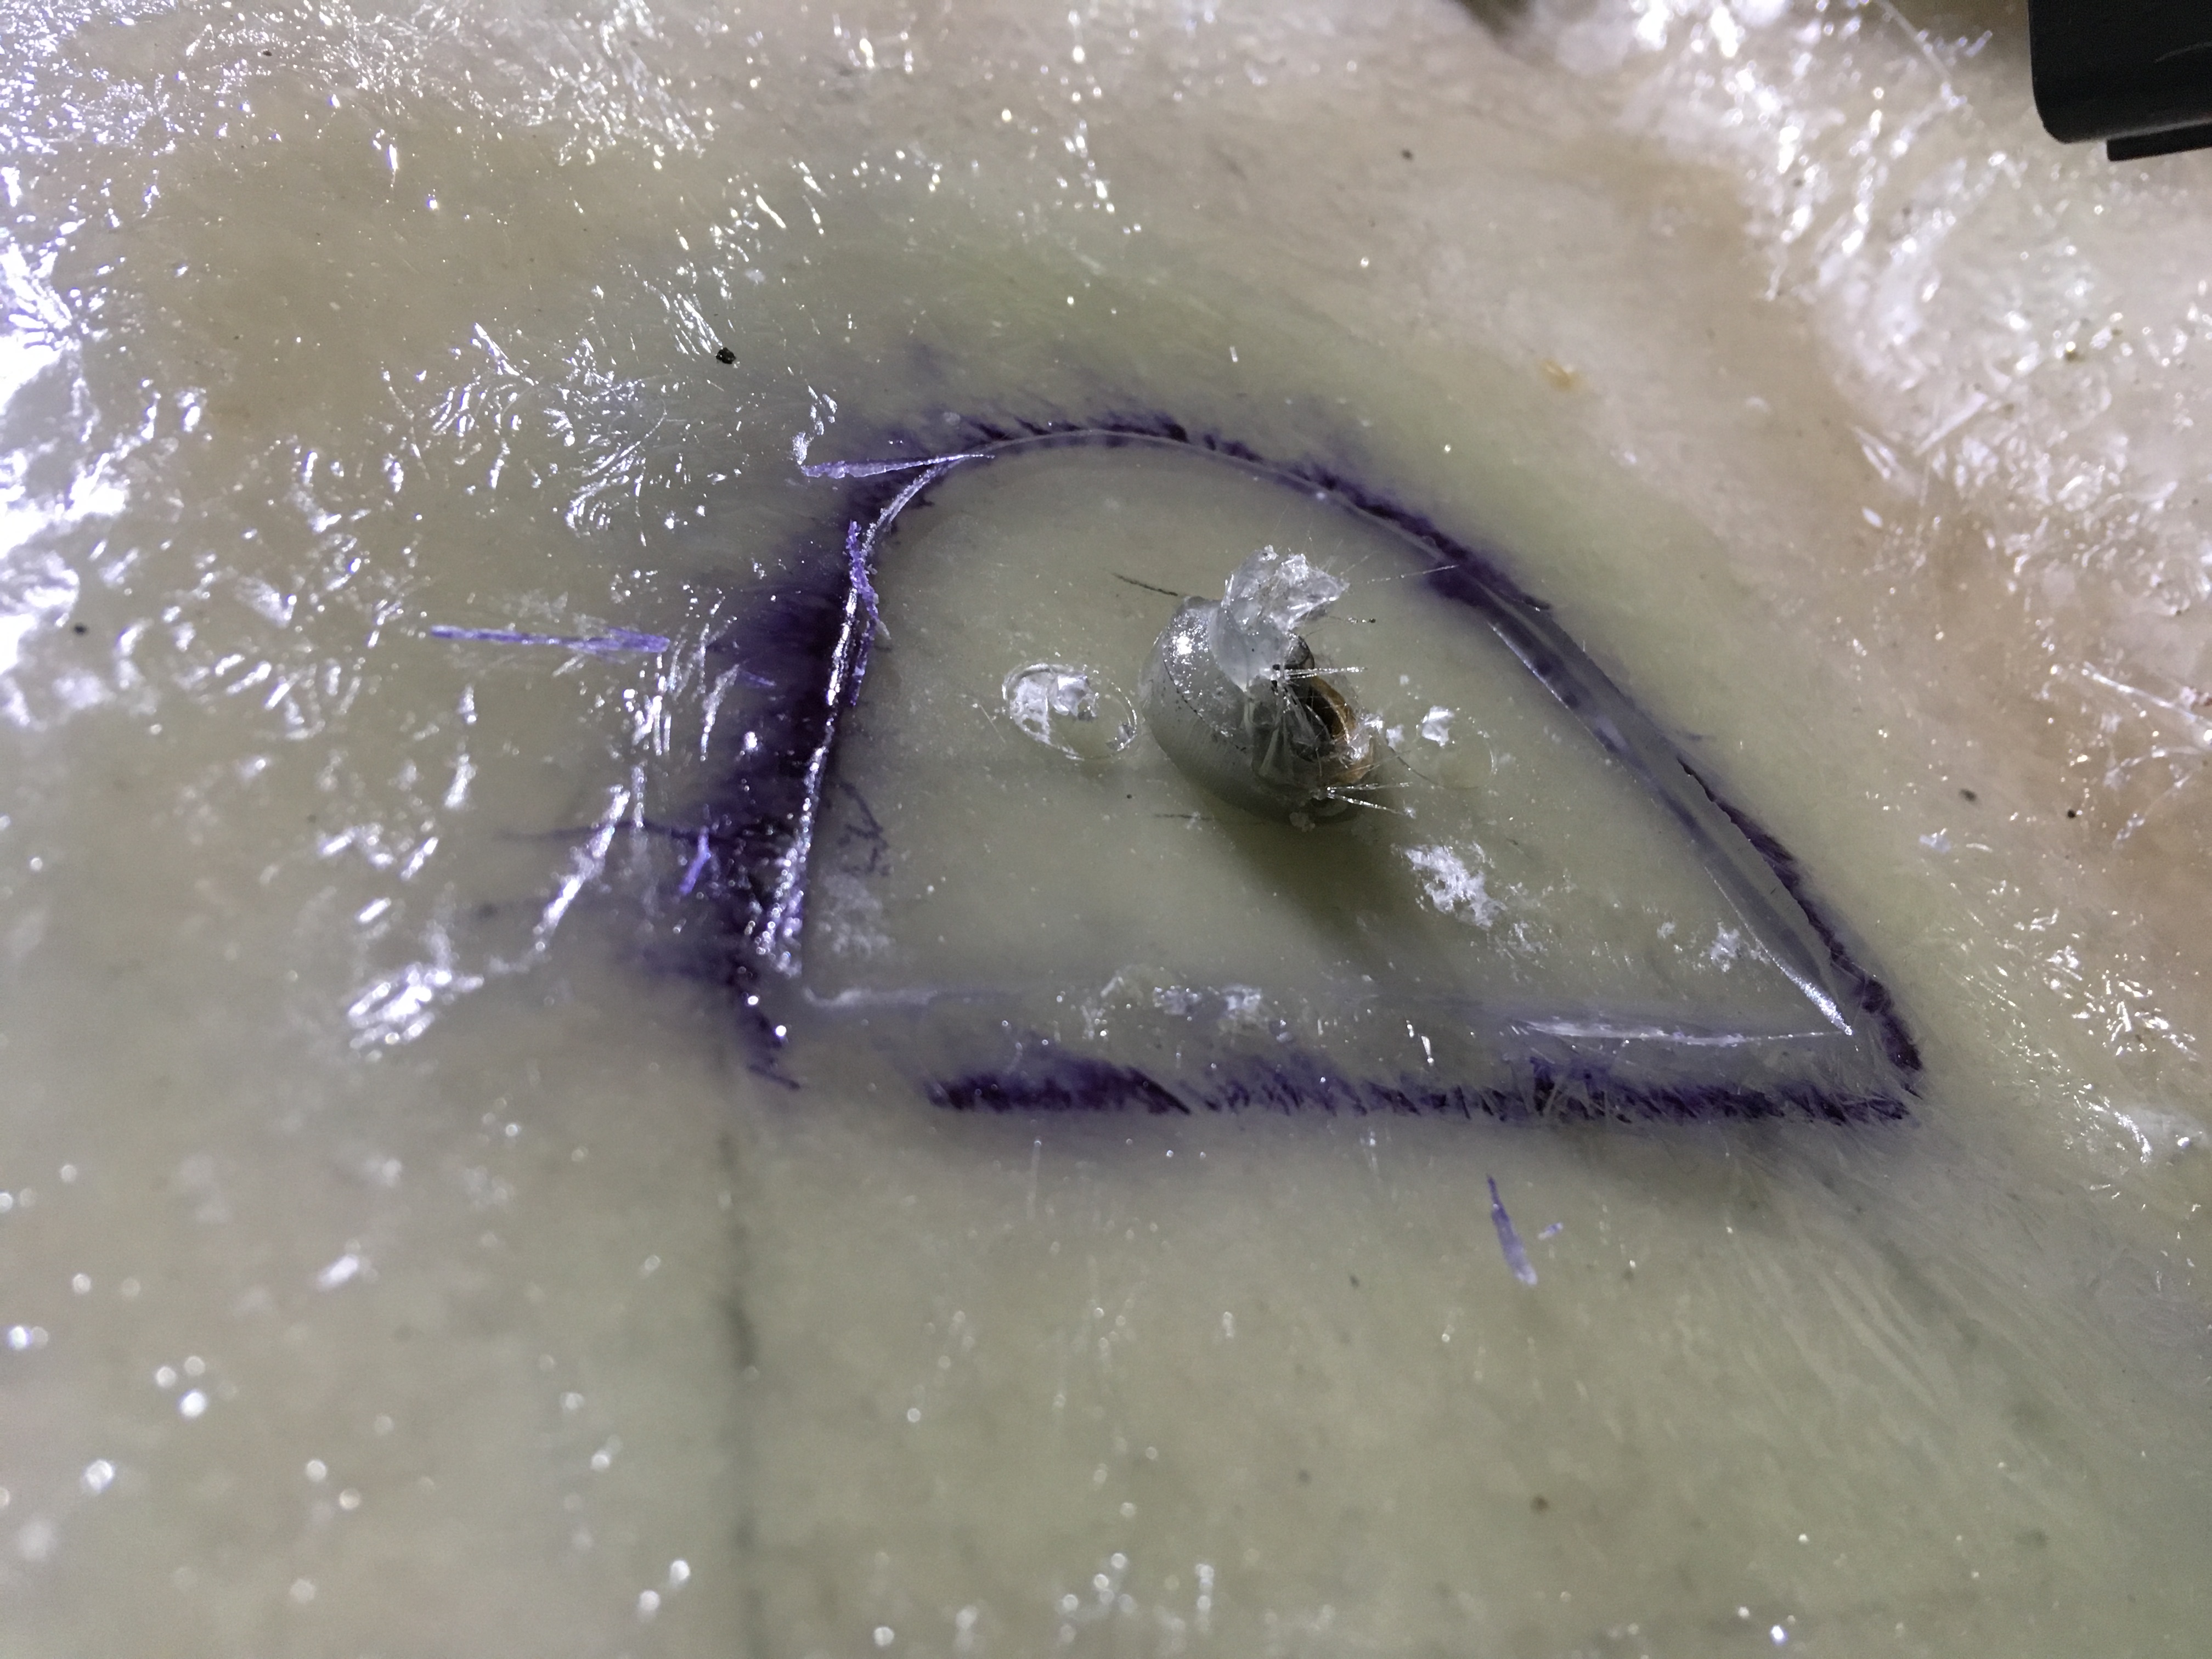
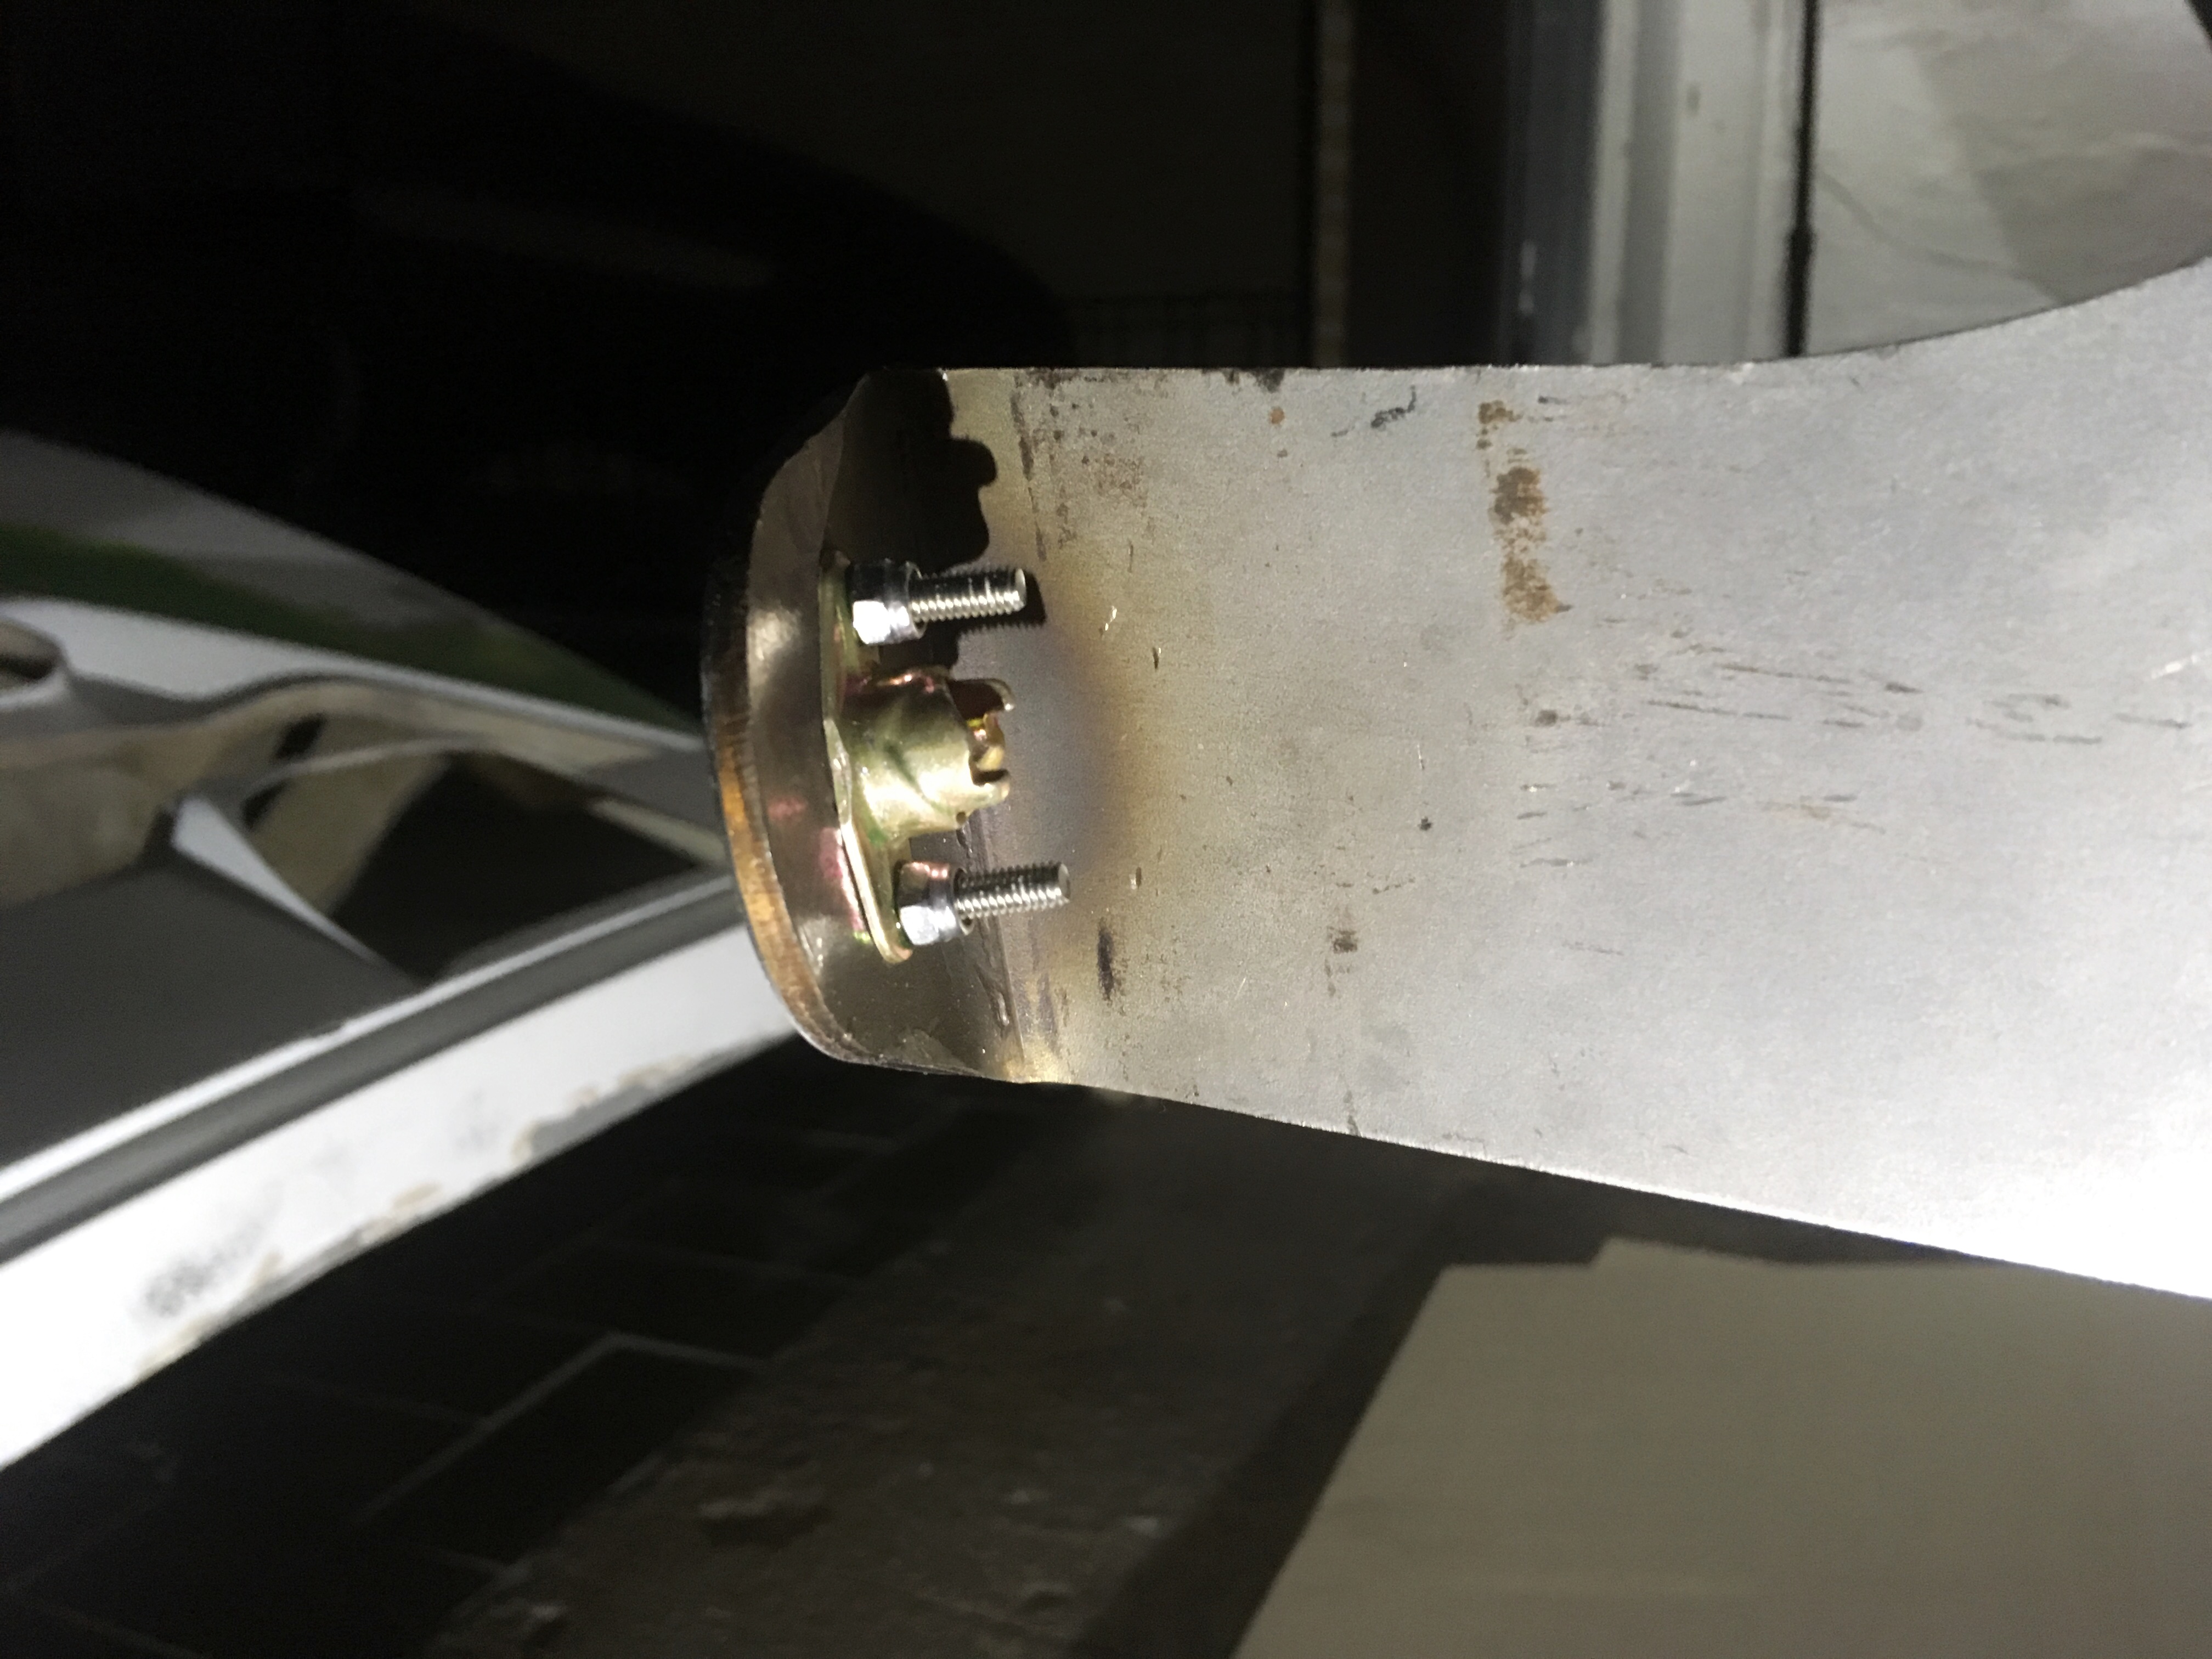
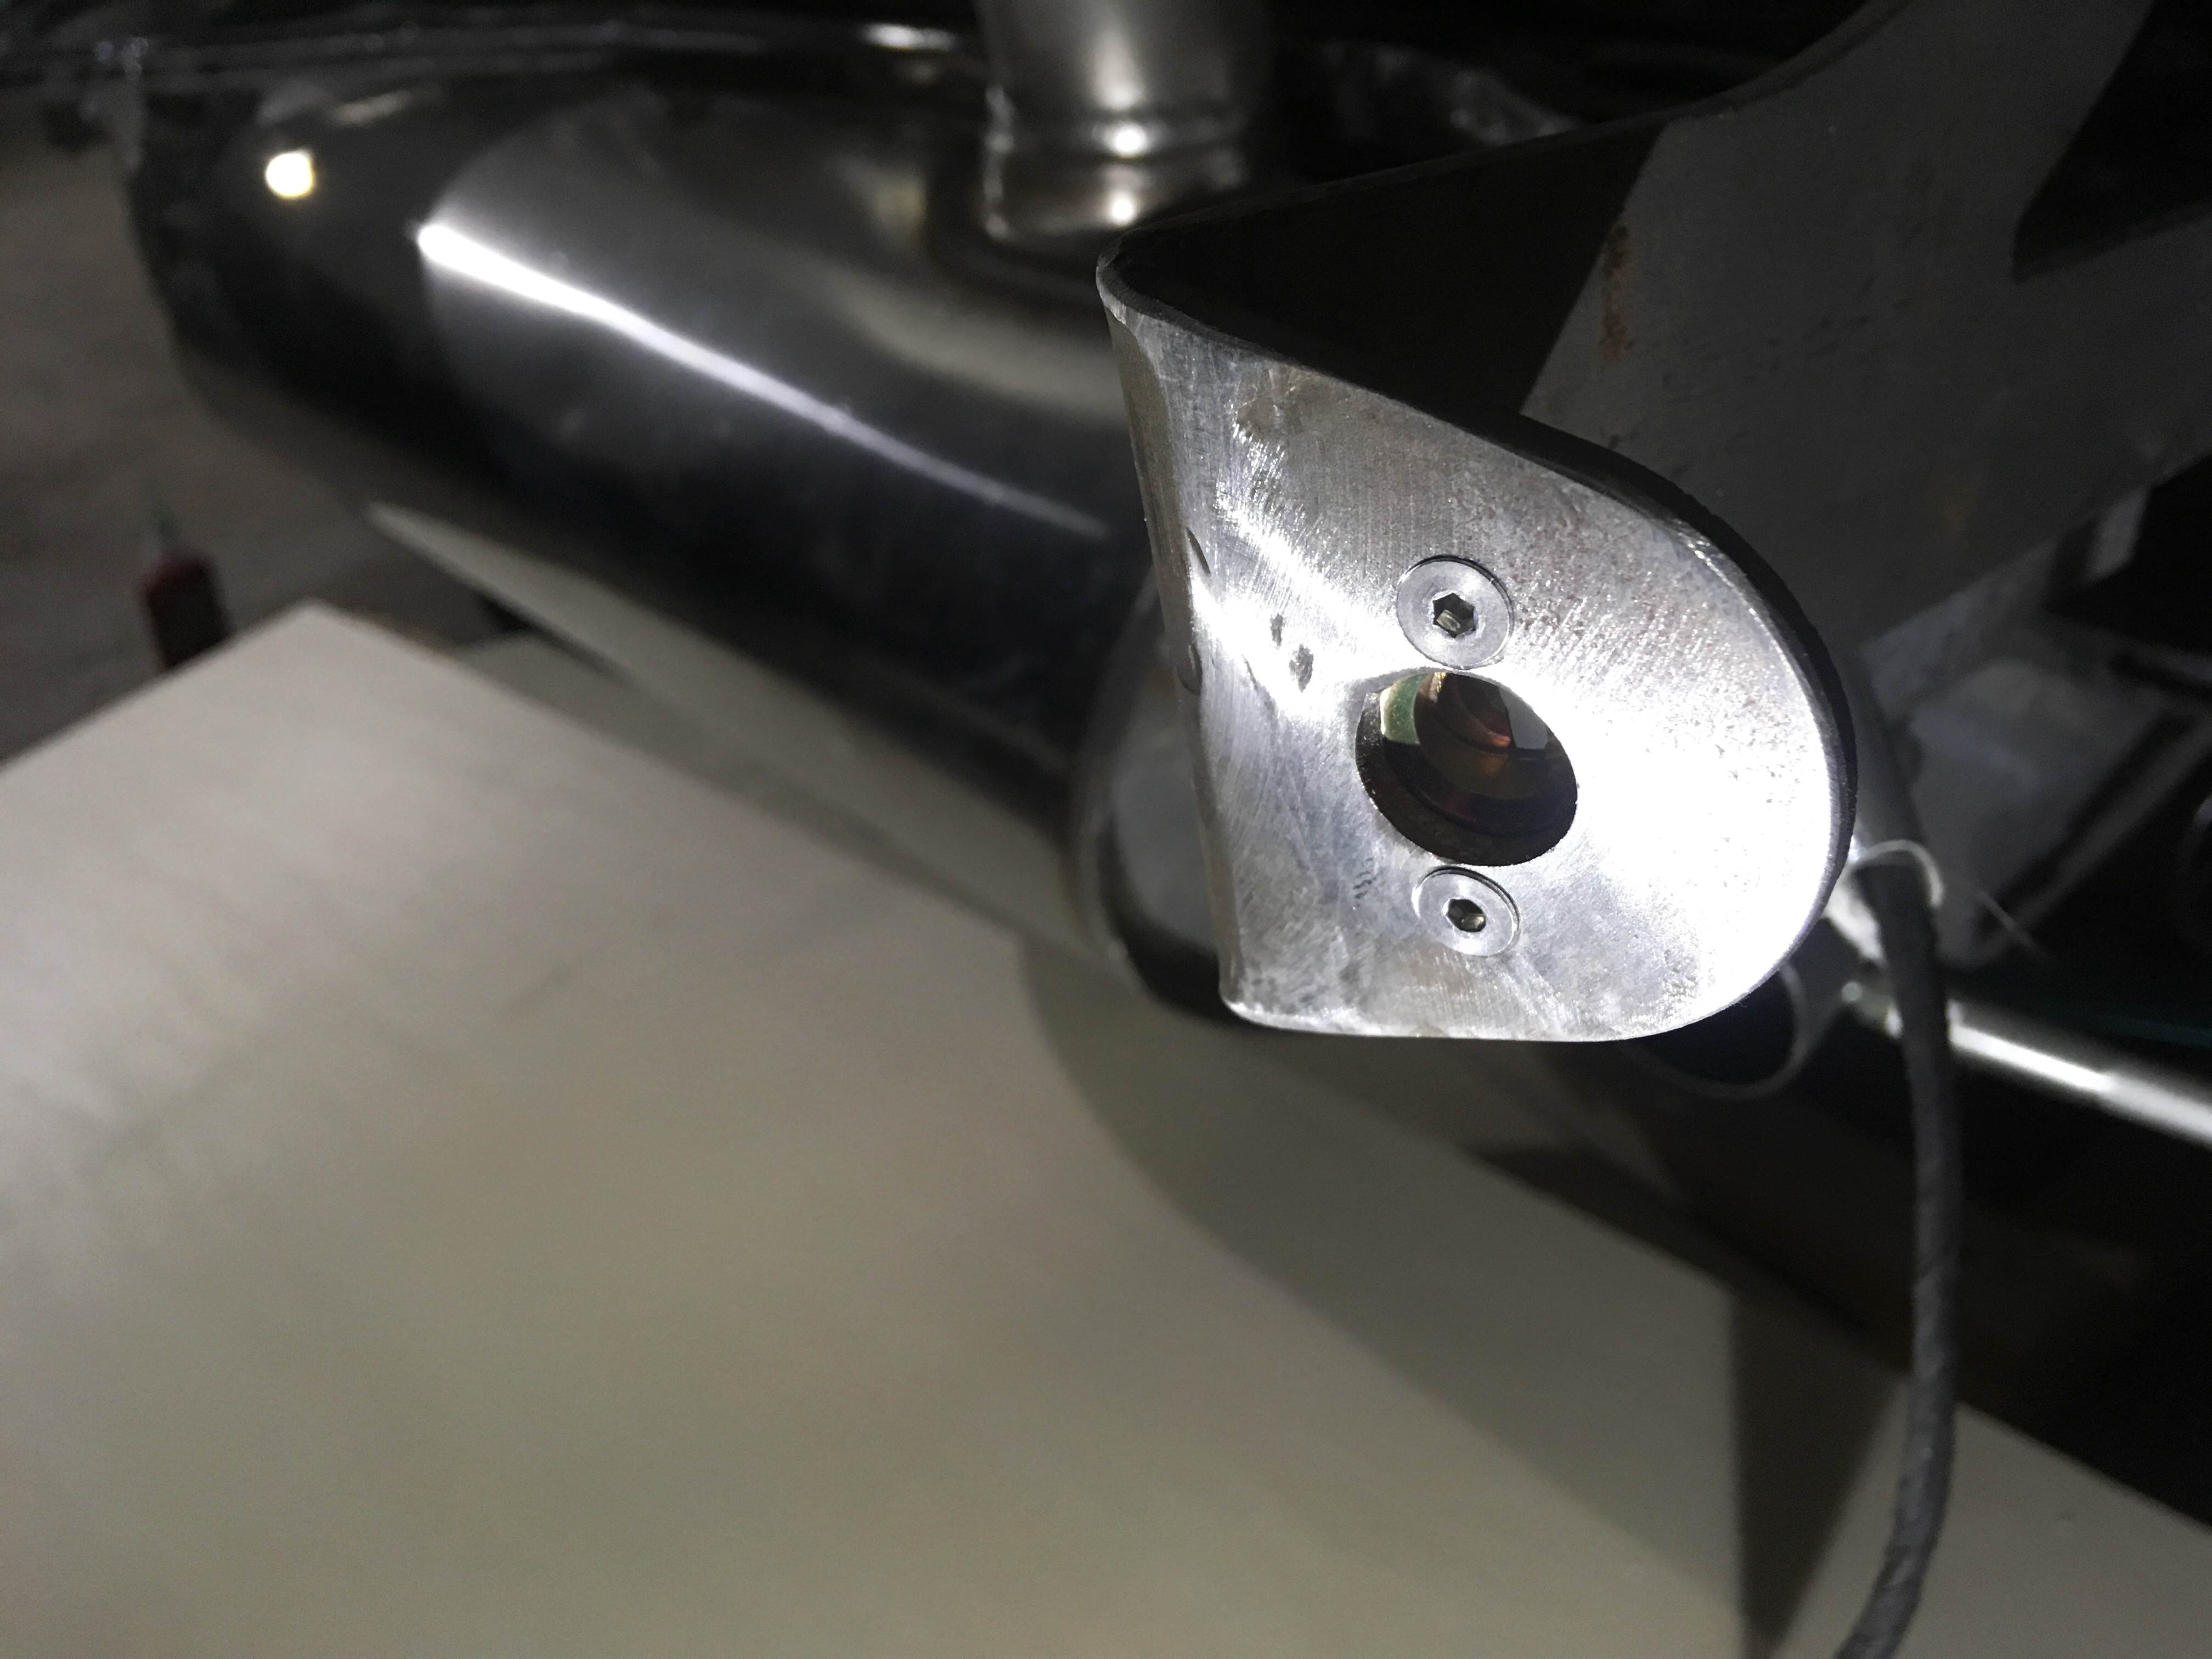
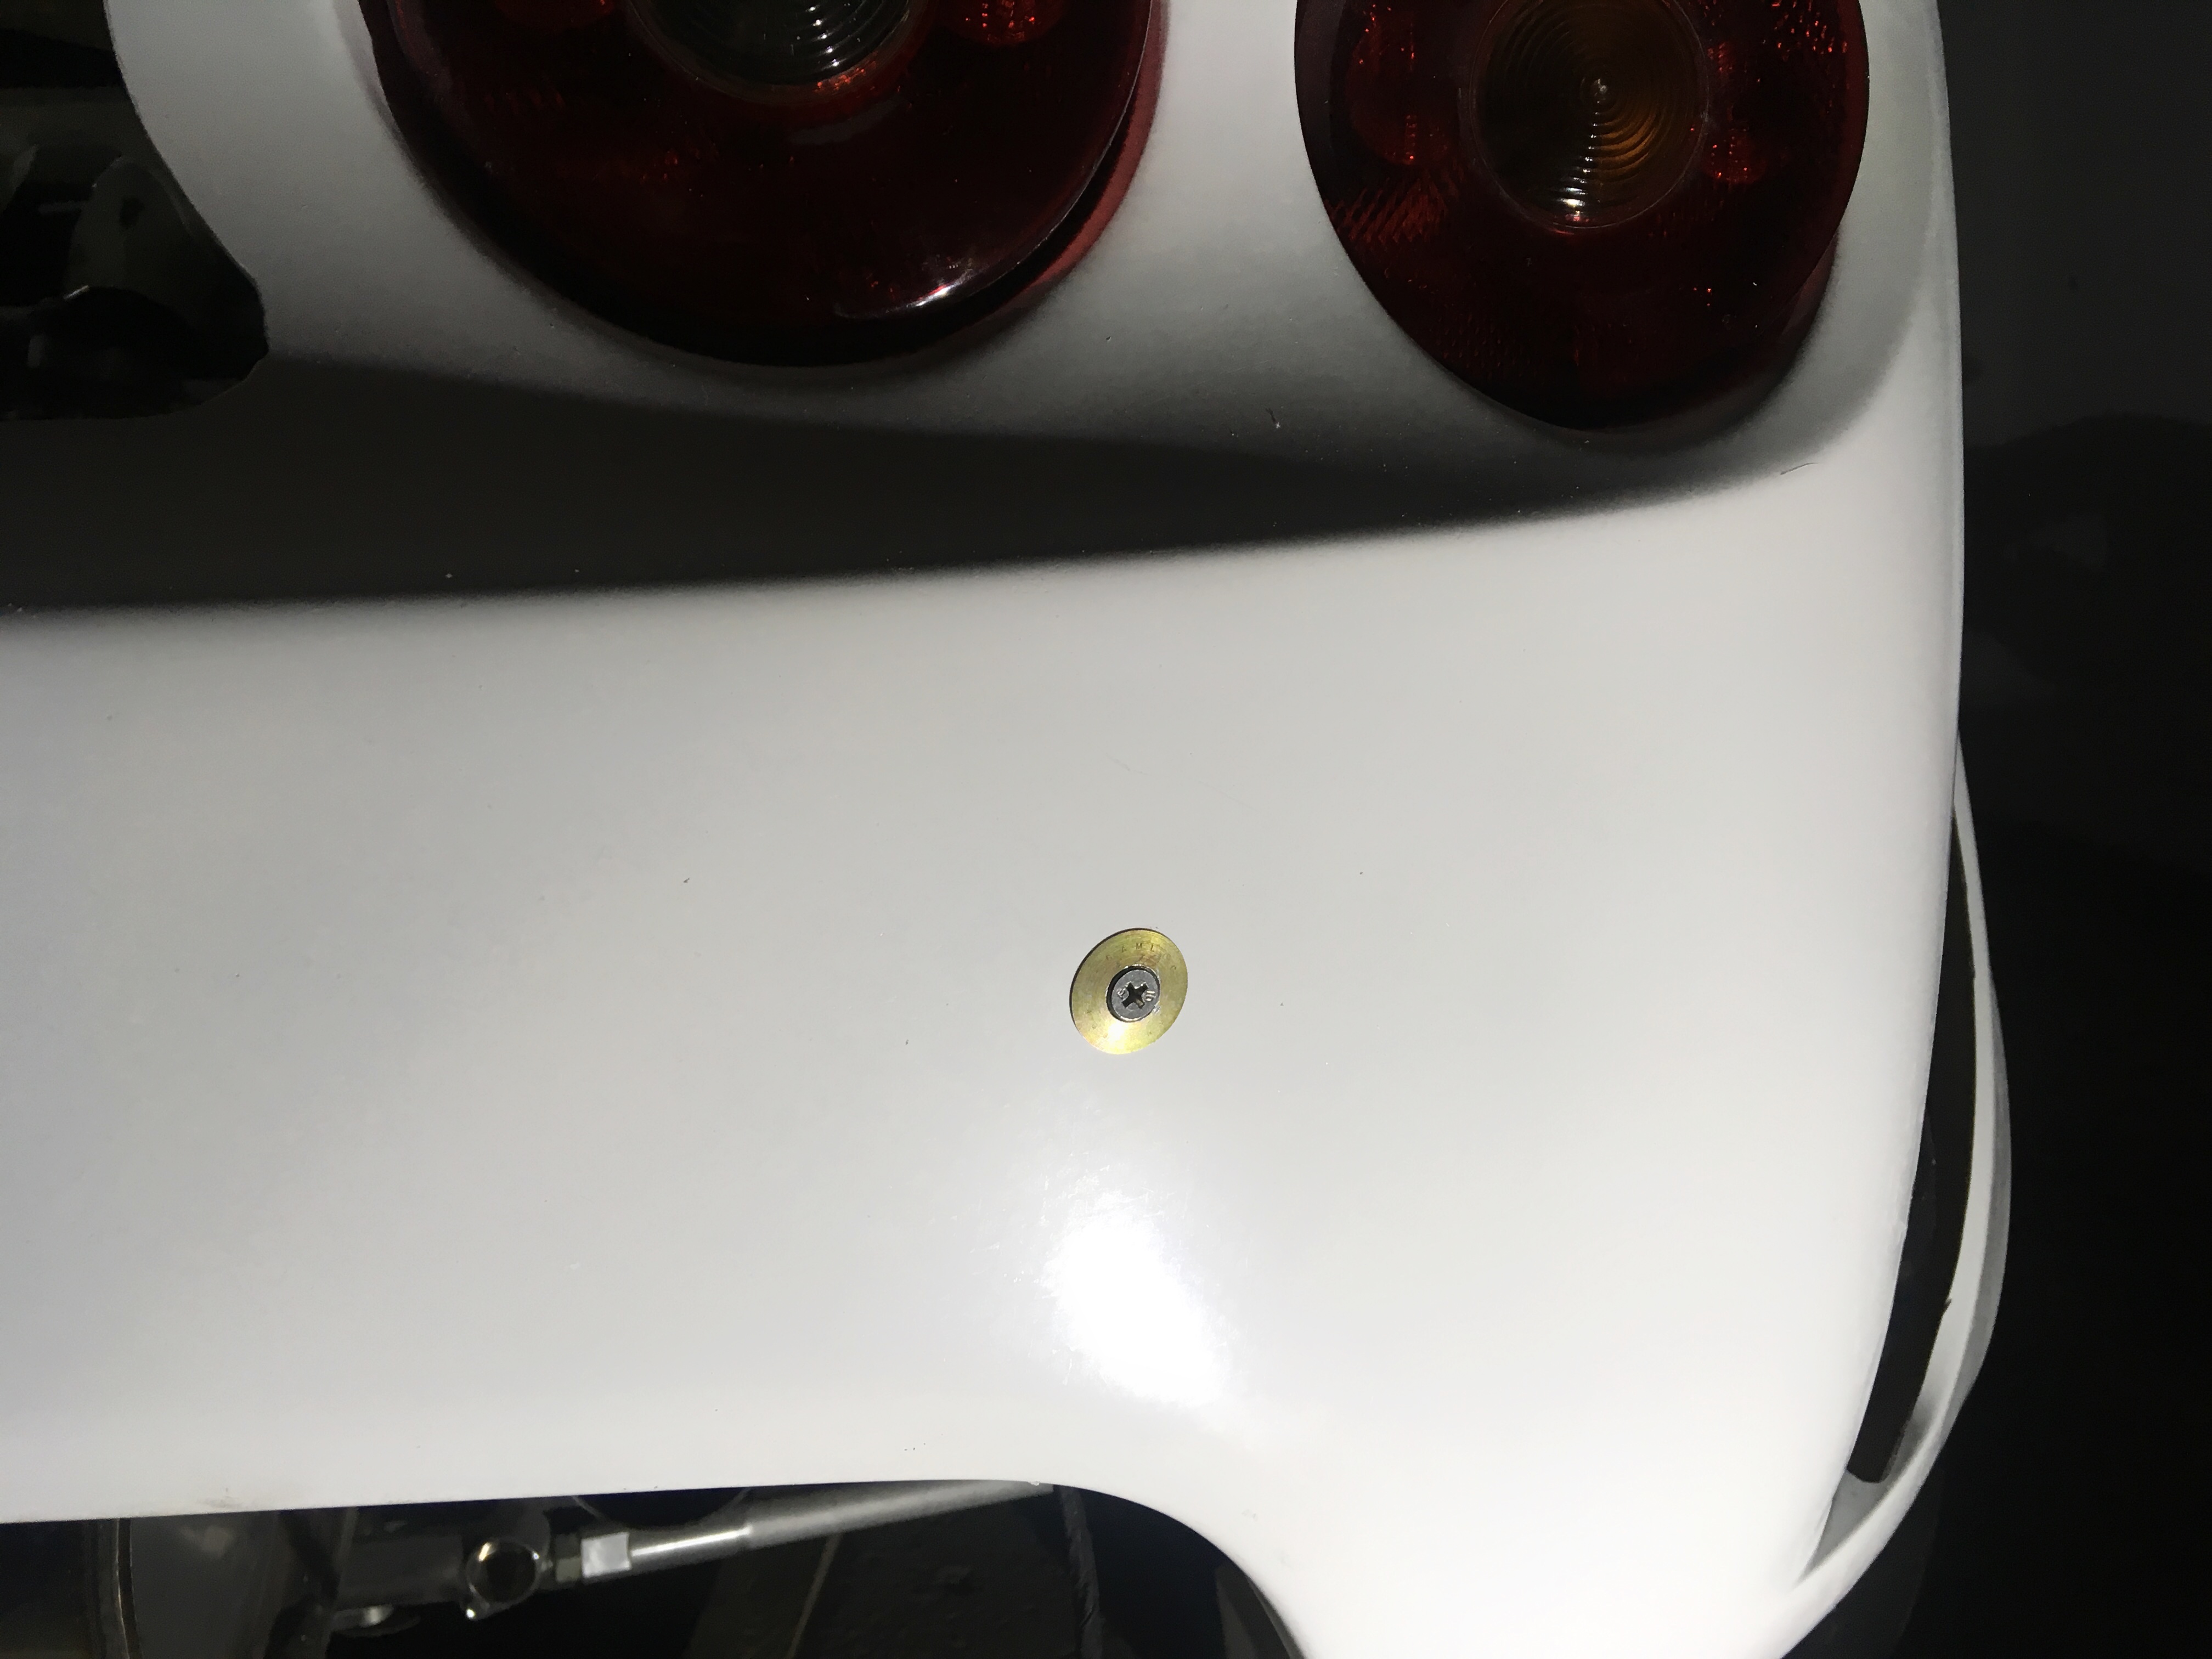
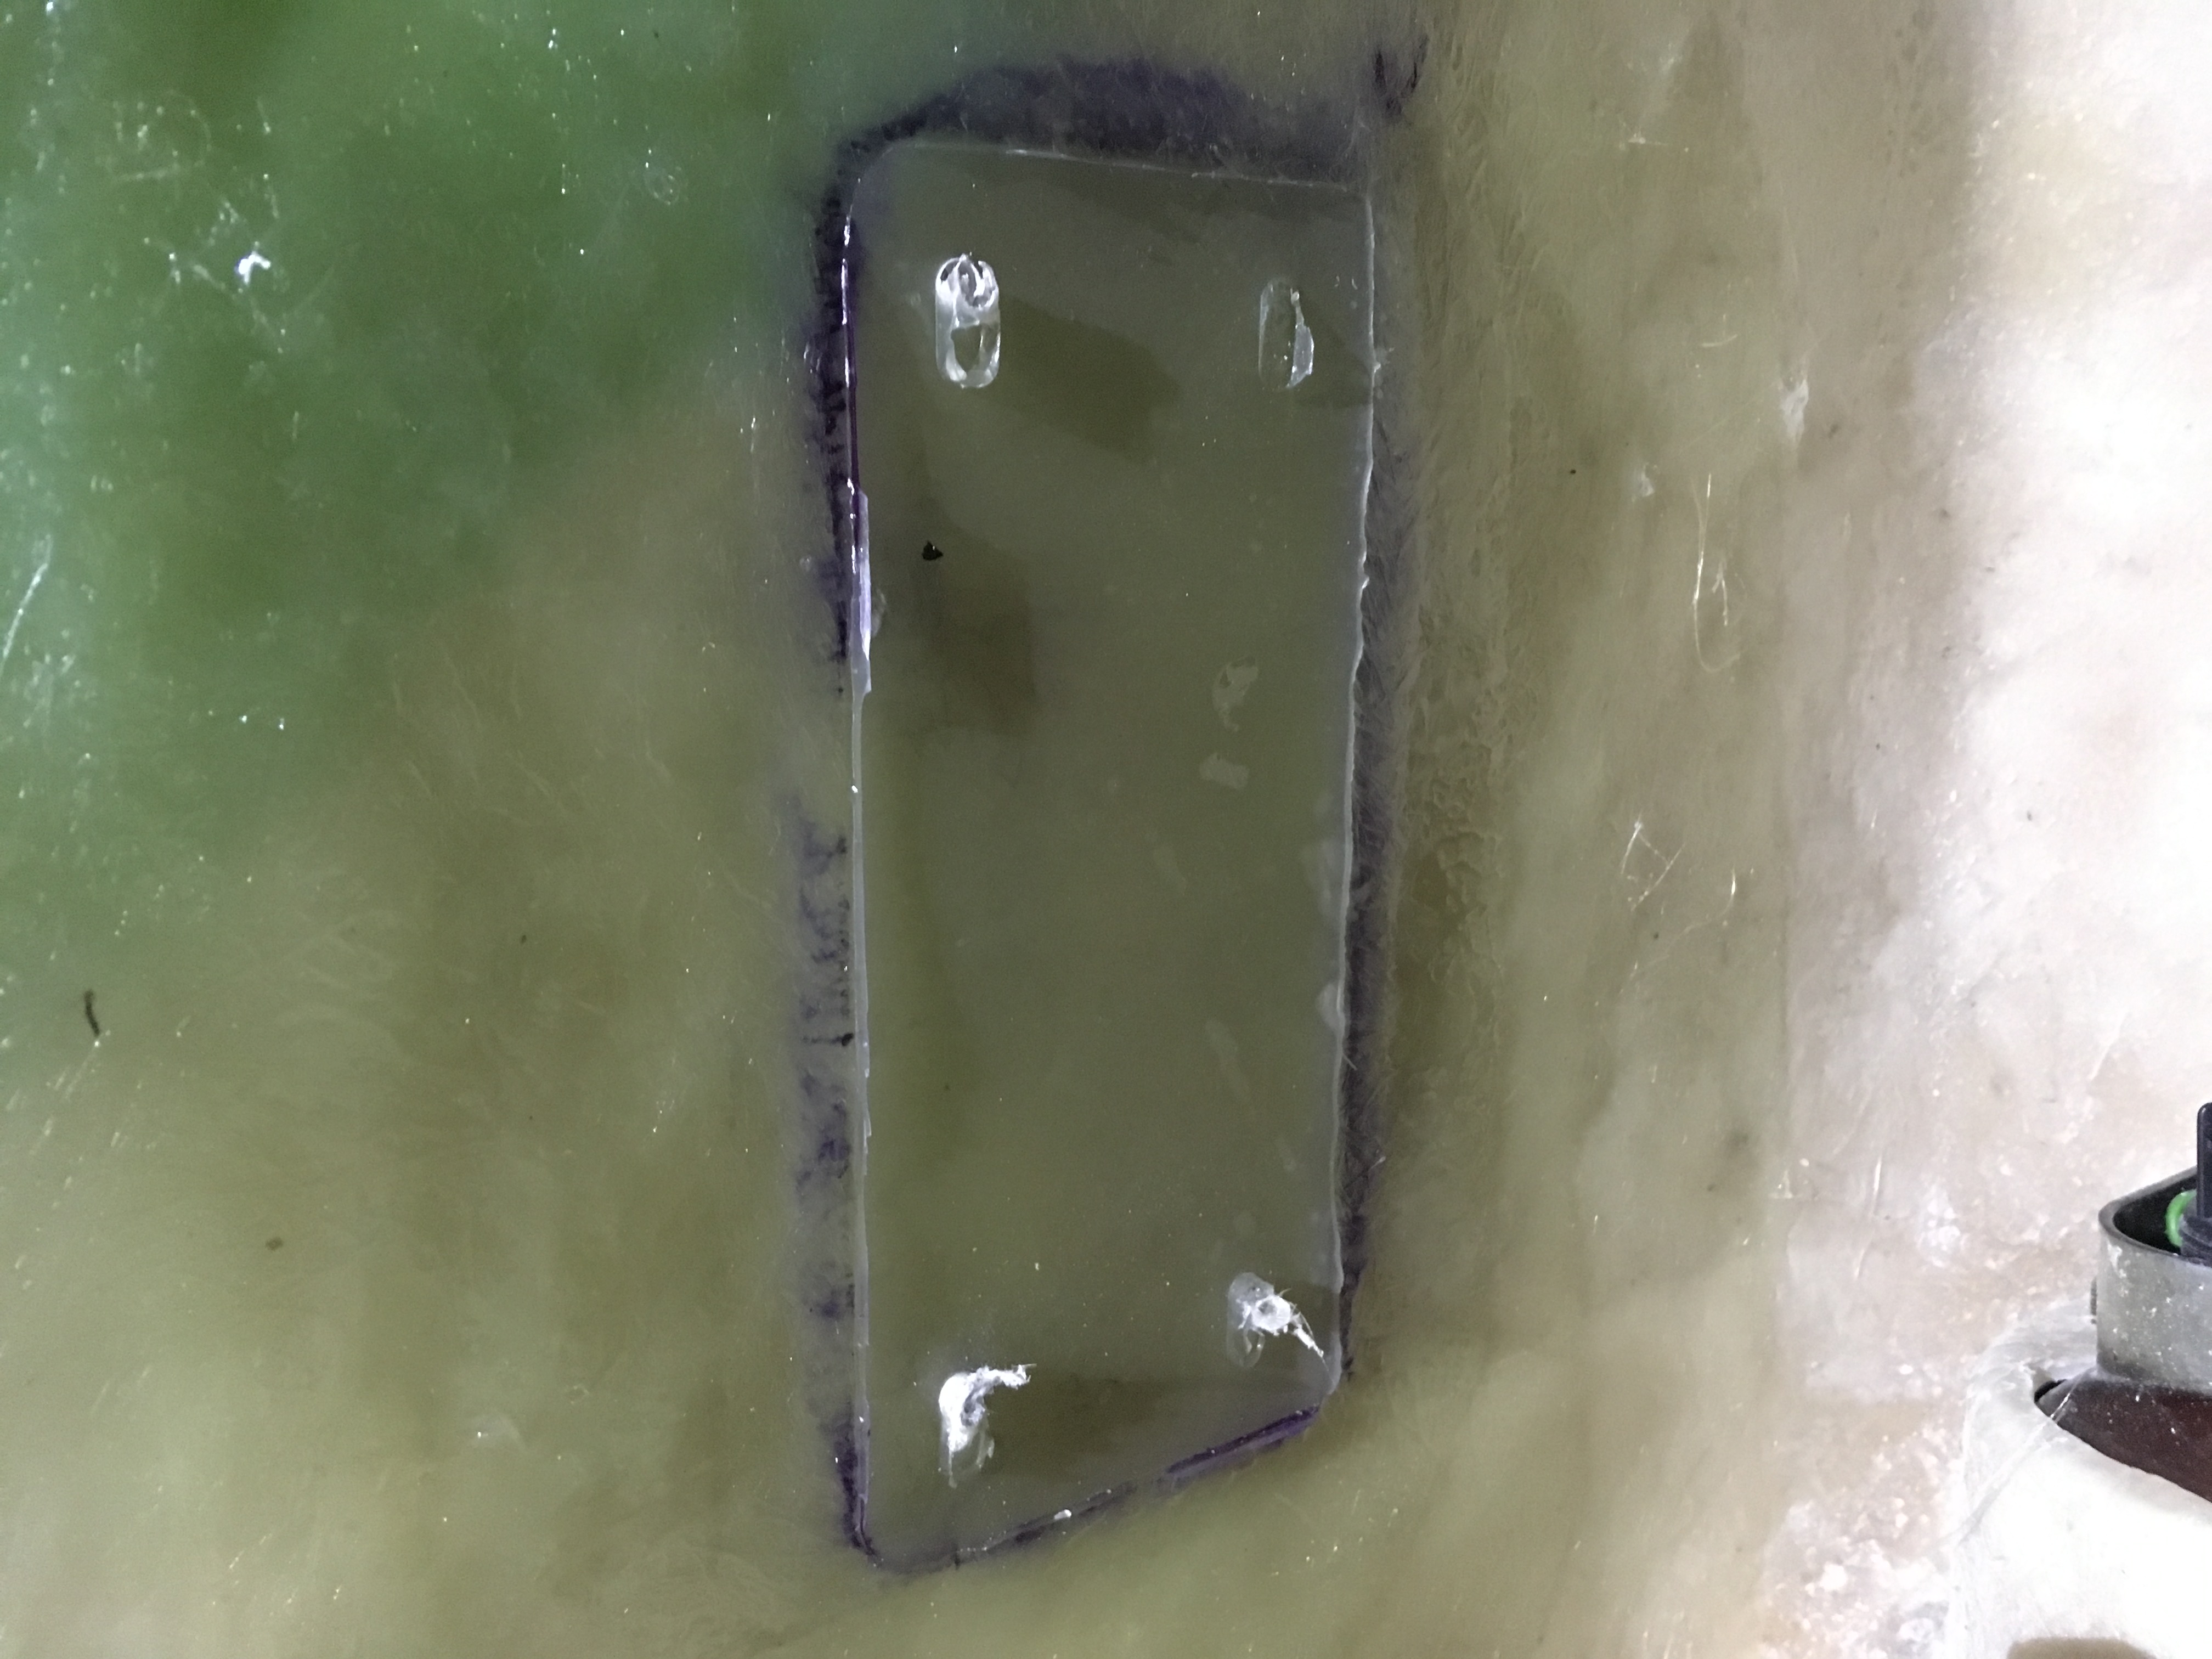
Got the rear camlocs lined up, drilled and mounted. Even just with the 2 single fasteners in place the clam is surprisingly solid 
 
btw laser cutting ftw... camloc tech drawings say xyz, draw CAD to xyz, get pieces made, and fcuk me drunk everything fits. Nothing more goddamn annoying than manually drilling M4 holes on some random 27.5mm hand measured center only to discover the fcuker is 0.25mm out and nothing lines up.
 
IMG_1928_2.JPG
 
IMG_1927.JPG
 
IMG_1926.JPG
 
IMG_1925.JPG
 
After getting everything aligned, drilled and fastened, I decided it would be wise to disassemble and glass the inside of the clam with some sloppy chopped mat over the mounting surfaces, and then loosely reassemble everything whilst still wet. Ive now got perfectly flat and congruent hard-mount surfaces :)
 
IMG_1961.JPG
 
IMG_1962.JPG


#1114 Doctor Ed

Doctor Ed

    Need to get Out More

  • PipPipPipPip
  • 1,188 posts
  • Location:Germany

Posted 30 October 2018 - 06:21 PM

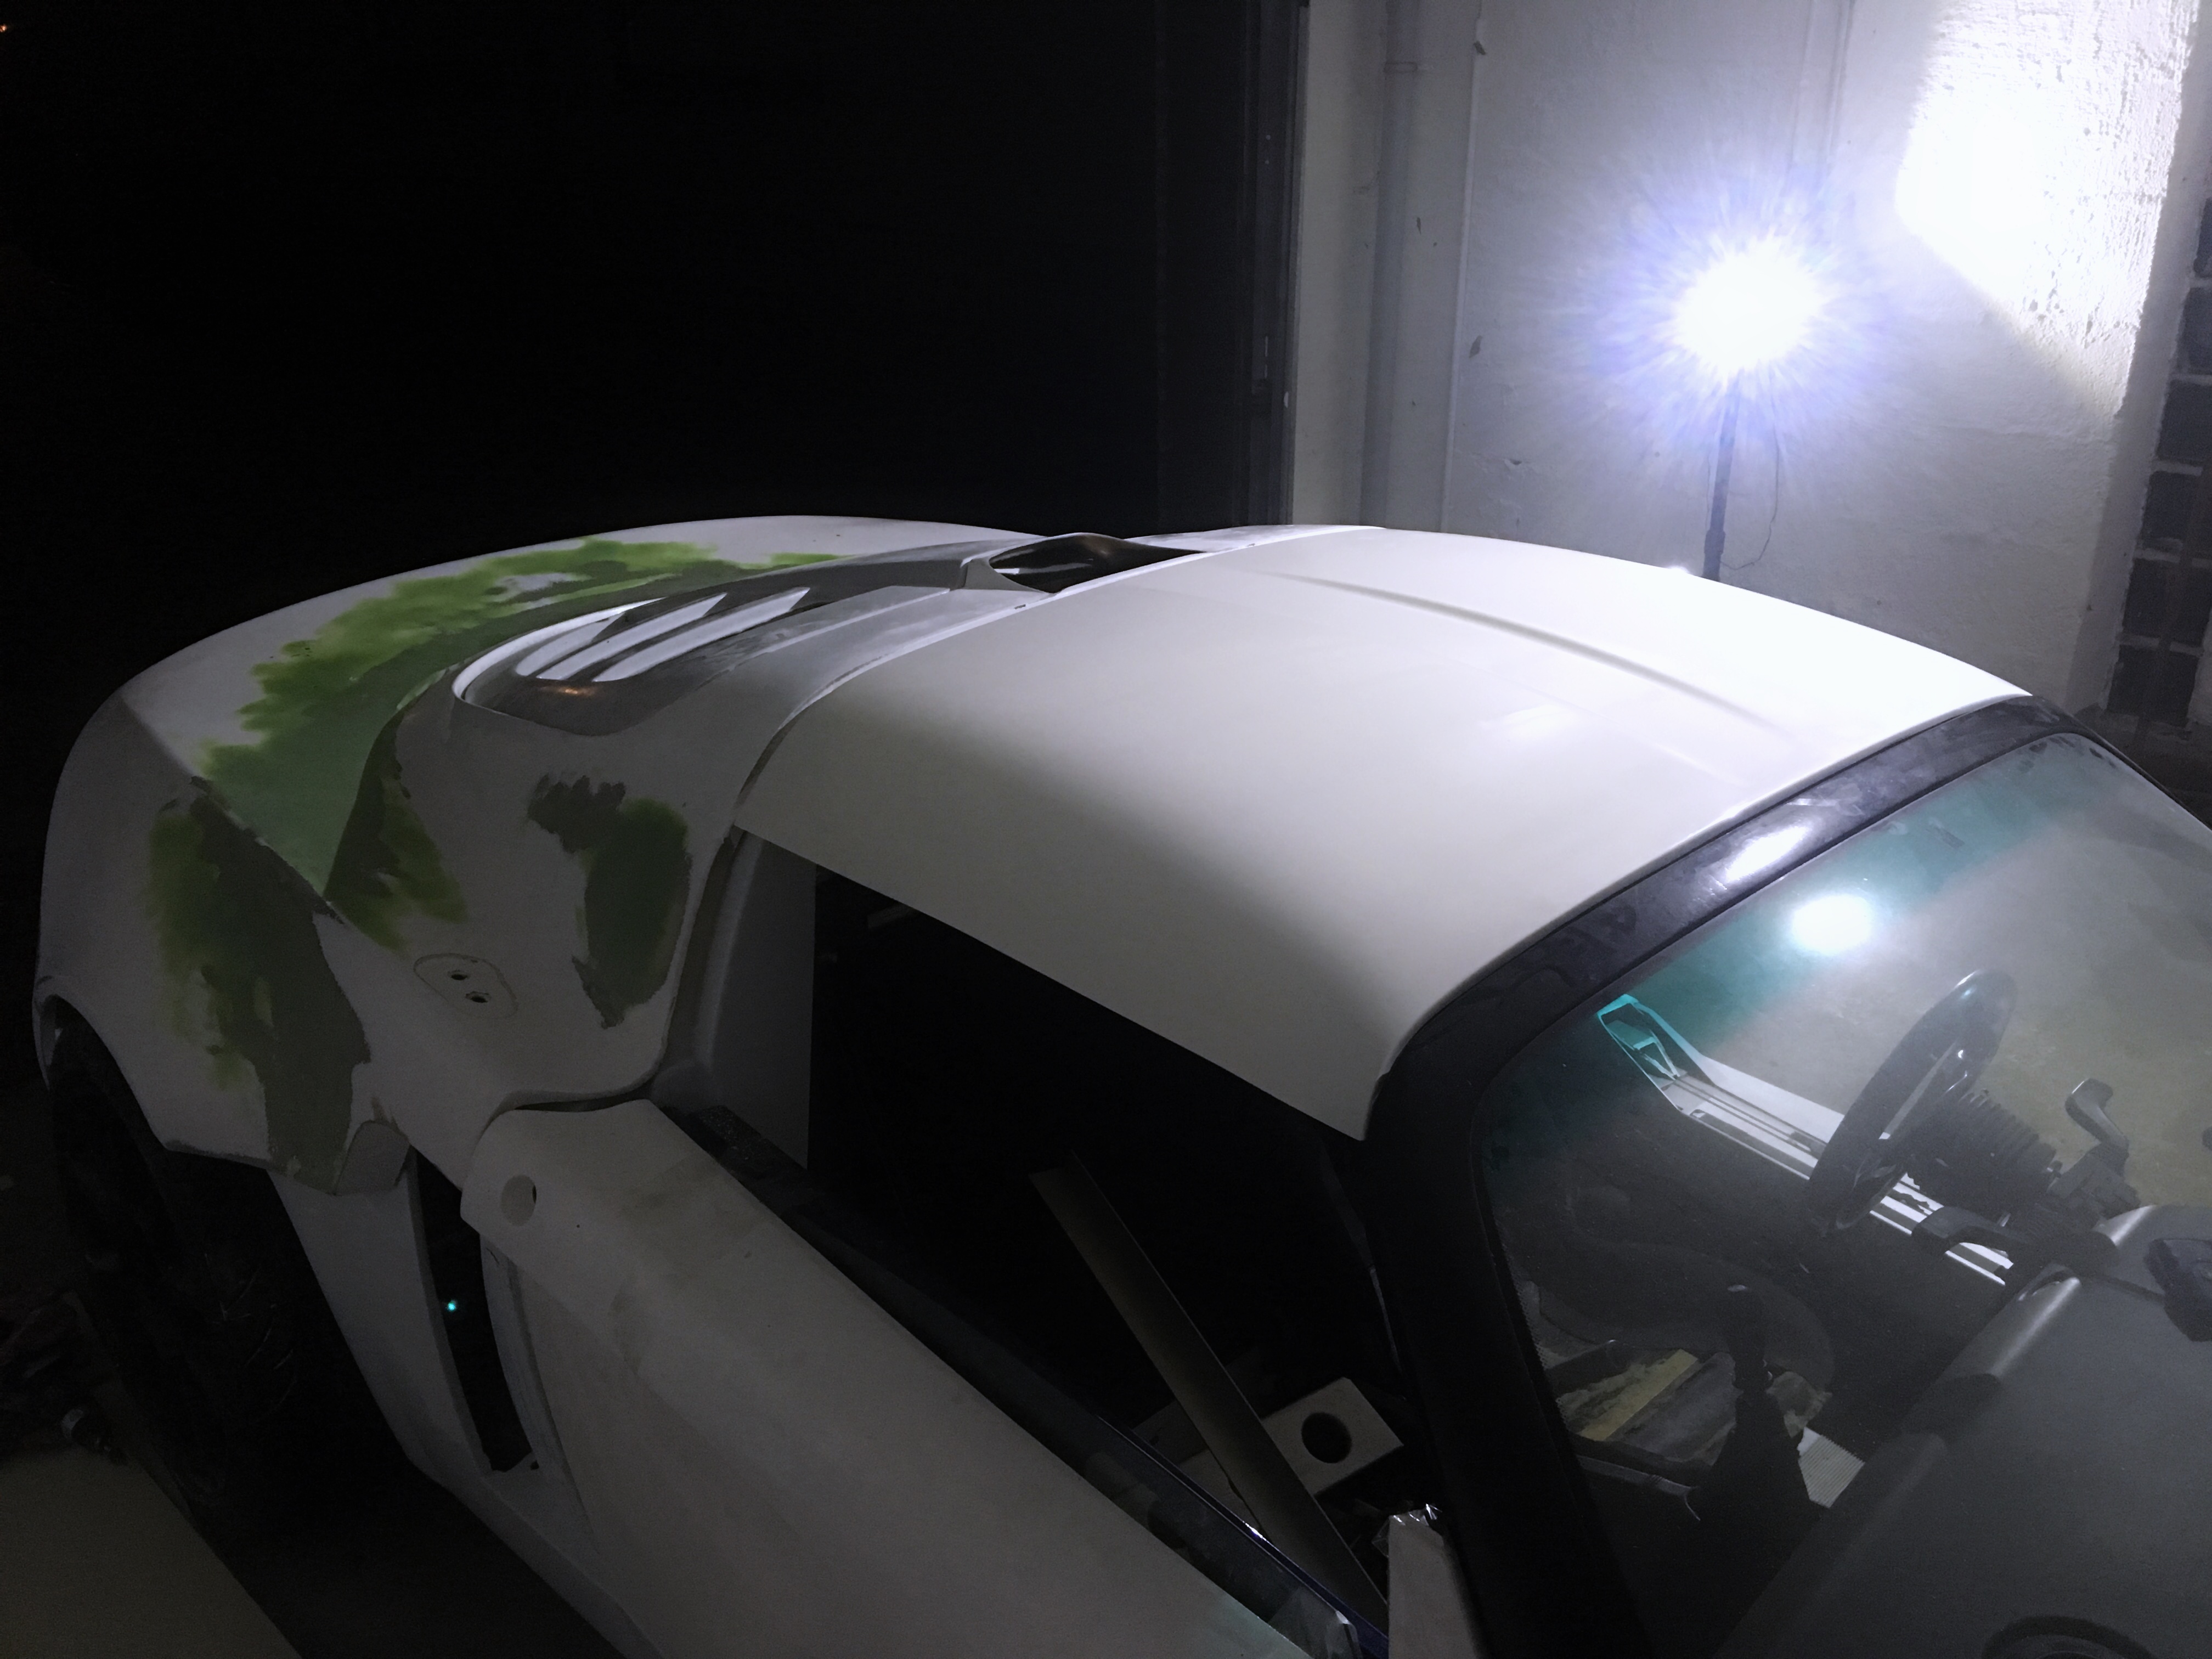
S2 elise single skin roof arrived and slid into position. profile is wayyyy better than the vx roof (duh), not to mention the 10kg saved.  will kevler line it, and will be fastened with camlocks. just need to look at how to fit window seals
 
IMG_1978.JPG
 
IMG_1979.JPG
 
IMG_1980.JPG


#1115 Doctor Ed

Doctor Ed

    Need to get Out More

  • PipPipPipPip
  • 1,188 posts
  • Location:Germany

Posted 31 October 2018 - 05:53 PM

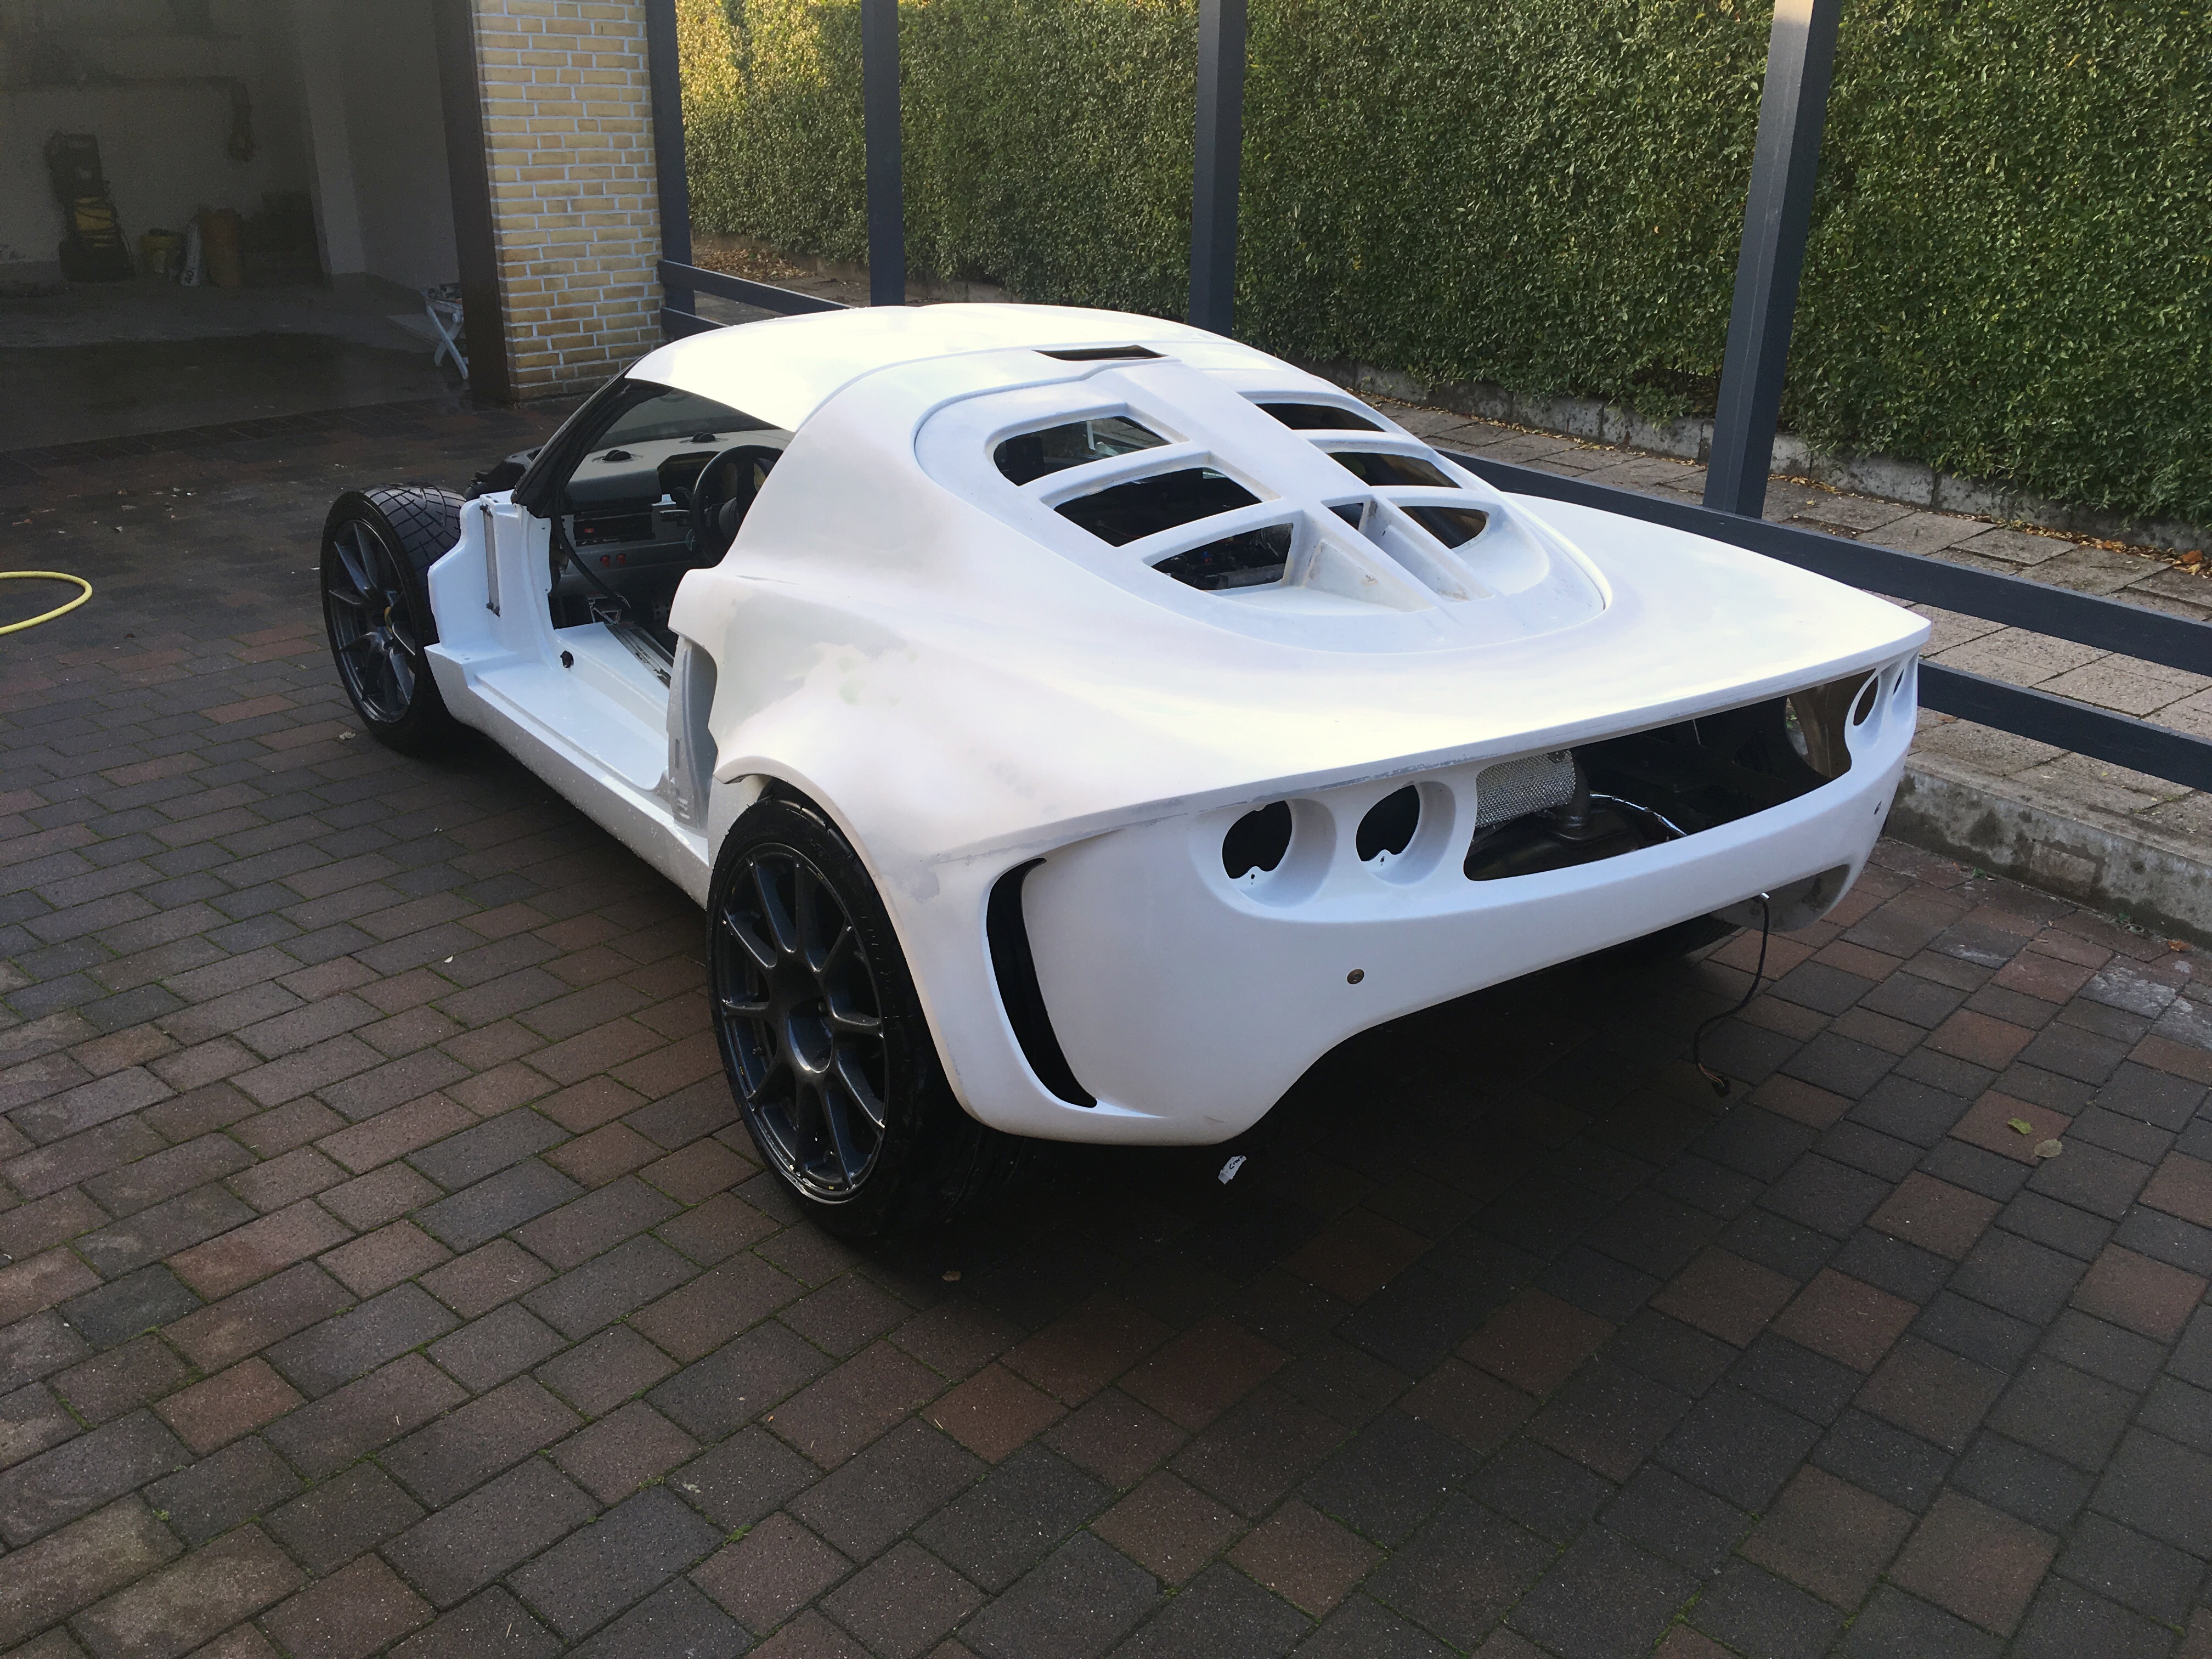
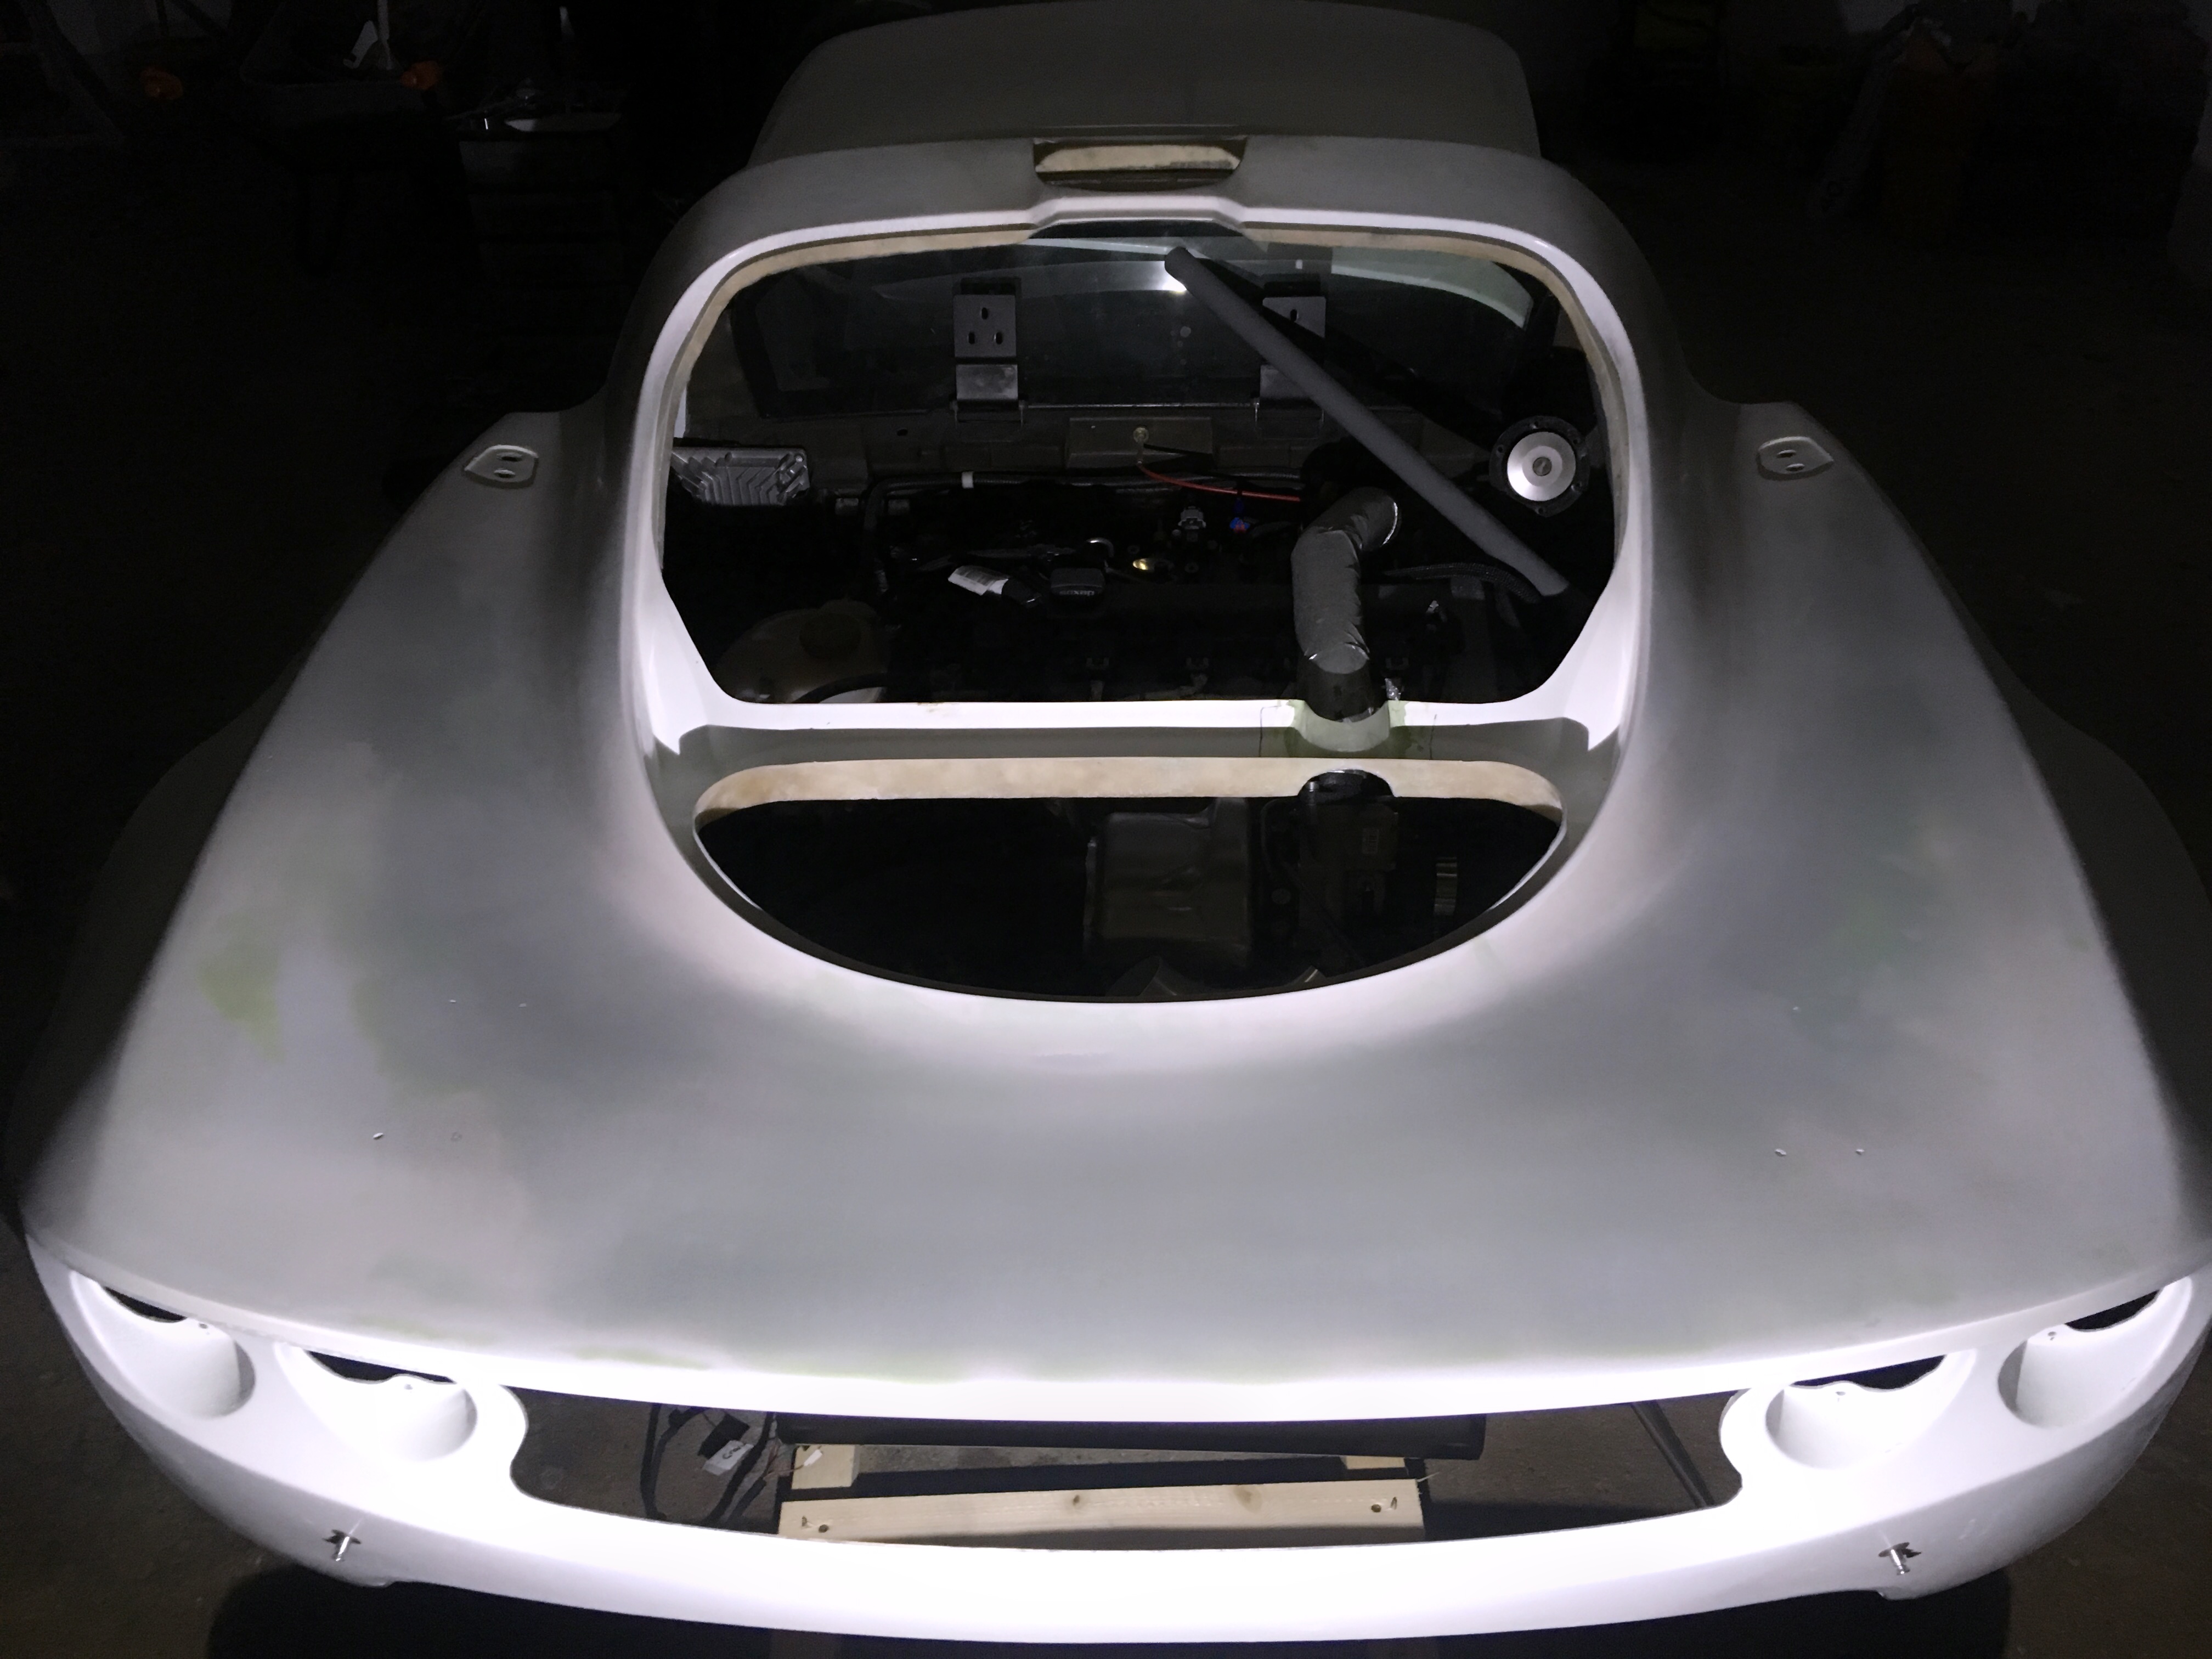
another 2 sessions of bog-n-block, and finally hit it with a coat of 2k polyester filler/primer. needs a bit more fine fill here and there, but i reckon its basically there
 
last layer of filler:
 
IMG_2020.JPG
 
kindve back to being a single colour again:
 
IMG_2022.JPG


#1116 Doctor Ed

Doctor Ed

    Need to get Out More

  • PipPipPipPip
  • 1,188 posts
  • Location:Germany

Posted 31 October 2018 - 05:55 PM

and whilst the car was pushed out of the garage so i could sweep up the tonnes of filler dust...
 
IMG_2021.JPG


#1117 ChrisS1

ChrisS1

    Club OEM

  • PipPipPipPipPipPipPip
  • 8,360 posts
  • Gender:Male
  • Location:South Walers

Posted 31 October 2018 - 08:22 PM

Looking fantastic.

Have you got the doors sorted or are those going to be a bit of a headache?

#1118 Doctor Ed

Doctor Ed

    Need to get Out More

  • PipPipPipPip
  • 1,188 posts
  • Location:Germany

Posted 31 October 2018 - 08:29 PM

massive headache

#1119 Doctor Ed

Doctor Ed

    Need to get Out More

  • PipPipPipPip
  • 1,188 posts
  • Location:Germany

Posted 08 November 2018 - 11:29 PM

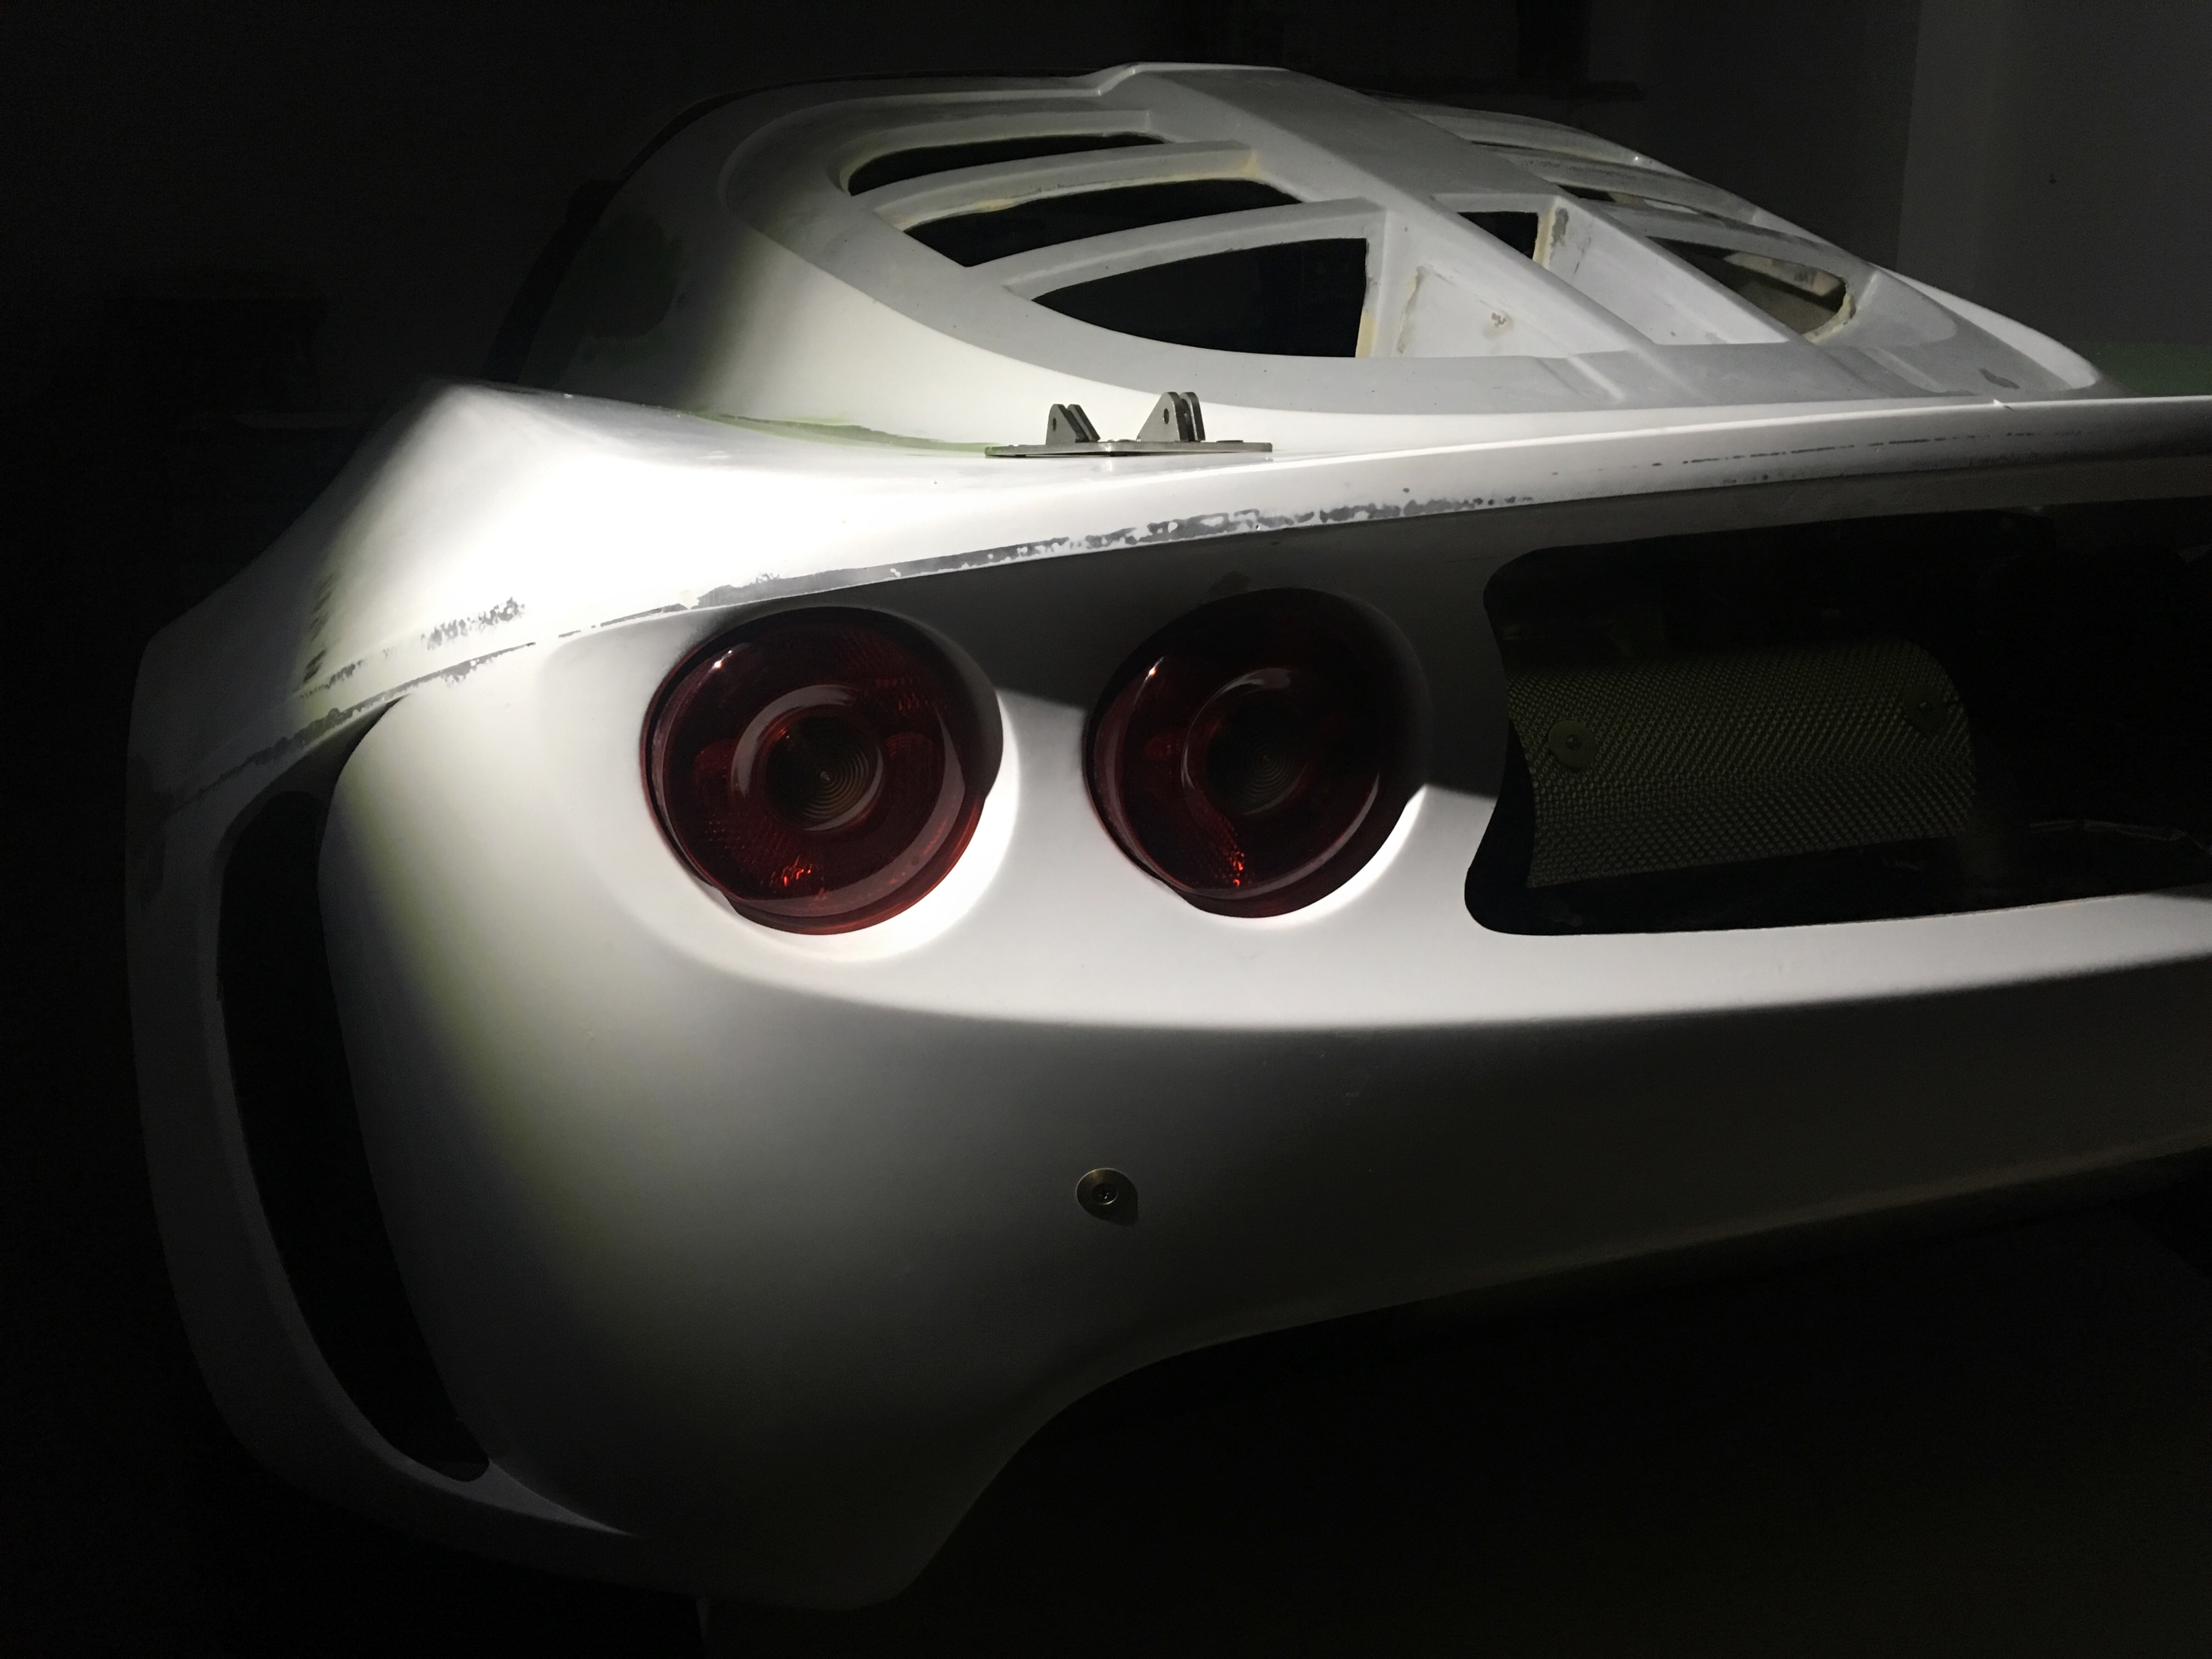
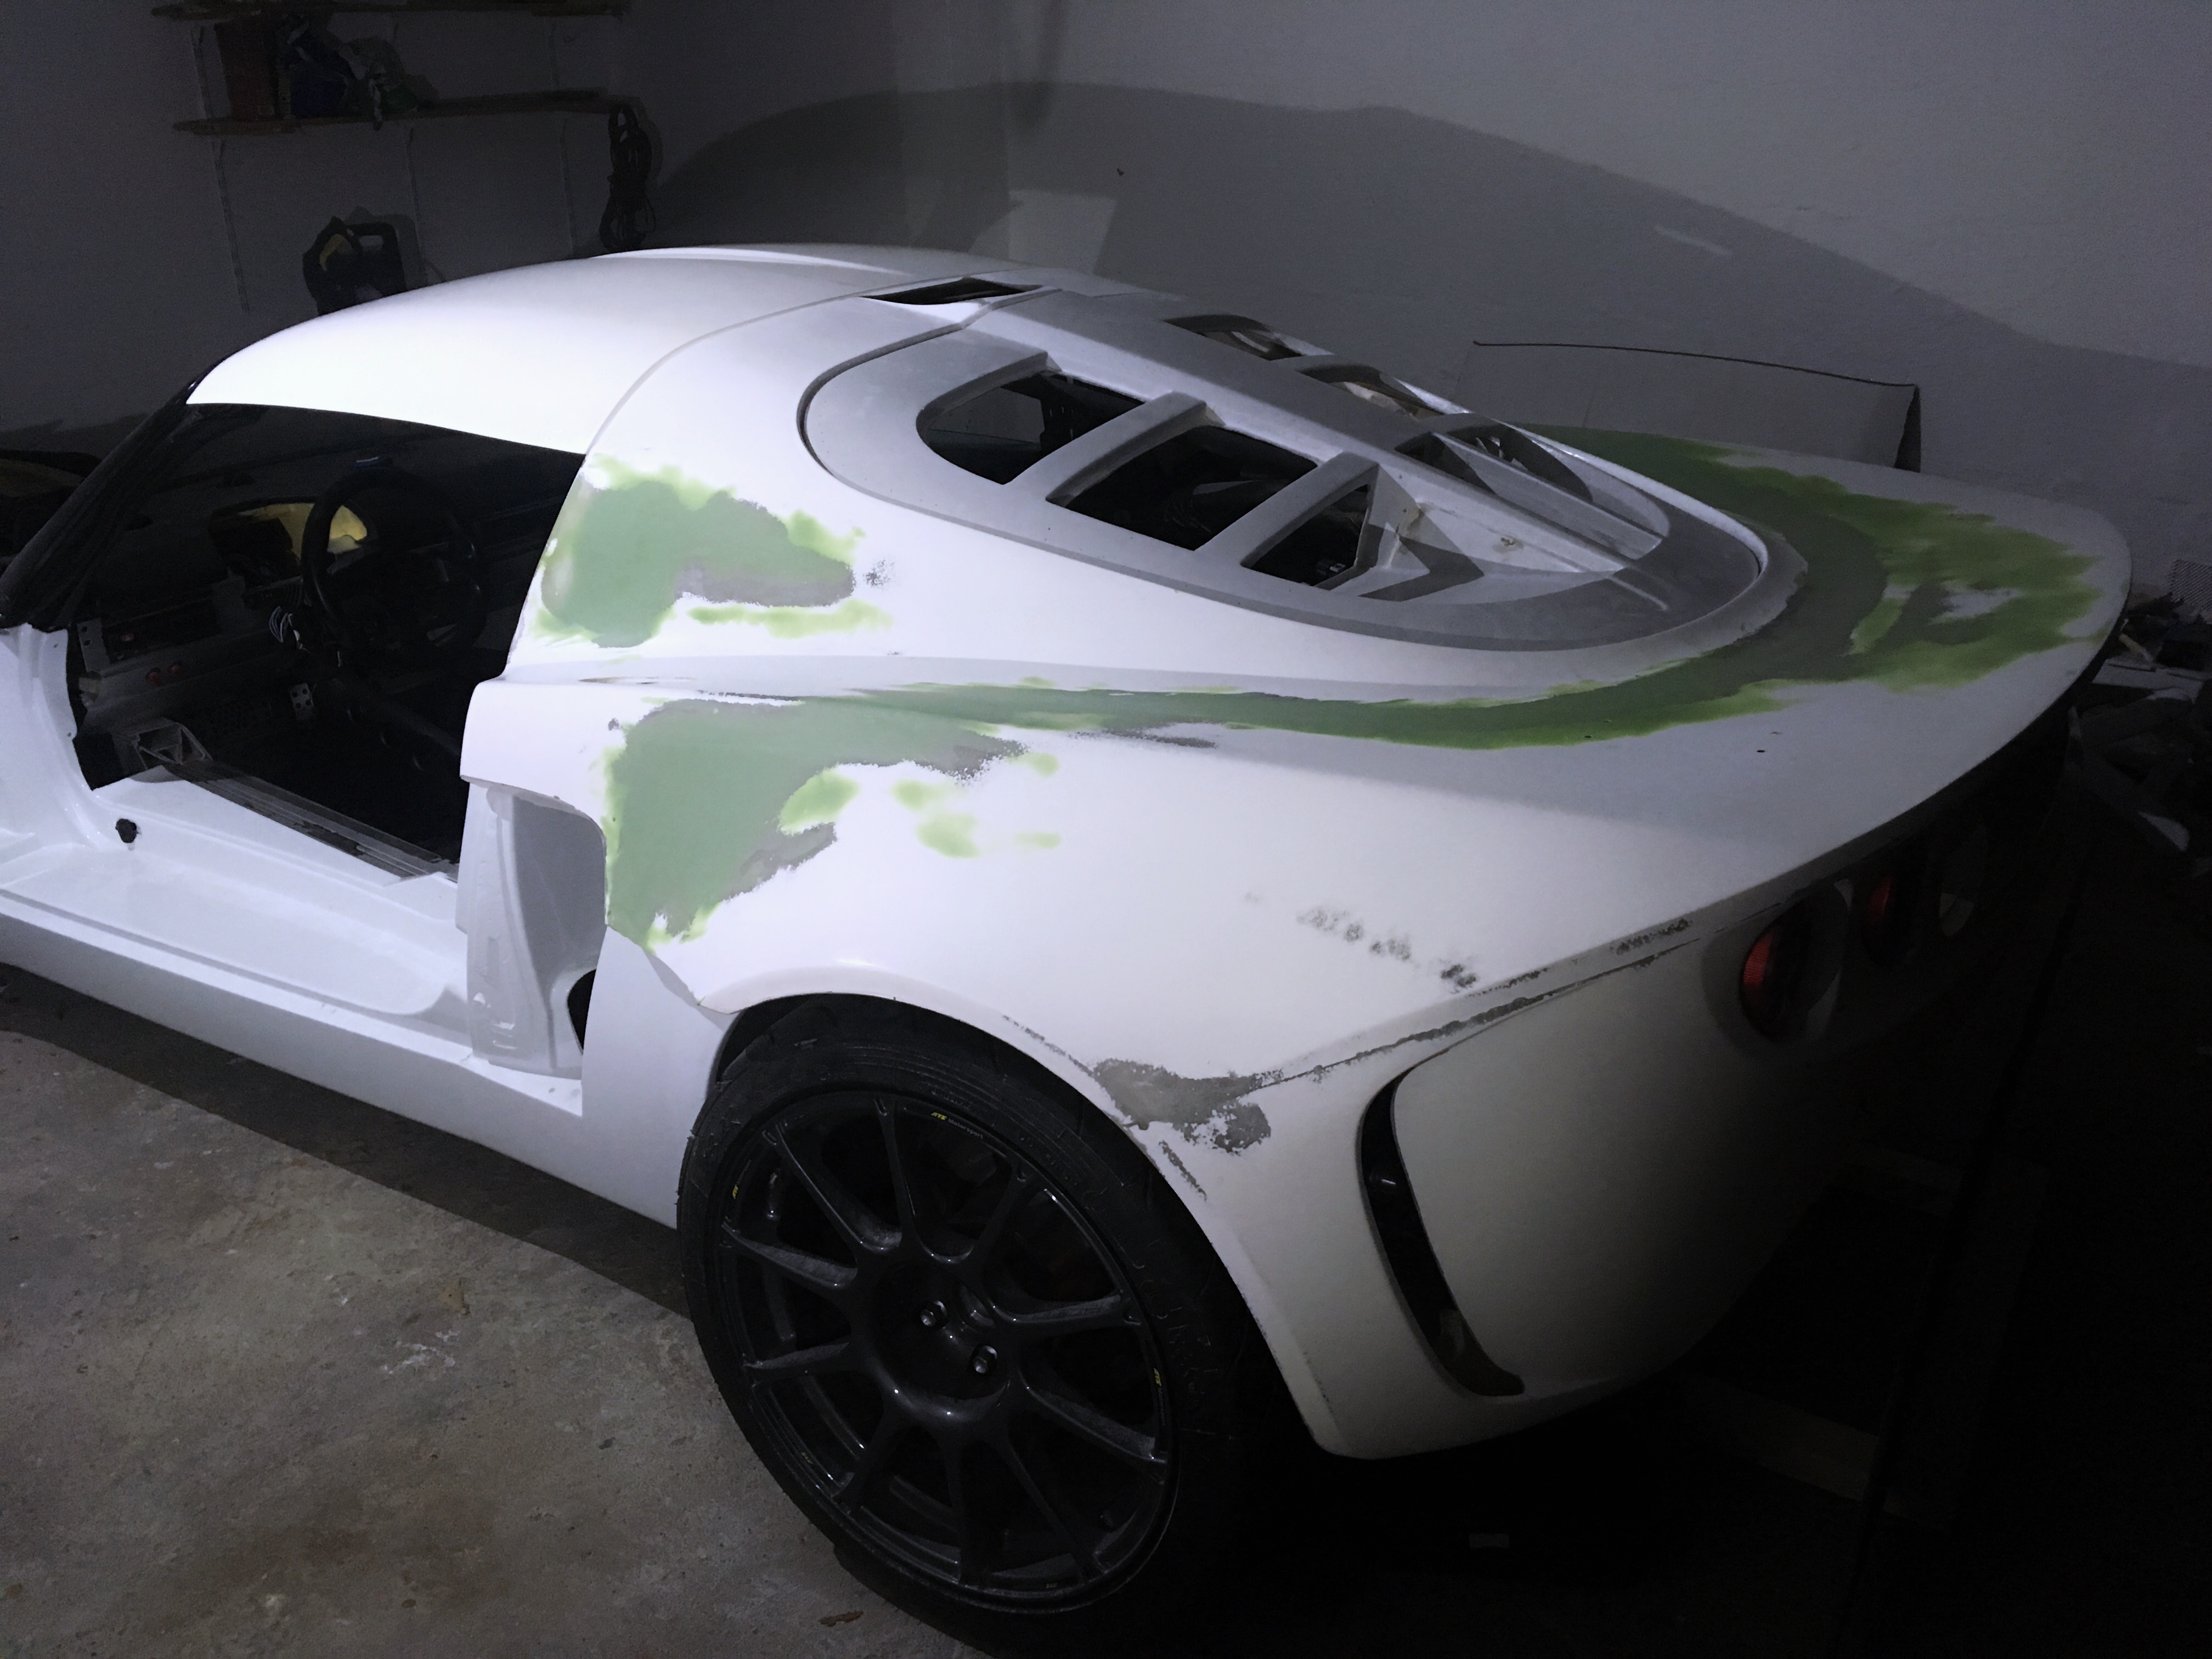
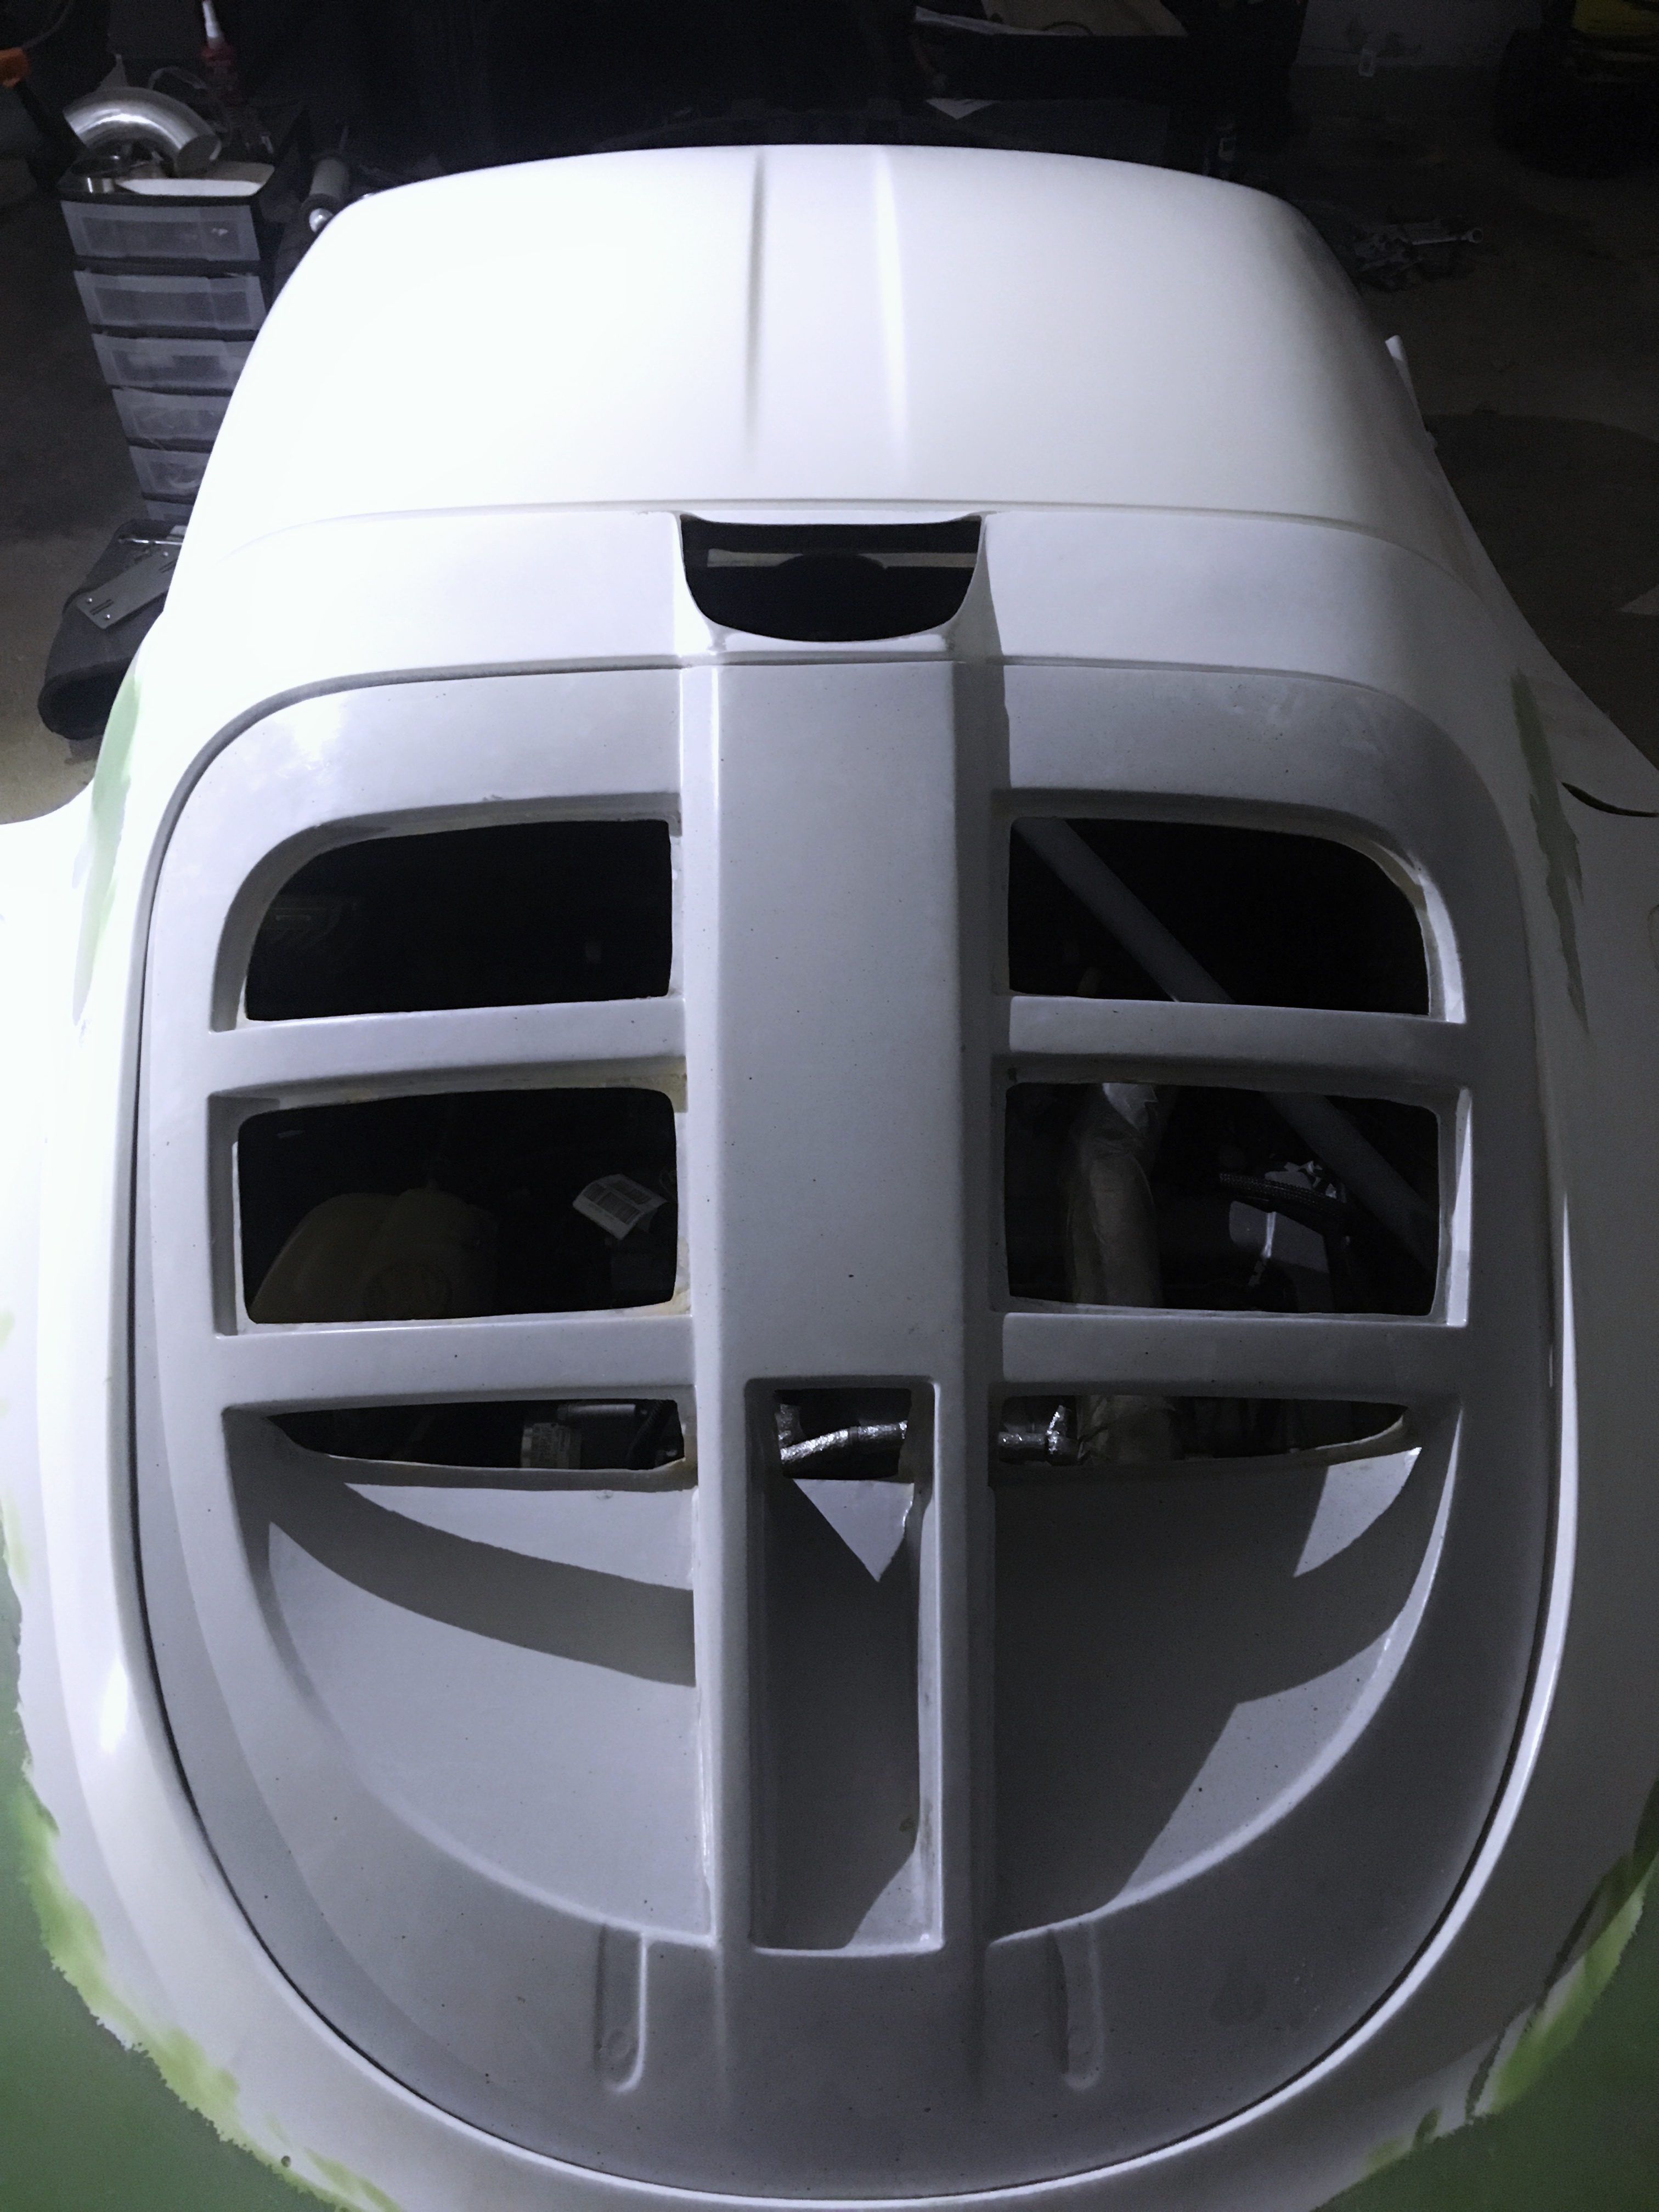
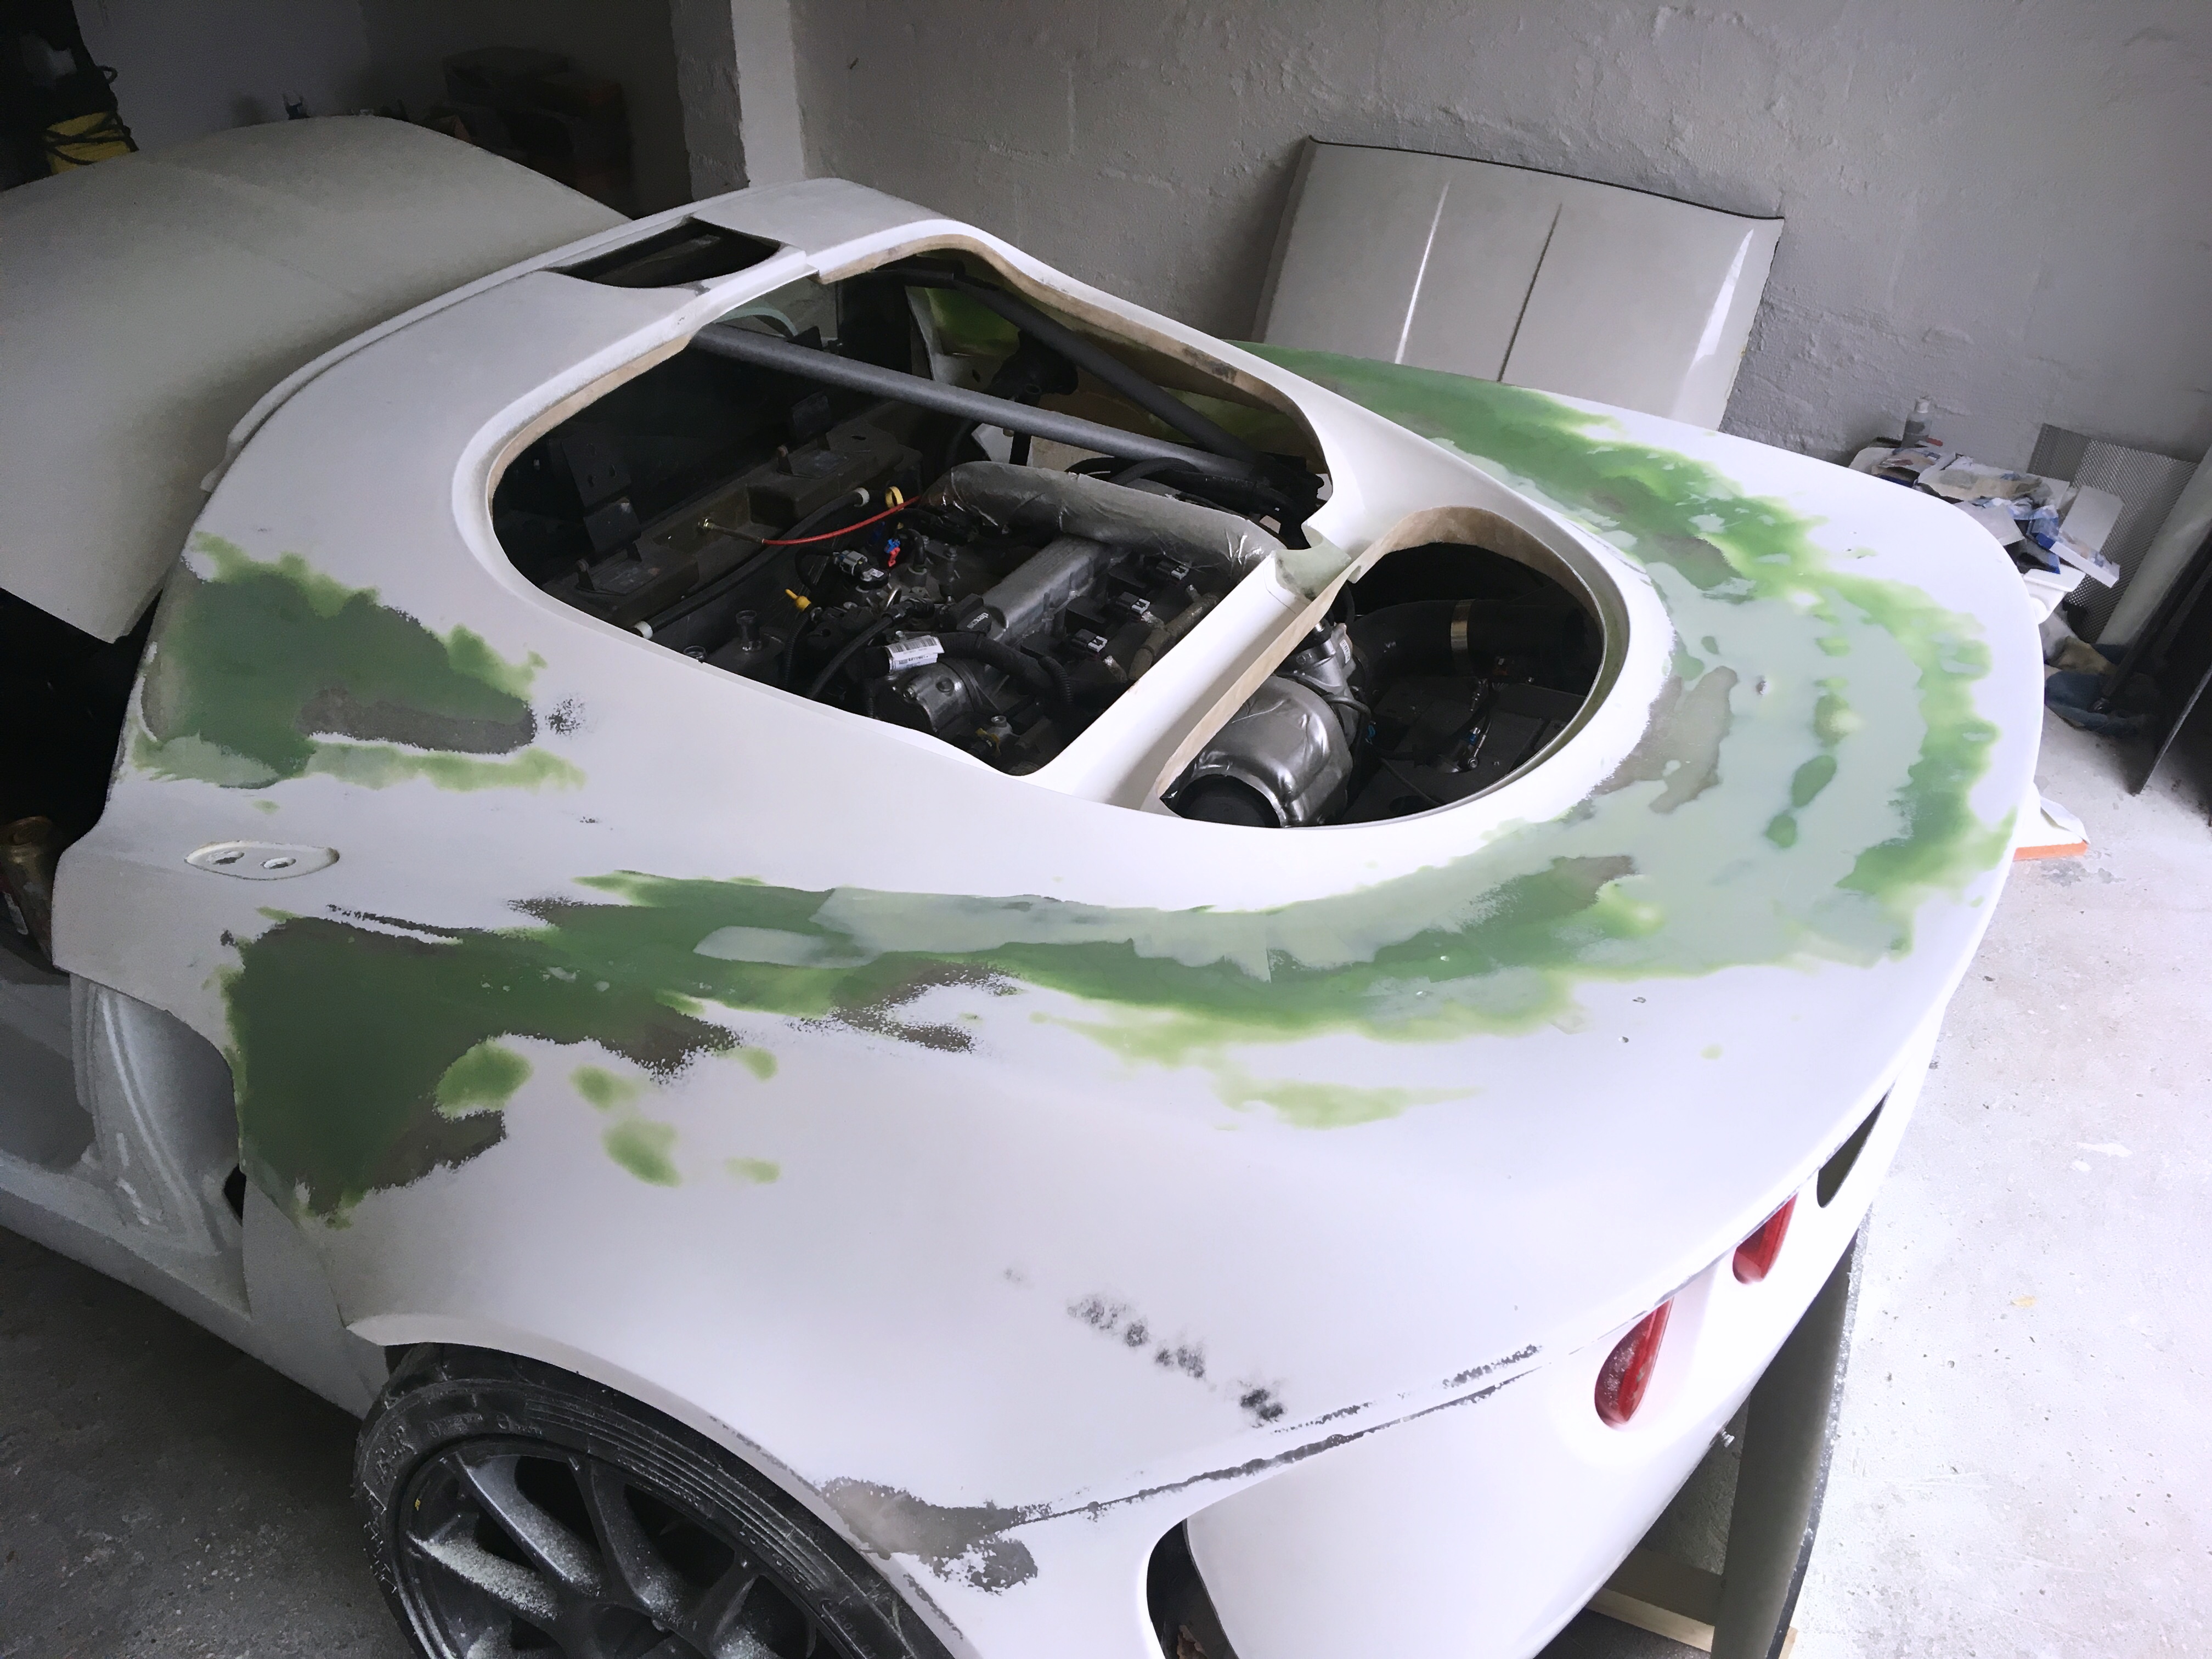
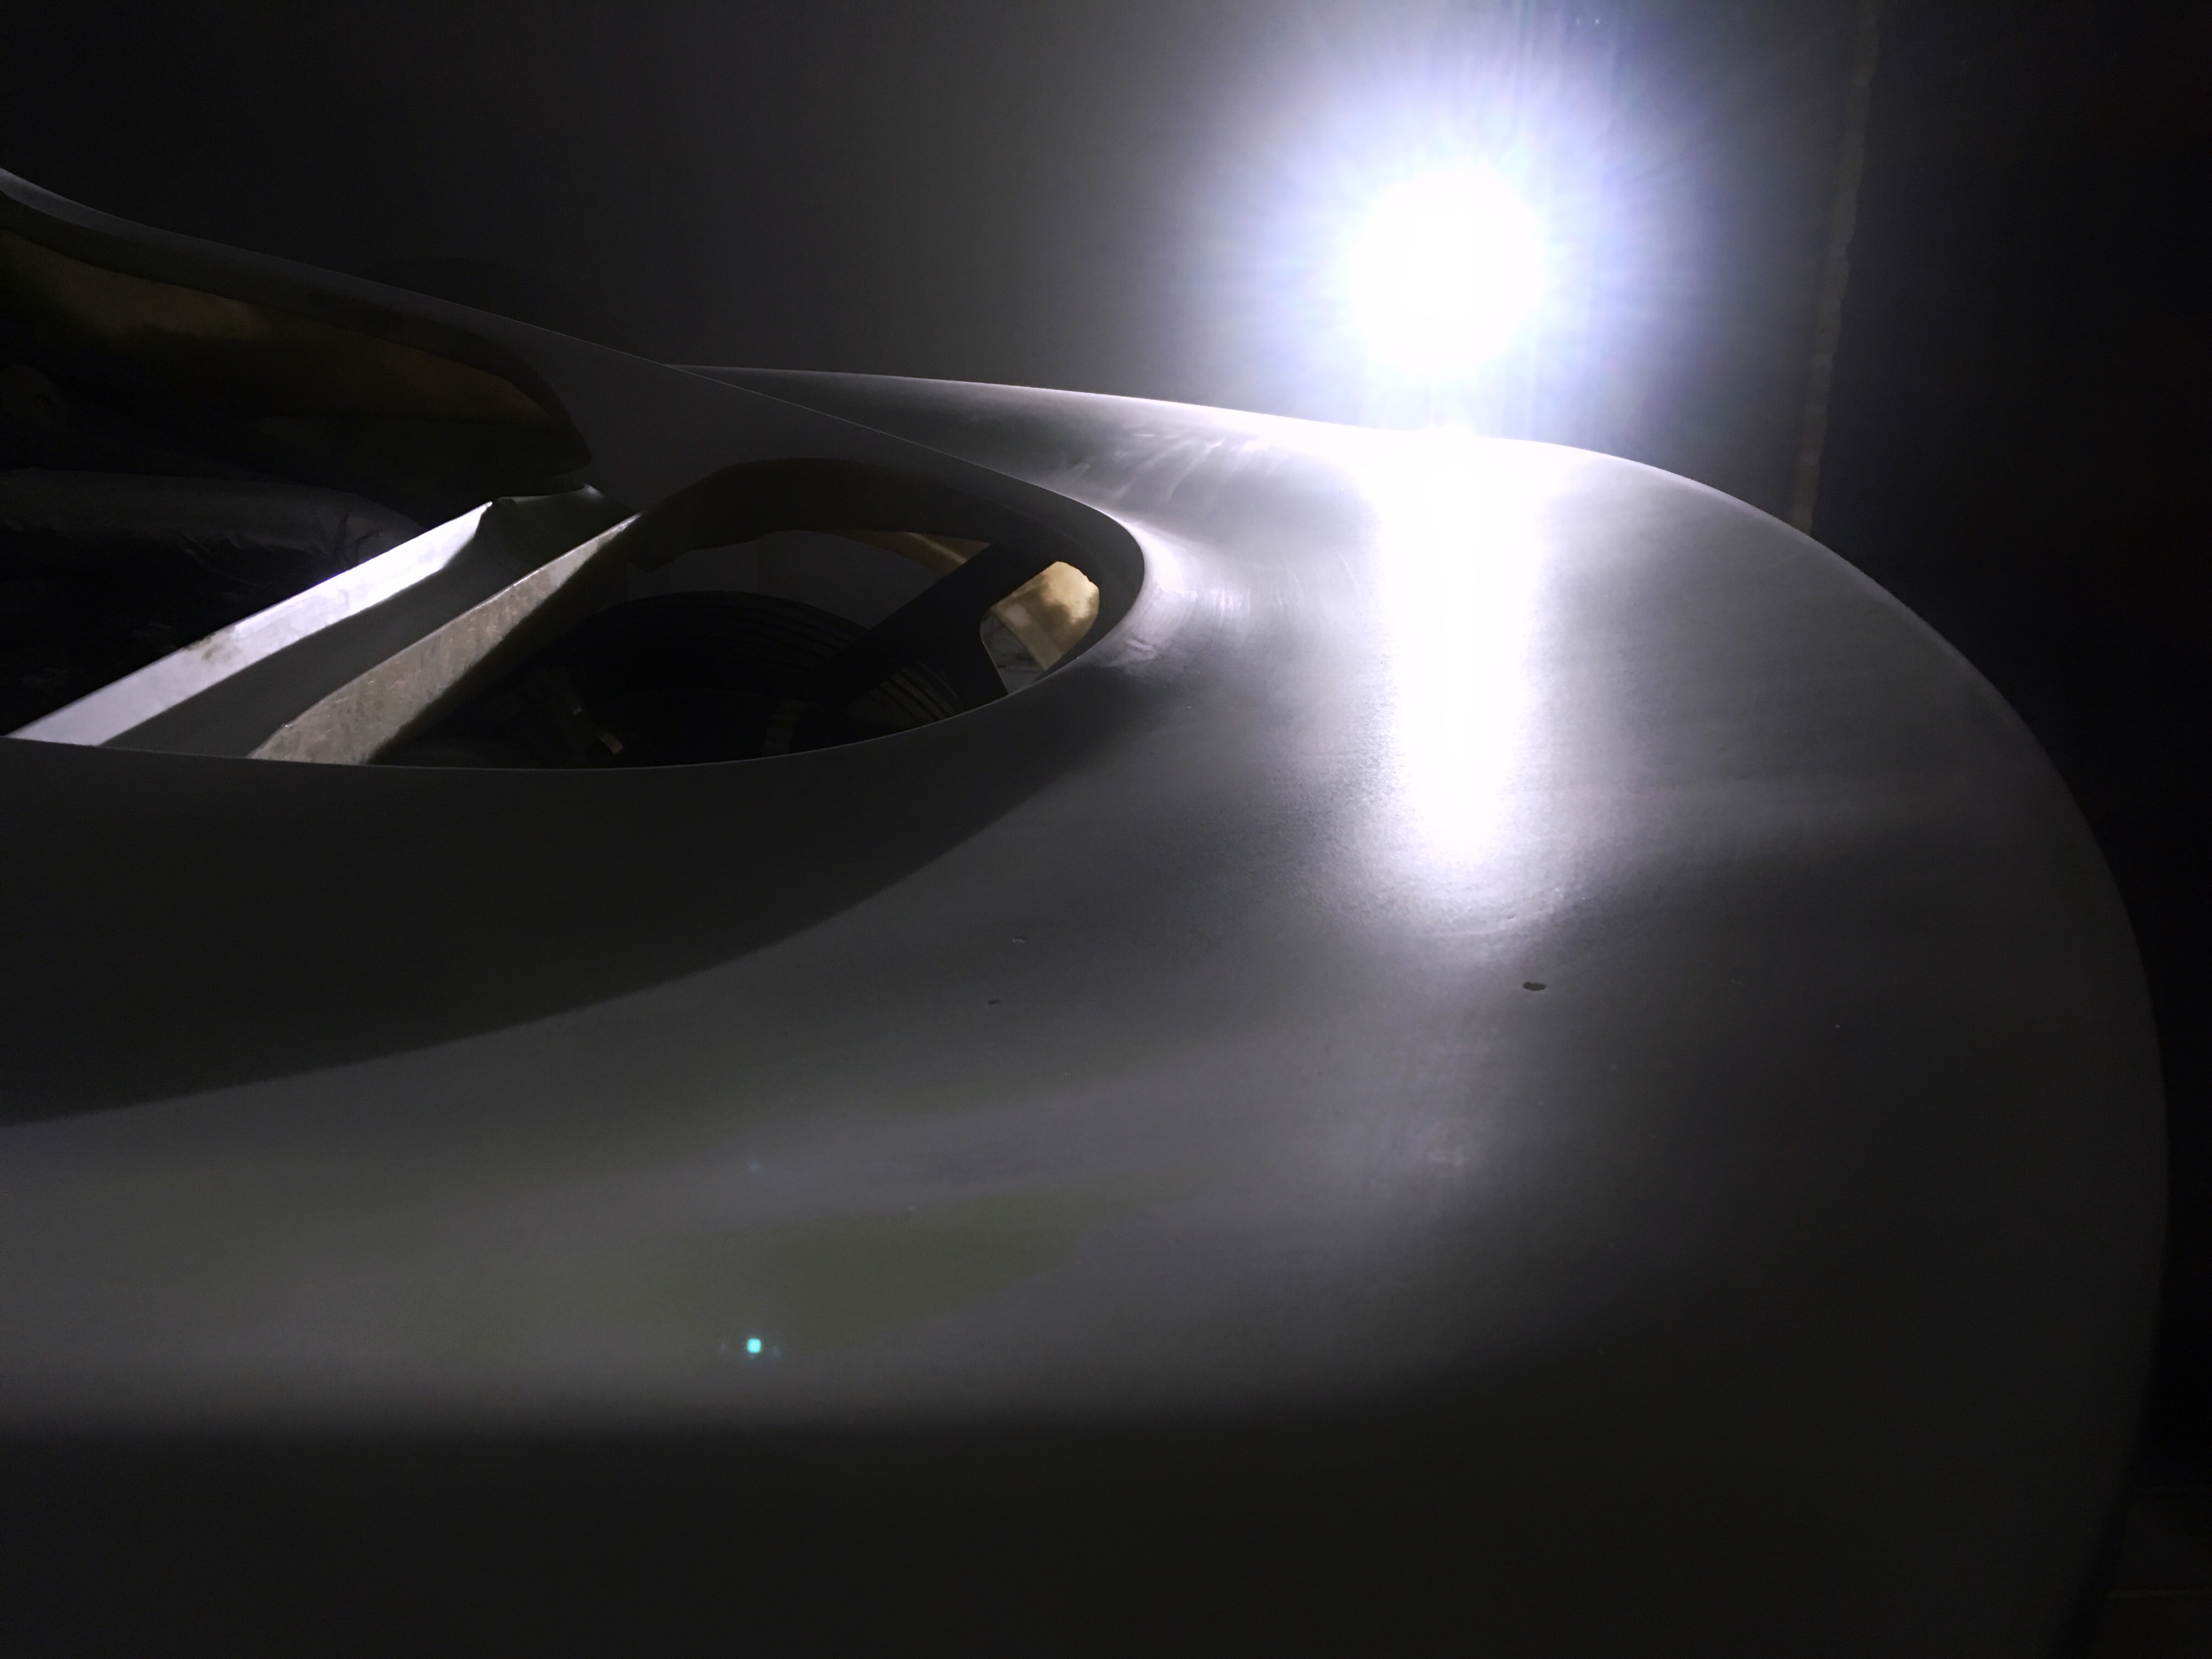
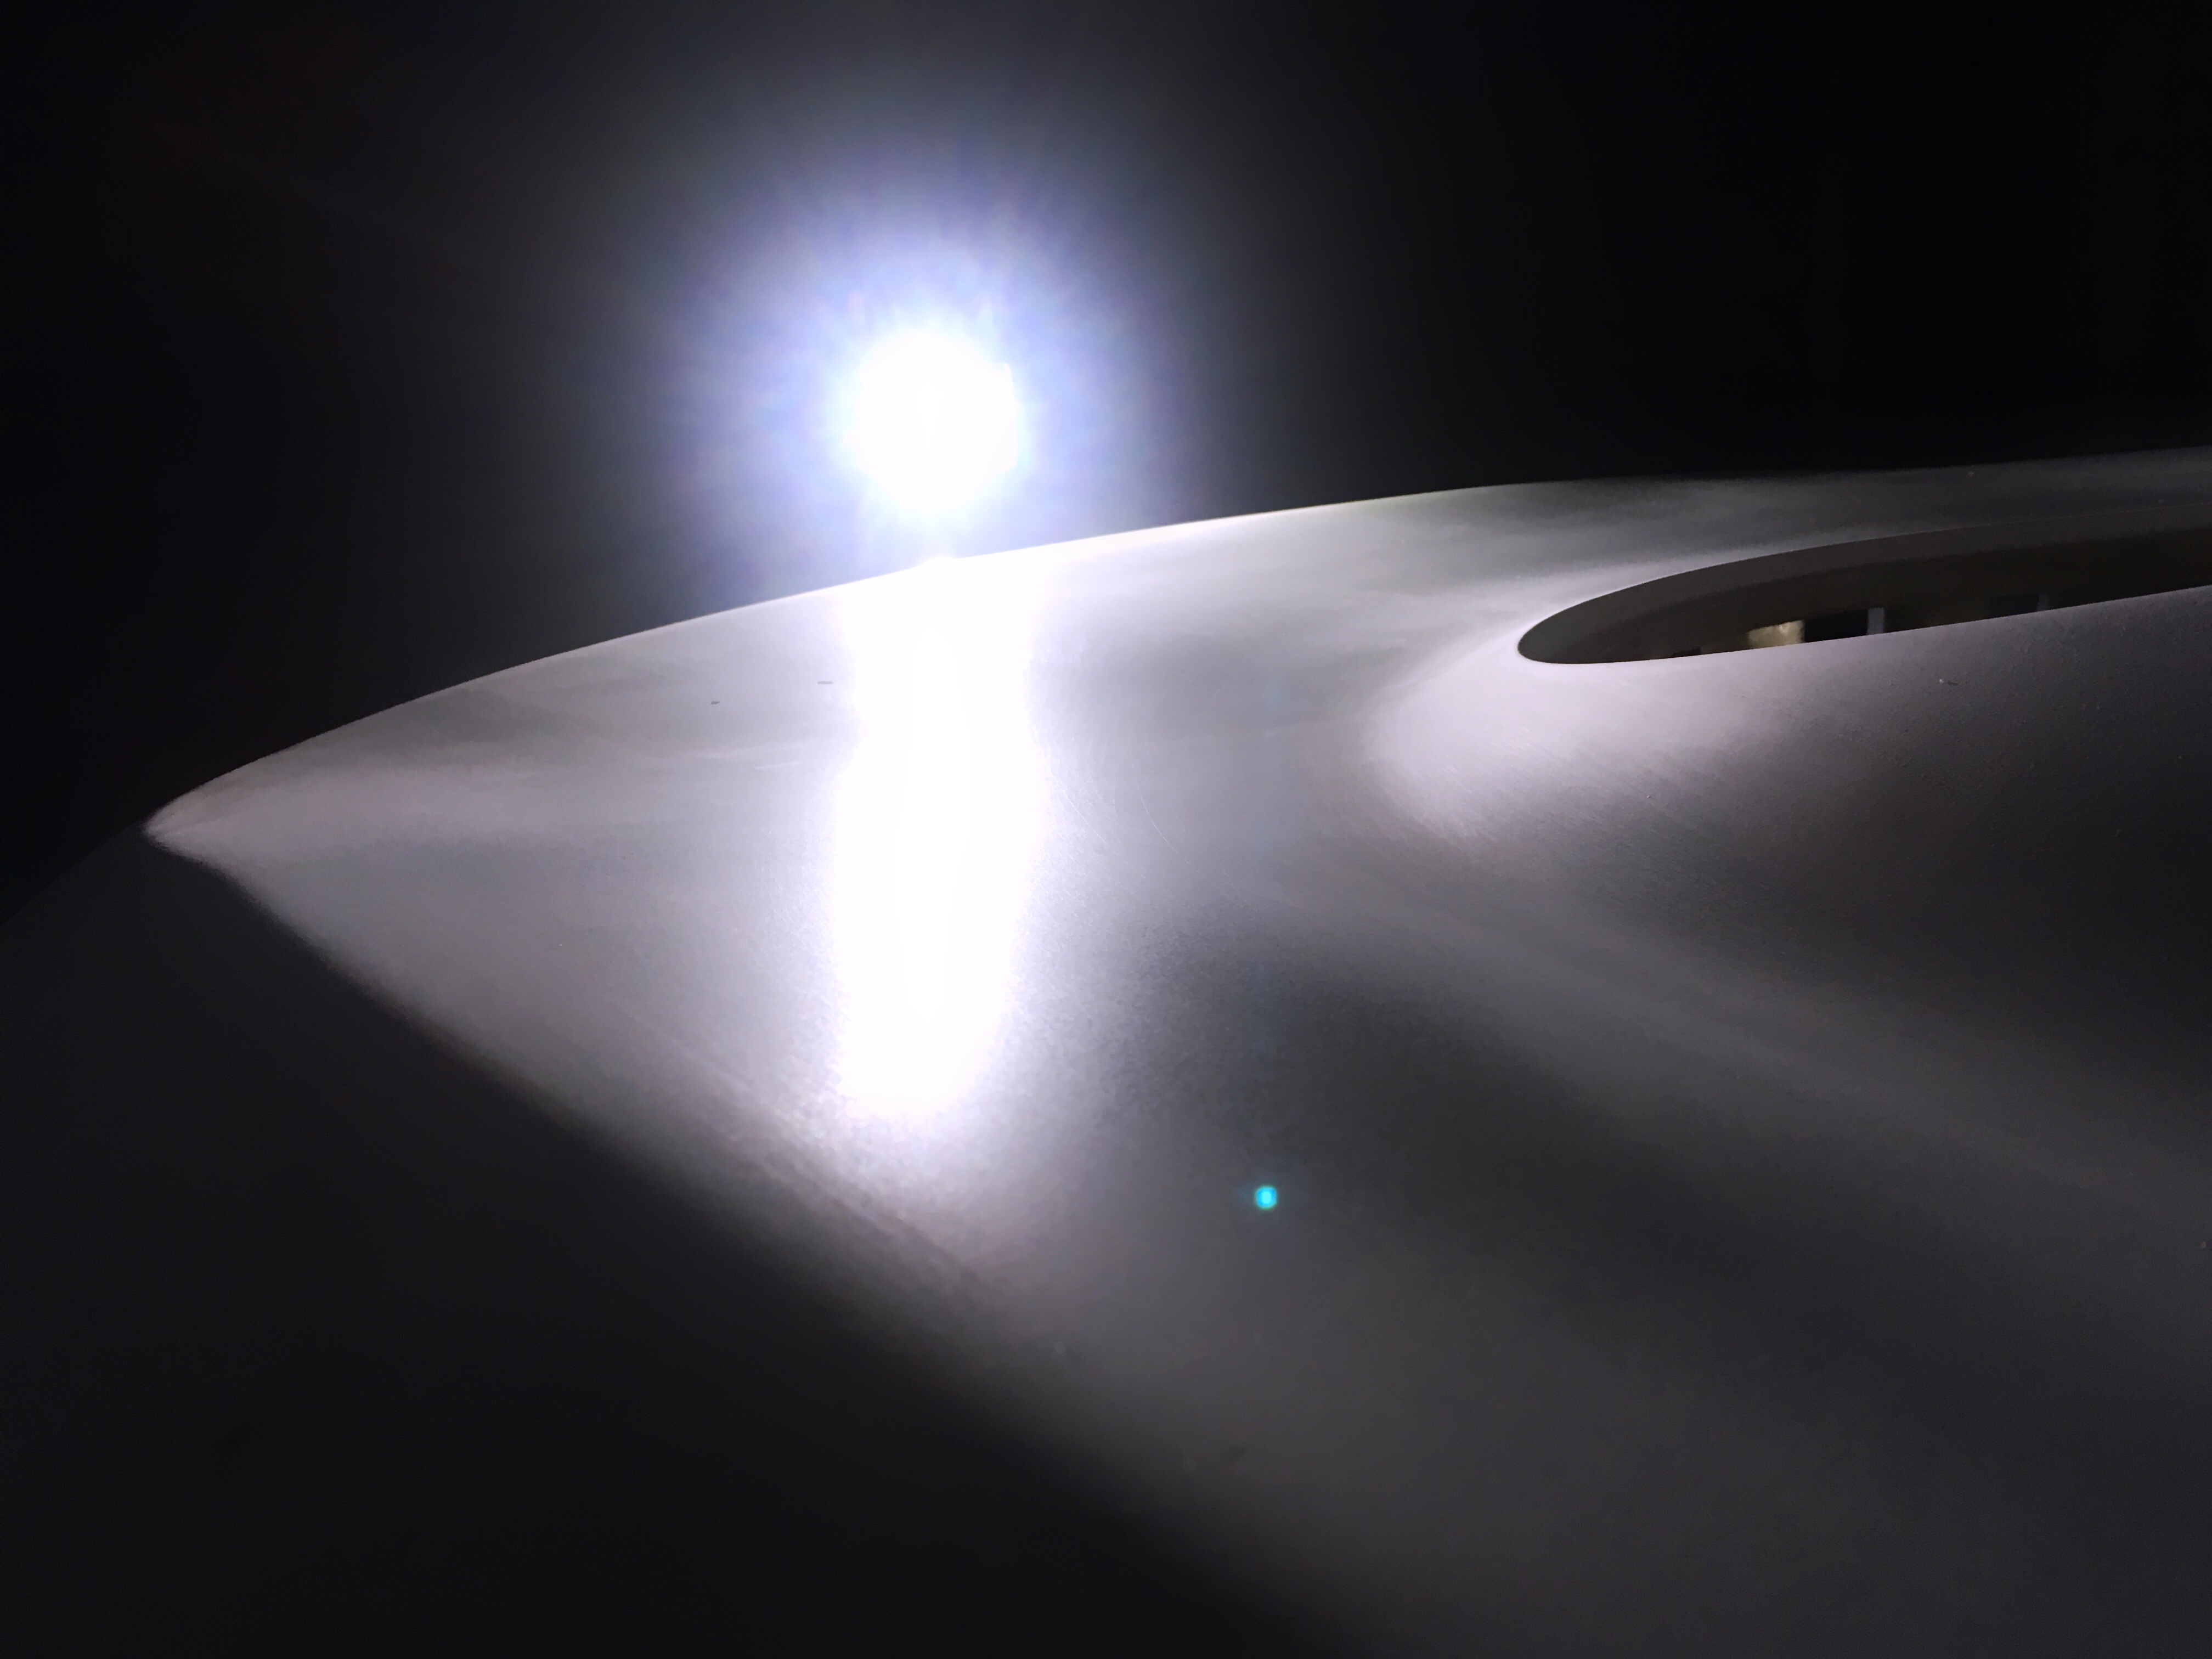
little update with a few phone pics from the last week... more filler, more sanding. Got the top surface of the superman cape to a point where I'm happy to stop. The sides of the arches are still a bit cellulitic so more work to come, but progress nonetheless :)

IMG_2178.JPG

IMG_2179.JPG

IMG_2180_2.JPG

#1120 Doctor Ed

Doctor Ed

    Need to get Out More

  • PipPipPipPip
  • 1,188 posts
  • Location:Germany

Posted 08 November 2018 - 11:29 PM

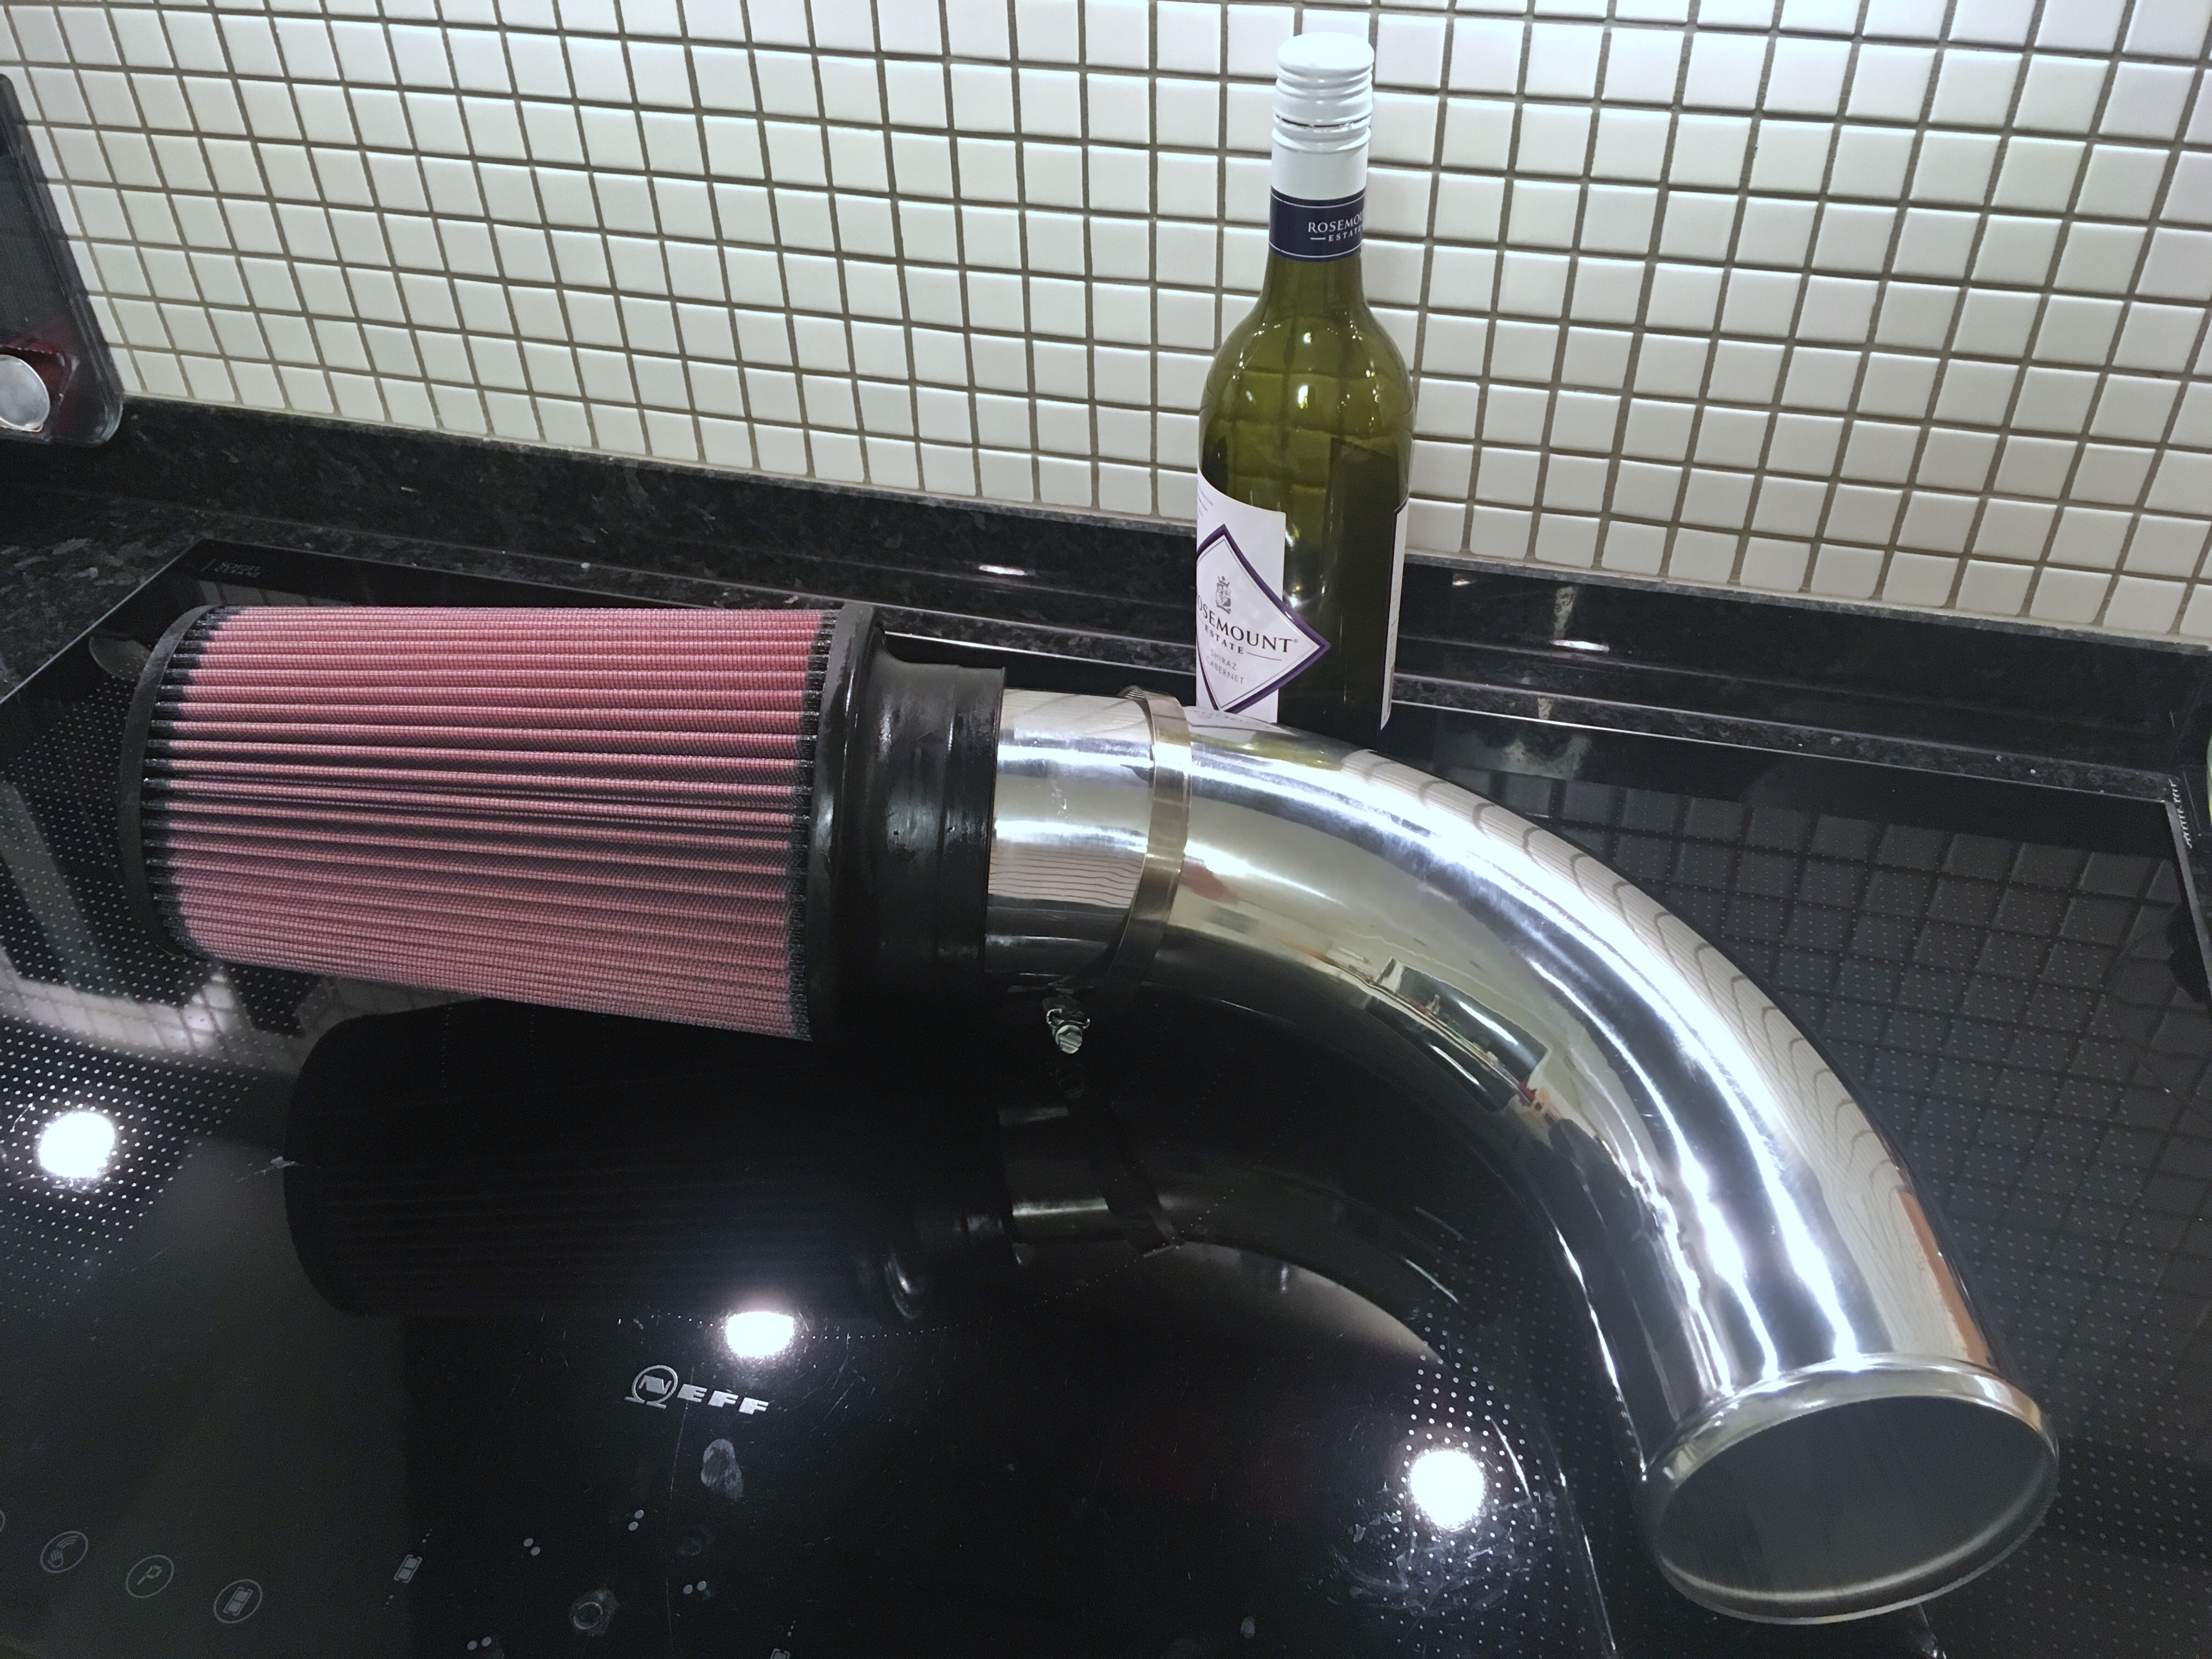
And thinking about the whole air filter dilemma ... made a few decisions as to where and how this car is evolving. There's a lot of effort to make 99% of this TÃœV friendly, but realistically there's a few things GT3 specific which are pushing sh*t uphill. So I need to start drawing a line between GT3 configuration, and TÃœV friendly VX configuration. This filter assembly now belongs to the GT3 specific config... big motherfucker K&N which I'm routing up under the engine cover and making an air box built into the cover being fed by the roof duct. 4" inlet, 6x9" element. 4" pipework up to the MAF. Still working on how best to plumb it up to allow me to get the engine cover on and off, but I'm working on it...

IMG_2177_2.JPG


3 user(s) are reading this topic

0 members, 3 guests, 0 anonymous users