Jump to content


Photo

Project Fracas - 6Sp A20Nft


  • Please log in to reply
1268 replies to this topic

#1241 BadCop

BadCop

    Member

  • Pip
  • 96 posts
  • Location:Germany

Posted 21 August 2019 - 03:17 PM

If you ever want to go back to the old engine Z22SE / Z20 /B207 - you can also leave the old X2 and X3 in between.


But anyway - if you have driven a direct injection engine in the VX you will never want to go back ;)


@Ed:

There is a girdled block at ZZP now for 1999 USD and they make like 600 bhp with the small EFR turbo...

Aand about 700 to 1000 bhp with the big EFR turbo.


Or even as a complete girdled shortblock with forged internals for 3965 EUR - with a warranty "898whp without failure"


Just telling you if you get used to 350-400 bhp in the future and want to double it  :poke:


#1242 Nev

Nev

    Nipper's Minion

  • PipPipPipPipPipPipPipPip
  • 11,587 posts
  • Gender:Male
  • Location:Bristol
  • Interests:Rock climbing, skiing, kayaking, surfing, mountaineering, budgies, chess, practical mechanics.

Posted 23 August 2019 - 06:49 AM


Just telling you if you get used to 350-400 bhp in the future and want to double it  :poke:


800 HP in a Lotus chassis?! Crazy talk!


Edited by Nev, 23 August 2019 - 06:51 AM.


#1243 Rosssco

Rosssco

    Scary Internerd

  • 4,181 posts
  • Gender:Male
  • Location:Aberdeen

Posted 23 August 2019 - 07:17 AM

Yep, 5V Pulse Signal. Frequency = Speed.

It is the same Signal (same wire) that goes to the Dash.


On the VX220 it is Pin 11 on X3. A Yellow wire with grey stripe.


You can delete X2 and X3 as they often cause trouble because of the poor sealing.


Almost all wires (like VSS, the 6 Acc-Pedal wires, supply voltage, etc.) that come from the car harness go to the new A20NFT Connector X1 (blue).

s-l225.jpg


So that blue connector becomes the new vehicle harness termination.


That means you only disconnect the new X2 (black) and new X3 (grey) from the A20NFT ECU and you can take out the engine.


Apart from 3-4 wires which still come from the engine loom.

Those wires I always connect through a small AMP connector like that:


Thanks for the info. Sort of gives me hope about wiring one of these later GM ECU's (even though I'm crap when it comes to electrics.!)


#1244 BadCop

BadCop

    Member

  • Pip
  • 96 posts
  • Location:Germany

Posted 23 August 2019 - 10:16 AM


Just telling you if you get used to 350-400 bhp in the future and want to double it  :poke:


800 HP in a Lotus chassis?! Crazy talk!


Hennessey_Venom_GT-White-10.jpg


1450 HP :ninja:


#1245 Nev

Nev

    Nipper's Minion

  • PipPipPipPipPipPipPipPip
  • 11,587 posts
  • Gender:Male
  • Location:Bristol
  • Interests:Rock climbing, skiing, kayaking, surfing, mountaineering, budgies, chess, practical mechanics.

Posted 23 August 2019 - 10:28 AM

Crikey, I wonder what that's like to drive!


#1246 Aerodynamic

Aerodynamic

    Billy No Mates

  • PipPipPipPipPip
  • 1,455 posts

Posted 03 October 2019 - 08:37 PM

Lovely work.

Why do you want the vents on the endplates on the rearwing?


Whats the weight of the wingplane?


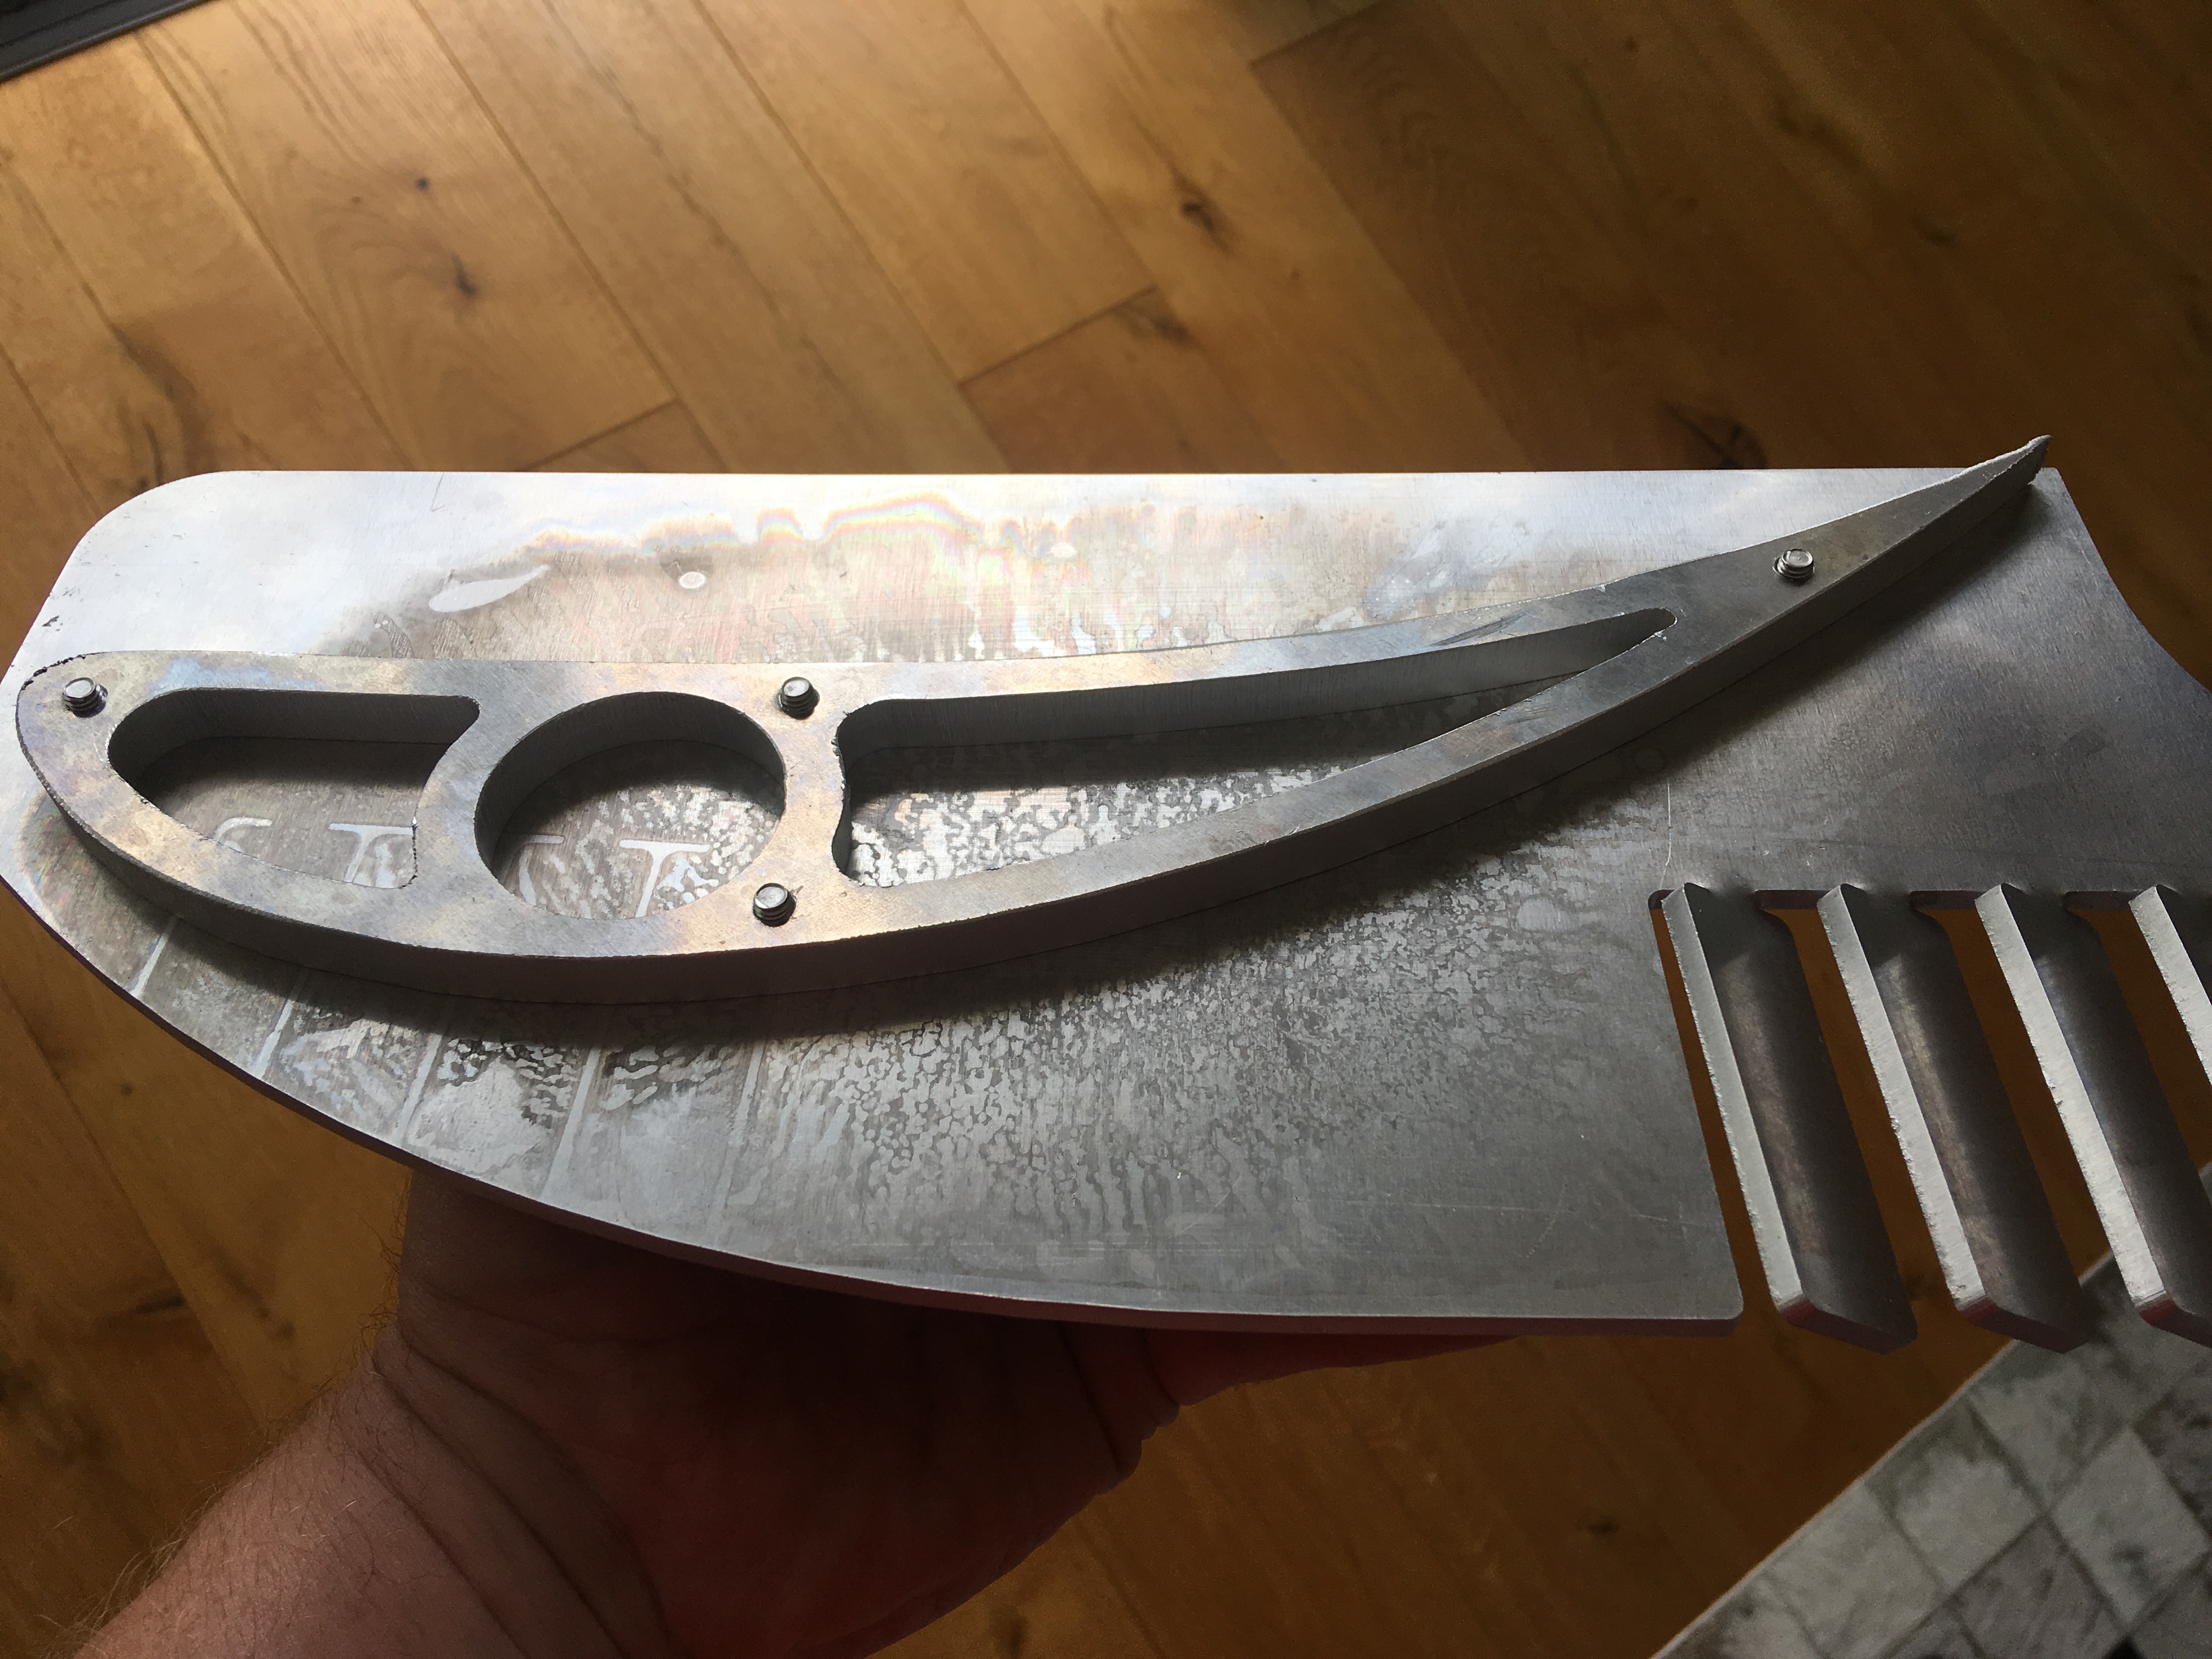
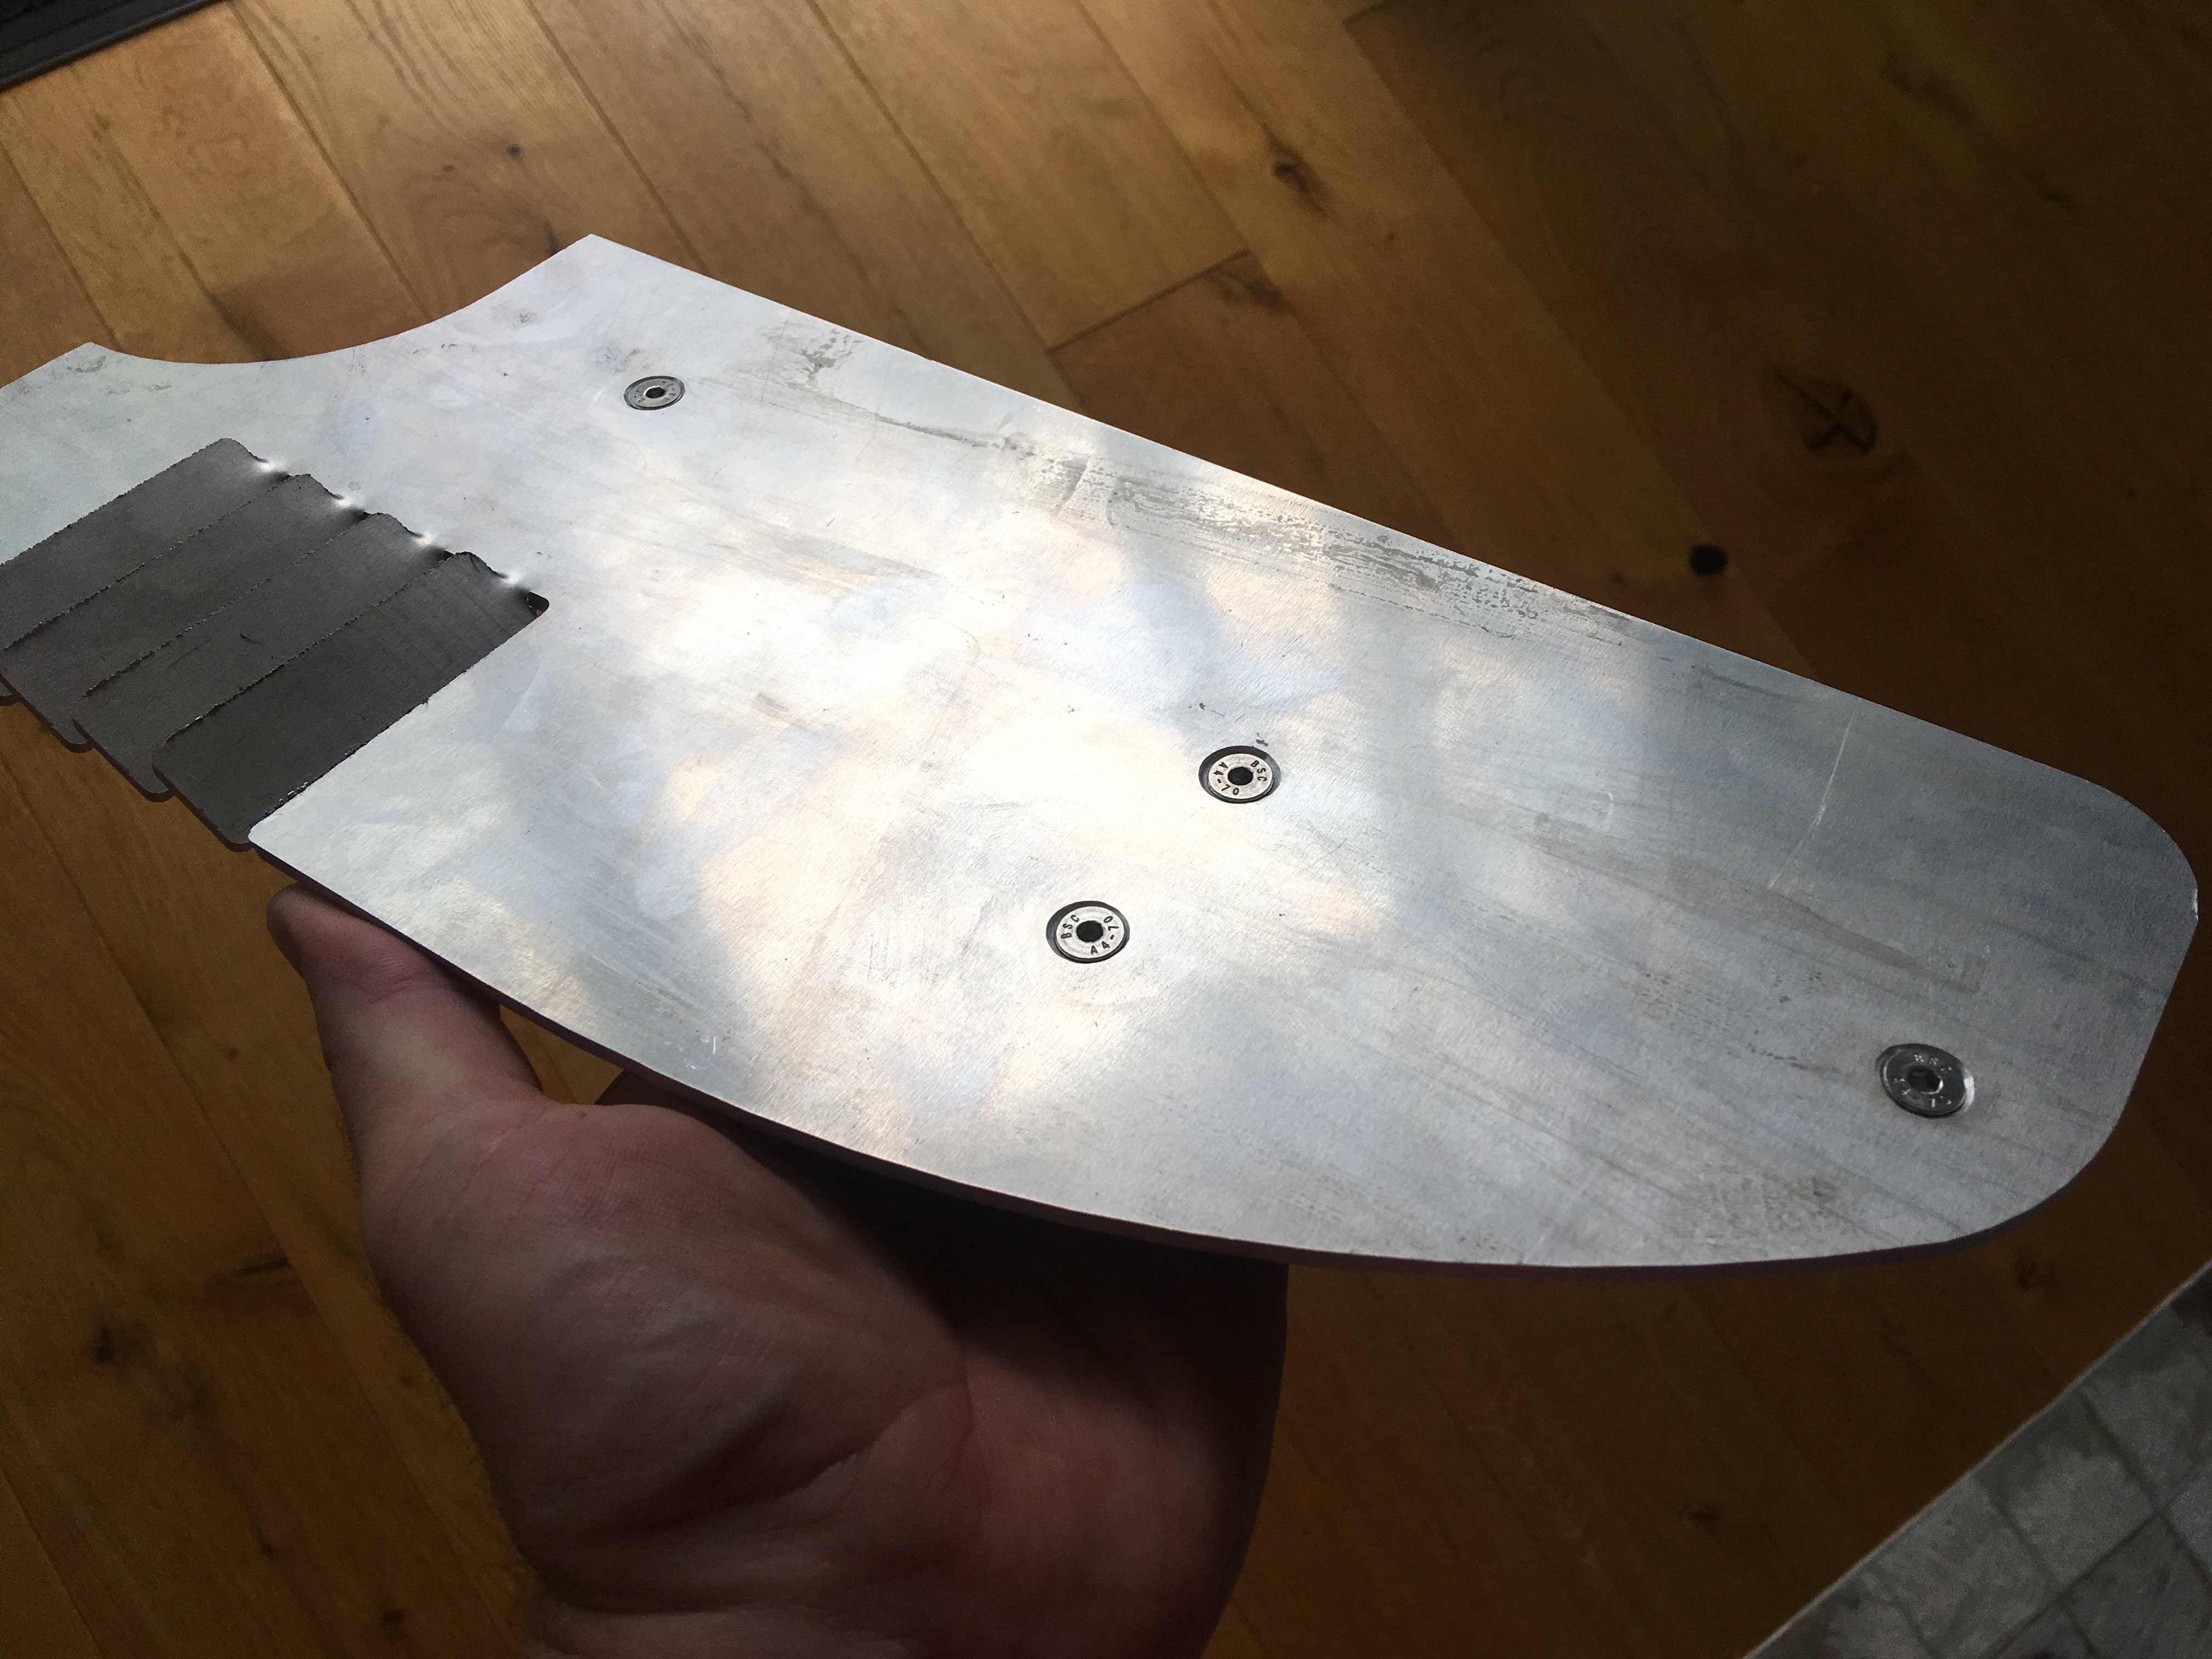
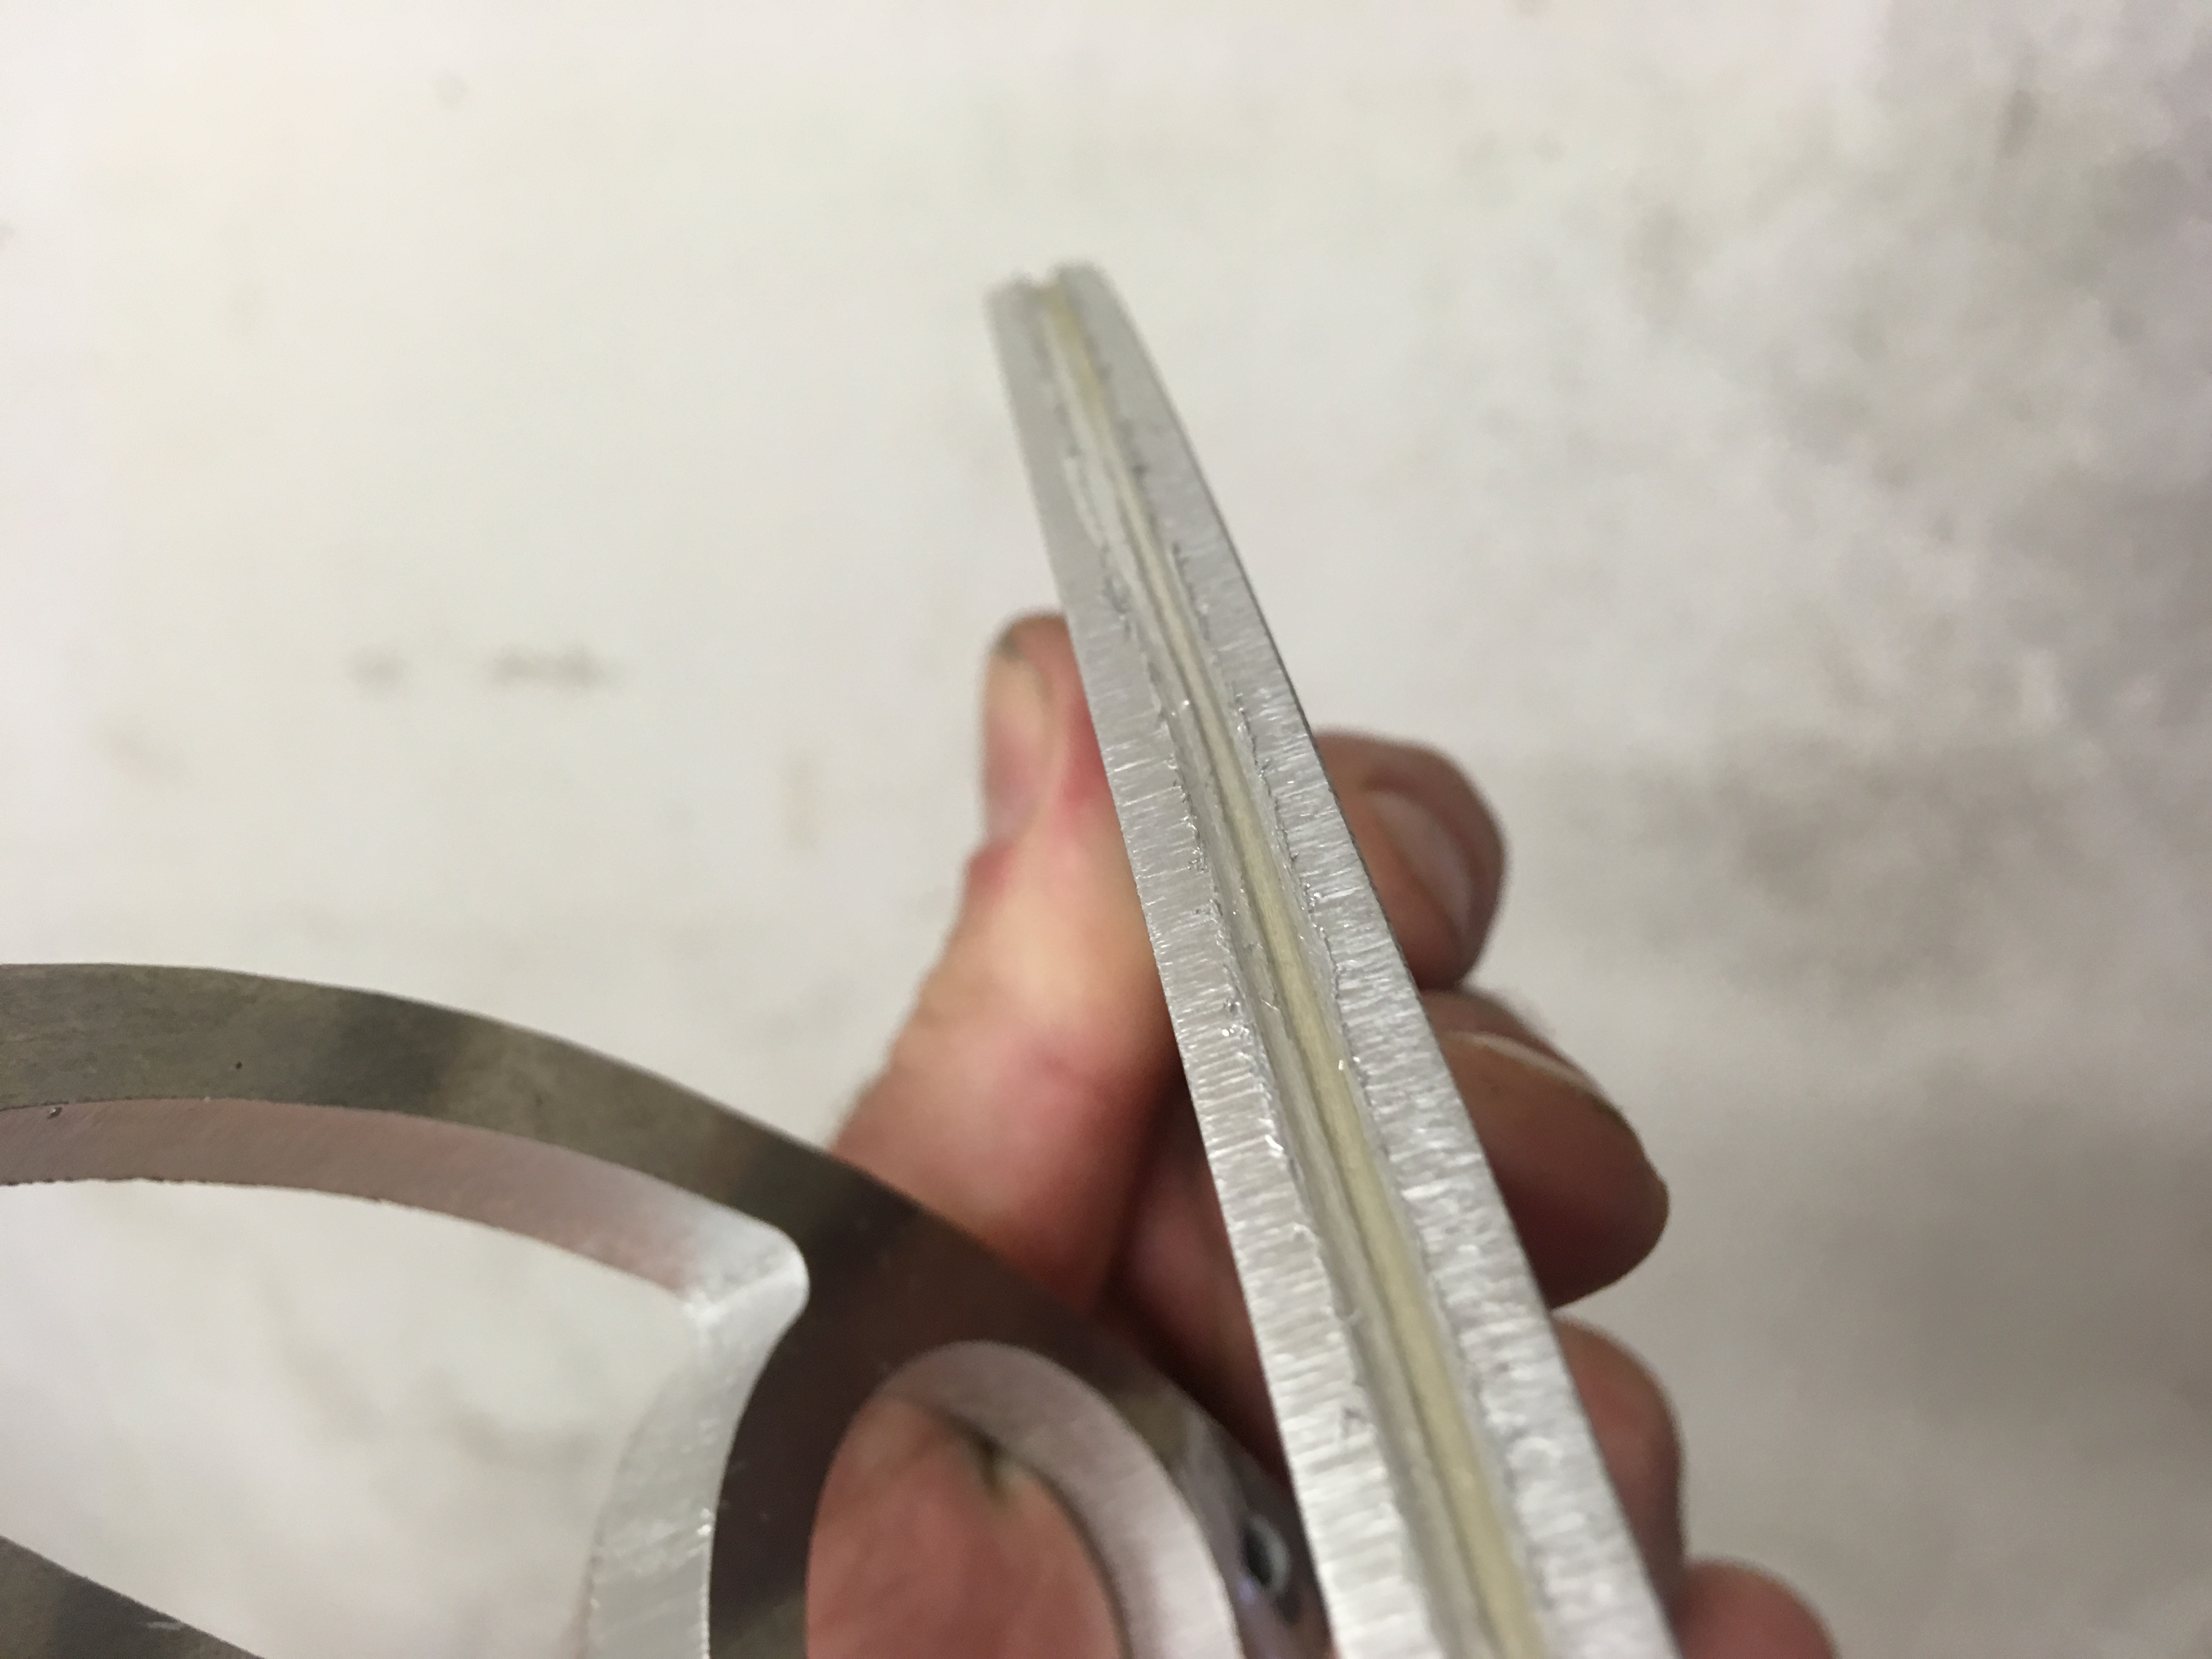
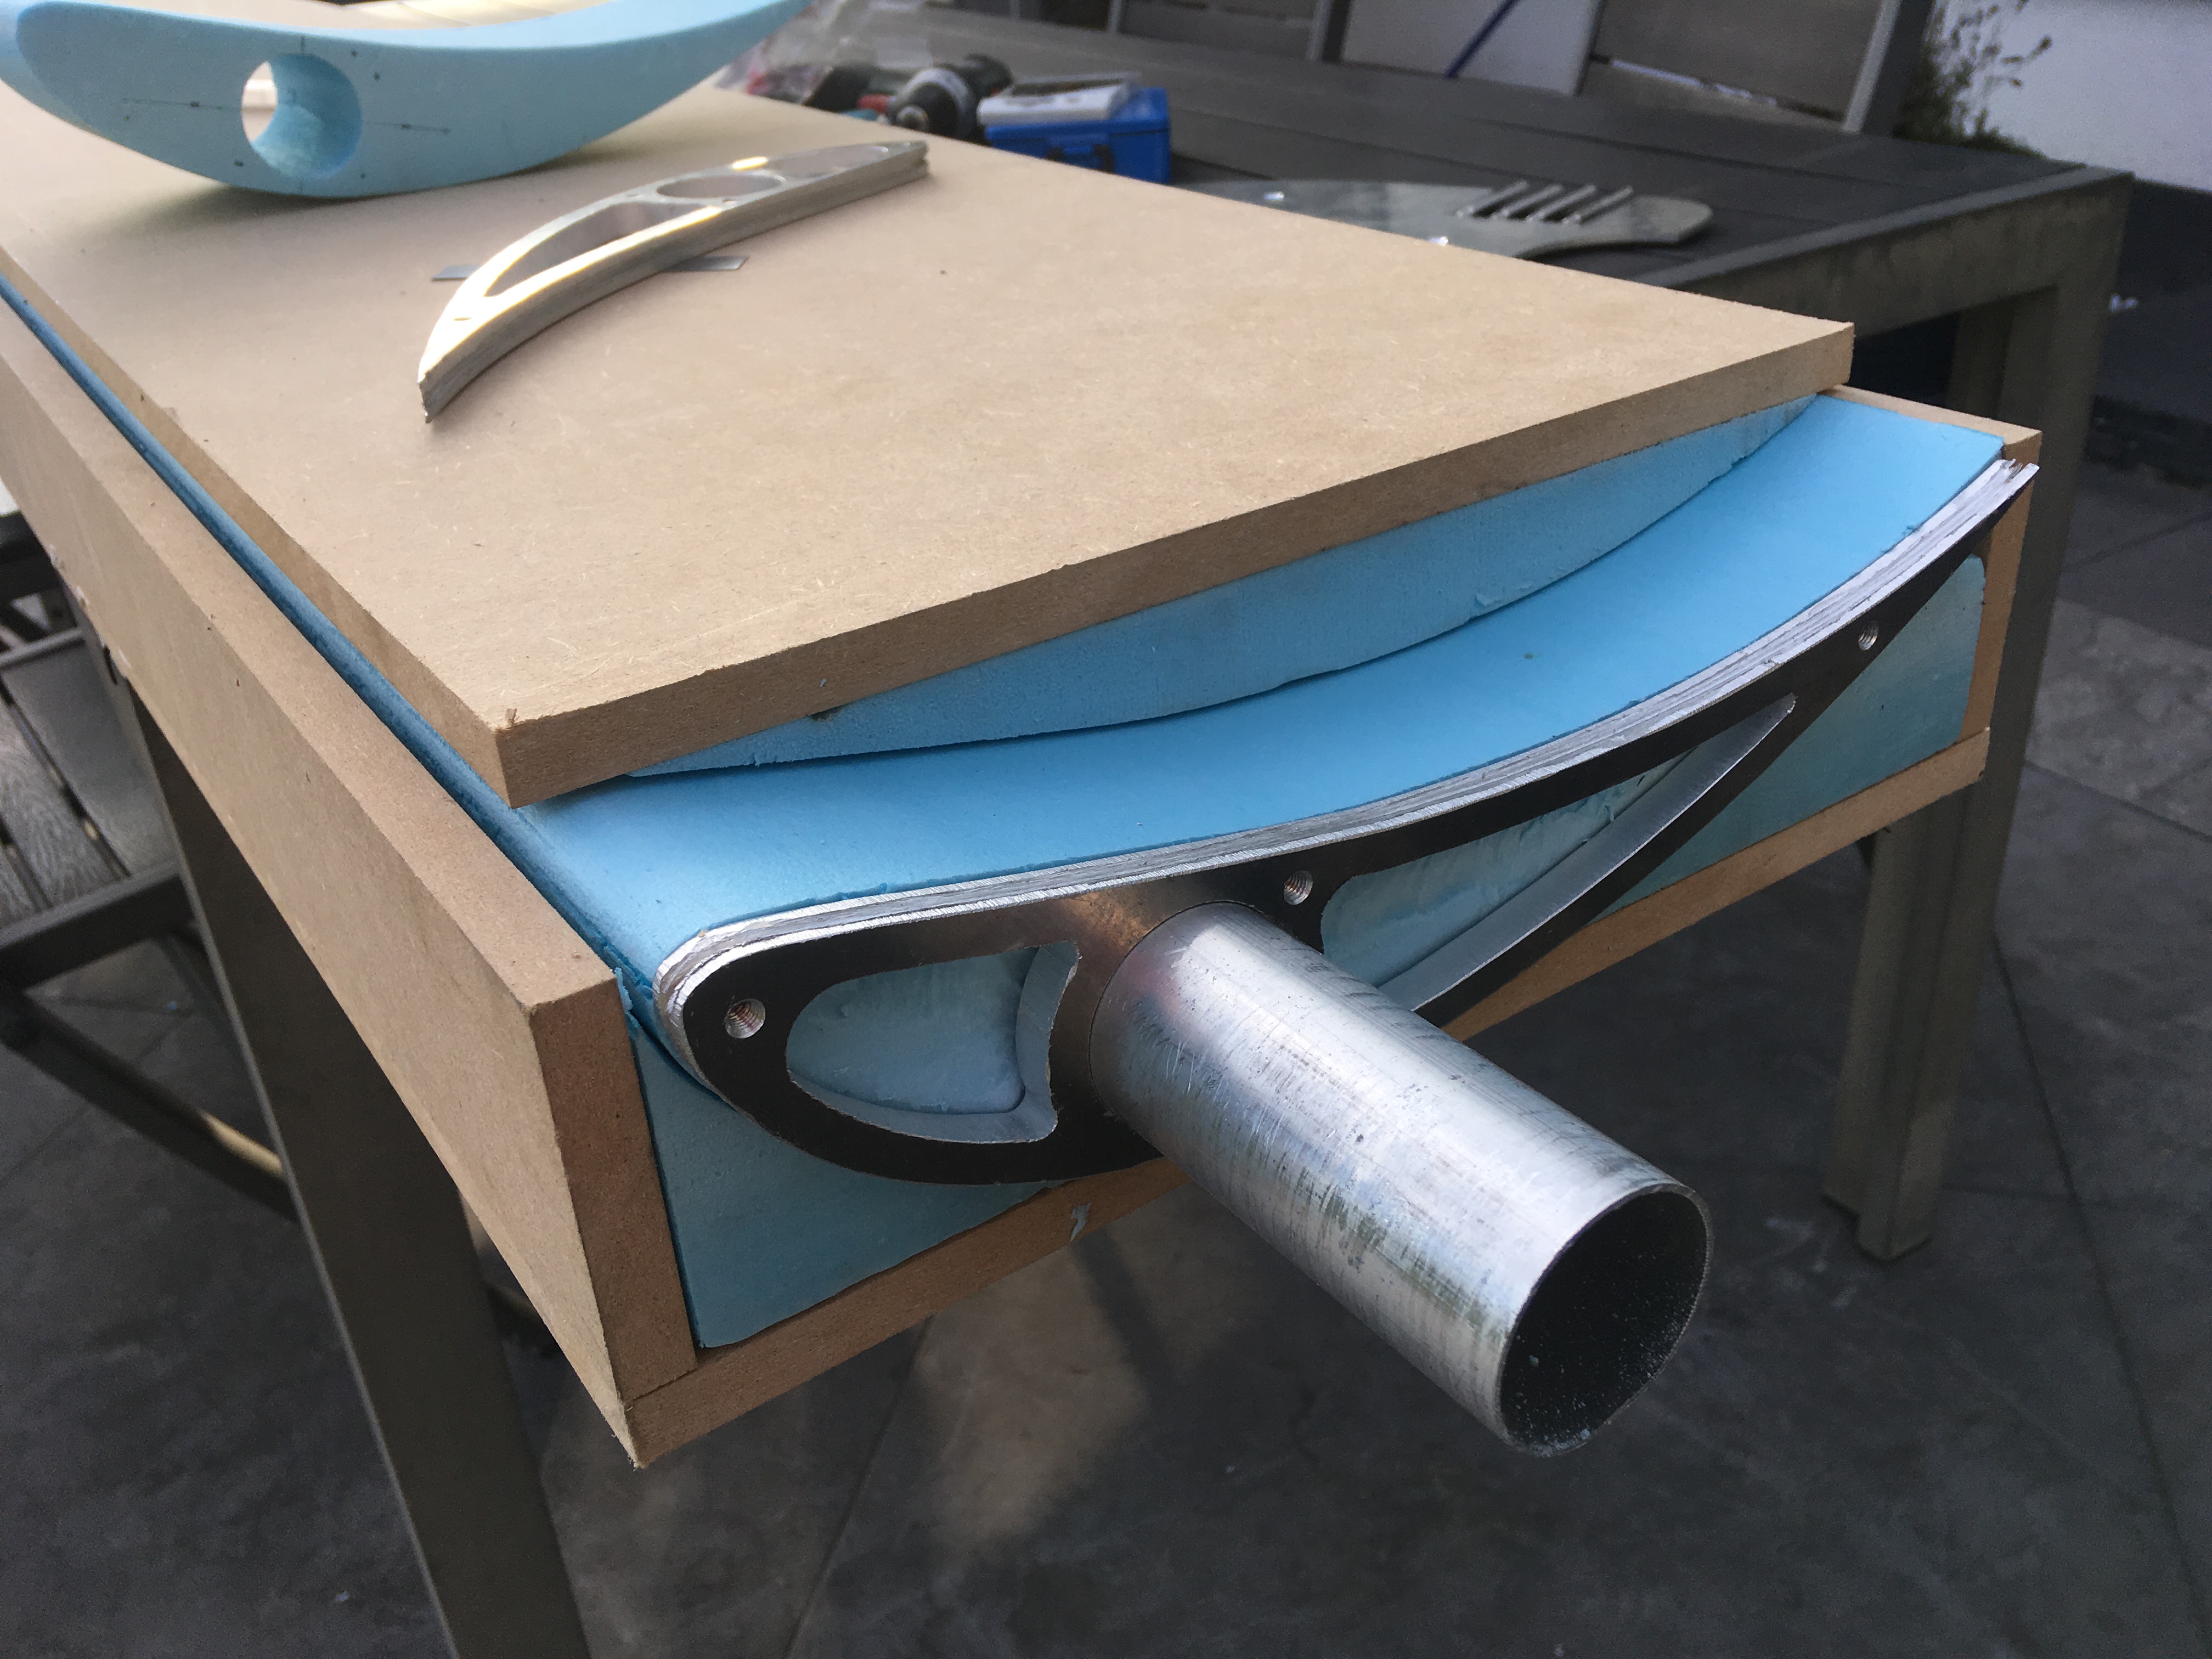
Part 3 - drilled and tapped the core endplate supports, and made everything fit together. The core endplate supports I also grooved along the outside with a grinder so the bond with the carbonfibre there is mechanically keyed, and will never rip apart

IMG_8242.JPG

IMG_8243.JPG

IMG_8255.JPG

IMG_8256.JPG


#1247 Doctor Ed

Doctor Ed

    Need to get Out More

  • PipPipPipPip
  • 1,188 posts
  • Location:Germany

Posted 10 November 2019 - 09:48 PM

have a look at this article:
https://www.jmranaly...g-Investigation

I've actually remade the endplates in a plain fashion... whilst my version above looks cool and follows the basic principles of a few things ive read, id be kidding myself if i said it was a 'good design' without it ever seeing a wind tunnel

weight - don't know, i should weigh it one day. its disturbingly light.

afcea7_8e6ccd9e089c4d74ae1cda9e8efacf0e~

afcea7_69c0f85aa8d144a5bf9798a1b94a44fe~

Edited by Doctor Ed, 10 November 2019 - 09:50 PM.


#1248 Doctor Ed

Doctor Ed

    Need to get Out More

  • PipPipPipPip
  • 1,188 posts
  • Location:Germany

Posted 10 November 2019 - 09:57 PM

been pretty busy with work lately, not a huge amount to update

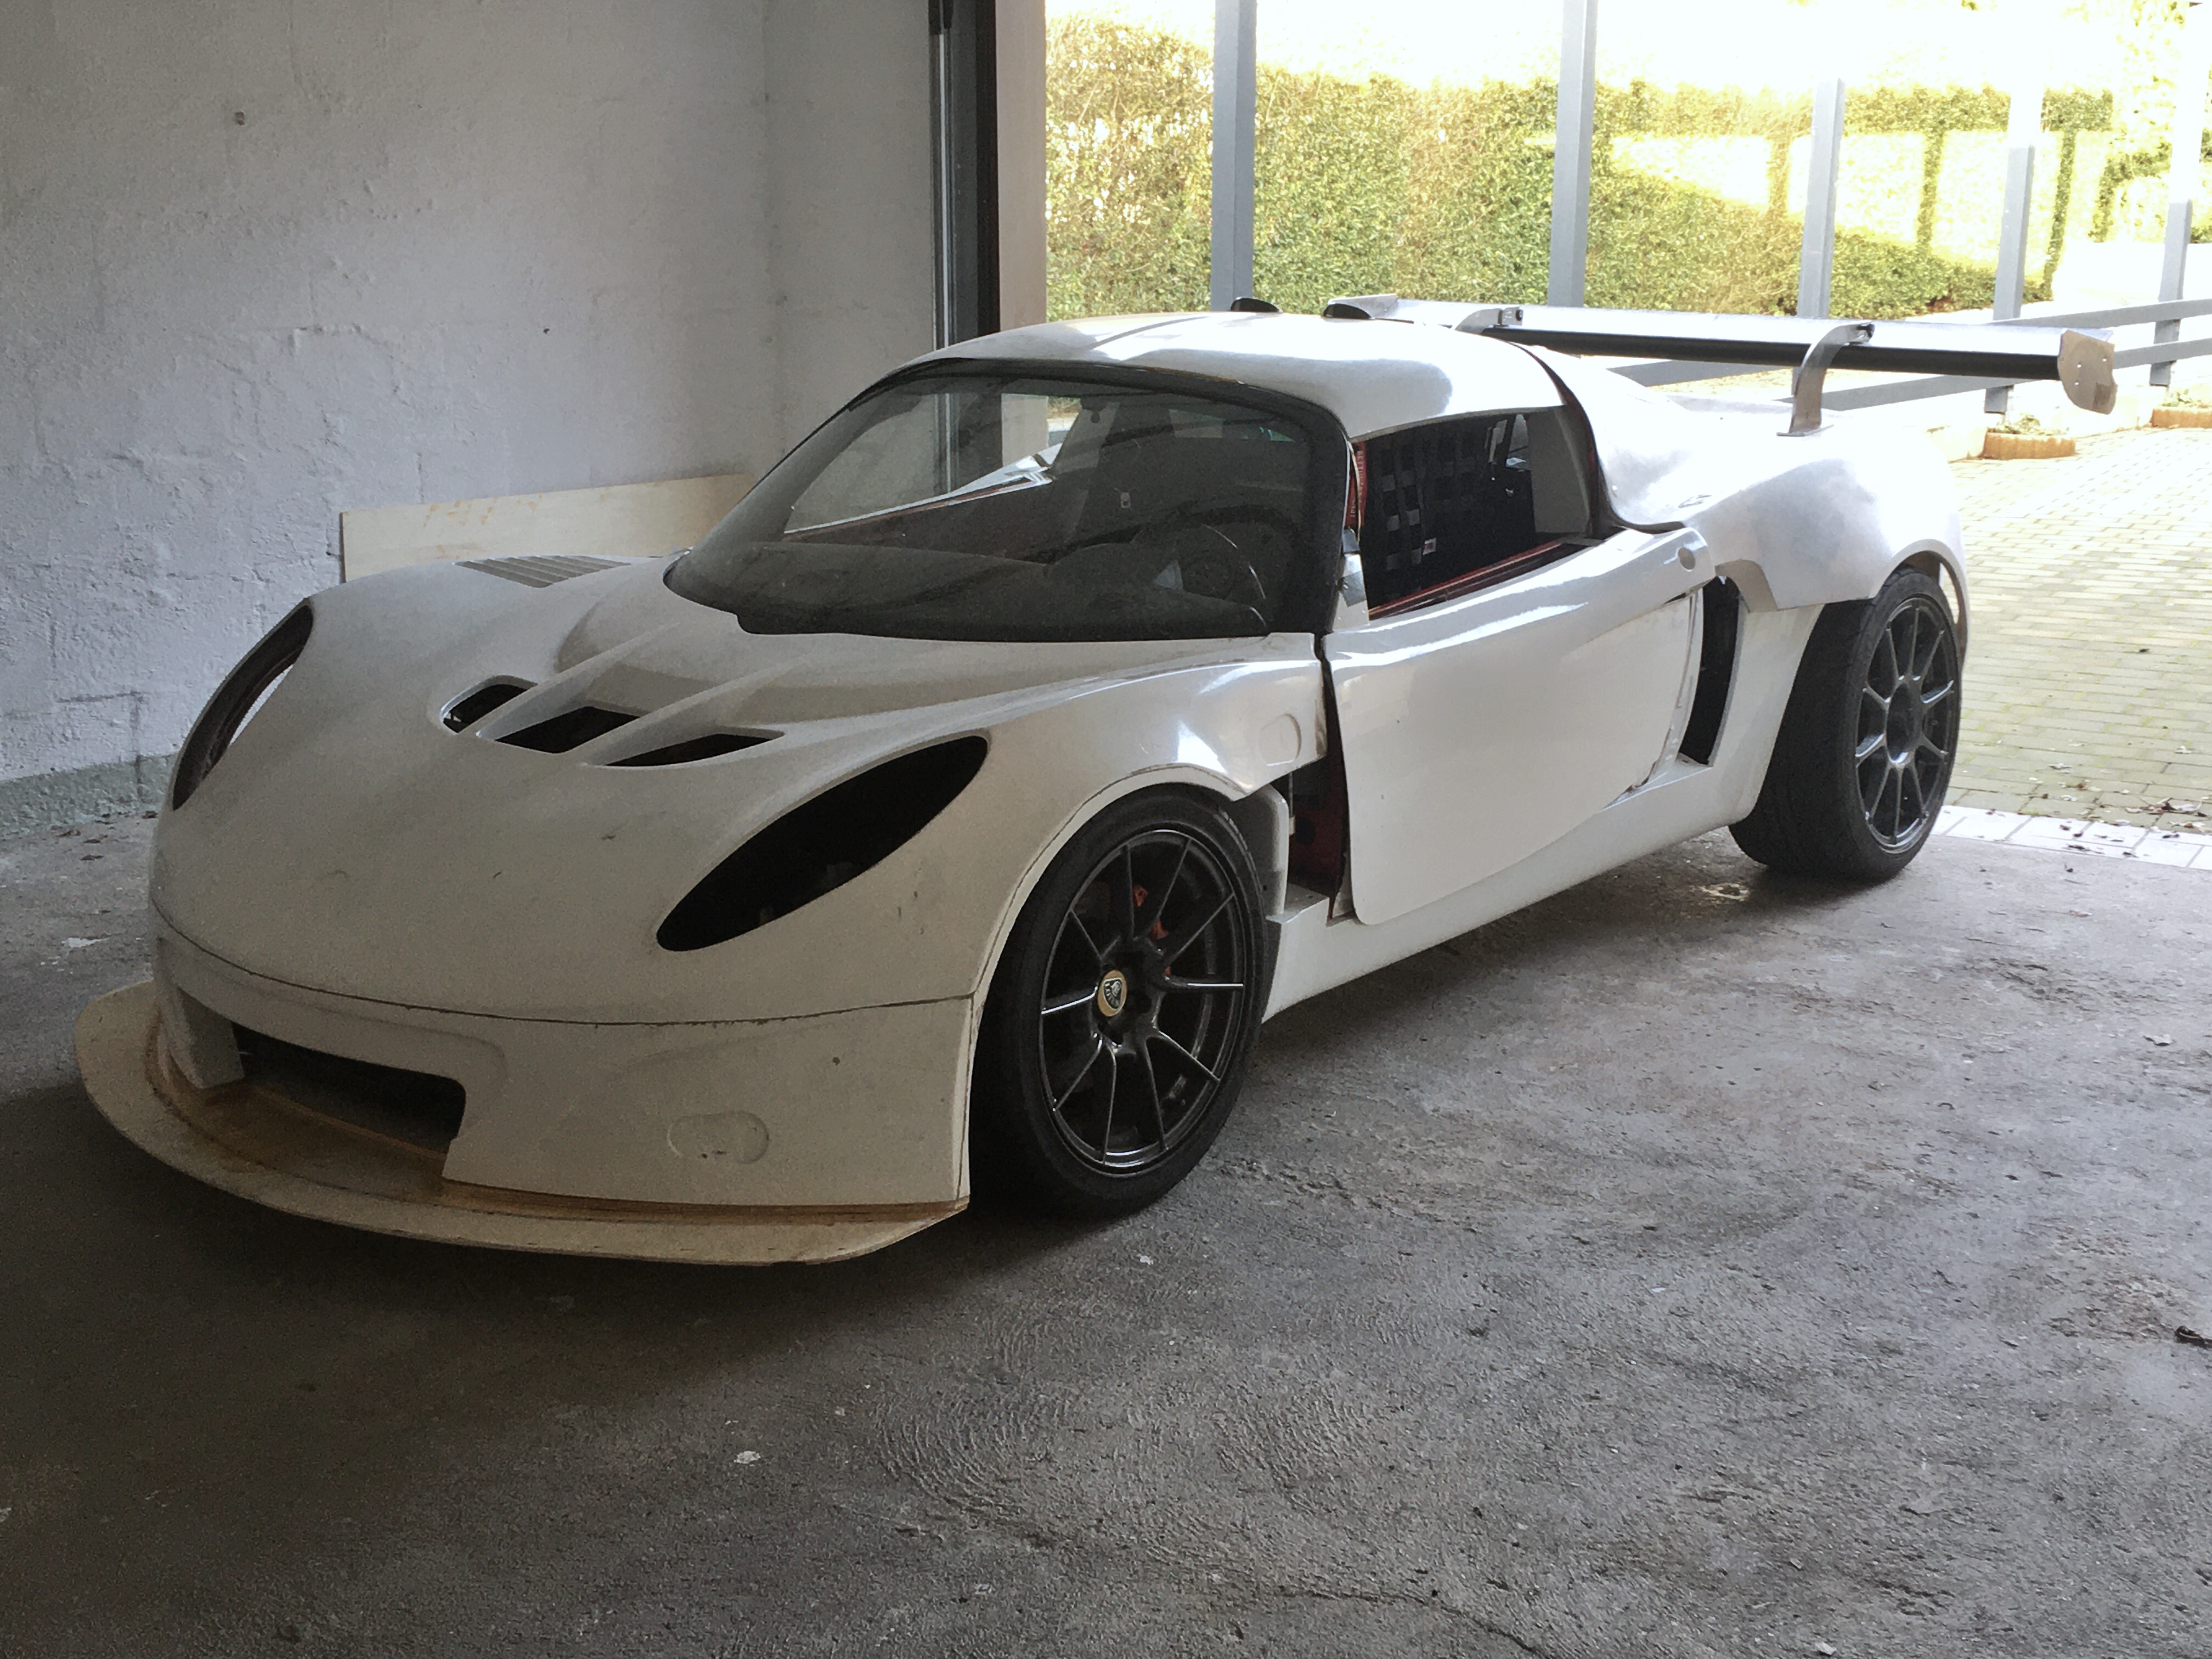
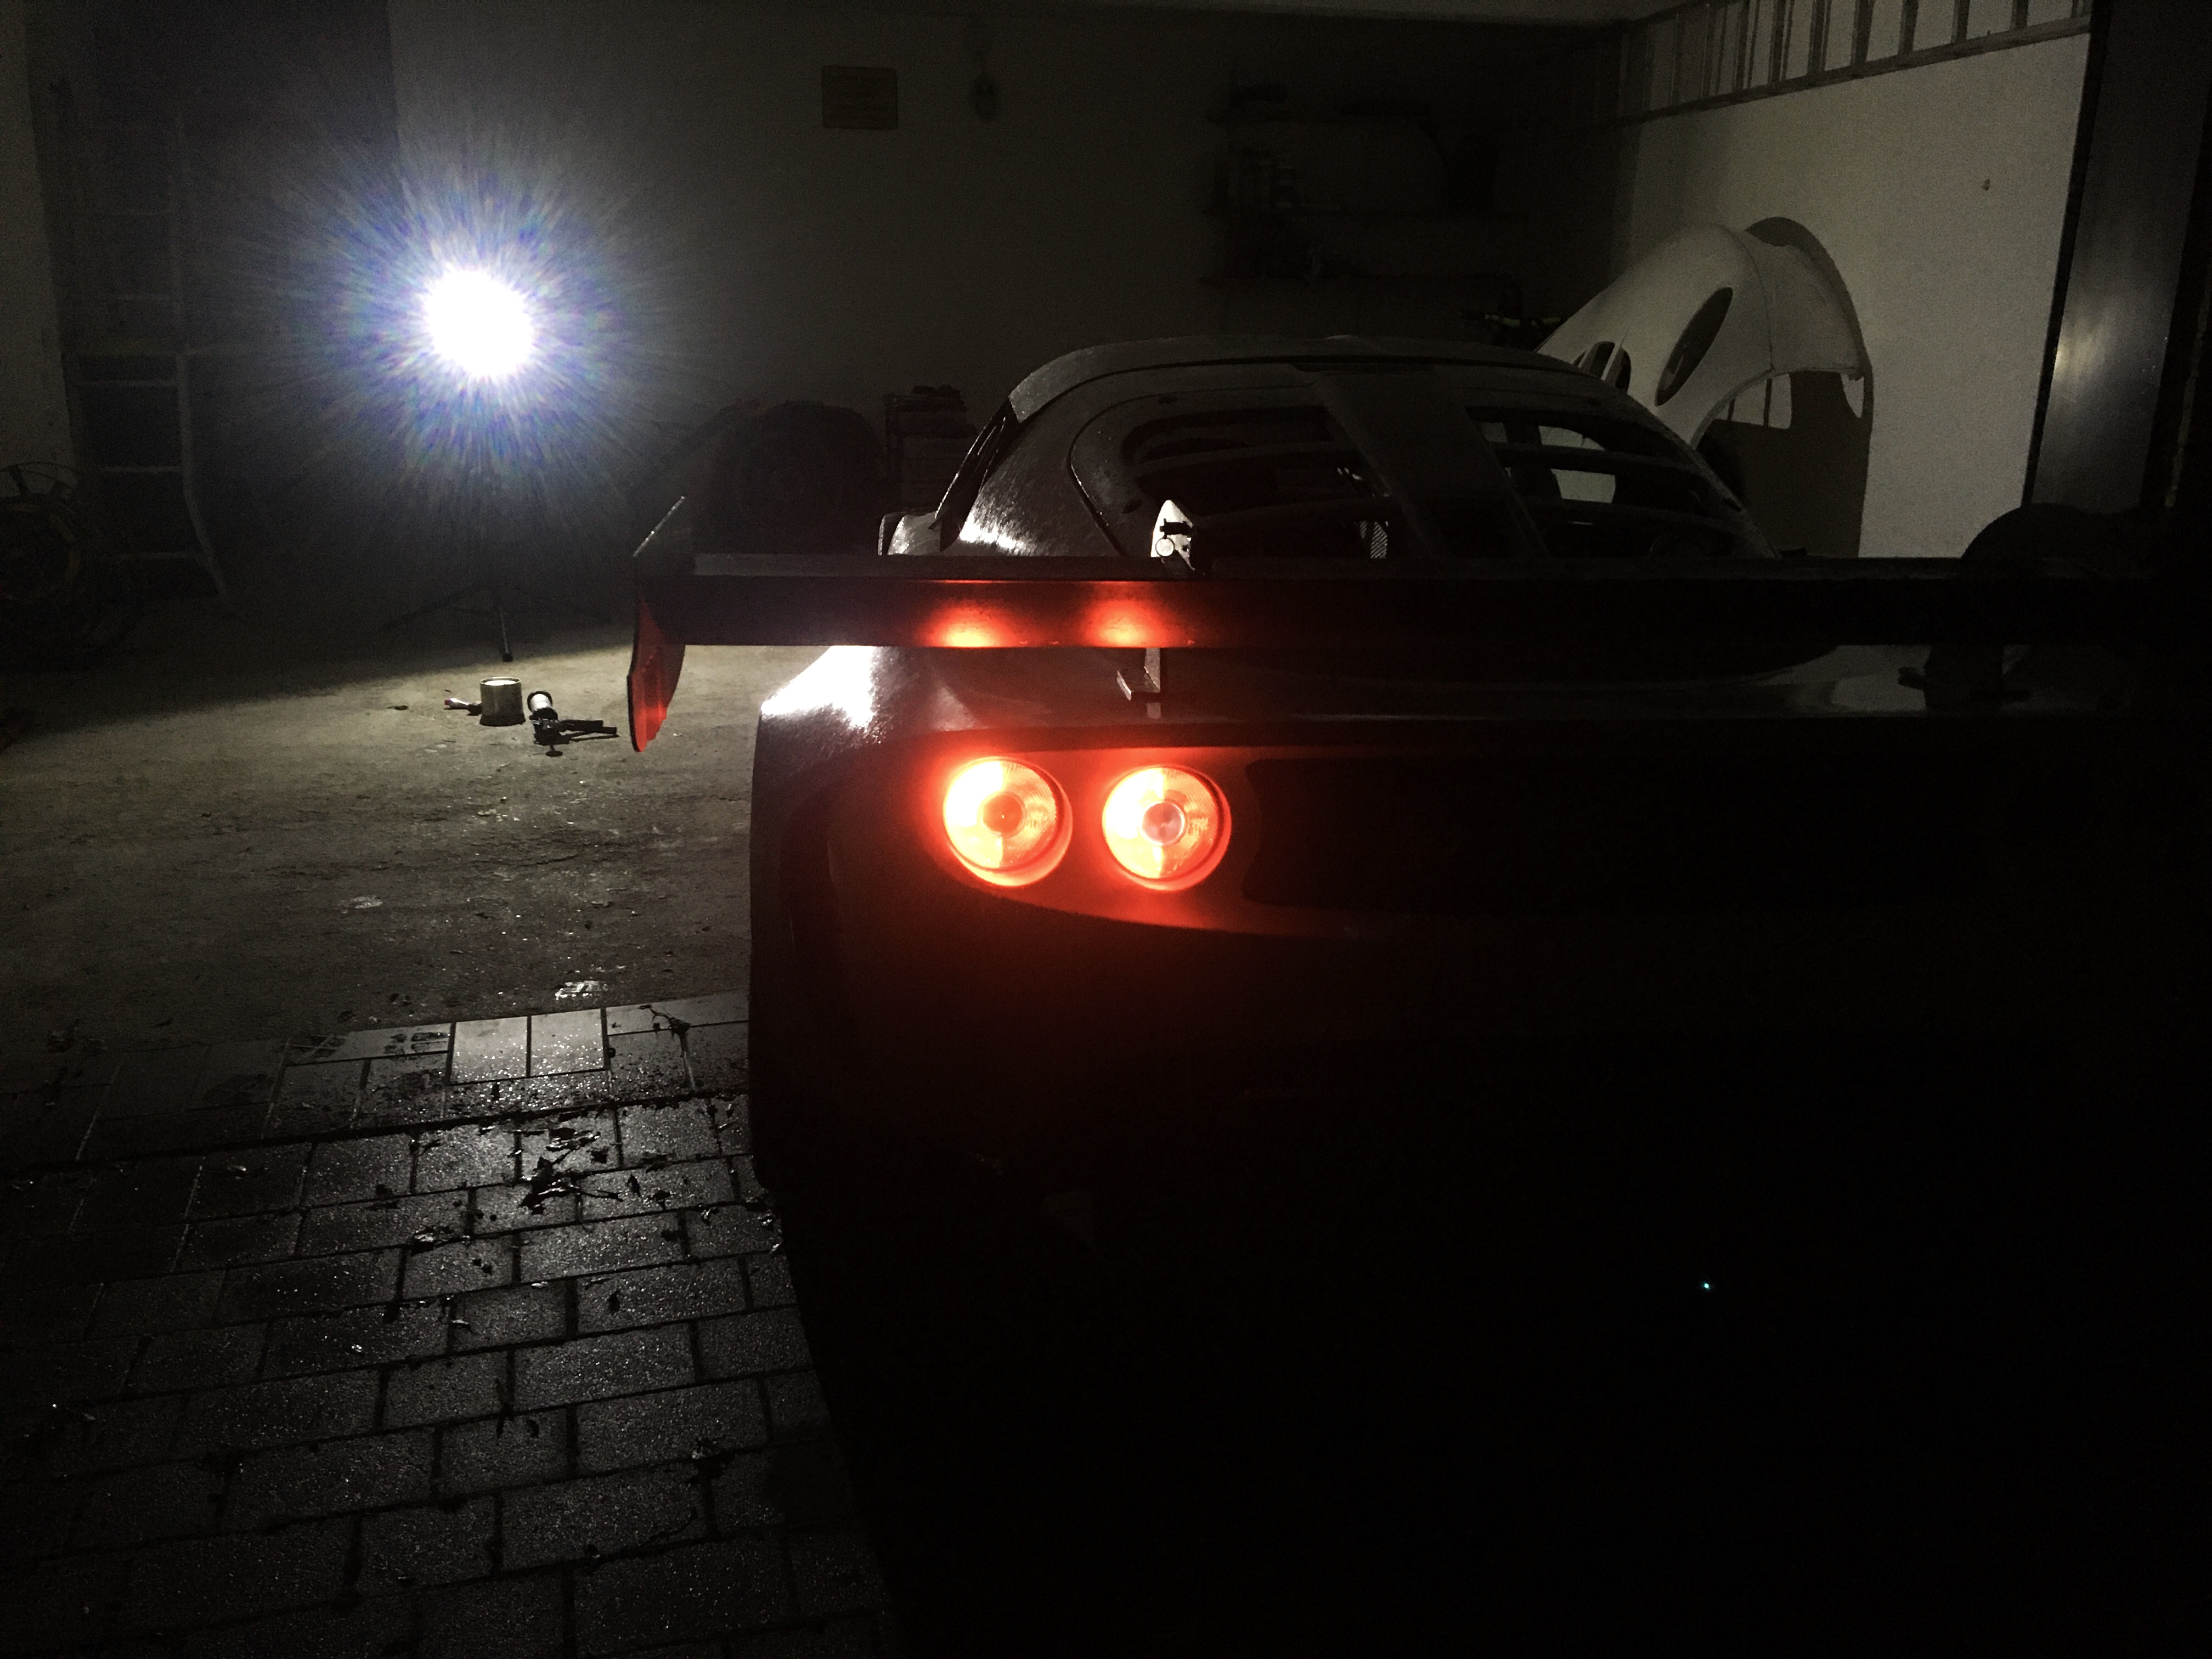
firstly, updated glory shot...

IMG_9906.JPG

#1249 Doctor Ed

Doctor Ed

    Need to get Out More

  • PipPipPipPip
  • 1,188 posts
  • Location:Germany

Posted 10 November 2019 - 09:59 PM

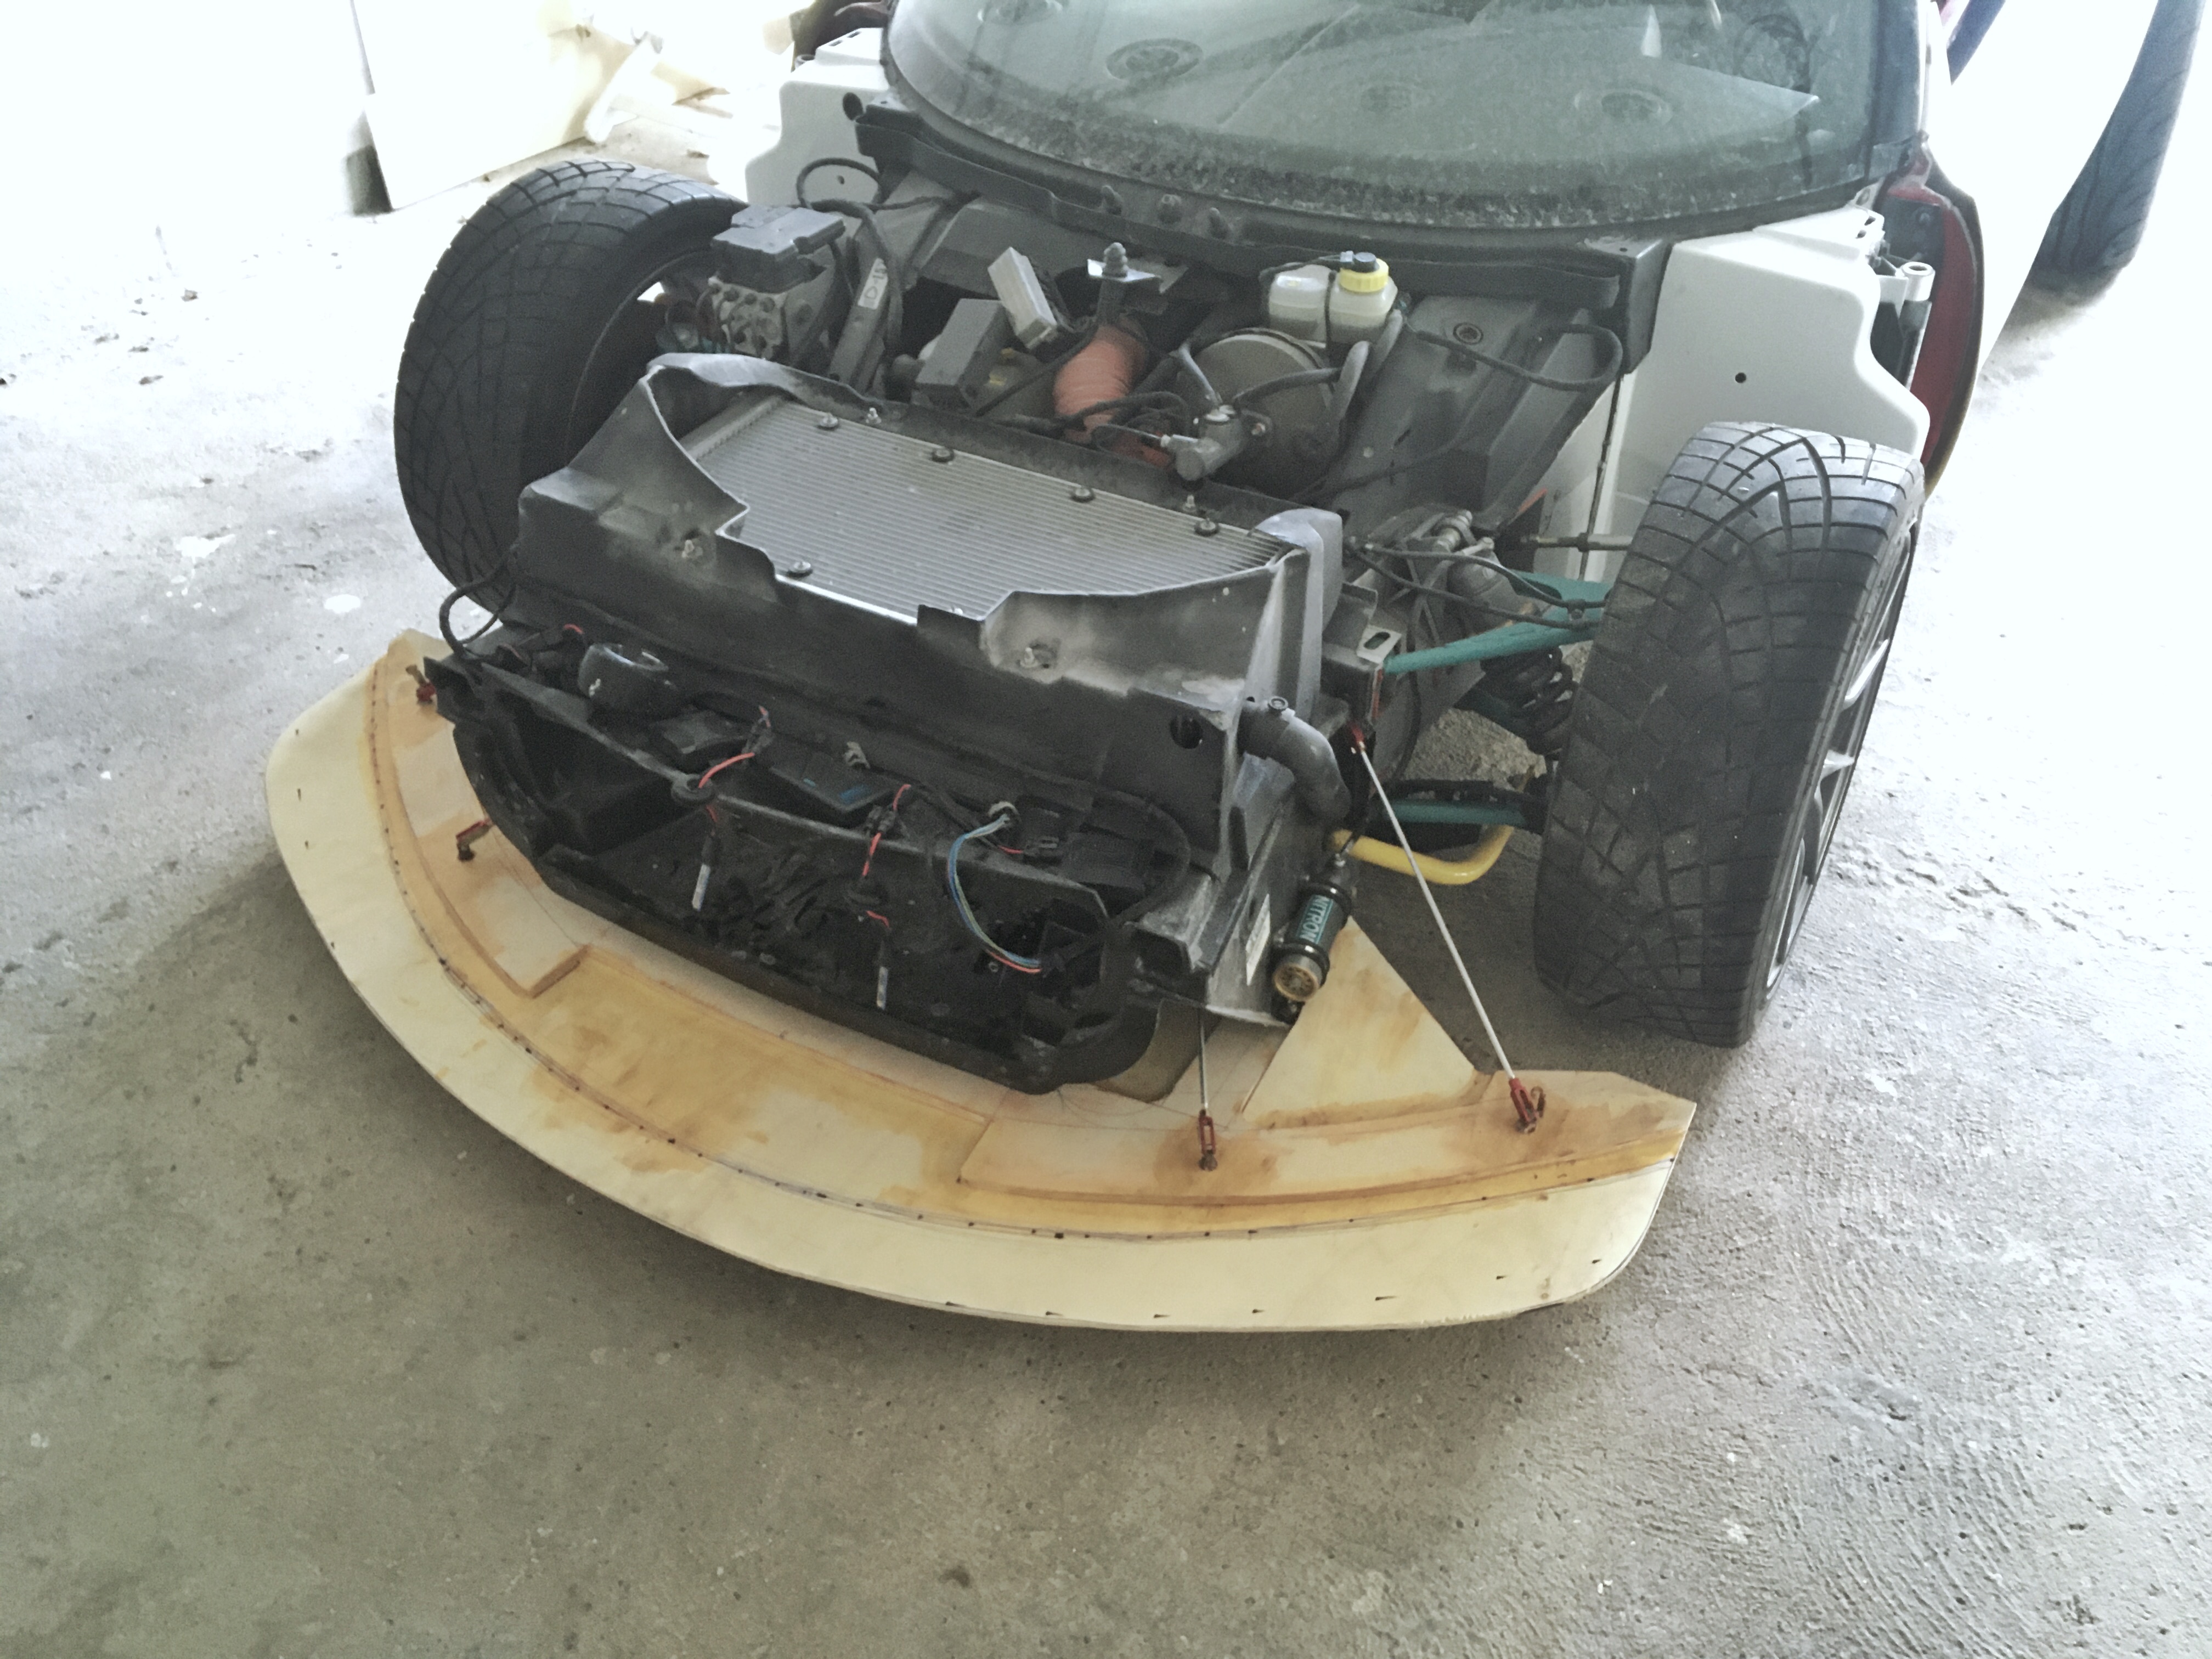
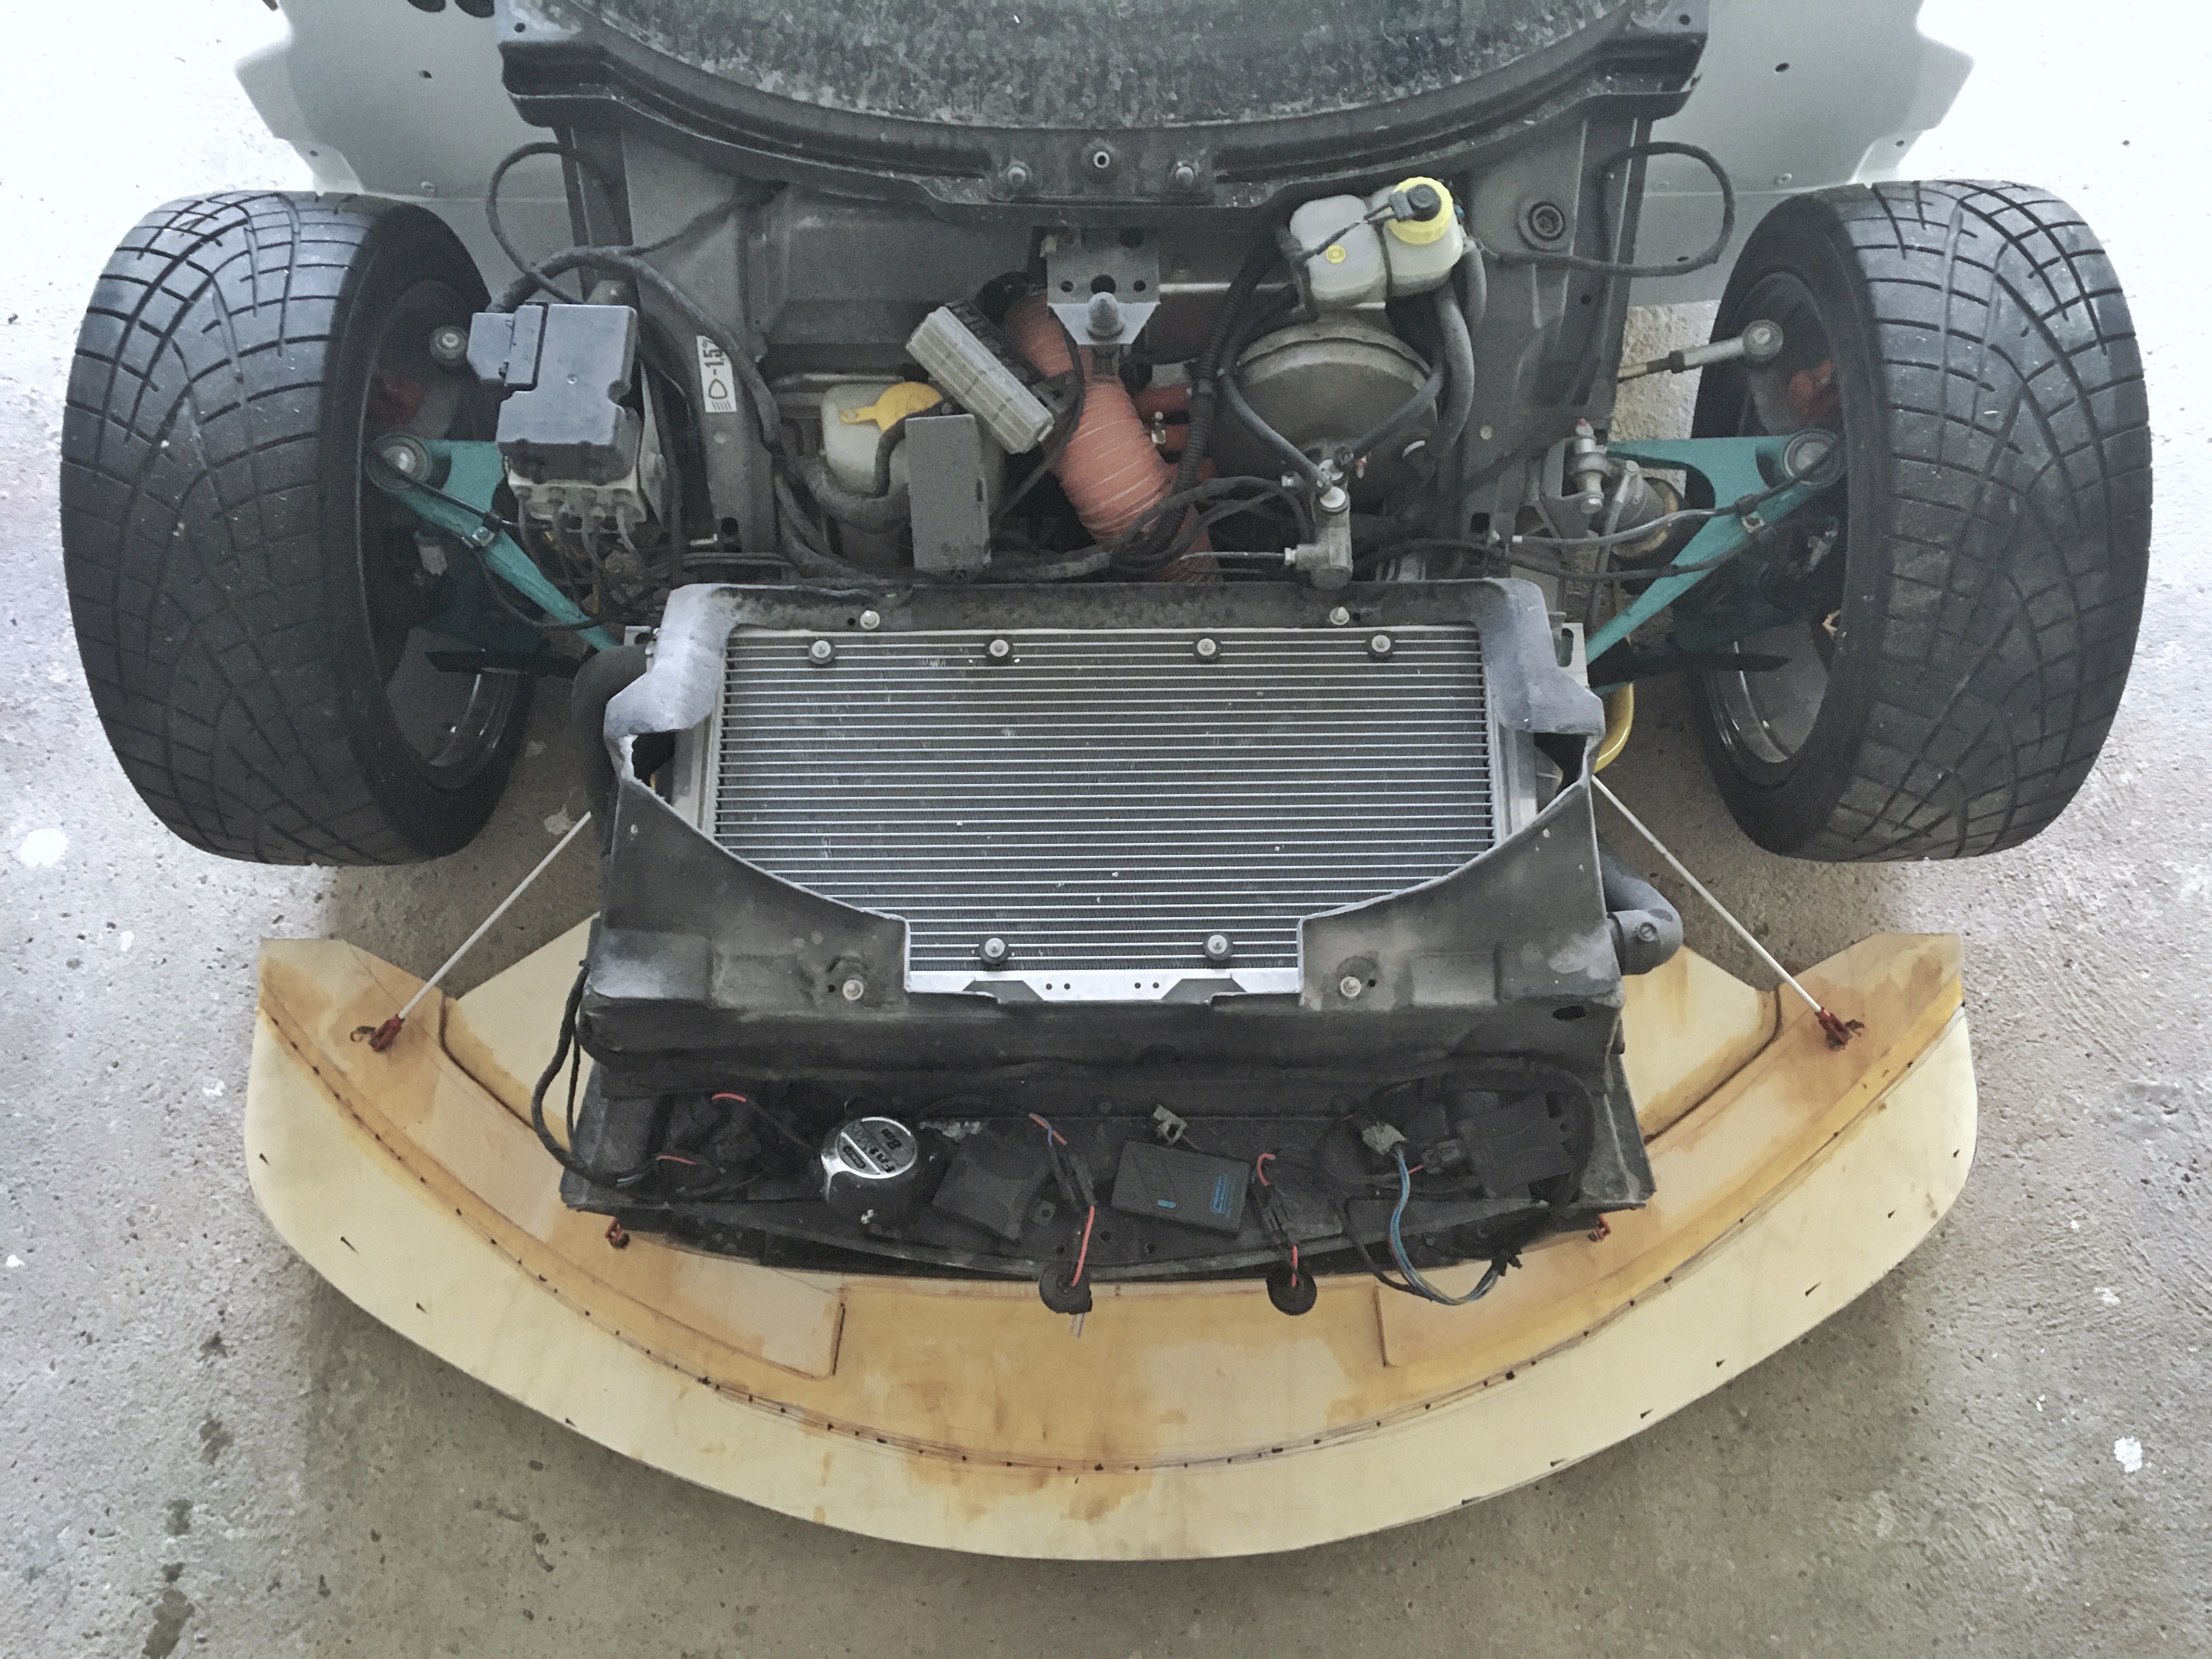
splitter nearly ready for CF/Aramid skinning

IMG_9911.JPG

IMG_9912.JPG

#1250 Doctor Ed

Doctor Ed

    Need to get Out More

  • PipPipPipPip
  • 1,188 posts
  • Location:Germany

Posted 10 November 2019 - 10:00 PM

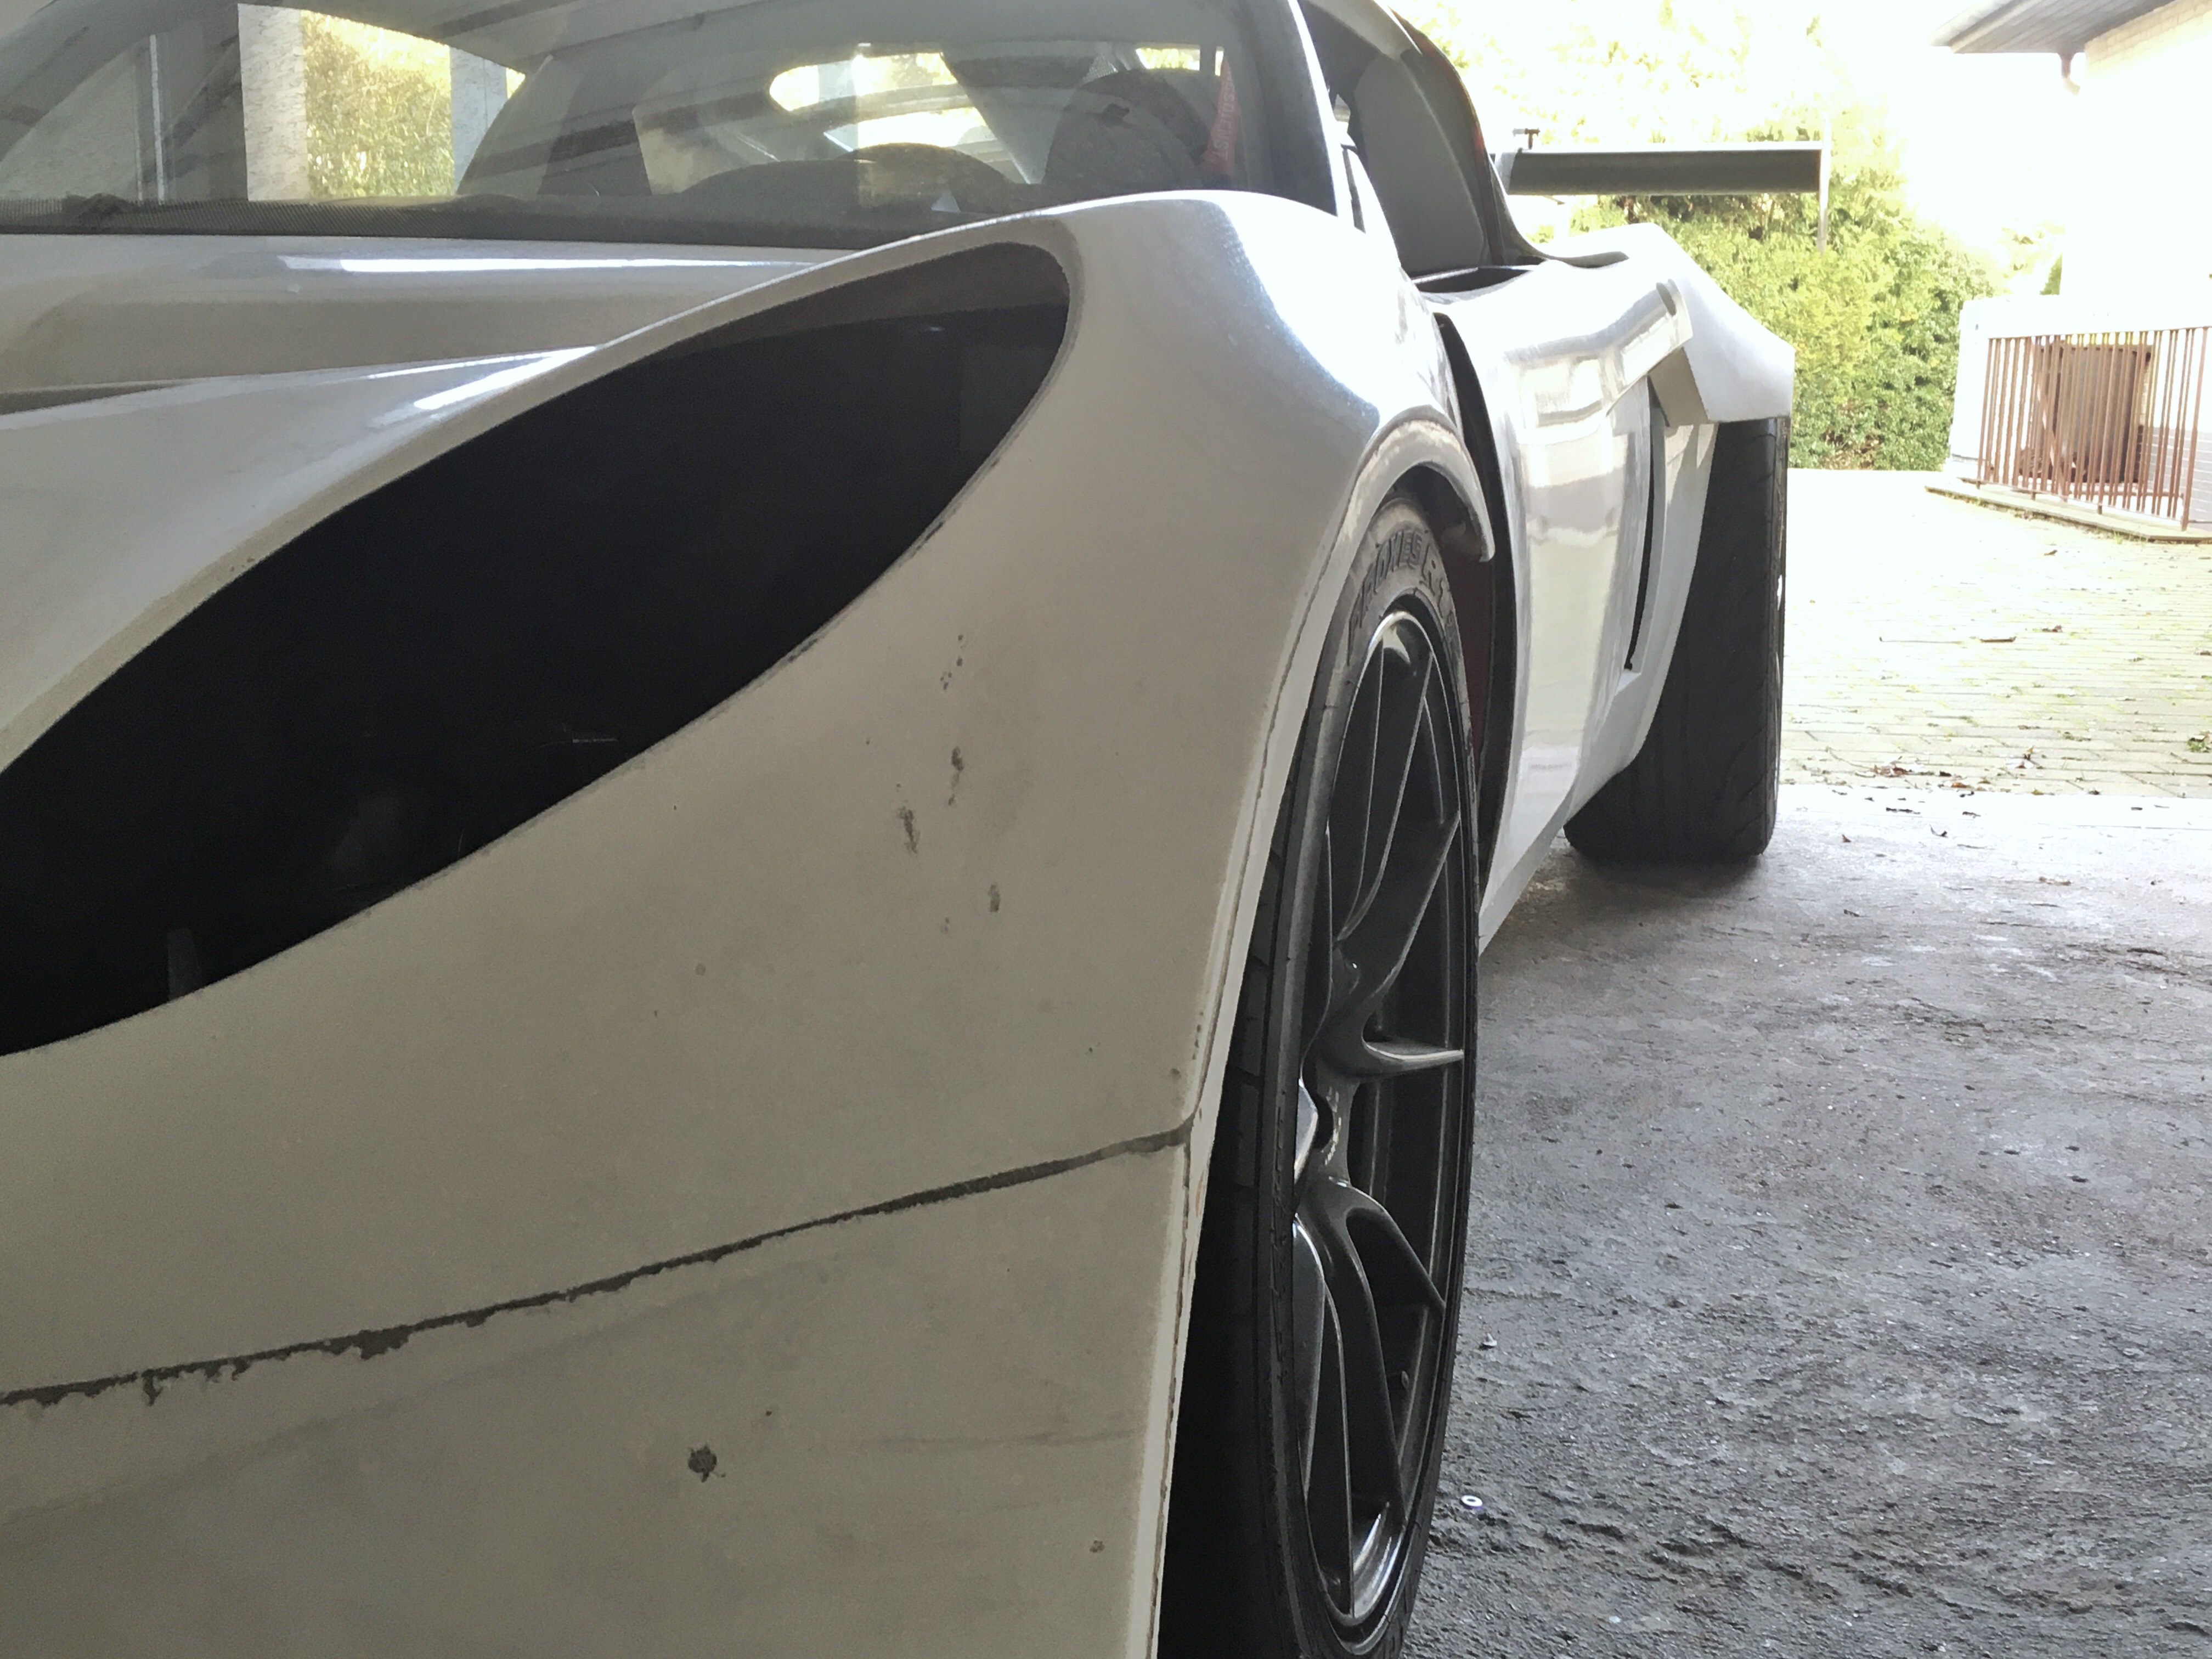
for interest's sake i tried mounding my rear rims/tyres (245/40) onto the front. although not specifically 'widebody' at the front theres about 20mm more per side to play with over stock, allowing the fatter rubber to fit. it does rub on the chassis rail on full lock, so not streetable/legal. but as its literally only at full lock, its definietly trackable. i had a look as the NS2R sizes available, and theres a 235/40. might go with that, should fit nicely. thatll make 265/35/R18 at the back and 235/40/R17 at the front

IMG_9907.JPG

#1251 Doctor Ed

Doctor Ed

    Need to get Out More

  • PipPipPipPip
  • 1,188 posts
  • Location:Germany

Posted 10 November 2019 - 10:04 PM

forgot to mention, due to the way I wired the park/brake lights, I was getting nervous about full load amperage through the oem loom. Decided Id try some LEDs, being very skeptical that they’d probably be super sh*t. Welll... if youre on the lookout, these are fcuking awesome. At least as bright as the equiv incandescent bulbs they replaced, and importantly the step in brightness between park and brake is blindingly obvious. AA+++ will buy again

silica%20382%20w3.jpg

https://www.ebay.co.....wSHI5JWzXhzejA

https://www.ebay.co...../372400909670?

this is just 2x 5W equiv park lights. you can imagine how an additional 4x 21W equiv brake lights look :)

IMG_9928.JPG

Edited by Doctor Ed, 10 November 2019 - 10:13 PM.


#1252 Arno

Arno

    Need to get Out More

  • PipPipPipPip
  • 1,237 posts
  • Gender:Male
  • Location:Netherlands

Posted 11 November 2019 - 01:58 PM

For dual mode P21/5W I'd also suggest looking at OSRAM O-1557R LED bulbs:


https://www.osram.nl...at/ZMP_4053099/


Bye, Arno.


#1253 Doctor Ed

Doctor Ed

    Need to get Out More

  • PipPipPipPip
  • 1,188 posts
  • Location:Germany

Posted 11 November 2019 - 03:58 PM

Yeah.... except they’re €30 a pair, meaning €120 for 4 lights. Compared to €20. plus the Osram isn’t EU conform, meaning no one in the EU stocks them, leaving you to import them from Russia, China or South Africa

#1254 chris_uk

chris_uk

    I Fancy Joe

  • PipPipPipPipPipPipPip
  • 10,060 posts
  • Gender:Male
  • Location:Leeds UK

Posted 11 November 2019 - 05:28 PM

cant wait to see this finished.. i think a visit will be in order :) 


#1255 Aerodynamic

Aerodynamic

    Billy No Mates

  • PipPipPipPipPip
  • 1,455 posts

Posted 11 November 2019 - 06:40 PM

Have you done a similar simulation with a plane endplate?


I thought about 3d print endplates with these gillis, I Think it could look cool/nice.

And ofcourse its not easy if you dont have a windtunnel to really know. But believing  is important.  :-)


I mean it wont be a game changer for us amatures but it´s nice to do something different.


And that splitter, a real downforce monster.


Can you show in steps how you treat your splitter?


Br, Per


have a look at this article:
https://www.jmranaly...g-Investigation

I've actually remade the endplates in a plain fashion... whilst my version above looks cool and follows the basic principles of a few things ive read, id be kidding myself if i said it was a 'good design' without it ever seeing a wind tunnel

weight - don't know, i should weigh it one day. its disturbingly light.

afcea7_8e6ccd9e089c4d74ae1cda9e8efacf0e~

afcea7_69c0f85aa8d144a5bf9798a1b94a44fe~


#1256 Doctor Ed

Doctor Ed

    Need to get Out More

  • PipPipPipPip
  • 1,188 posts
  • Location:Germany

Posted 18 November 2019 - 05:11 PM

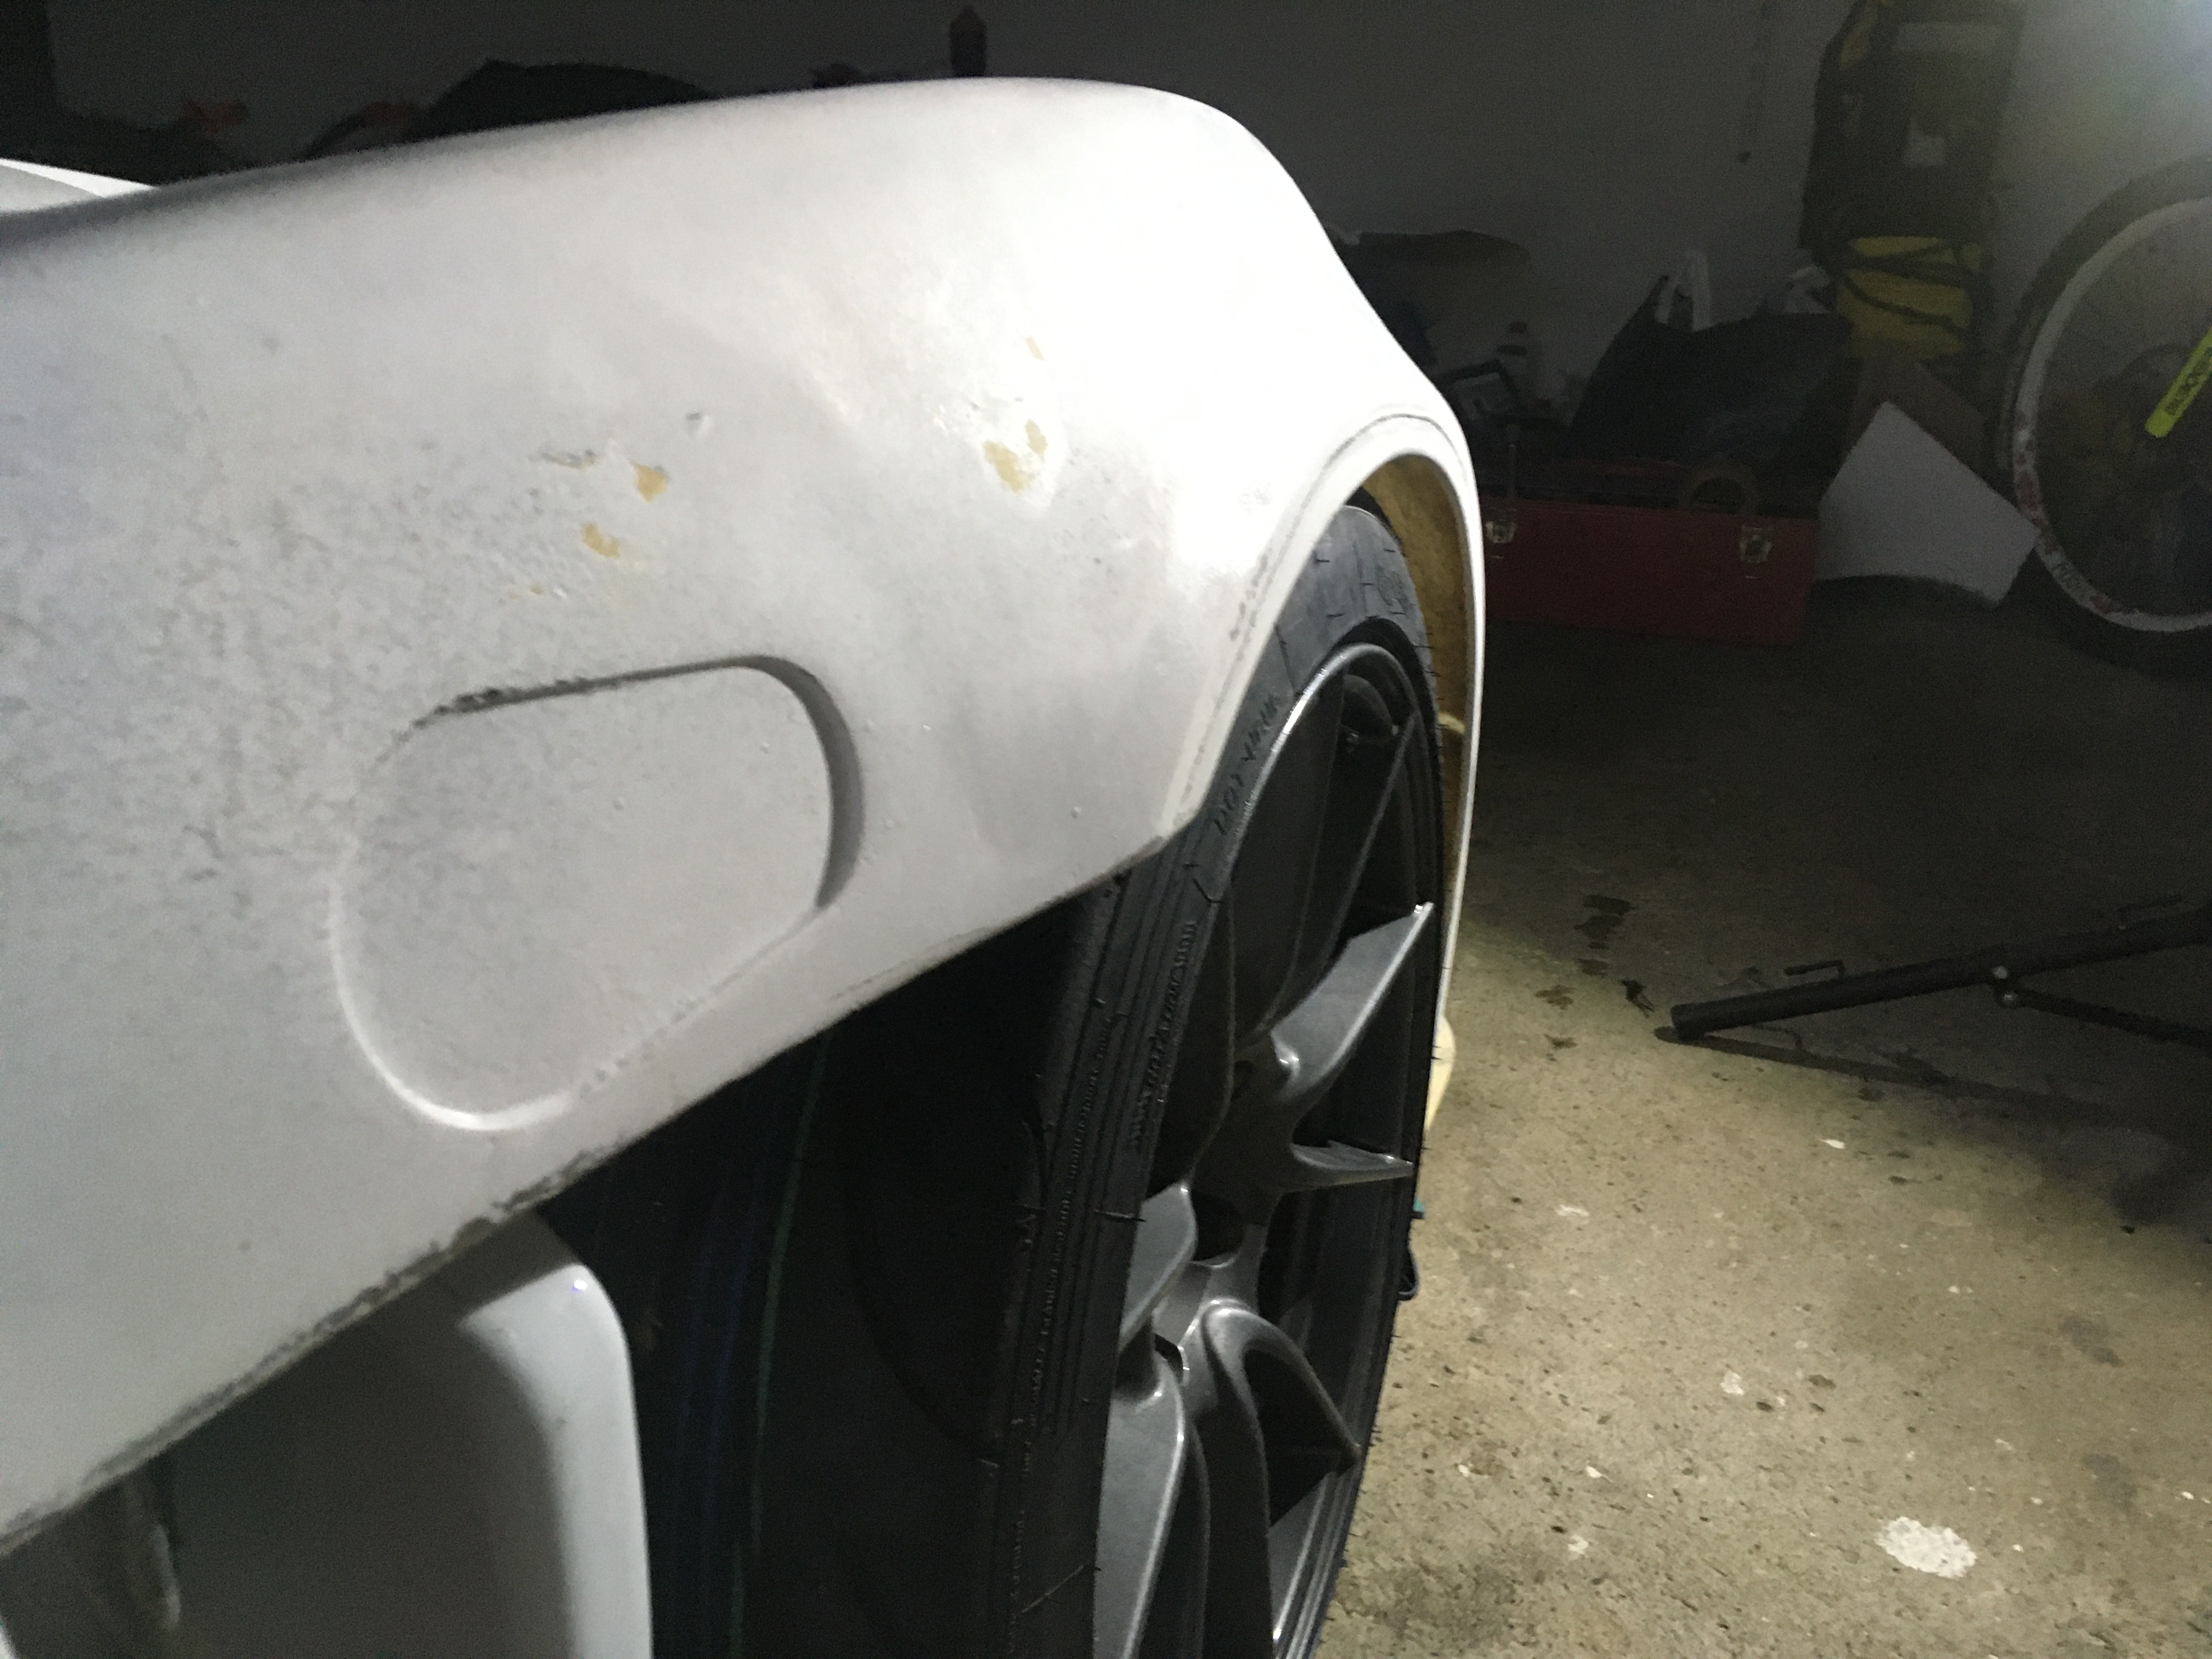
got a discount voucher for an online tyre shop in my email, so rather than procrastinating about whether 235 tyres on the 9" rims would fit on the front, i got some stupid cheap (80eur/tyre) NSR1's 234/40/R17 and tried them out. its bloody close, but its a bit of a squeeze, and not quite right (yet). full lock has the inside of the tyre kiss the chassis rail. outside of the tyre meanwhile is getting pretty cosy with the wheel arch. there *might*be room for some 5mm spacers, and that may fig things. otherwise ill need to look at putting some steering lock pump stops in

below is a 235 on 9" vs 215 on 7.5"

IMG_0009.JPG

and the current situation of the 235's mounted up with the front clam

IMG_0030.JPG


#1257 Doctor Ed

Doctor Ed

    Need to get Out More

  • PipPipPipPip
  • 1,188 posts
  • Location:Germany

Posted 19 November 2019 - 12:07 AM

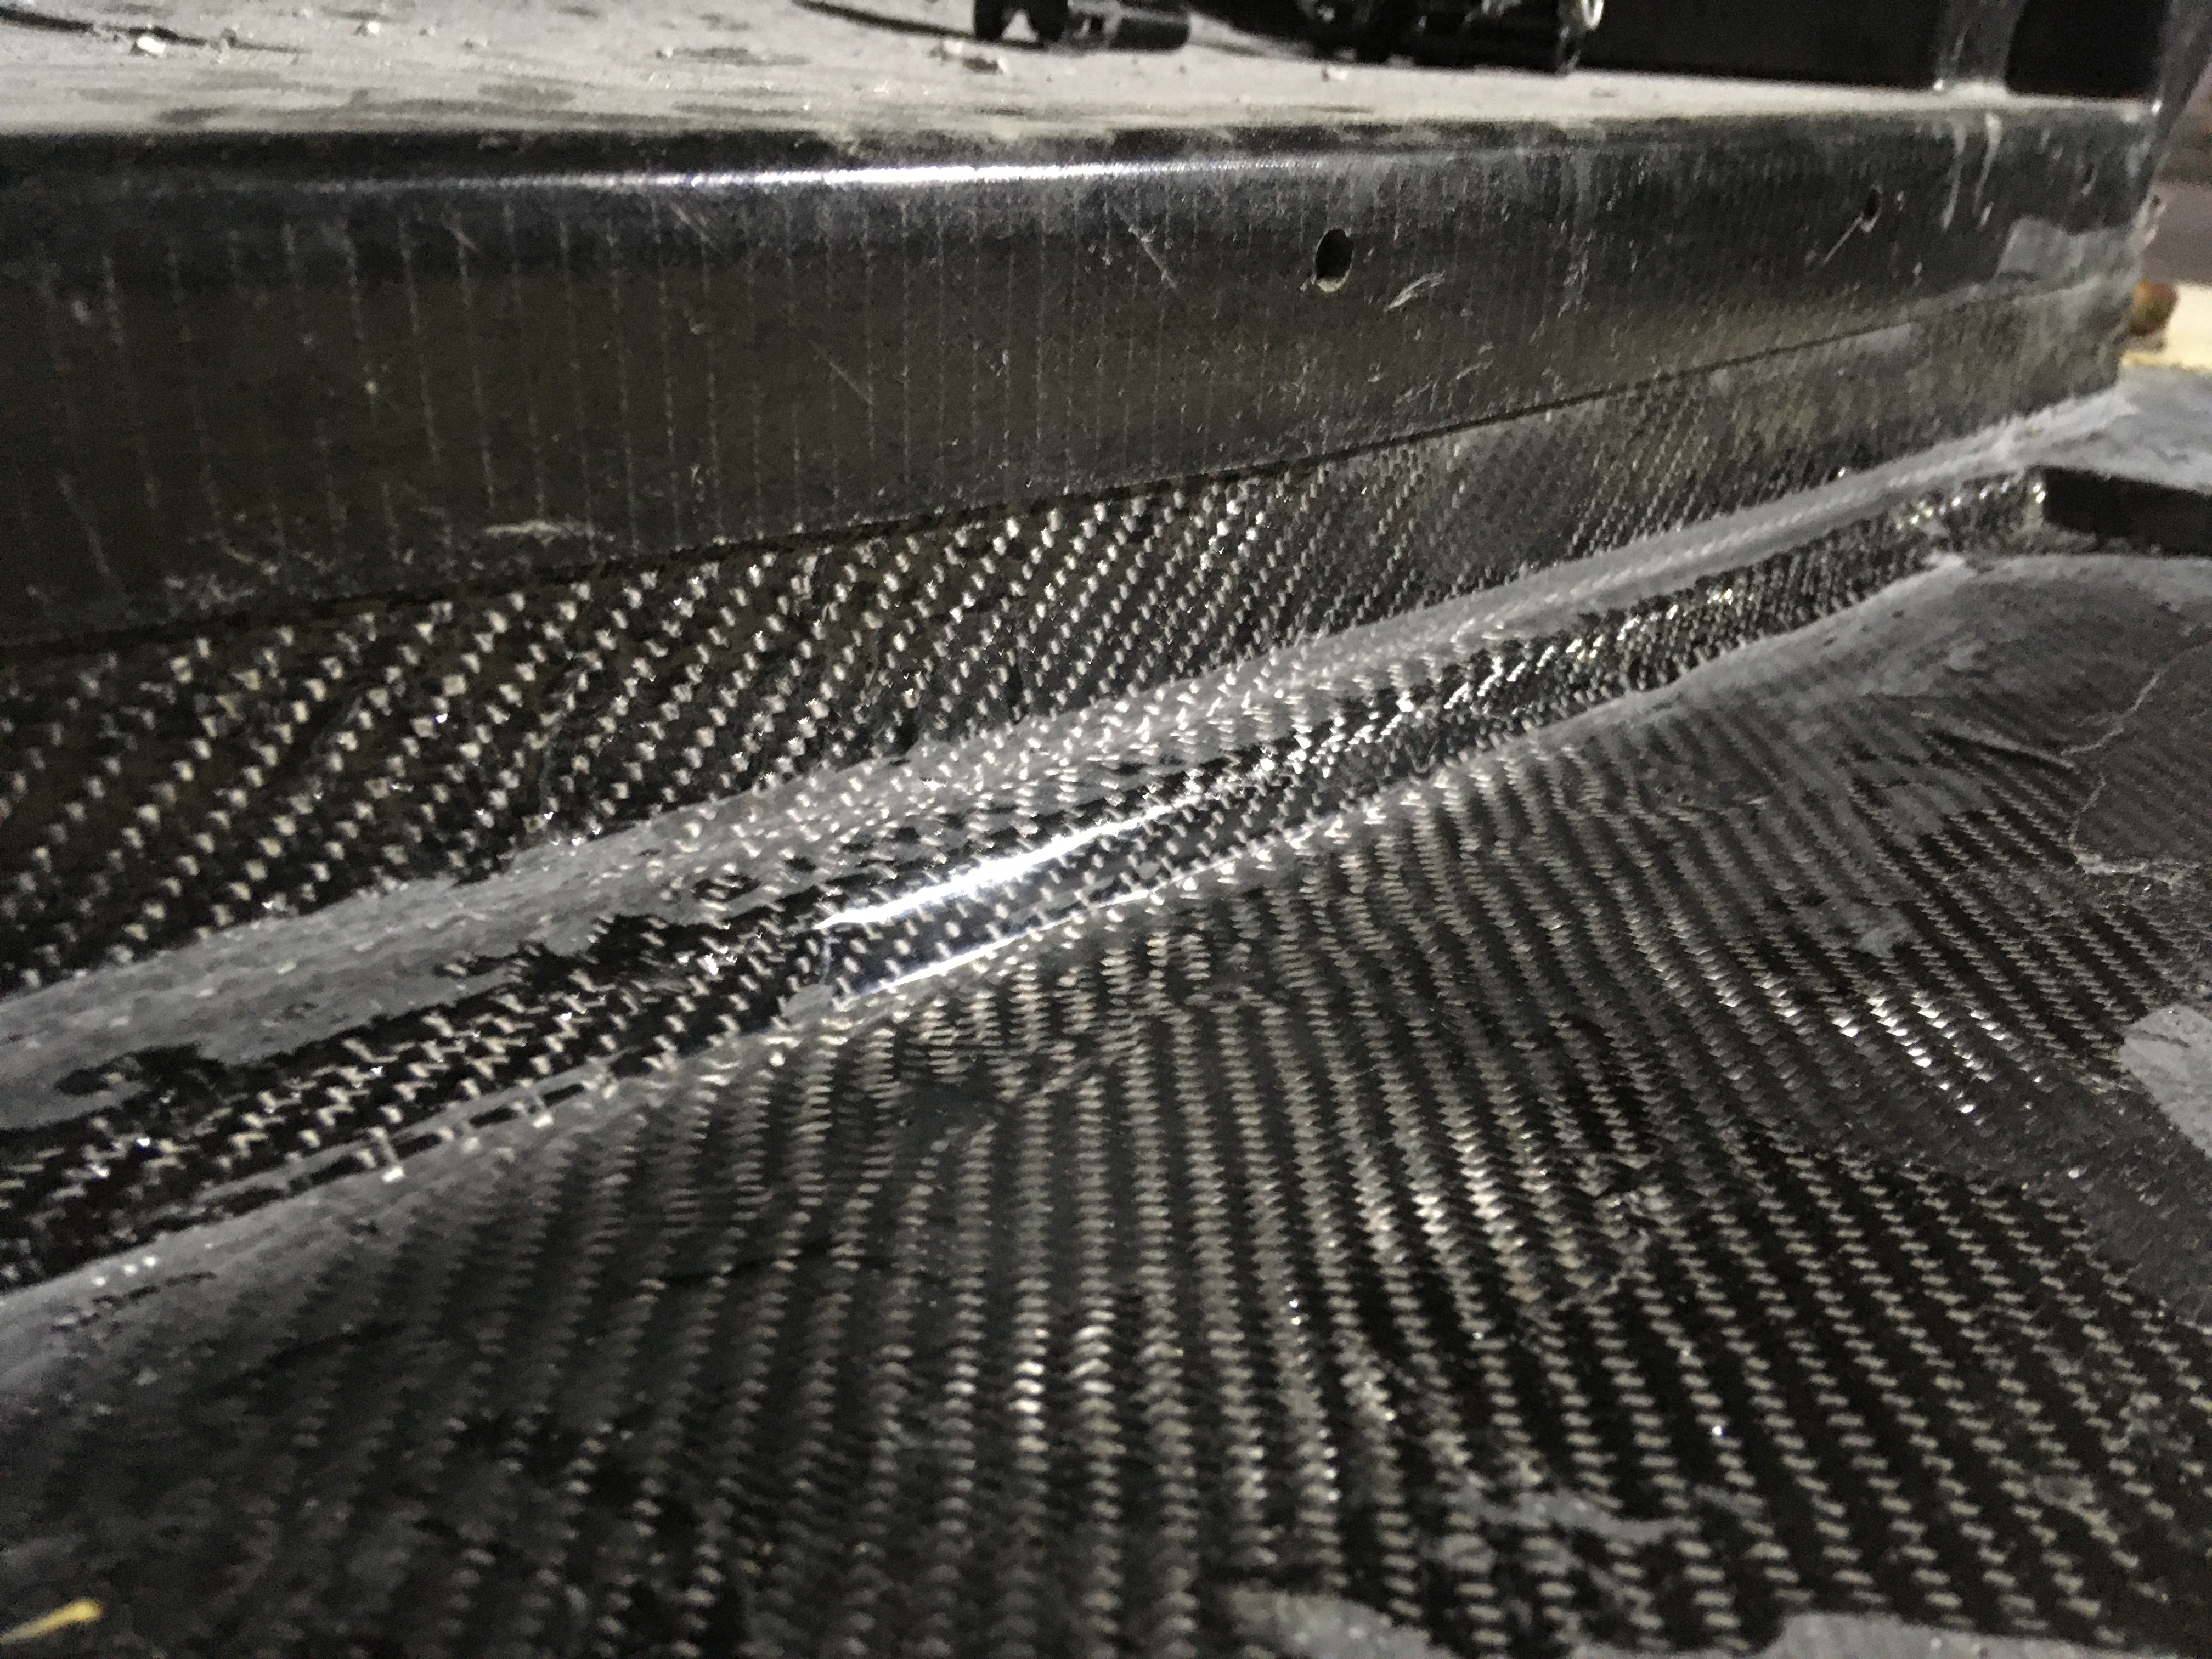
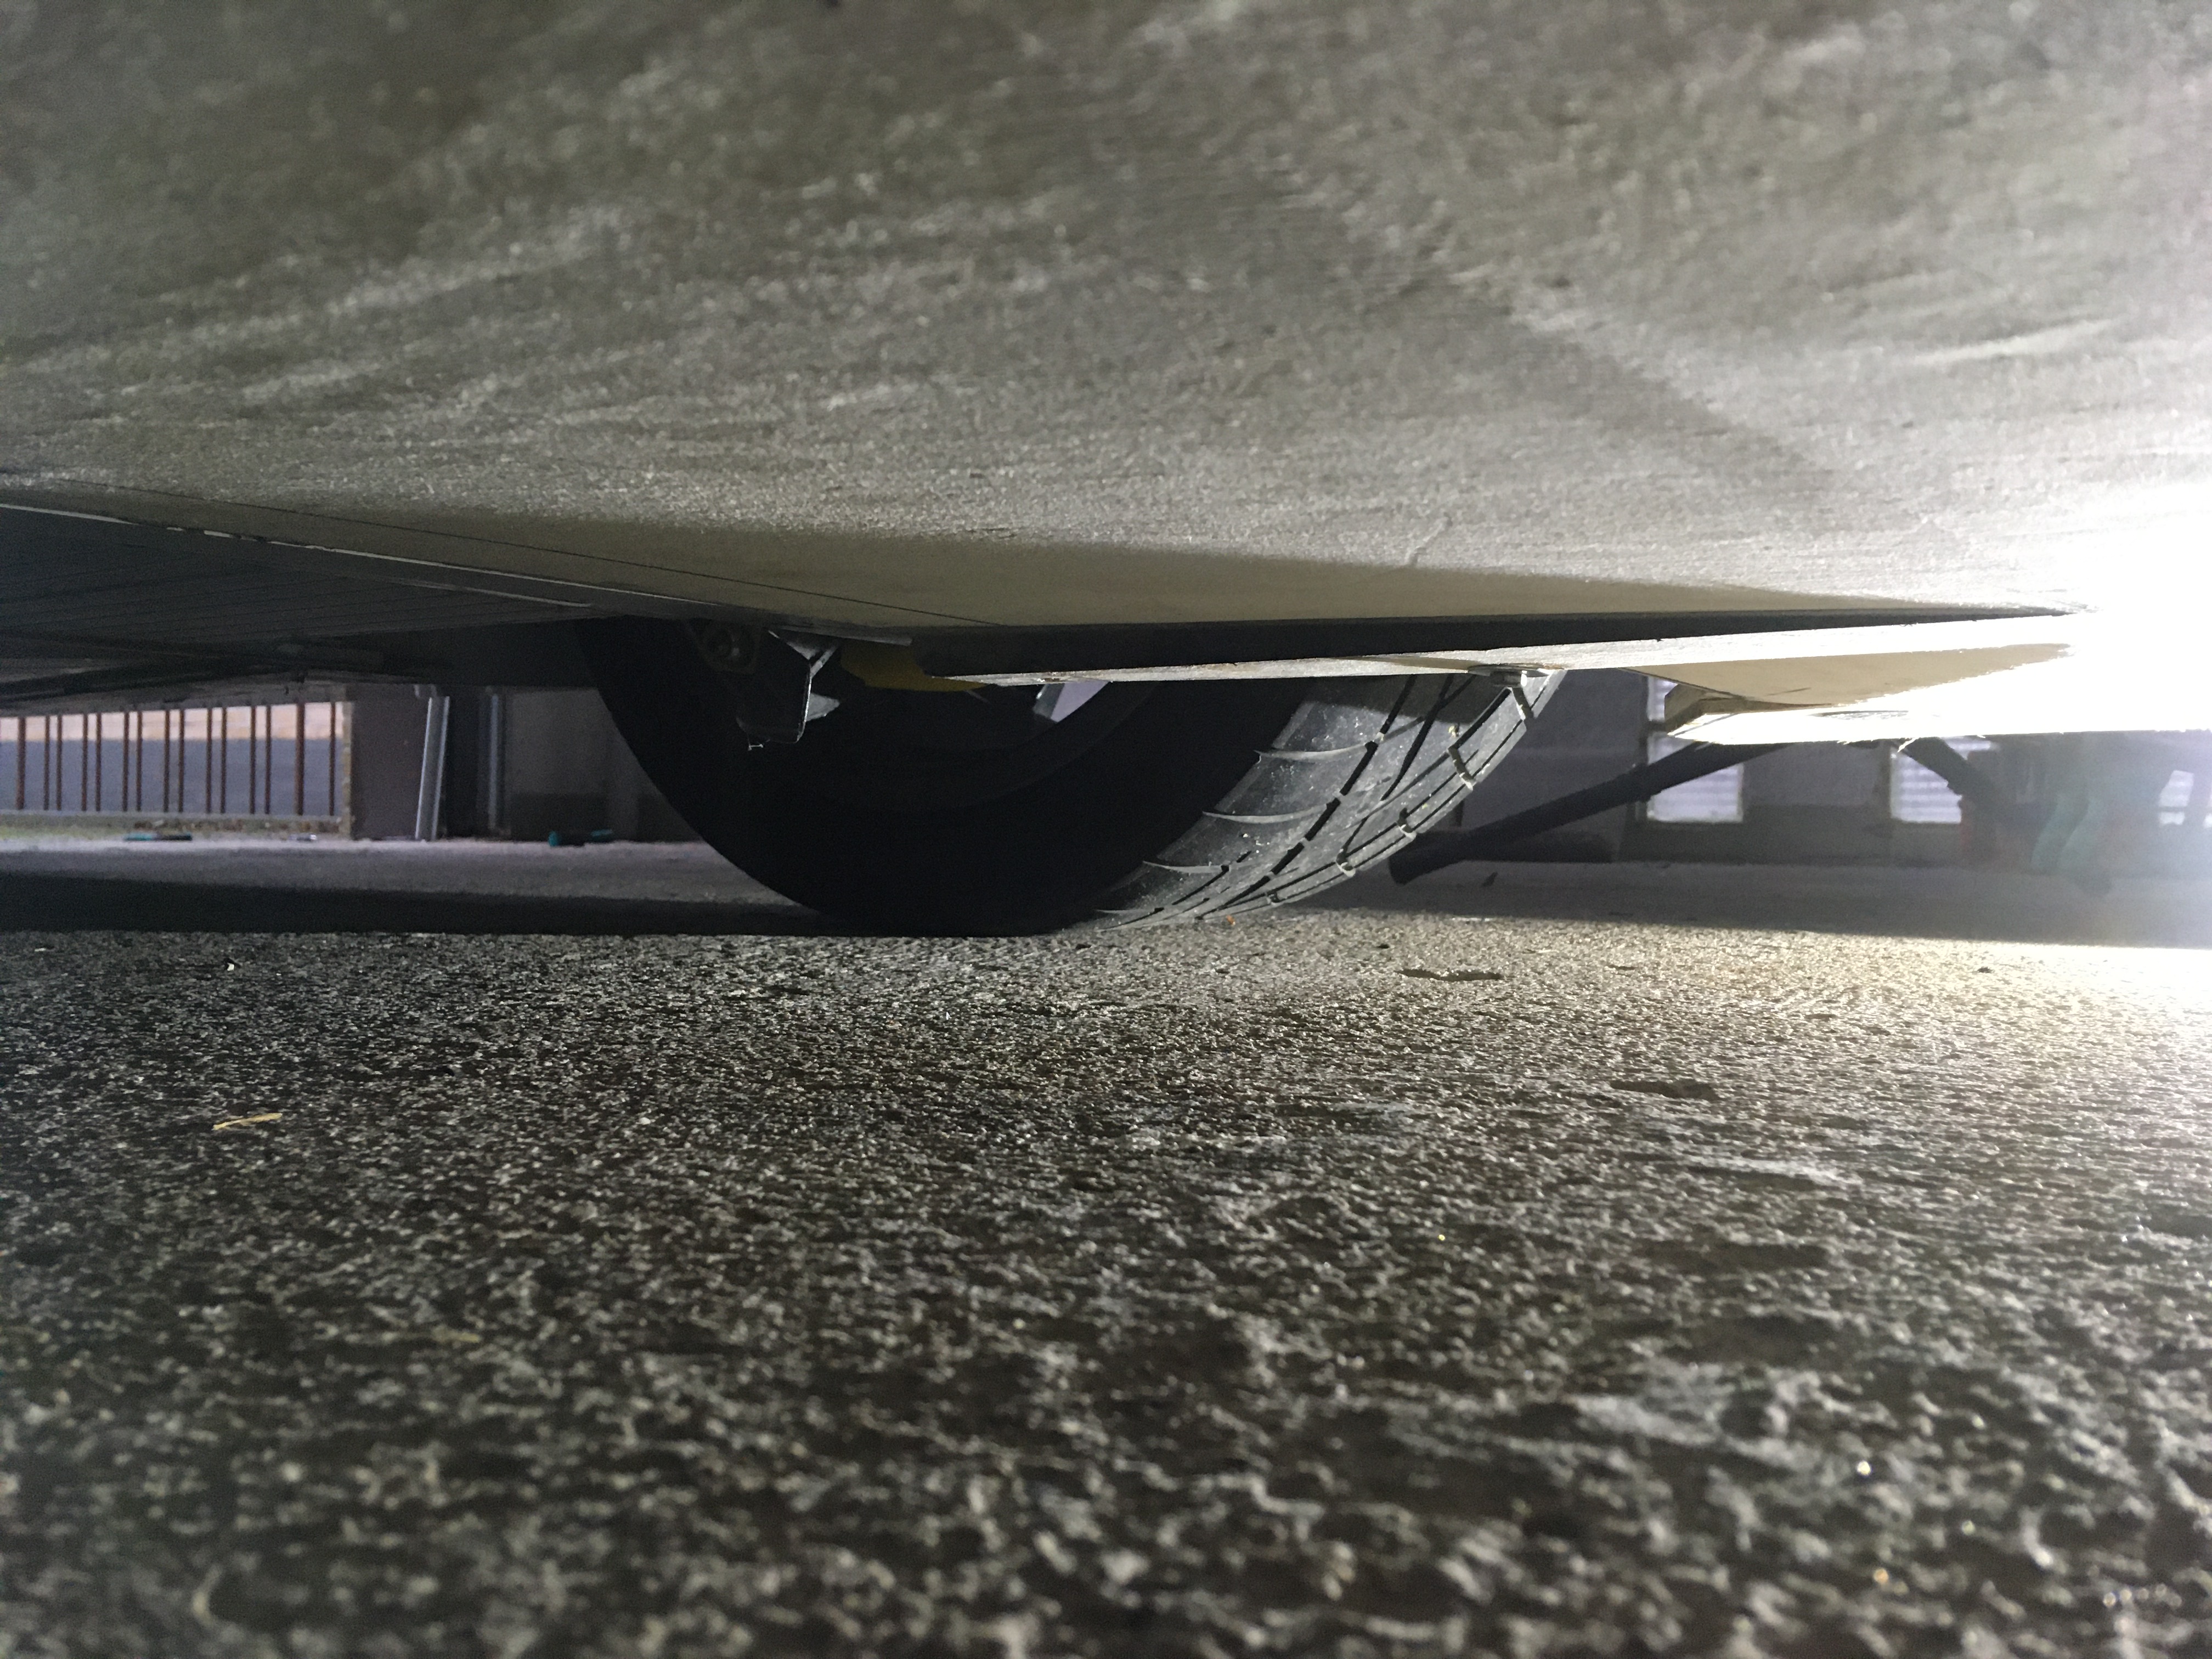
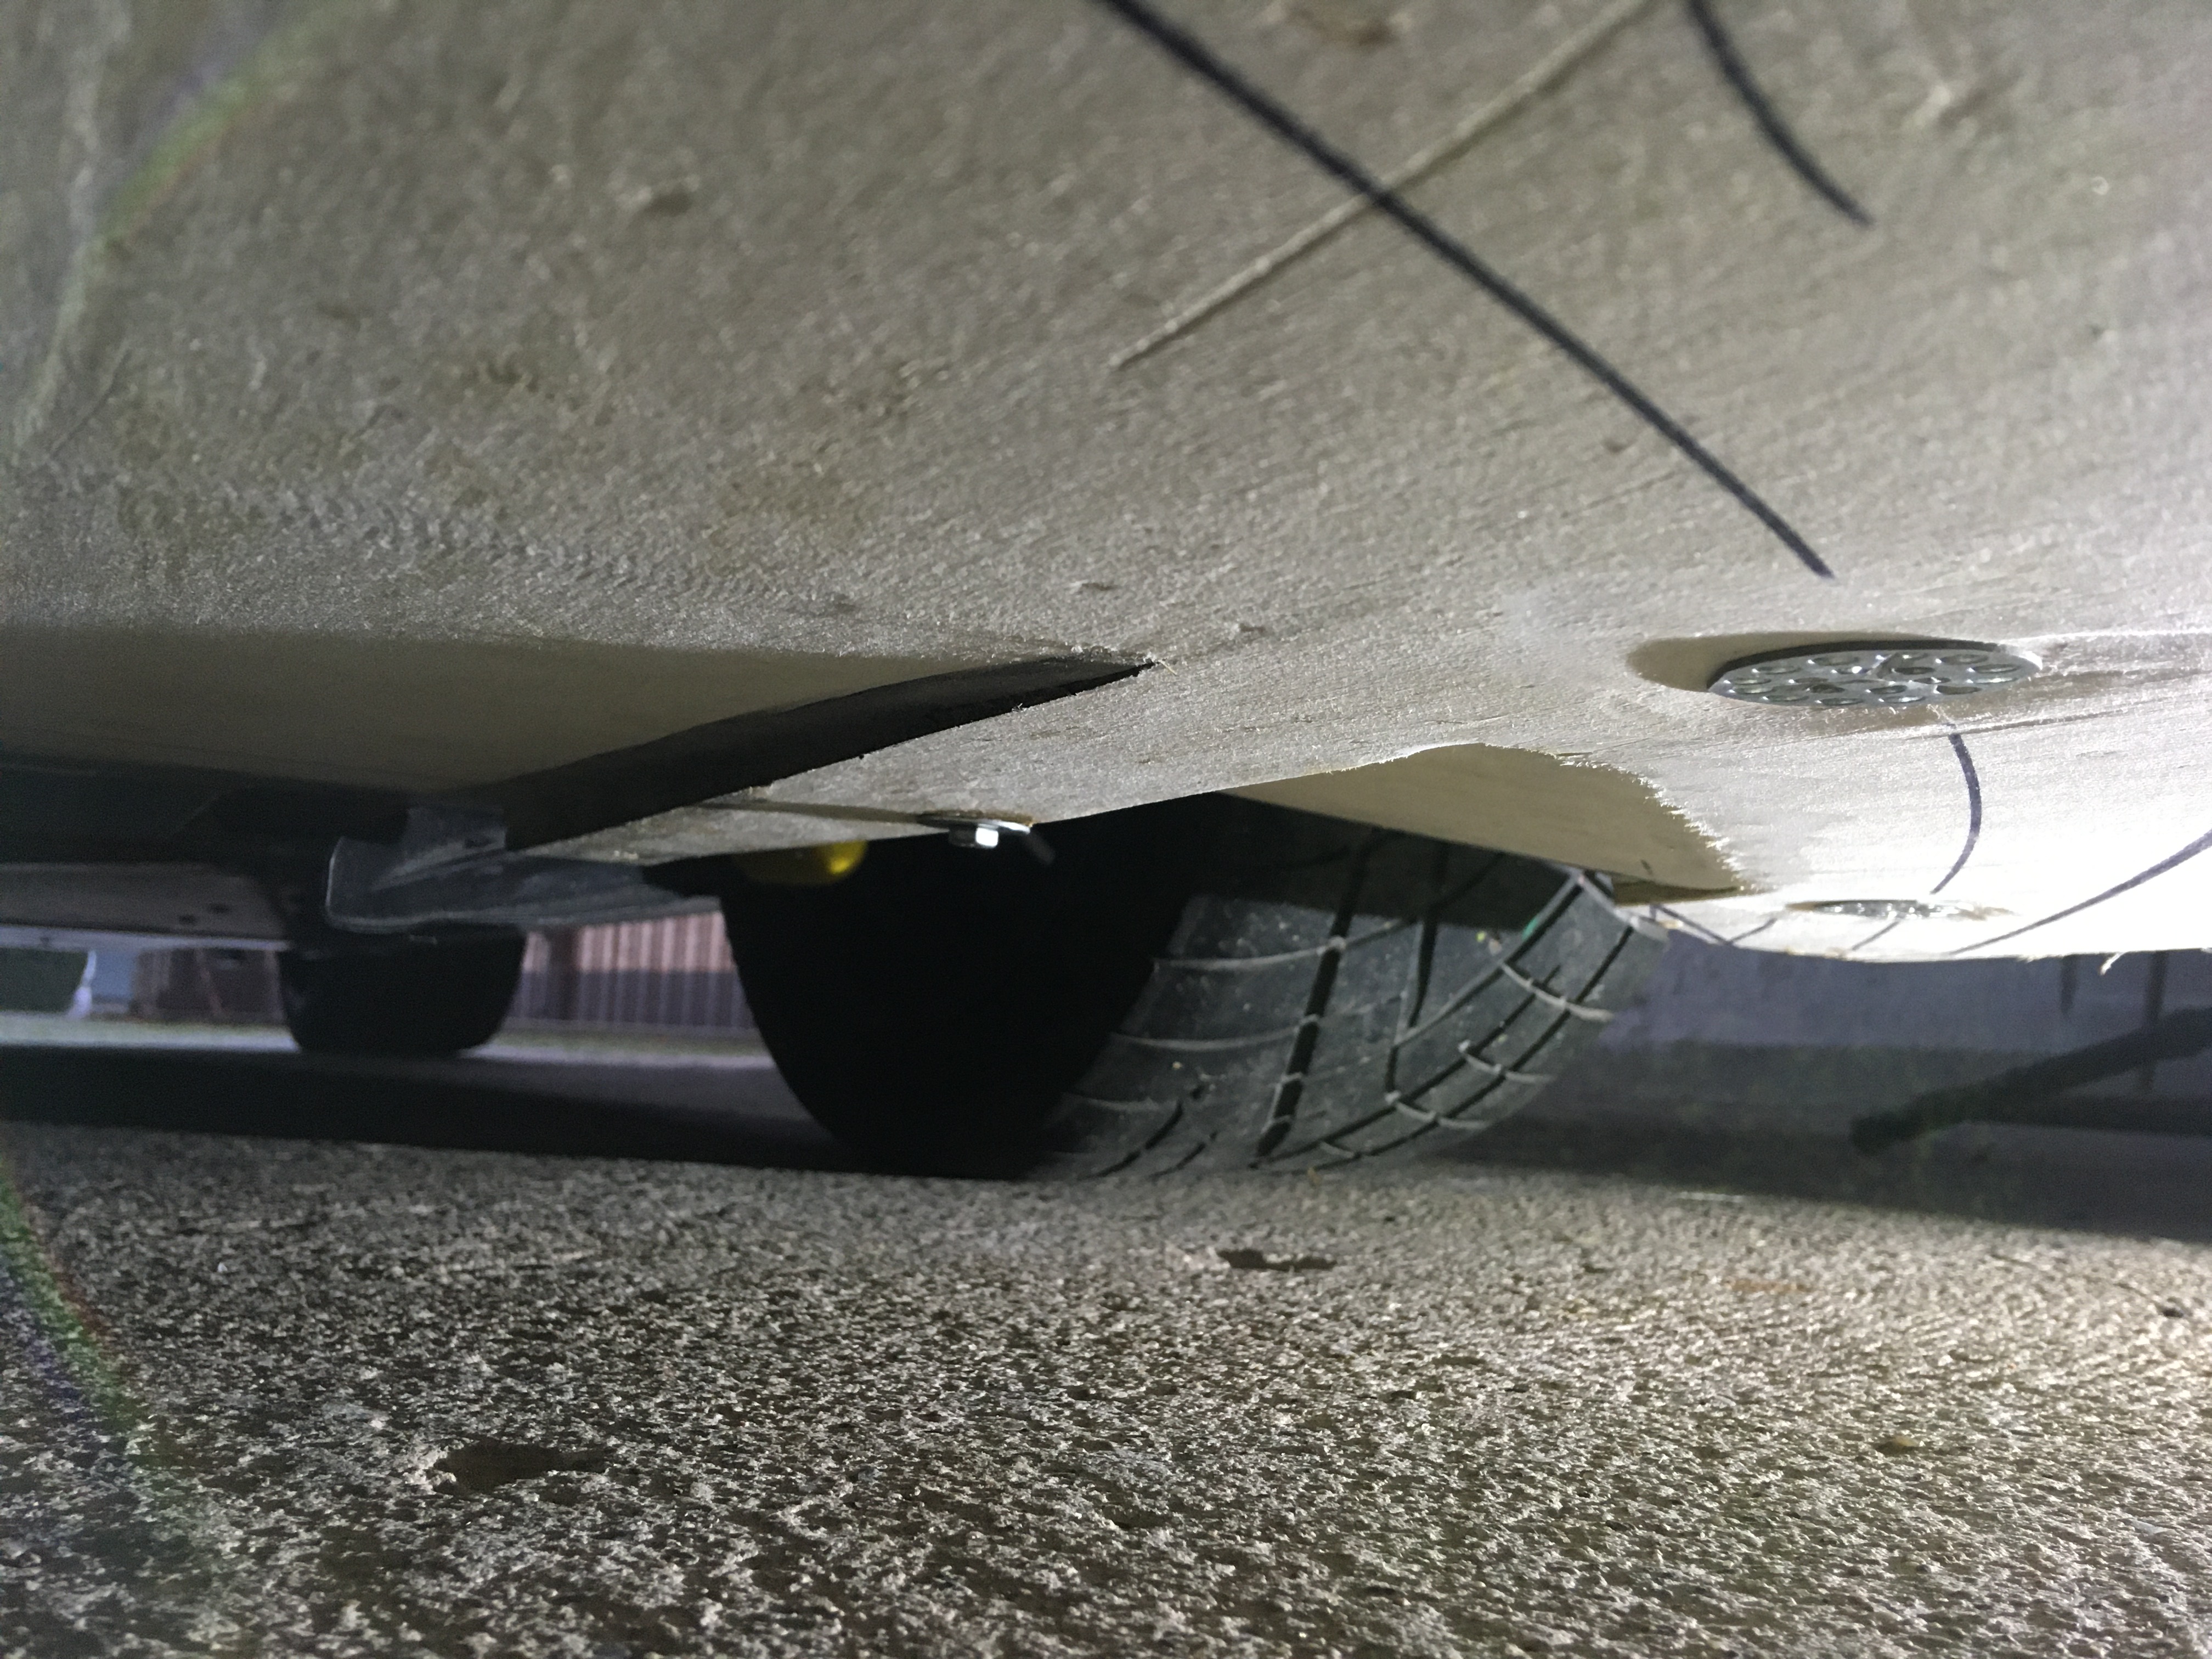
pics of my relatively shitful go at vac bagging layers of CF over the admittedly complex shape that make up my 'splitter-to-crashbox' mounting flange. it worked. its good enough. theres more layers to go over the body and underside of the splitter, plus a dress layer over the leading edge when its all done. fcuk i hate vac bagging stuff though. such a massive fcuk around, and the waste and cost of consumables is enormous

IMG_0015.JPG

IMG_0018.JPG

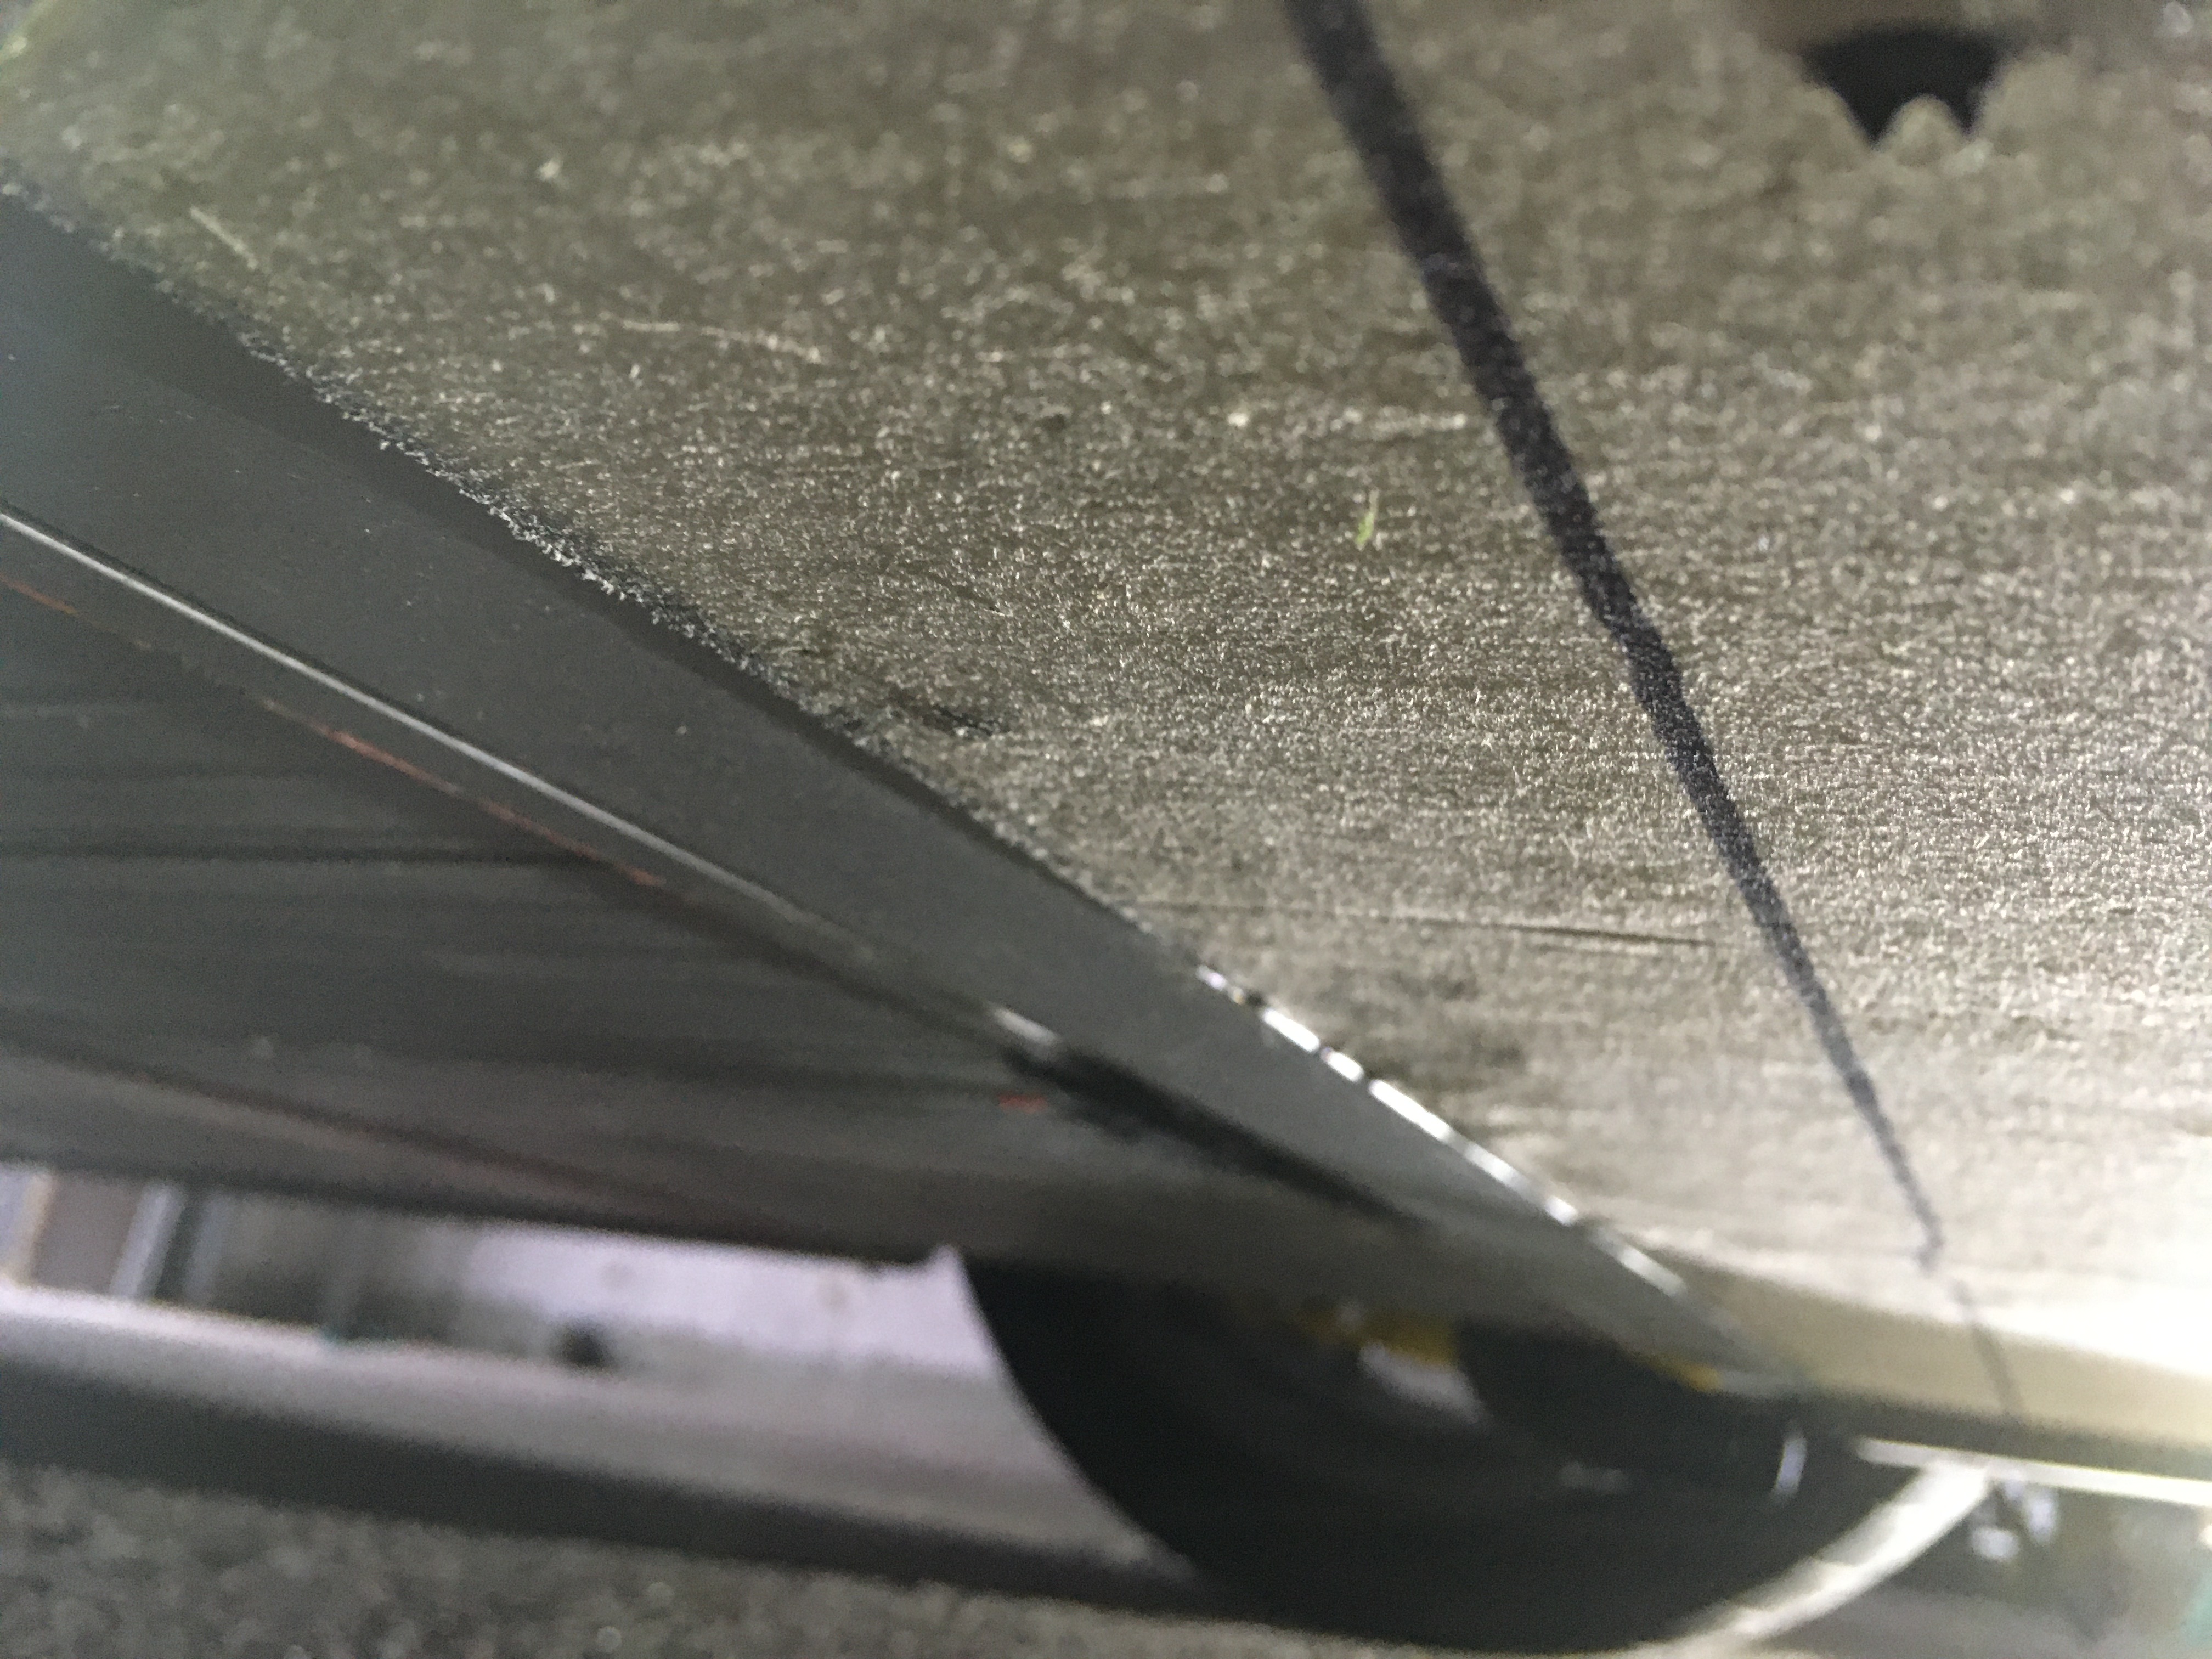
and from the underside. everything lined up and trimmed properly for the first time. very happy here. basically perfectly smooth transition from splitter to aluminium underbody

IMG_0019.JPG

and heres where the effort went... getting the splitter position and depth optimised which allowed me to incorporate a low-angle venturi right in the middle of the splitter body transitioning into the floor. additionally theres two smaller, larger angle venturi diffusers into the wheel wells

IMG_0021.JPG

IMG_0022.JPG


#1258 Aerodynamic

Aerodynamic

    Billy No Mates

  • PipPipPipPipPip
  • 1,455 posts

Posted 19 November 2019 - 08:24 PM

Looking very good as always.

I made my splitter in the same level as the floor. Not giving the same aerodynamic advantage as placing it lower.

But I can still (barely) go over the speed bumps.


So you dress the plywood with carbon fibre? Is the carbon fibre sticking to the wood good? 

Do you use epoxi or polyester resin?


BR, Per


#1259 Doctor Ed

Doctor Ed

    Need to get Out More

  • PipPipPipPip
  • 1,188 posts
  • Location:Germany

Posted 27 November 2019 - 04:38 PM

using epoxy resin. much stronger than polyester, and most carbons twills are meant for epoxy anyway. the wood is a very lightweight ply (poplar wood) with a very open grain. it sucks up resin, and consequently the layer of carbon bonds like rock


Edited by Doctor Ed, 27 November 2019 - 04:40 PM.


#1260 Aerodynamic

Aerodynamic

    Billy No Mates

  • PipPipPipPipPip
  • 1,455 posts

Posted 27 November 2019 - 07:35 PM

using epoxy resin. much stronger than polyester, and most carbons twills are meant for epoxy anyway. the wood is a very lightweight ply (poplar wood) with a very open grain. it sucks up resin, and consequently the layer of carbon bonds like rock


Do you add the Epoxi with a paintbrush? Do you then place the part in a vacumbag? must you do this or can it air dry?


Can you use Epoxi for both carbon and glasfibre?


Br, Per


11 user(s) are reading this topic

0 members, 10 guests, 0 anonymous users


    Bing (1)