Edited by Tony H, 31 January 2016 - 08:19 AM.

Project Wide Arch Vx220
#21

Posted 31 January 2016 - 08:18 AM
#22

Posted 31 January 2016 - 08:24 AM
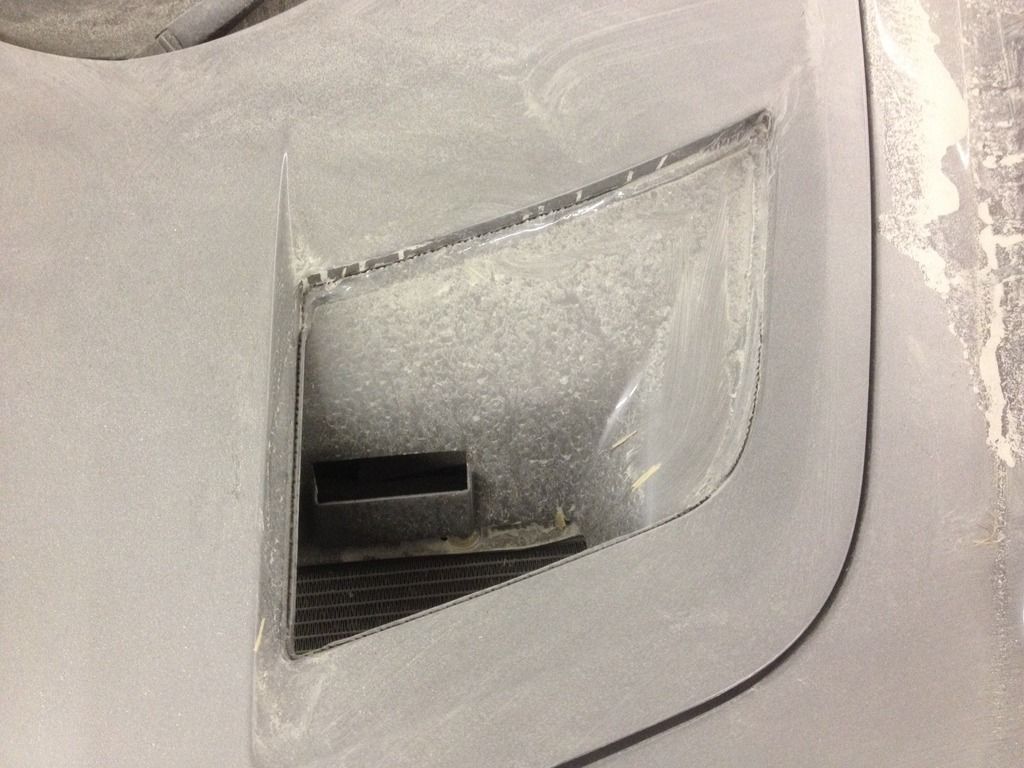
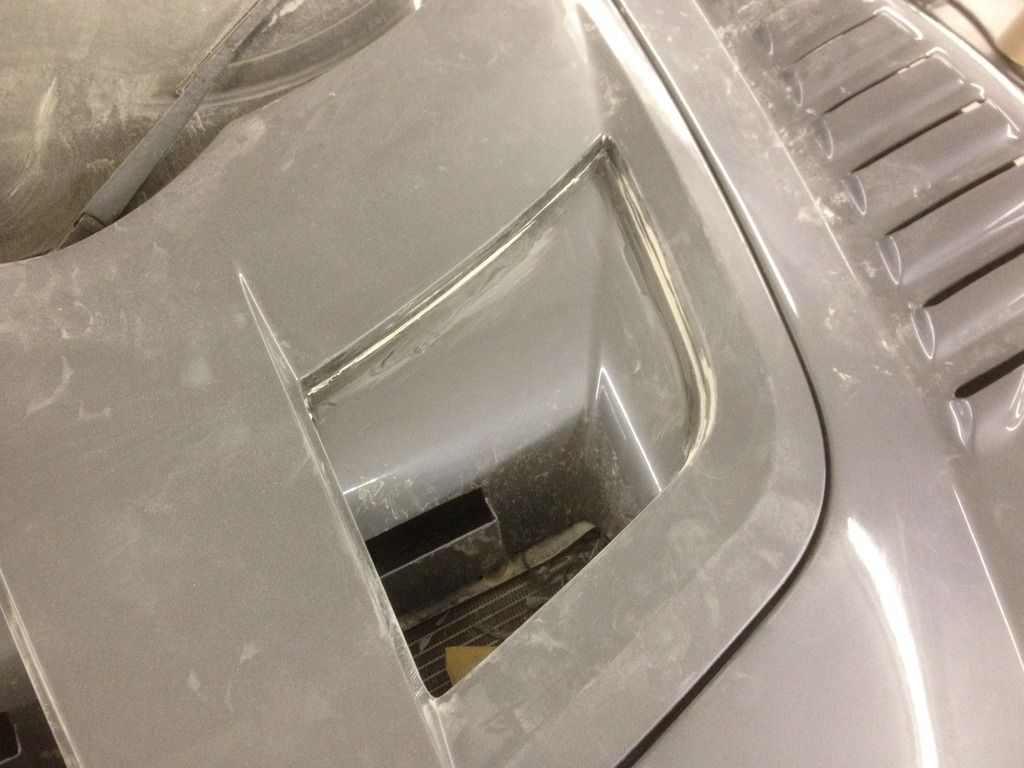
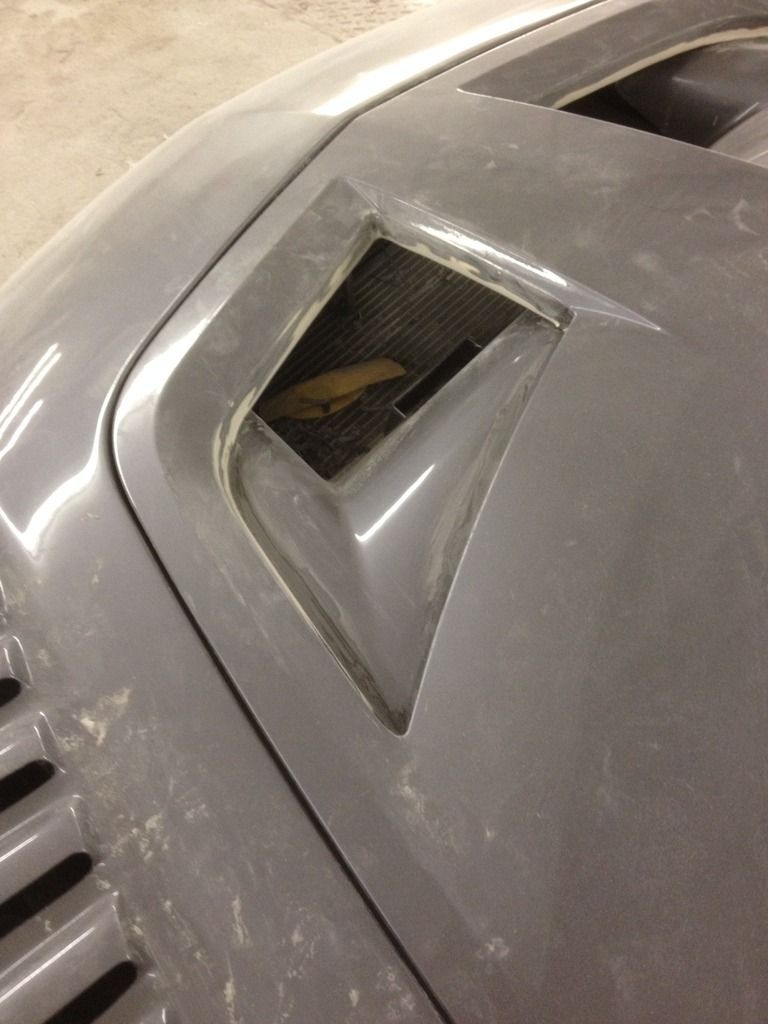
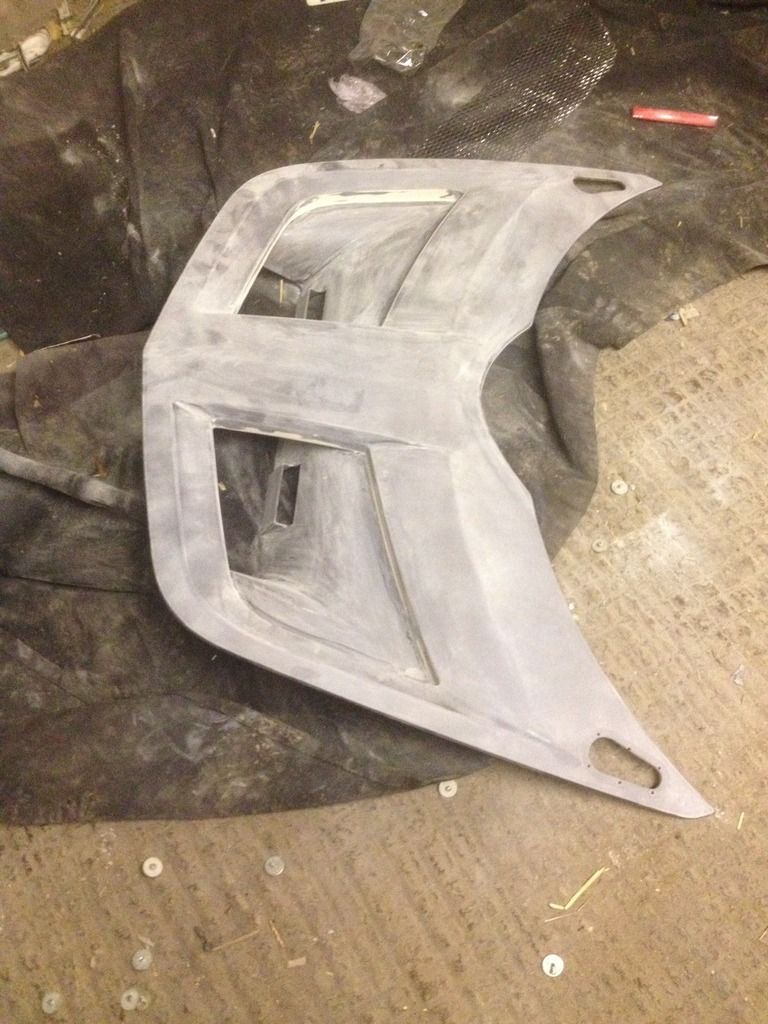
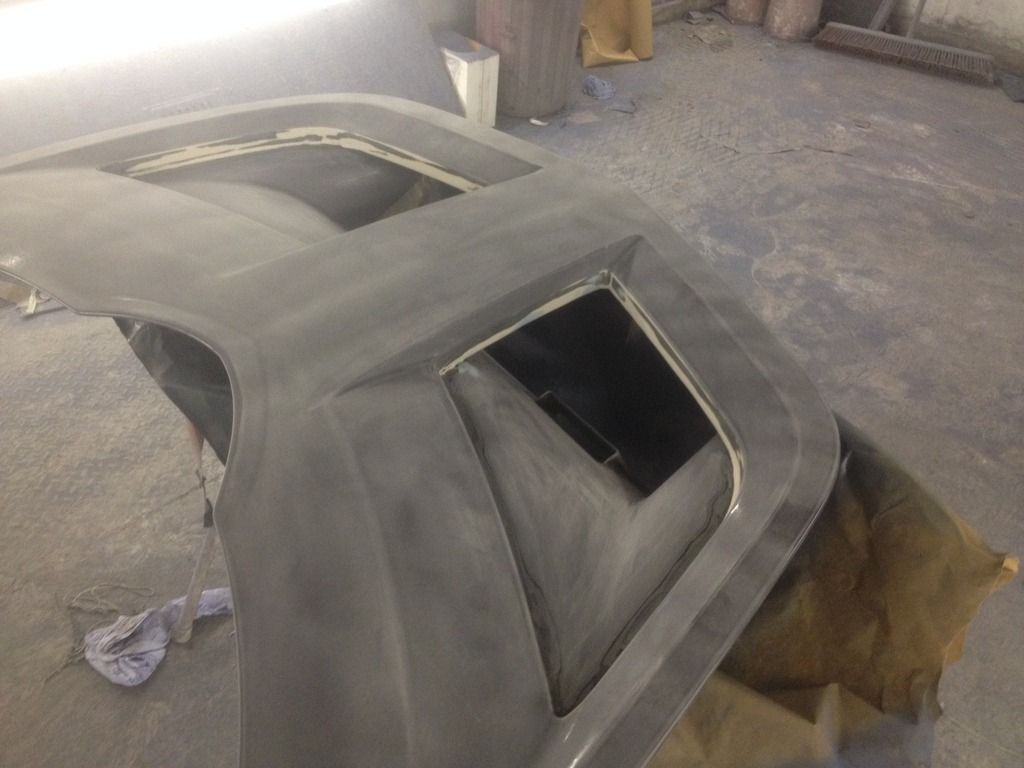
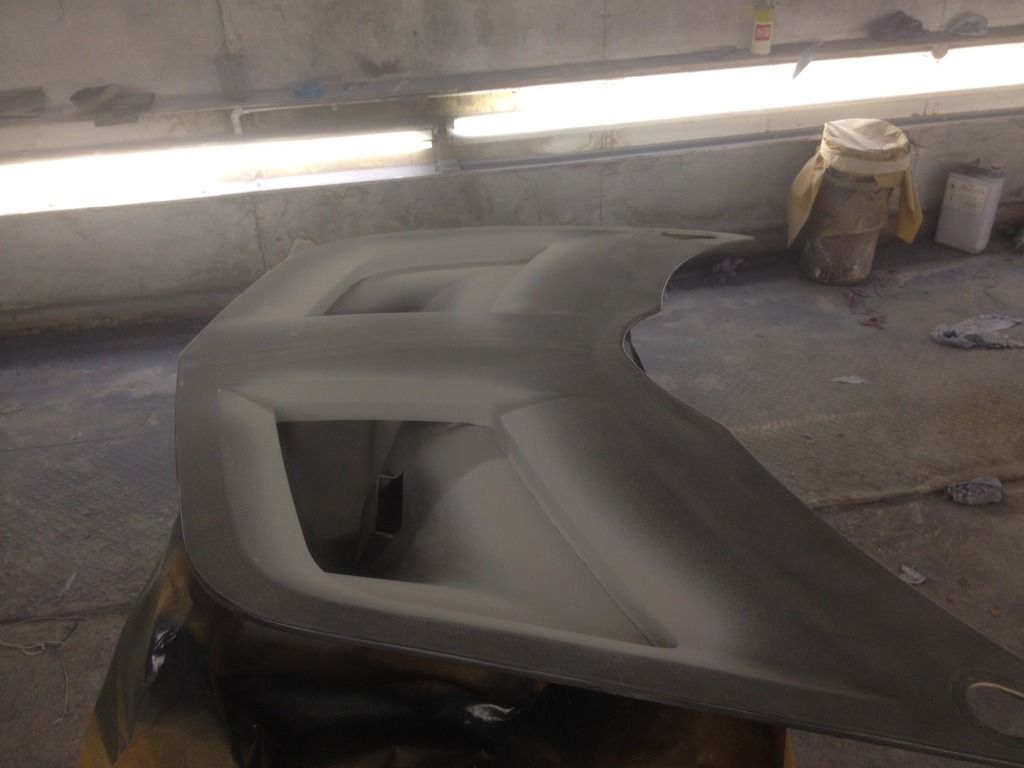
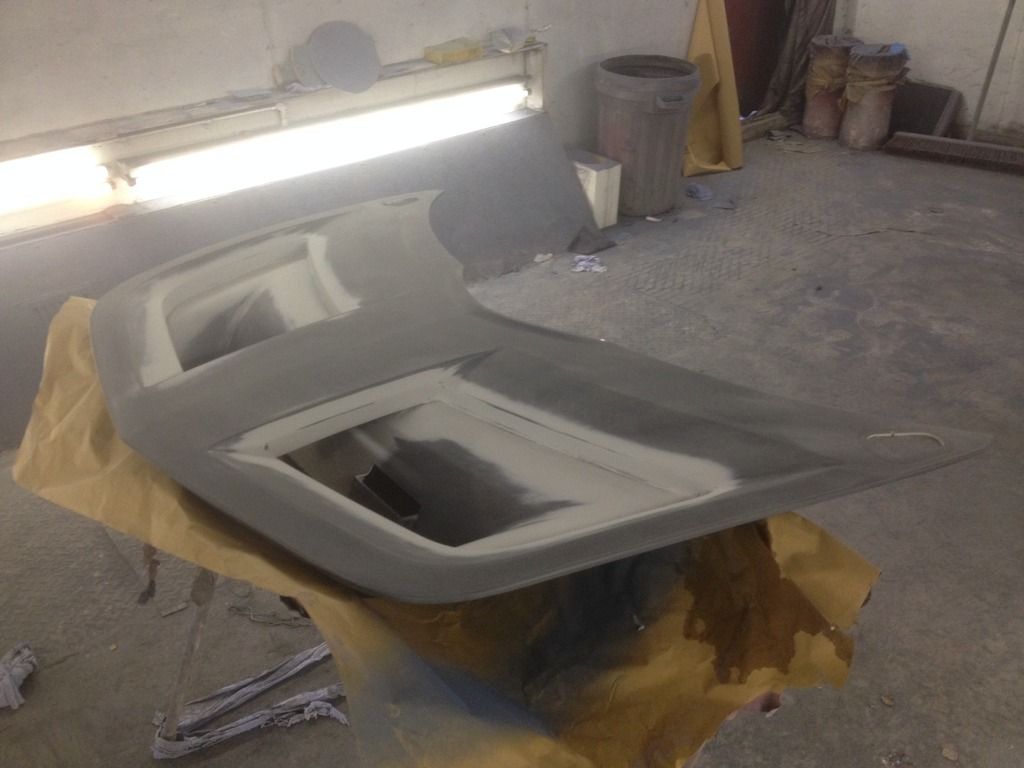
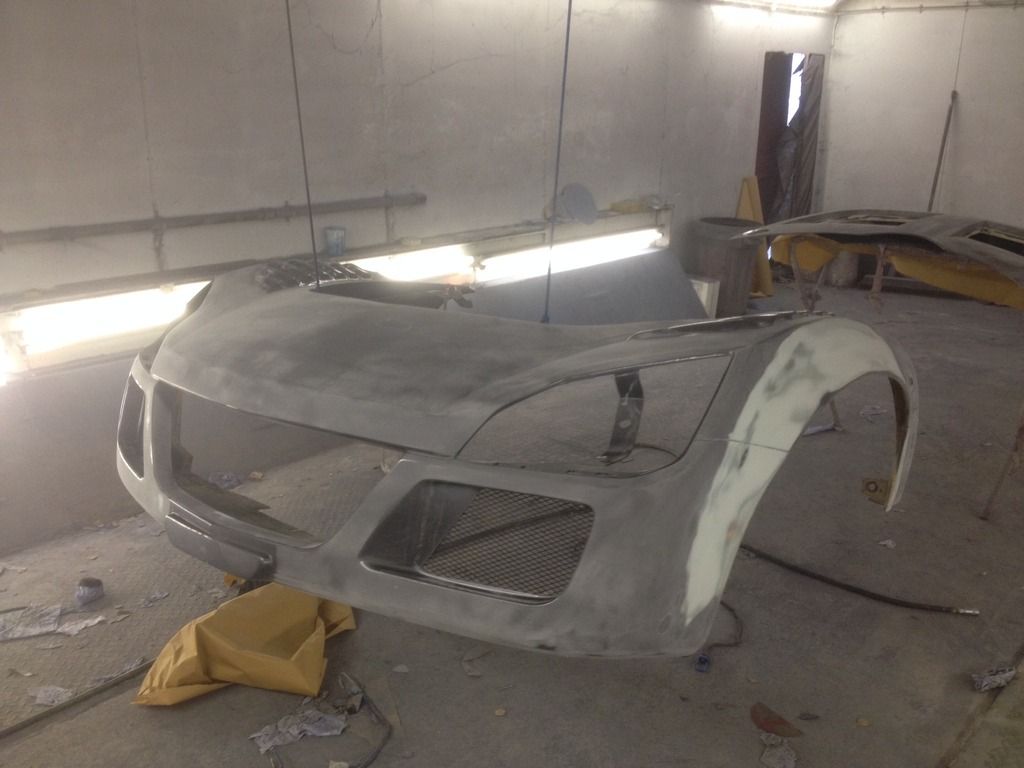
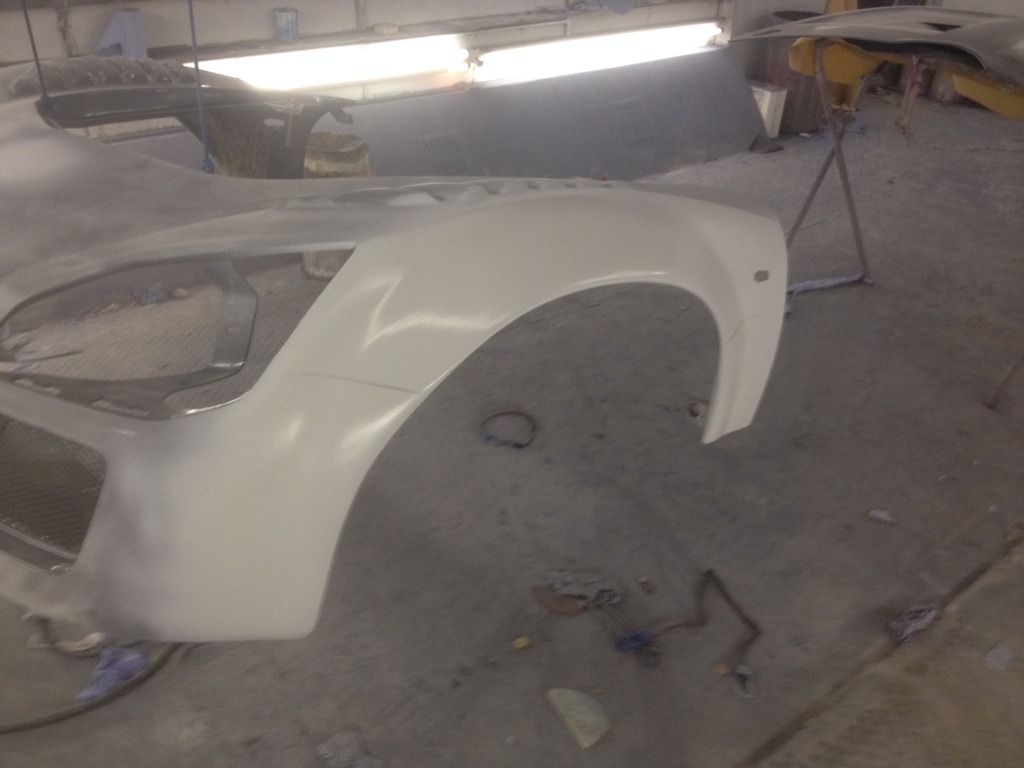
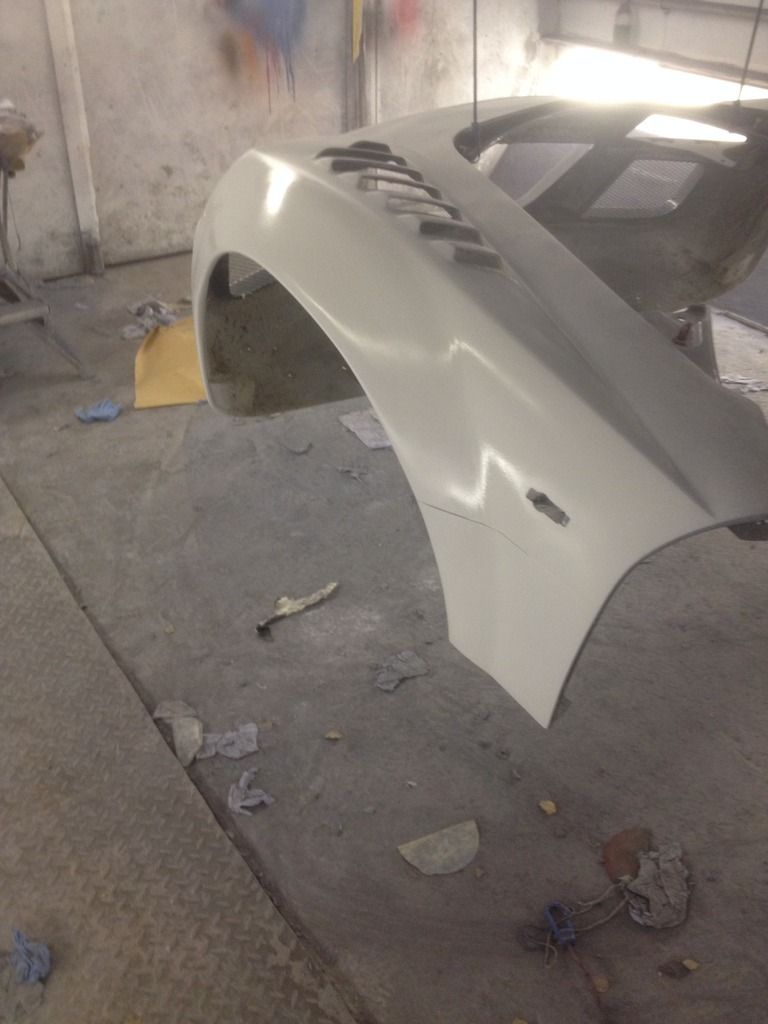
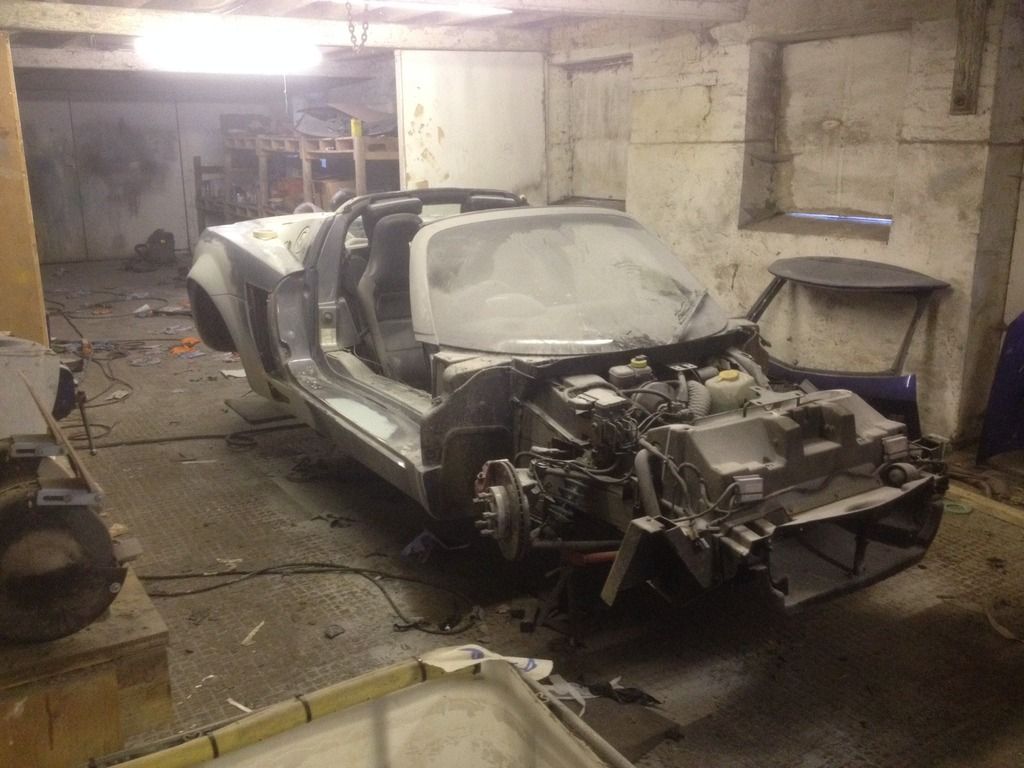
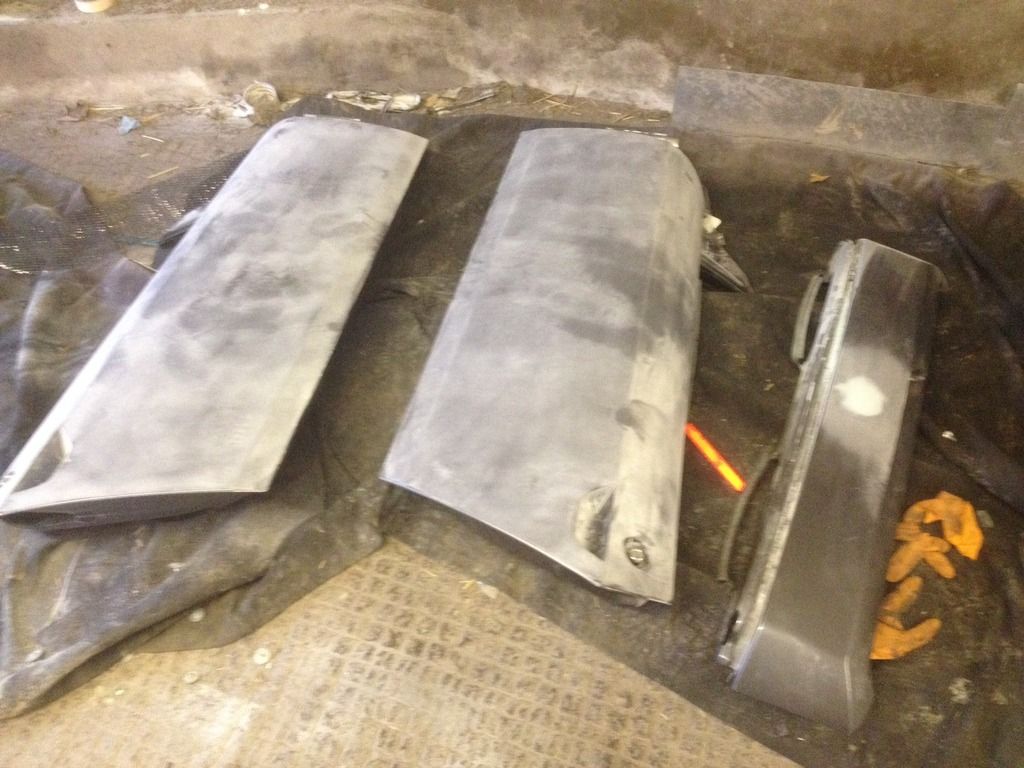
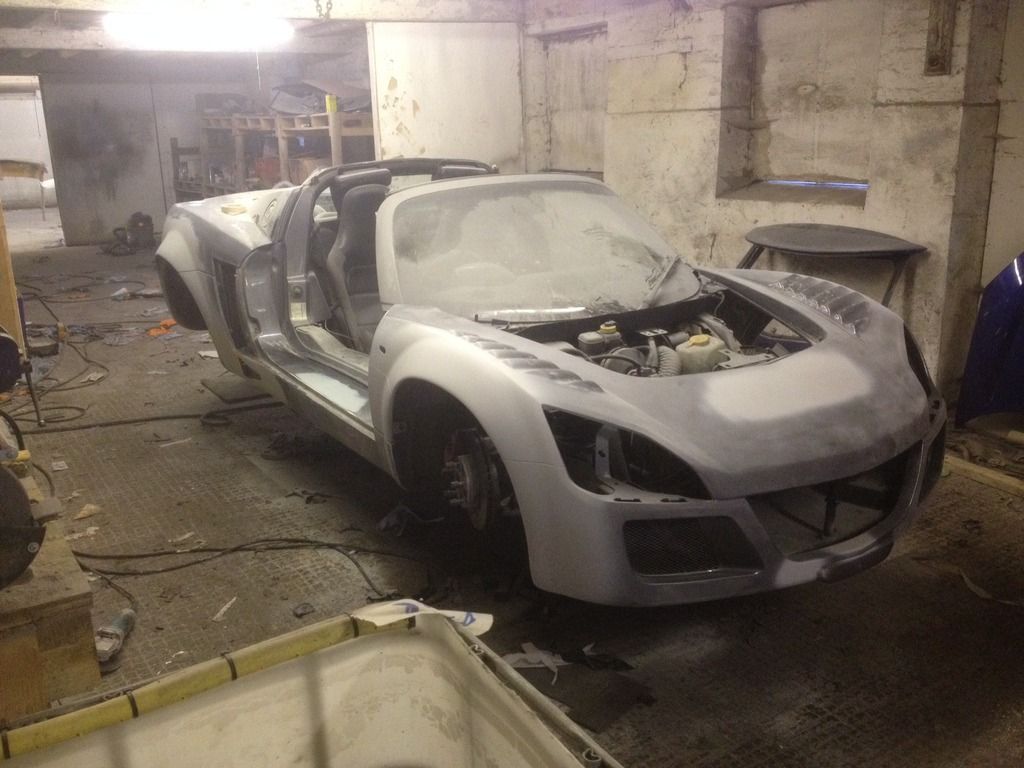
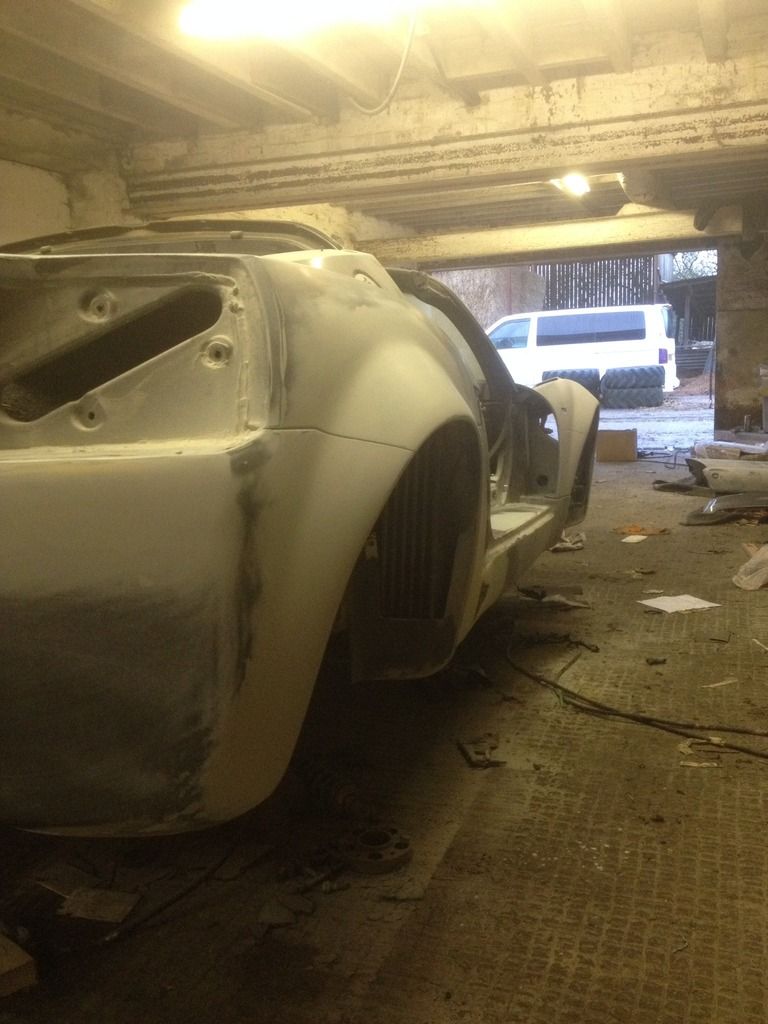
the bonnet, well it had been demeshed which i didnt really like but figured that could be because it was done quite roughly so you could tell i had had something taken out, so me not wanting to spend any money after having to buy a clutch decided to make wot i have work
not a great pic but you can sort of see the left over sealant that had just been painted over where the mesh used to sit, just looked messy
so i cut as much of sealant as i could and tried to get things as smooth as i could,
to try and make it look like mesh was never there
bonnet rubbed down
ready for primer
rougher areas primed
rubbed down again and re primed
#23

Posted 31 January 2016 - 08:26 AM
think thats enough pictures for one day, will take a rest and start to put primer pics up sometime
#24

Posted 31 January 2016 - 08:31 AM
#25

Posted 31 January 2016 - 08:33 AM
#26

Posted 31 January 2016 - 08:54 AM
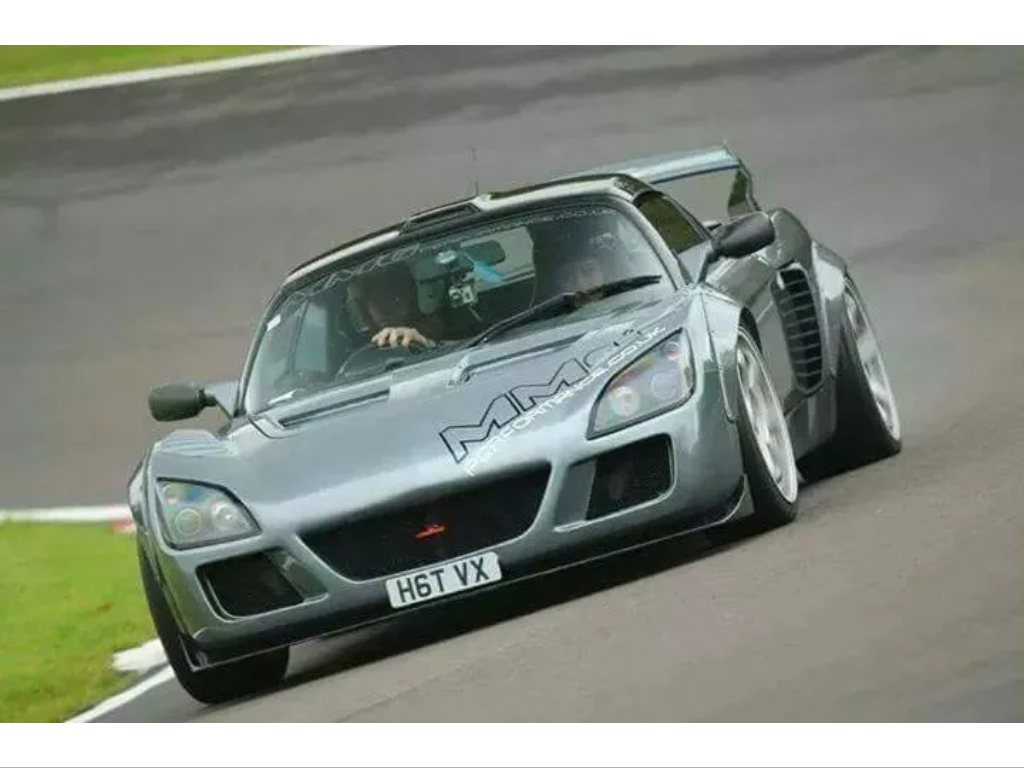
I know wot u mean, At one time the car had a clam on with at least the front bit smoothed, and I don't really like the look think it looks beta with the lines inlooking very nice. Much better with those arches blended in. Have you considered filling the joins between the two 'halves' of the clams to make them look like one piece?
#27

Posted 31 January 2016 - 08:56 AM
Yea I know wot u mean but gonna try make this work, if it looks rubbish then will go and buy another bonnet.That bonnet needs re-mesh-ing.
#28

Posted 31 January 2016 - 08:59 AM
Wow, loads of work there, you are one handy dude in the garage. Well done.
All the lowering is really going to mess with your handling though I'm afraid, have you considered spending some money on raised centred hub carriers to fix this issue?
#29

Posted 31 January 2016 - 09:14 AM
Not sure how I am expecting it to handle with these wheels etc anyway, as for raised centred hub carriers, you'd going way past my knowlage, but would be interested to know more and understand tho? Also when u say some money are we talking mega money?! Trying to keep control of the budget of this project as it is, lolWow, loads of work there, you are one handy dude in the garage. Well done. All the lowering is really going to mess with your handling though I'm afraid, have you considered spending some money on raised centred hub carriers to fix this issue?
#30

Posted 31 January 2016 - 09:48 AM
#31

Posted 31 January 2016 - 10:07 AM
Edited by The Batman, 31 January 2016 - 10:08 AM.
#32

Posted 31 January 2016 - 10:45 AM
Few thousand is more then I want the whole project to cost, lol And tbh I am not sure wot I am doing with car when it's finished. Maybe if I keep it long term it could be an option The pics so far are from month or so ago, bonnet is all painted now and I am quite pleased with how it looks, hopefully ppl will think it looks ok once they see finished product. LolNev is talking about gt hubs which are a few thousand
Considering you didn't want to buy a new bonnet I imagine these are out of budget Looking good though
#33

Posted 31 January 2016 - 12:35 PM
#34

Posted 31 January 2016 - 02:05 PM
Interesting build! Looking forward to seeing more, especially colours you're going for. I hope you are spraying the wheels, I don't like white wheels. Where are you based?
#35

Posted 31 January 2016 - 02:39 PM
#36

Posted 31 January 2016 - 03:46 PM
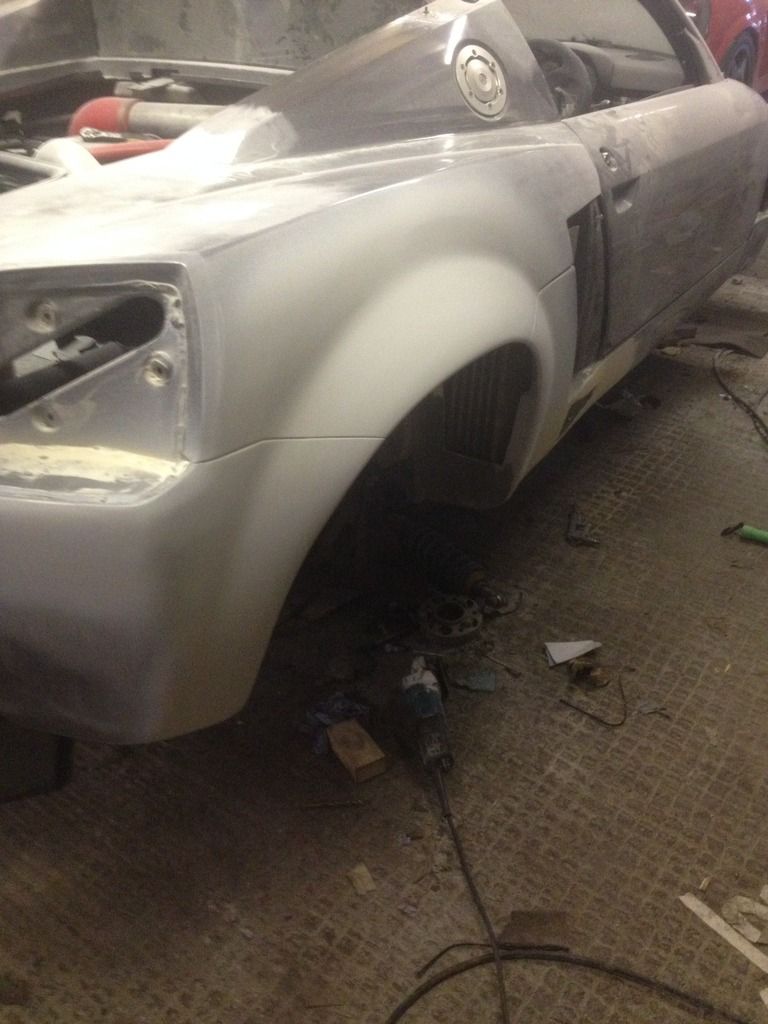
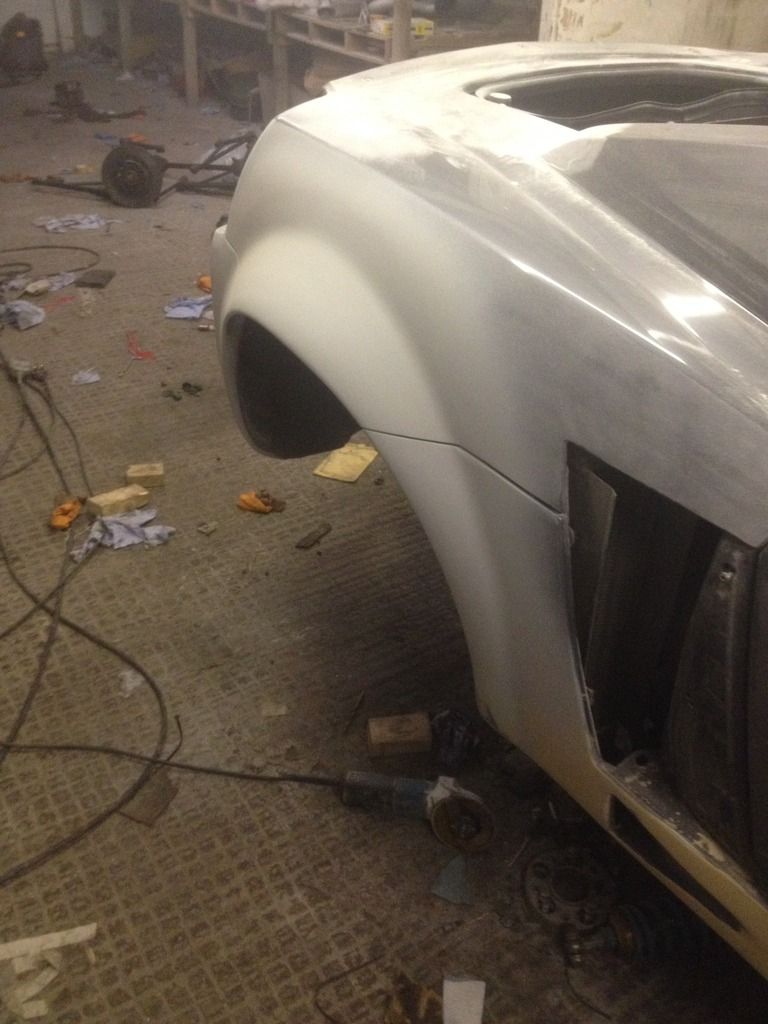
Just self tough on bodywork side of things, do quite a lot in any spare time I have. Front wheels will be fine, may even pop little spacer on to bring them out a little so much space inside the arches, rear wheels I am hoping are ok, drove around farm I have my shed on pretty quickly and it's quite rough and was ok, may raise it up for first drive out then lower it back down if all is ok.Cracking work on the bodywork - do you do this for a living? It's really low. Aren't you worried about the wheels rubbing the arches?
#37

Posted 31 January 2016 - 03:49 PM
The car has gone a standard vx220 colour, and yes I think the car would have looked so much beta in first place. Painted the wheels last week:-) along with all other parts to match, like diffuser, fuel cap, splitter, mirrors, spoiler etcInteresting build! Looking forward to seeing more, especially colours you're going for. I hope you are spraying the wheels, I don't like white wheels. Where are you based?
#38

Posted 31 January 2016 - 06:20 PM
The reason I ask where you are based is because I, like many probably, may need to respray parts in the future. Perhaps thats why you keep it a secret lol.
Do you have a professional spray set up? What sort of results do you get?
#39

Posted 31 January 2016 - 06:46 PM
Haha, i don't try to pretend to be a professional or have a particularly professional set up, I would say I have a good set up for someone just doing it as a self thought hobbie tho, my shed has an area where I prep the work then an area where I paint with extractor fans and beta lighting etc, I have a decent paint gun also, I get some contamination in paint but generally that is colour sanded and polished out. Hopefully you will see how good my results are from this project, I know pictures can hide things but I like to think I get good results.The reason I ask where you are based is because I, like many probably, may need to respray parts in the future. Perhaps thats why you keep it a secret lol. Do you have a professional spray set up? What sort of results do you get?
2 user(s) are reading this topic
0 members, 2 guests, 0 anonymous users


