First thing to do is to remove the undertray, jack the passenger side up remove the rear wheel and the wheel arch liner. This should then give you access the engine mount. While you’ve got the wheel arch liner off it’s a god idea to replace the bolt with stainless steel allen key heads. The TIS says to loosen the expansion tank but it can be done with it in place.
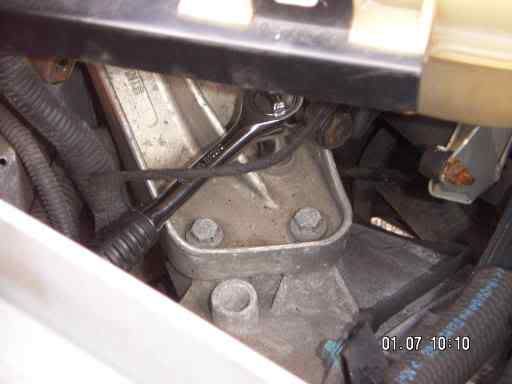
The order in which you unbolt the mount doesn’t mater but the easiest is to start with the bolts either side of the mount so that the bracket holds it in place. The top bolt is shown in the picture with the socket on.

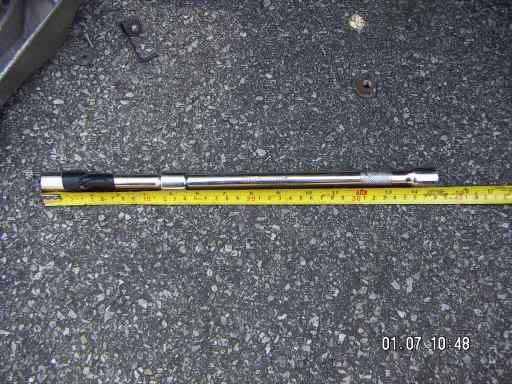
The bolt at the bottom of the mount needs to be accessed from underneath by using ideally a 40 cm extension bar. The one I used is shown below and was not quite long enough to clear the wishbone.

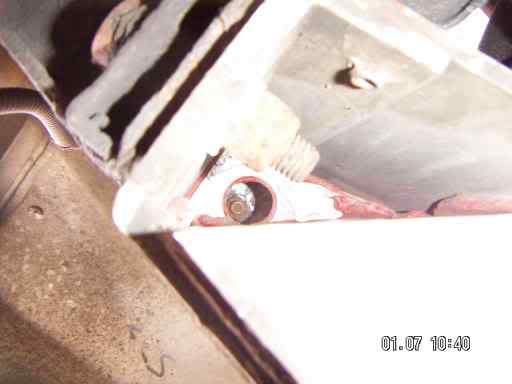
You’ll notice the tape on the socket this is because the access hole to the nut (shown below) is in a box section and it’s quite easy to knock the socket off getting it stuck. Which then requires taking the airbox off to get it back out.

The last thing to remove is the bracket that attaches to the engine, simply remove the three bolts on the top then the bracket.

Now all that is left to do is to remove the old mount, replace with the new one and reassemble everything tightening the nuts and bolts to 45 Nm as specified in the TIS.
Disclaimer
This is offered as a guide to an experienced person only. Don't attempt this if you are not sure!!
Hope this helps,
Rob
PS I'll convert and post the PDF version later in the week
oops their a bit big!
Edited by RWinstanley, 04 July 2006 - 06:52 PM.


