
My New Project
#301

Posted 11 August 2009 - 10:26 PM
#302

Posted 13 August 2009 - 10:10 PM
A real PITA, all but two of the wheel arch liner fixings were rusted solid, so resulted in lots of drilling and swearing to replace with new jacknuts:

The clam mounting near the bottom of the fog light decided not to play ball, the nut was fused in place so when turning the bolt the plate behing the clam span and ripped a hole straight through the fibreglass

Although the radiator had been changed a few years ago they'd re-used all the rusty fittings
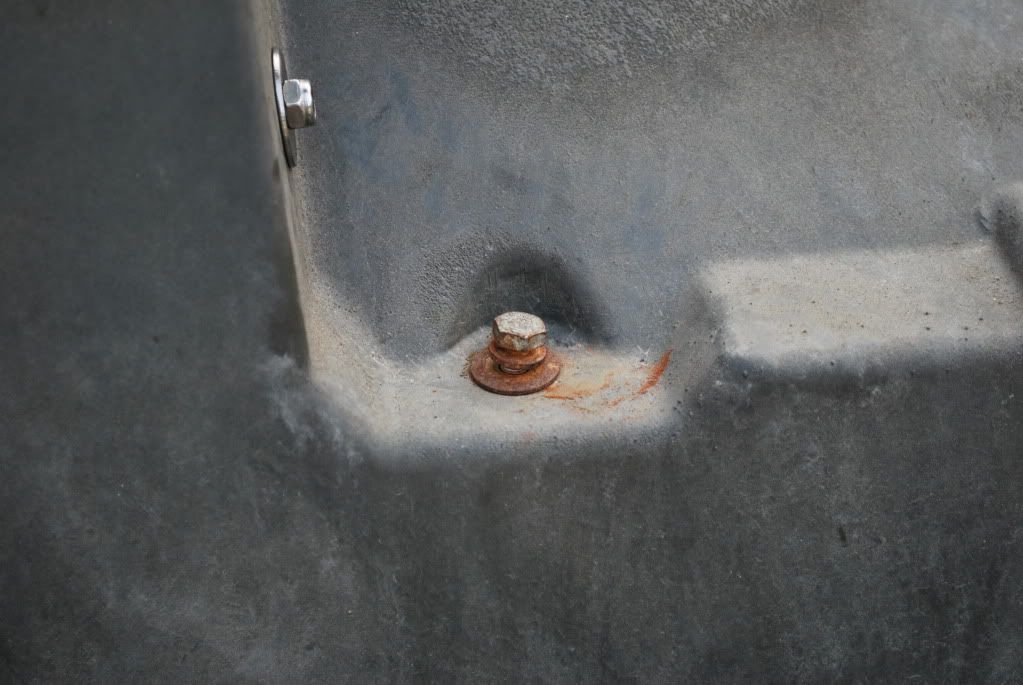
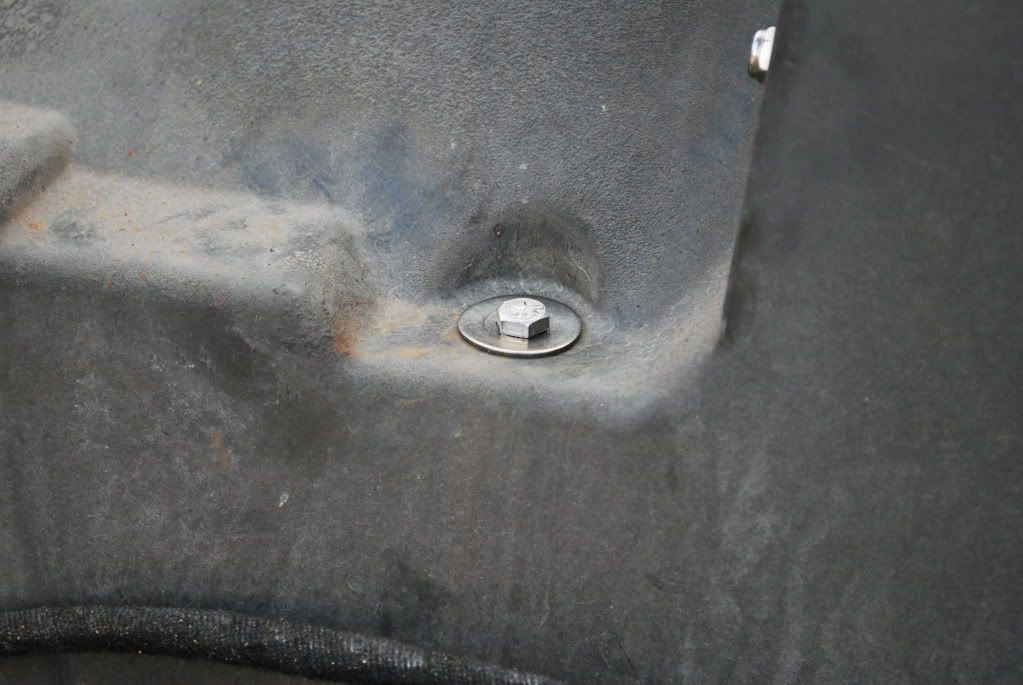
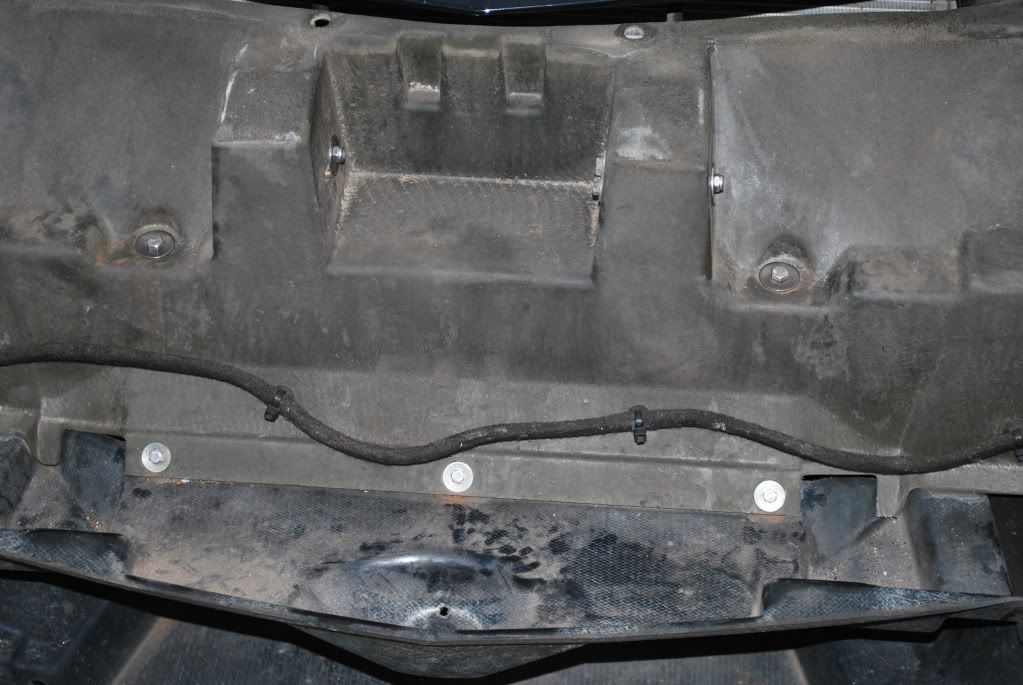
The old tow bar was well and truly rusting away to nothing, so will be replaced with a stainless steel version
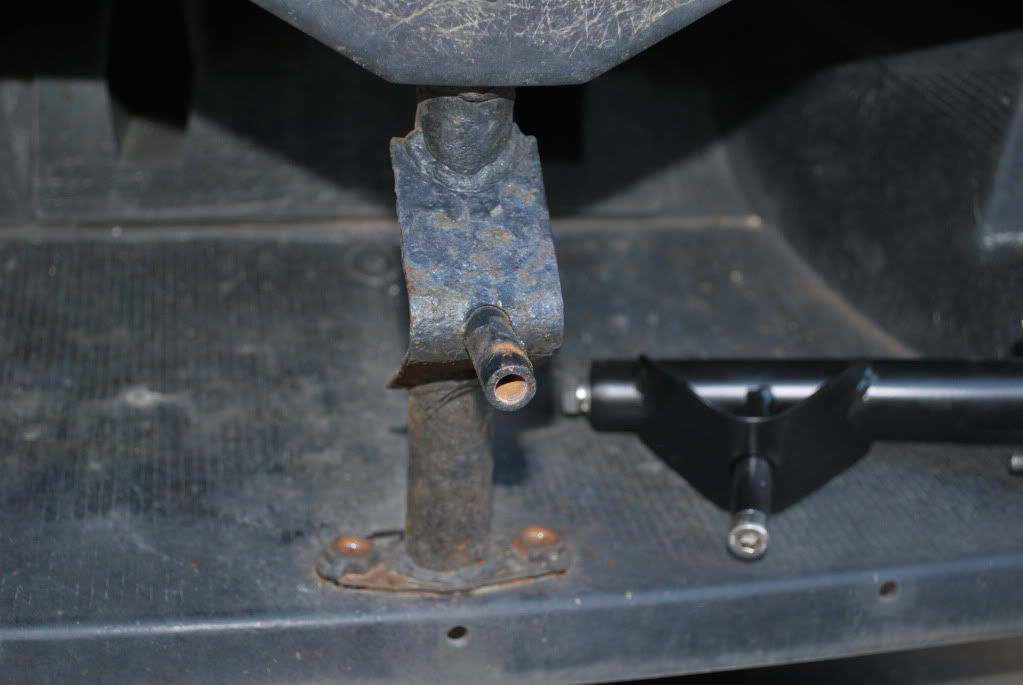
The channels in the crash box collect a lot of water as the drain hole is about 1" from the bottom of the channel. I decided to drill a 5mm hole at the bottom of this section to help it drain out in the future (I didn't want to drill into the base of the channel as this forms part of the crumple zone protection)
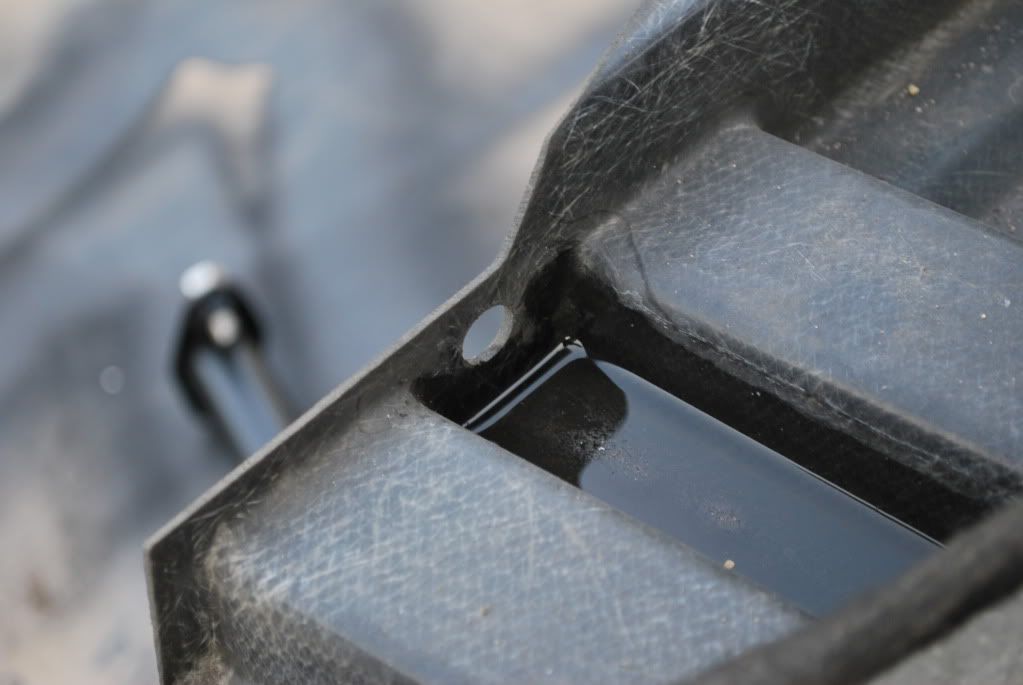
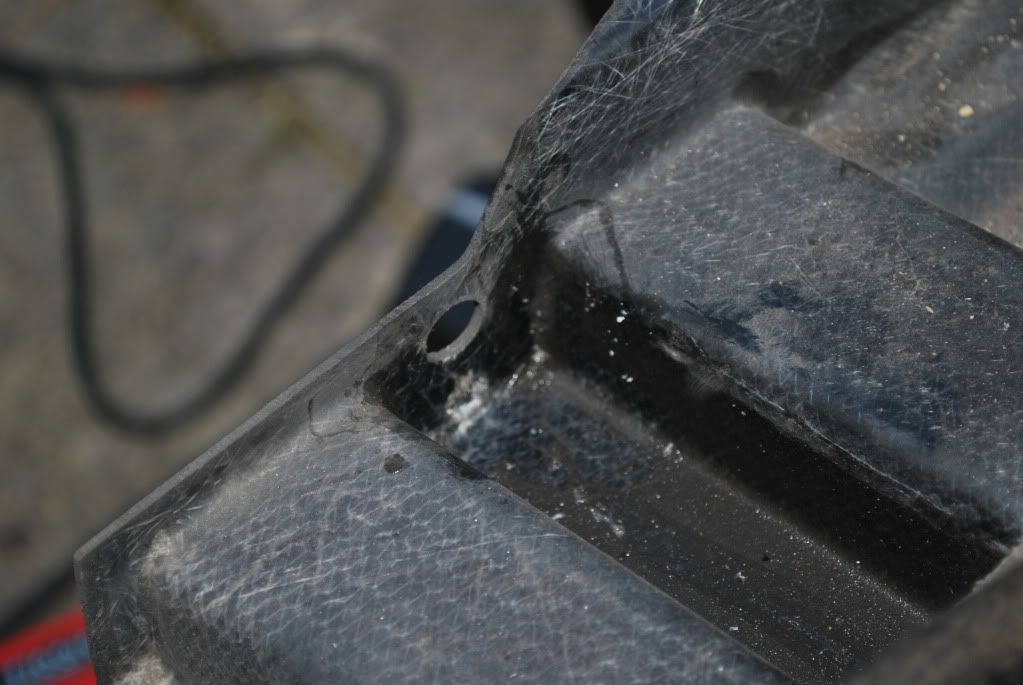
Potential source of rattle (not that I'd noticed one) one screw on each foglight was loose, the are only screwed into the thin metal sheet that support the light unit, and only pass through a couple of mm's so had worked quite loose - replaced with a longer heavier grade (no 10 instead of no 8) stainless screw

Gave the grill a few coats of satin black
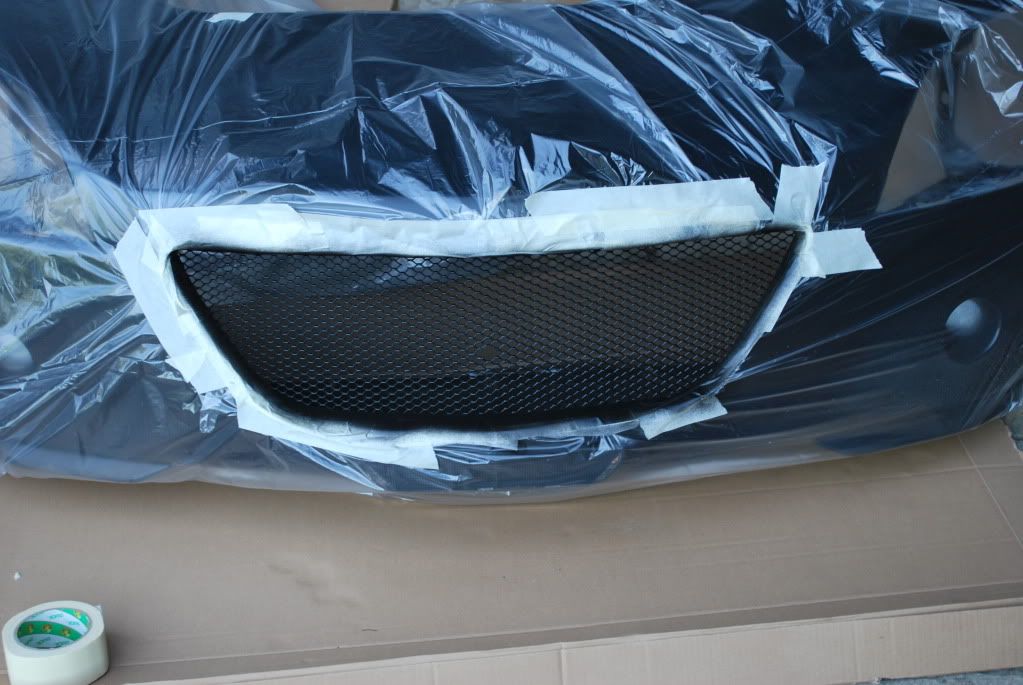
And how it currently looks, hopefully I'll finish cleaning everything, re-fix the V in place and get it back together tomorrow
#303

Posted 16 August 2009 - 08:02 PM

The door hinges cleaned and re-greased (this car actually has the door stop plates fitted too

Everything under the clam area was cleaned with APC:

Then the clam replaced,
I decided to use hex nuts wherever possible (I have nightmares of the shallow allen sections of button heads rounding off!)
Managed to use them on the front bonnet supports - the rubber stoppers still fit fine on a hex

And all back together - I far prefer the V being in place

Edited by mandarinvx, 16 August 2009 - 08:02 PM.
#304

Posted 16 August 2009 - 08:14 PM
This may come as a reminder to a few of you
I haven't cleaned the filter since buying the car, so thought I'd give it a go (I did this by gaining access through the nearside wheel arch, it may be possible through the boot opening, but it will be tight!)
First off, bought some cleaner and oil from Halfords - about £11 for the set

Then disconnected the filter from the inlet pipe (it a good idea to buy a flexi jubilee wrench for jobs like this

Then the intake pipe simply pulls off to leave you with this:

*DO NOT try to remove the foam from the housing, it is not designed to be disasembled any further*
Quite an impressive amount of crap came out the filter! (and this pic doesn't include the bits of leaves)

And onto this:

Sprayed liberally with cleaner, and then left to dry for many hours, then a light coat of oil applied

The only other thing I did was to spray the intake trumpet yellow, as I prefer it to red

#305

Posted 16 August 2009 - 08:24 PM
The liners weren't as bad as the front ones, tho I replaced the lower rear fasteners (which were the expanding rubber type) with M6 Jacknuts on both sides
Must have saved over 1kg of weight with the amount of debris retrieved (this is only from the rear part of the offside liner)

Set about changing bolts over to stainless, cant believe all the exhaust hager bolts came out - all of them were seized solid on my last car

And the clam bolts above the liner

#306

Posted 16 August 2009 - 08:41 PM
#307

Posted 16 August 2009 - 08:45 PM
terrific thread - i remember seeing it at meguires day.

There's been a lot of TLC since then
#308

Posted 16 August 2009 - 08:56 PM
#309

Posted 16 August 2009 - 08:59 PM
#310

Posted 16 August 2009 - 09:03 PM
#311

Posted 16 August 2009 - 09:17 PM
To do it properly you have to take the whole front end of the car off (the bonnet can stay on), which can be hard work if the fasteners have seized; so it looks like this:is there much involved in taking off the front v and the badge ,do you have to take the bottom of the car to undo it.
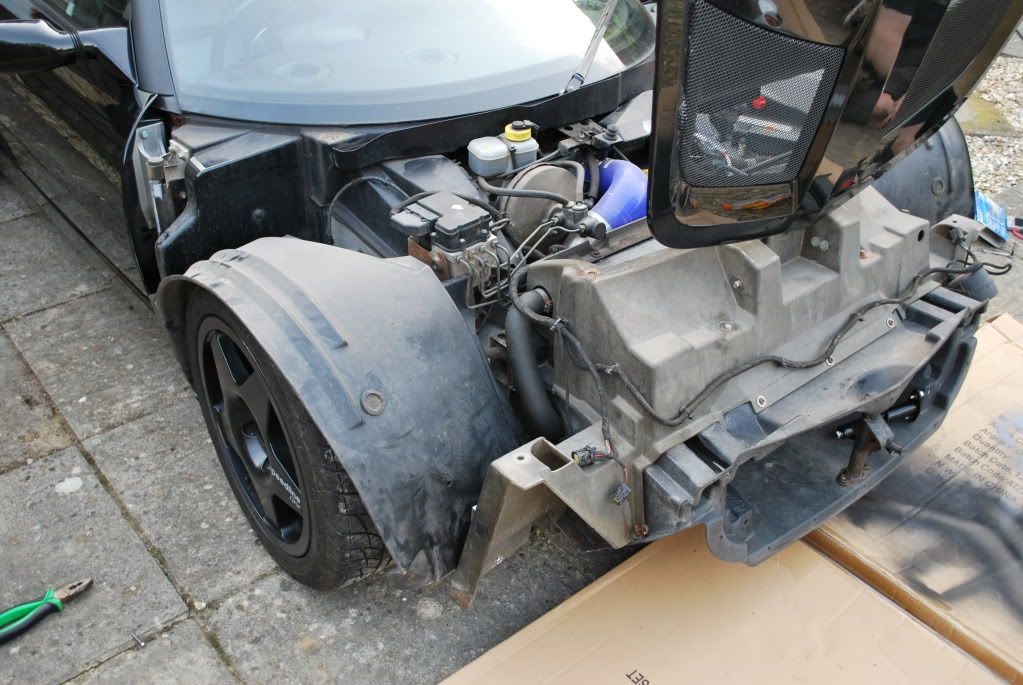
That's because the V is held on by screws from behind the grille
You could always cheat and hack it up with a Dremel, but be very sure you want to remove it as it'll be a real PITA to replace it, and you'll have to splash out for a new one
You could always mask/cover the car and spray yours in situ if it's looking a bit worse for wear
#312

Posted 16 August 2009 - 09:29 PM
dam sounds hard then it is the reason why is i think it looks better debadge and degrilled so i might have to have a look at taking the clam off.To do it properly you have to take the whole front end of the car off (the bonnet can stay on), which can be hard work if the fasteners have seized; so it looks like this:is there much involved in taking off the front v and the badge ,do you have to take the bottom of the car to undo it.
That's because the V is held on by screws from behind the grille
You could always cheat and hack it up with a Dremel, but be very sure you want to remove it as it'll be a real PITA to replace it, and you'll have to splash out for a new one
You could always mask/cover the car and spray yours in situ if it's looking a bit worse for wear
#313

Posted 16 August 2009 - 09:35 PM
#314

Posted 16 August 2009 - 09:46 PM
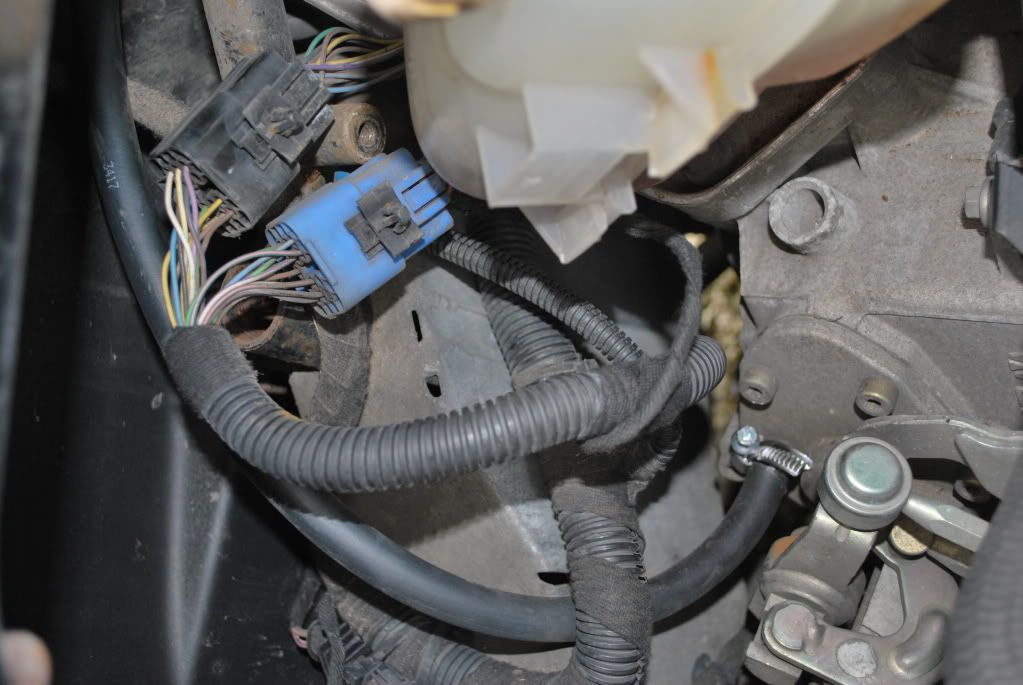
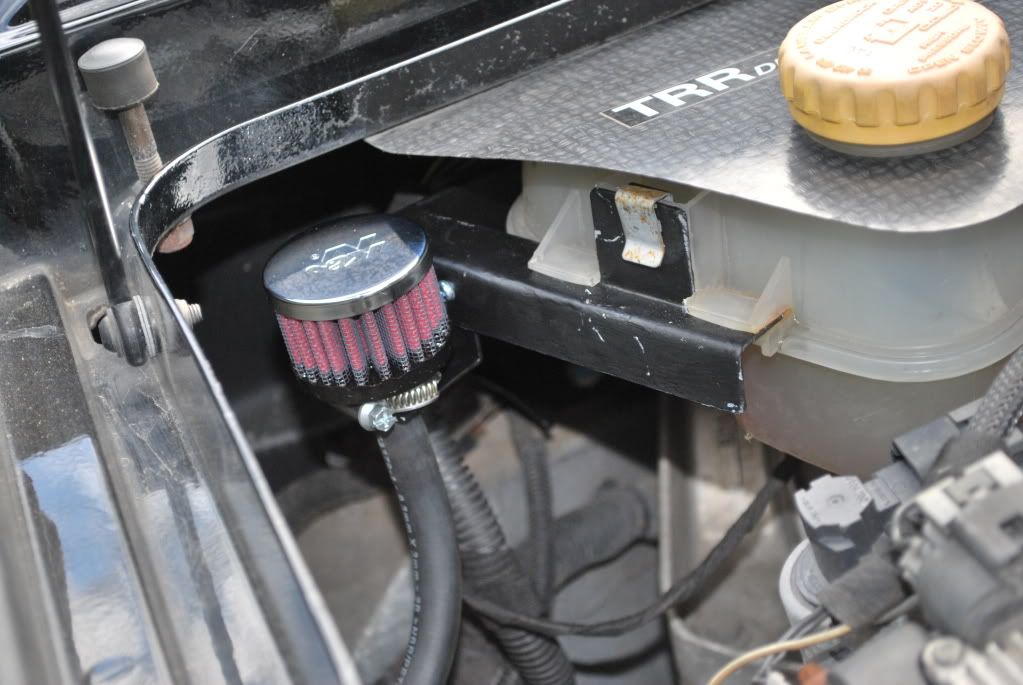
[/quote]
what the reason behind this mate
#315

Posted 16 August 2009 - 09:48 PM
Mainly applicable if you take the car on track - the VX has a nasty habit of throwing oil out of the gearbox breather, which then covers the engine bay, and if you're unlucky (as I was in my last car whilst going round Abingdon track) it will also go all over the nearside rear wheelwhat the reason behind this mate
#316

Posted 16 August 2009 - 09:55 PM
#317

Posted 16 August 2009 - 10:01 PM
#318

Posted 16 August 2009 - 10:06 PM
#319

Posted 18 August 2009 - 12:36 PM
#320

Posted 18 August 2009 - 08:59 PM
I managed to spend most of Saturday on it last week, don't get much time outside in the evening tho (that may change when I come to do rear clam / exhaust tho!)Lovely Stuff mate.
Do you work on it at weekends or just a few hours a day ?
Jim
1 user(s) are reading this topic
0 members, 1 guests, 0 anonymous users


