
My New Project
#141

Posted 08 March 2009 - 12:48 AM
#142

Posted 08 March 2009 - 08:32 AM
#143

Posted 14 March 2009 - 01:41 PM
First off, I cut the centre section out with a large hacksaw,
Then used Gaffa tape over the back and Isopon P40 fibreglass to fill
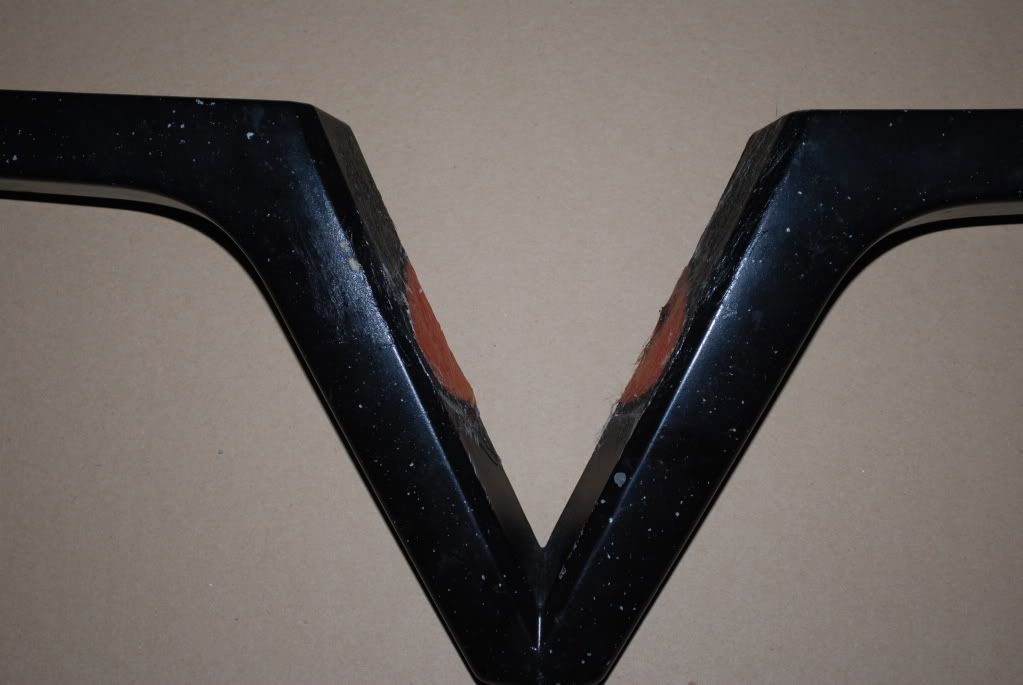
Once dried it was all sanded down
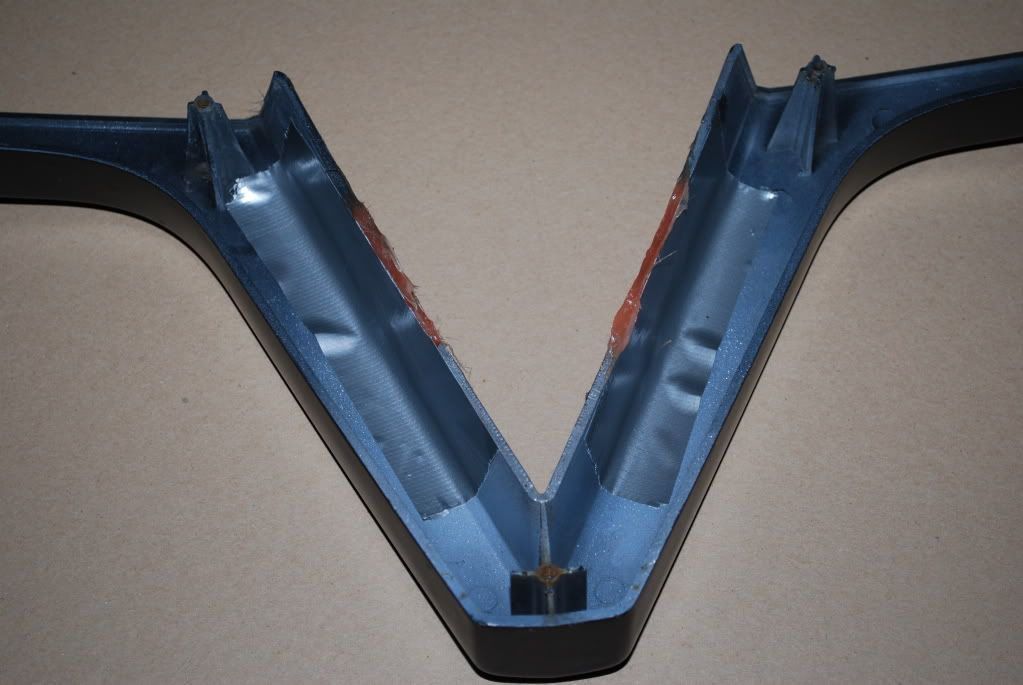
Then carefully peeled away the Gaffa tape and used more P40 on the back for rigidity - only needed a few mm's
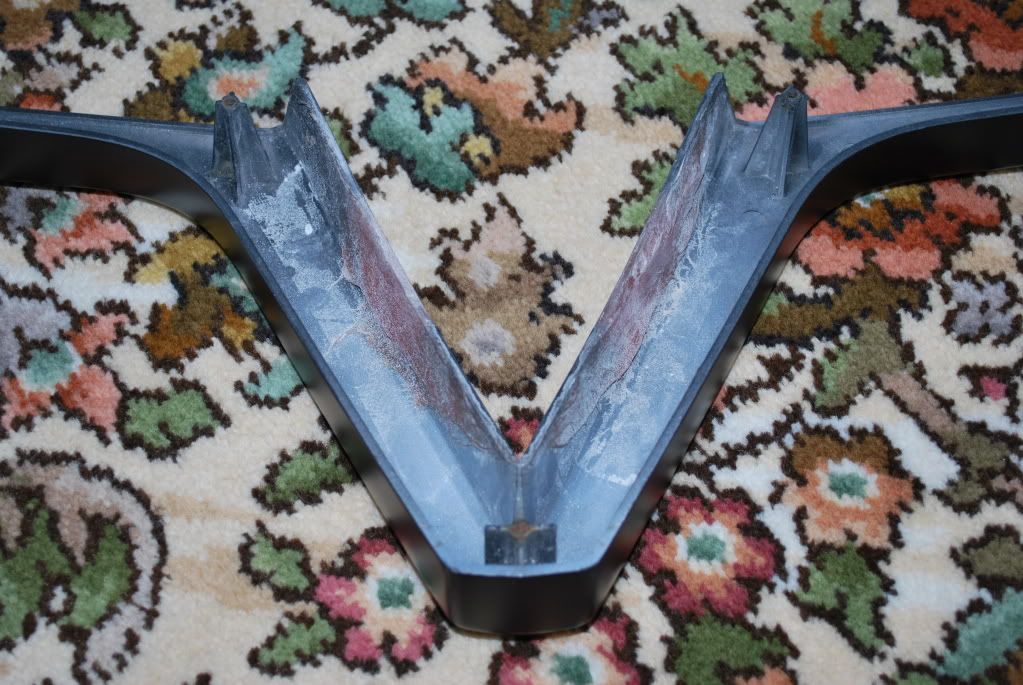
Then used P38 filler for the front faces to smooth out, rubbed down with 240 grit Wet N Dry and painted
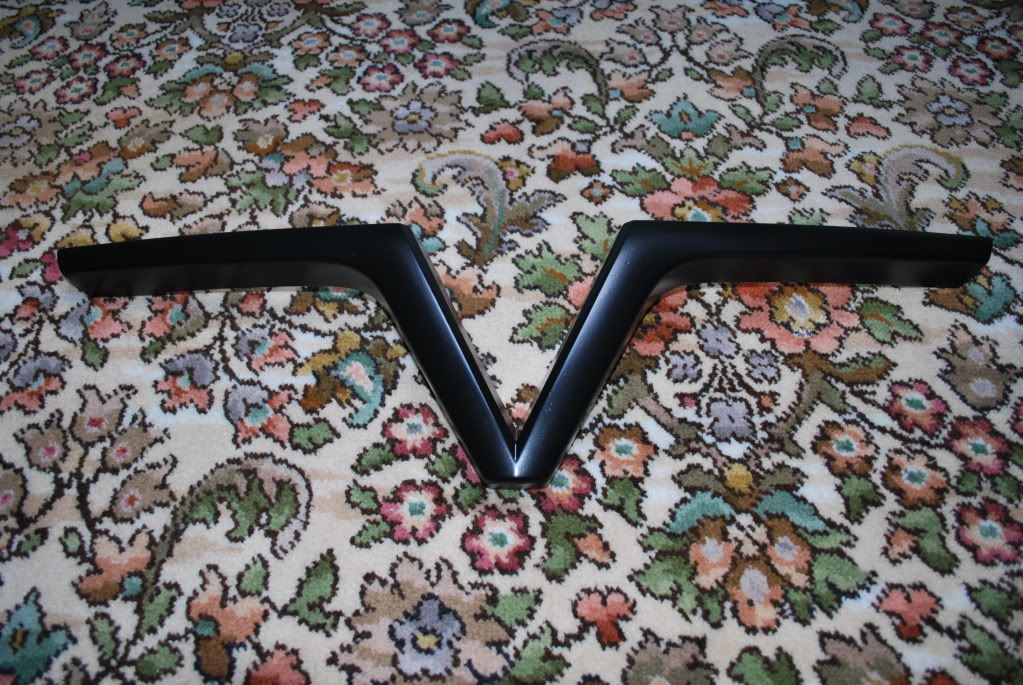
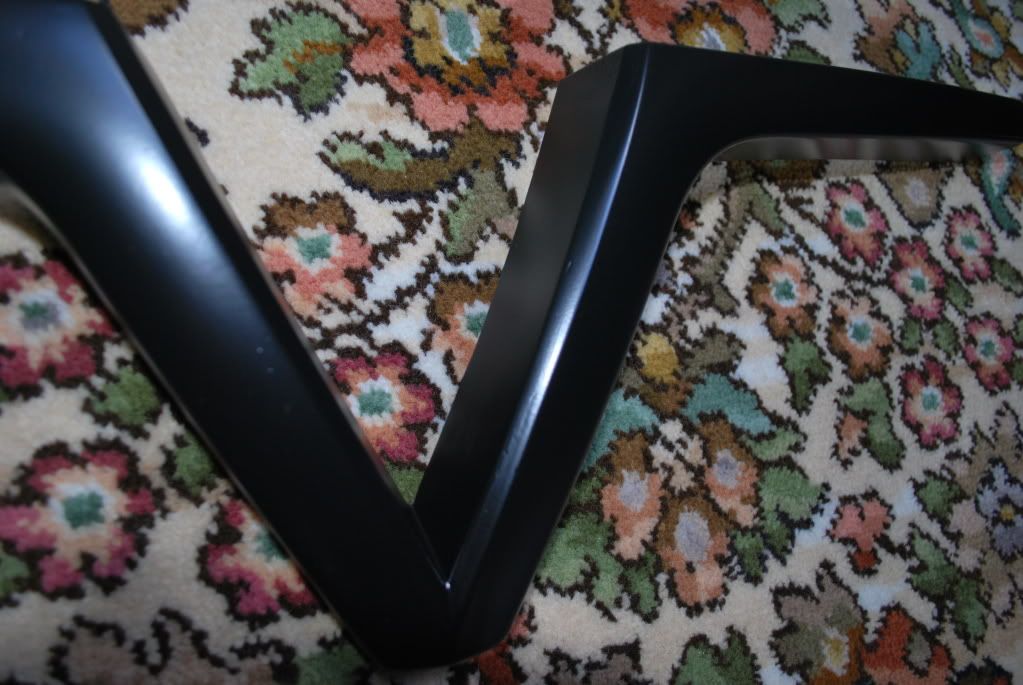
I like the effect
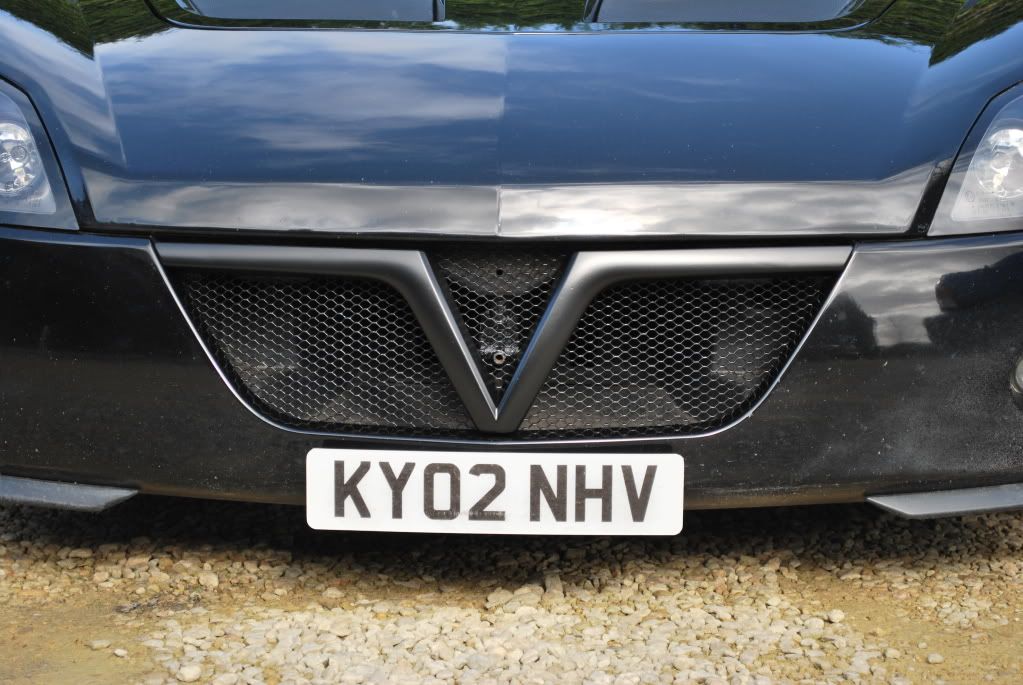
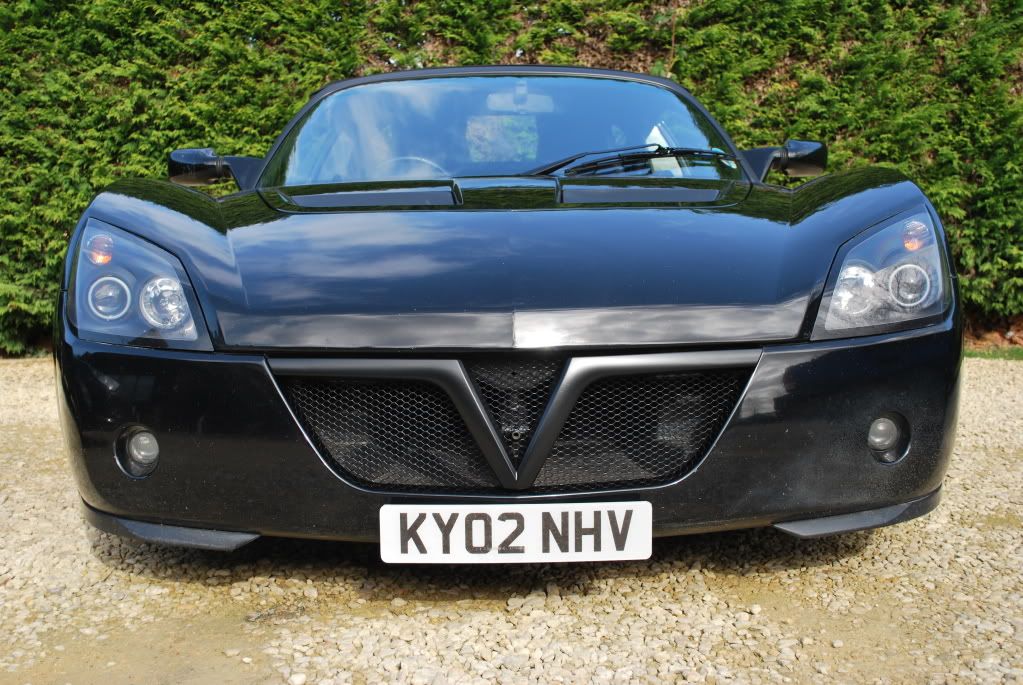
Packaging it up safely to send to Carbon Mods should be fun
#144

Posted 14 March 2009 - 01:43 PM
#145

Posted 14 March 2009 - 01:44 PM
#146

Posted 14 March 2009 - 01:46 PM
You sure can
does it come with a free car polish?
#147

Posted 14 March 2009 - 01:48 PM
#148

Posted 14 March 2009 - 01:54 PM
It was actually a real PITA doing the V, when you cut out the badge section you loose a bit of the side material, which then had to be fully built back up - must have used four or five layers of P38!
#149

Posted 14 March 2009 - 09:53 PM
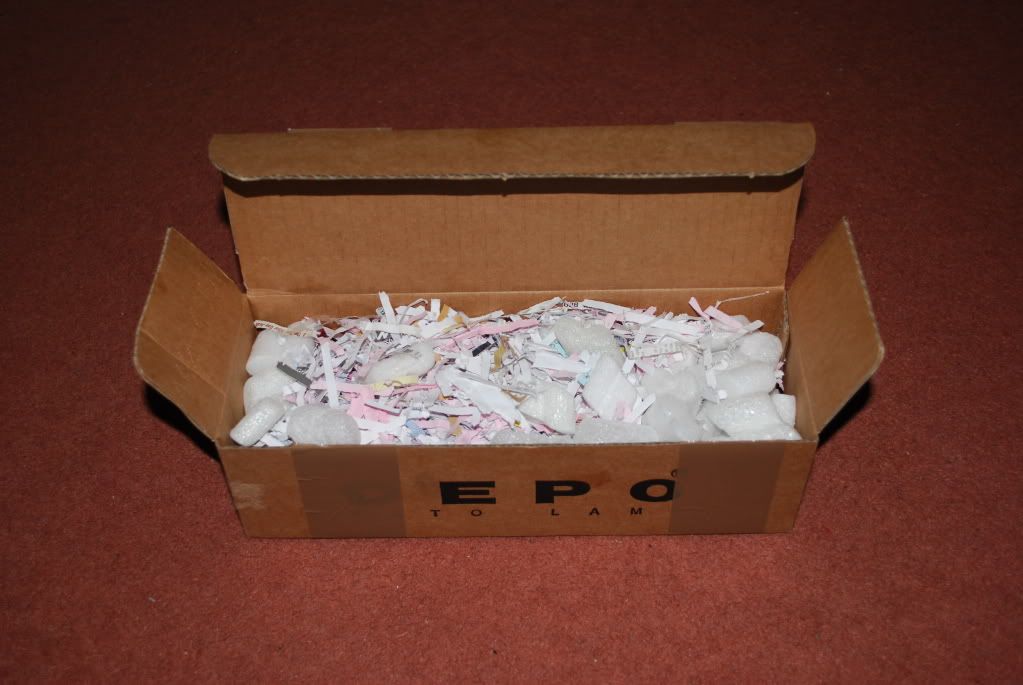
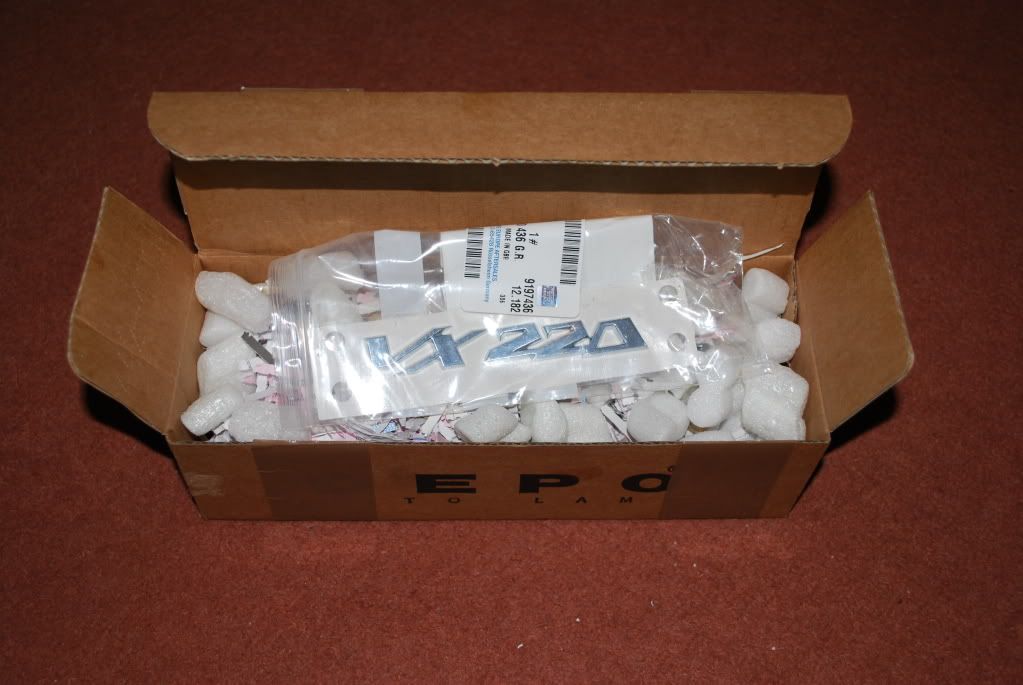
What could it be...
#150

Posted 14 March 2009 - 10:17 PM
#151

Posted 14 March 2009 - 11:43 PM
Still loving that carpet Adam..
#152

Posted 14 March 2009 - 11:47 PM
#153

Posted 15 March 2009 - 06:02 PM
#154

Posted 15 March 2009 - 06:29 PM
#155

Posted 17 March 2009 - 11:12 PM
Removed the old as it had tarnished badly - I used a flat kitchen knife - couldn't be bothered with hair dryers and extension leads! You couldn't tell where the badge had been once it was off
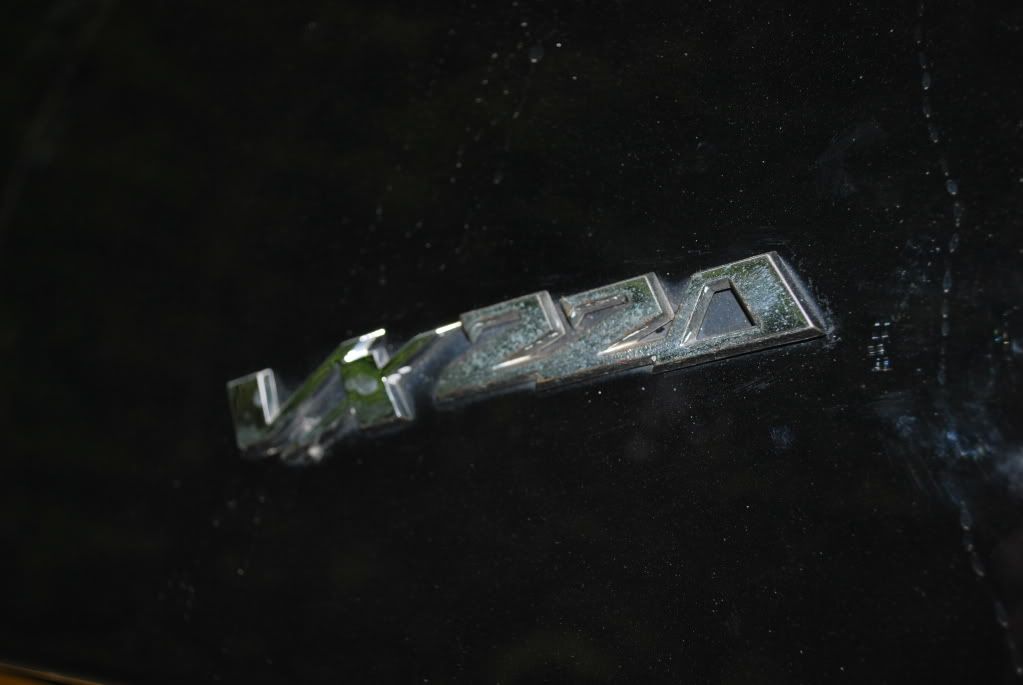
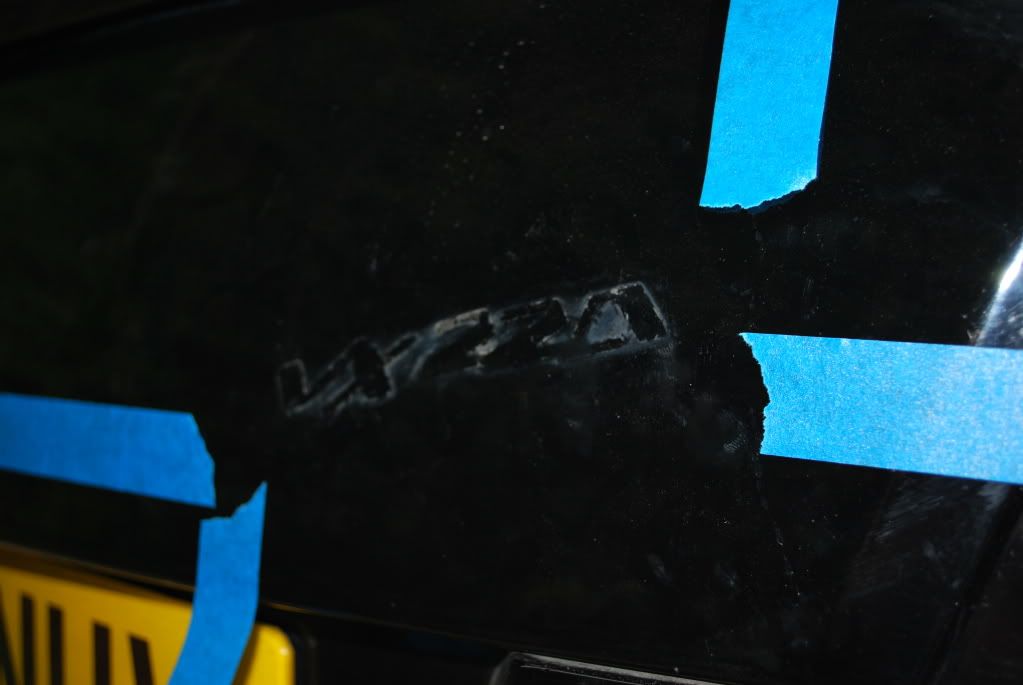
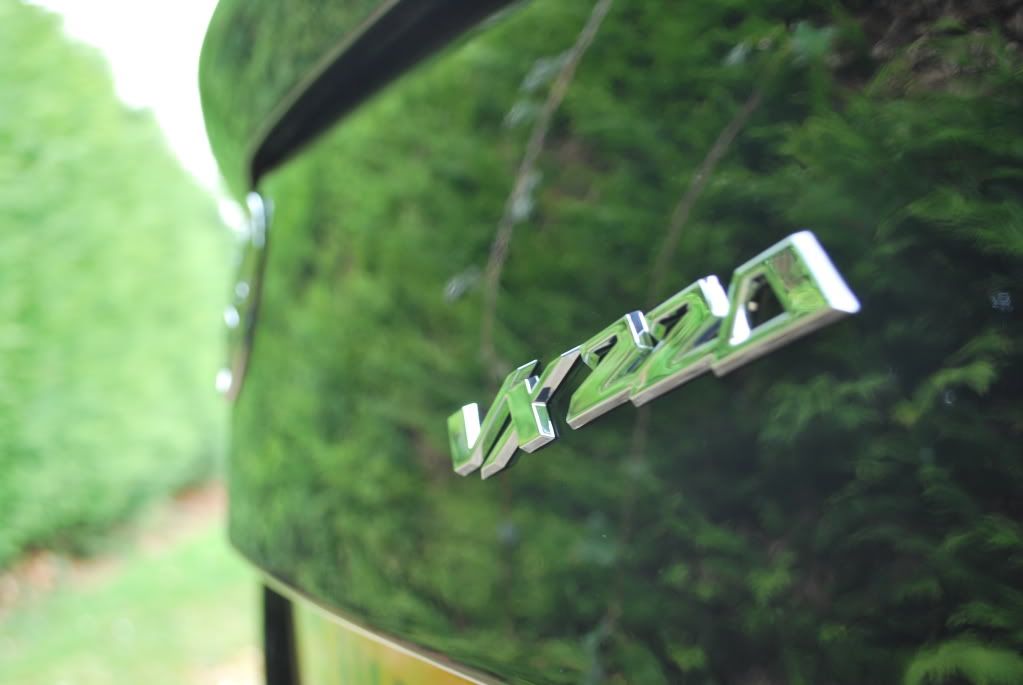
And new one fitted
#156

Posted 17 March 2009 - 11:16 PM
So I took them off a couple of weeks ago, and knowing that it couldn't be the fitting of the lens covers came to the conclusion it could only be due to the foam material used to hold the light away from the bodywork being sodden with water at the bottom corner on the back of the light, perfectly in line with the lowest of the light protrusions into the light casing.
It turns out the small lenses are only push fit, so not water tight (proven by putting a drop of water into the back of it and watching it run through into the light
Low and behold it seems to have fixed all of my light leaking problems (whilst the offside unsealed one was still getting worse)
So today I finished the offside one too - it's not exactly an elegant solution, but what the heck, it works
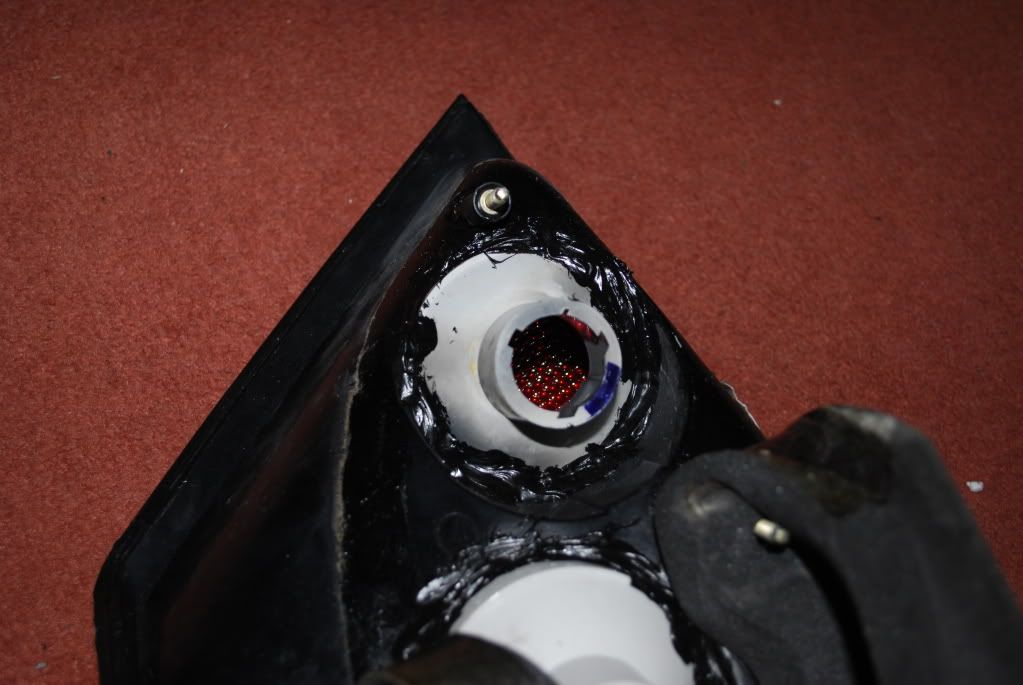
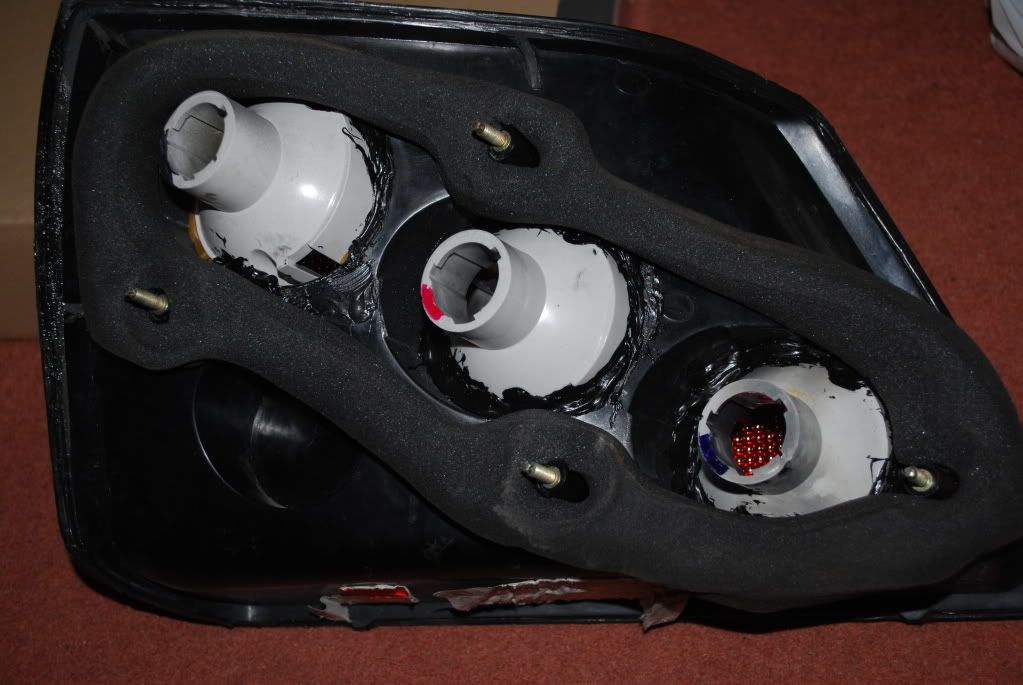
Note I have left some air gaps through to the lenses on the two upper light protrusions, just in case they need to 'breathe' a bit
Edited by mandarinvx, 17 March 2009 - 11:17 PM.
#157

Posted 17 March 2009 - 11:27 PM
Didnt realise the side vents were only held on with a rivet. Might have to fetch mine off and touch them up.
Cars looking great - Excellent cleaning job
#158

Posted 18 March 2009 - 08:54 PM
I can ask if they can do a plain fibreglass one - they may do this anyhoo to test the mould
That would be great, thanks
#159

Posted 19 March 2009 - 11:41 AM
#160

Posted 19 March 2009 - 04:10 PM
1 user(s) are reading this topic
0 members, 1 guests, 0 anonymous users


