Jump to content


Photo

My New Project


  • Please log in to reply
488 replies to this topic

#161 mandarinvx

mandarinvx

    King of First Replies

  • PipPipPipPipPipPipPipPip
  • 12,621 posts
  • Gender:Male
  • Location:West Mids / Oxfordshire

Posted 20 March 2009 - 03:58 PM

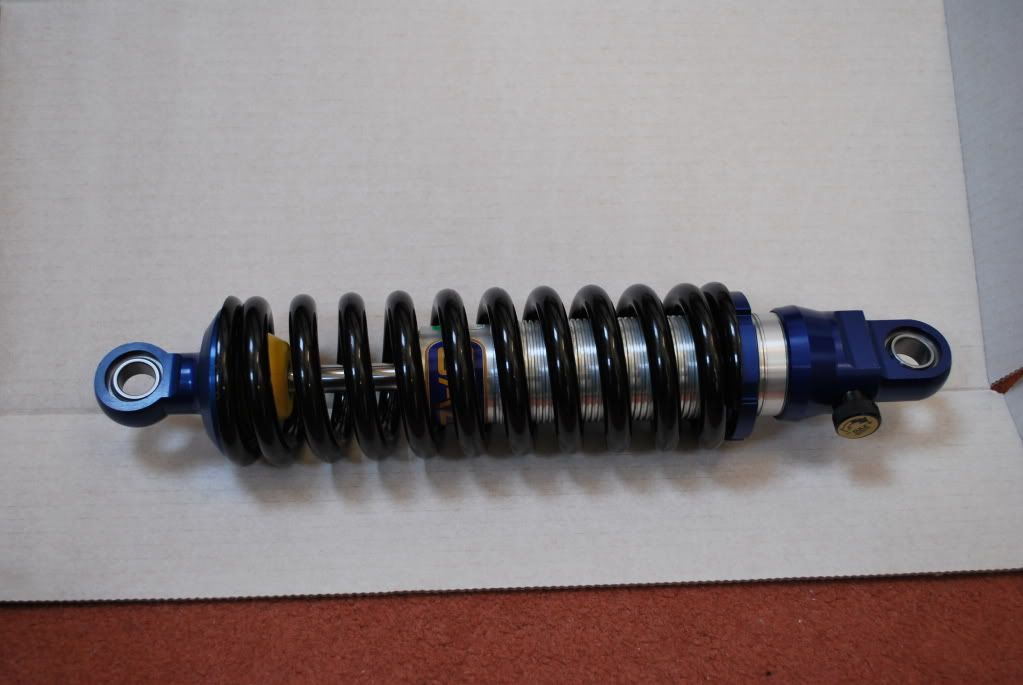
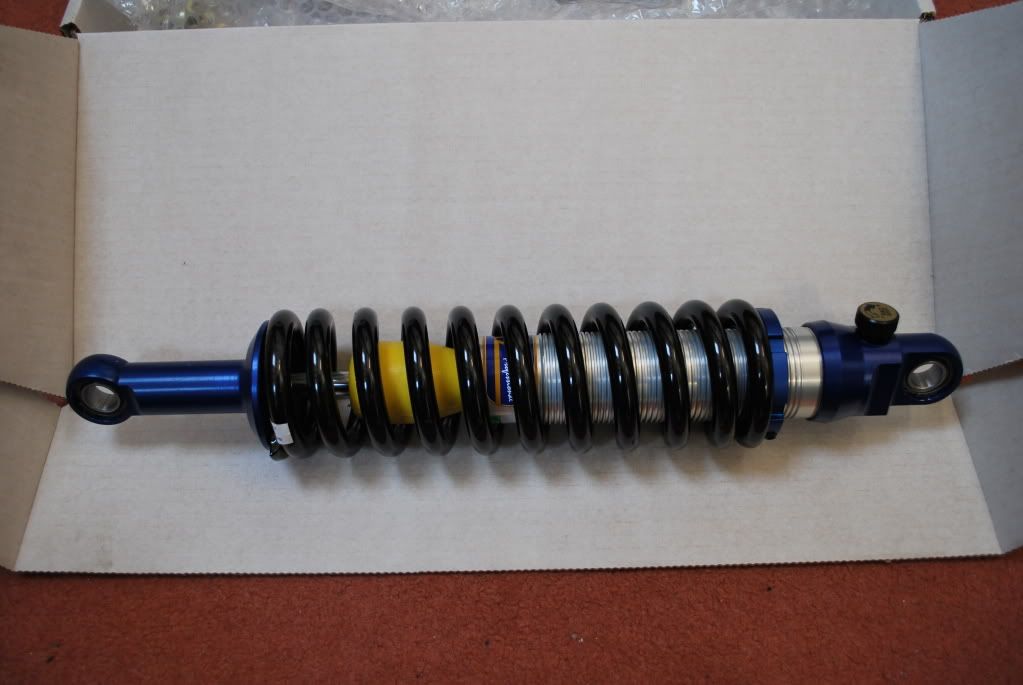
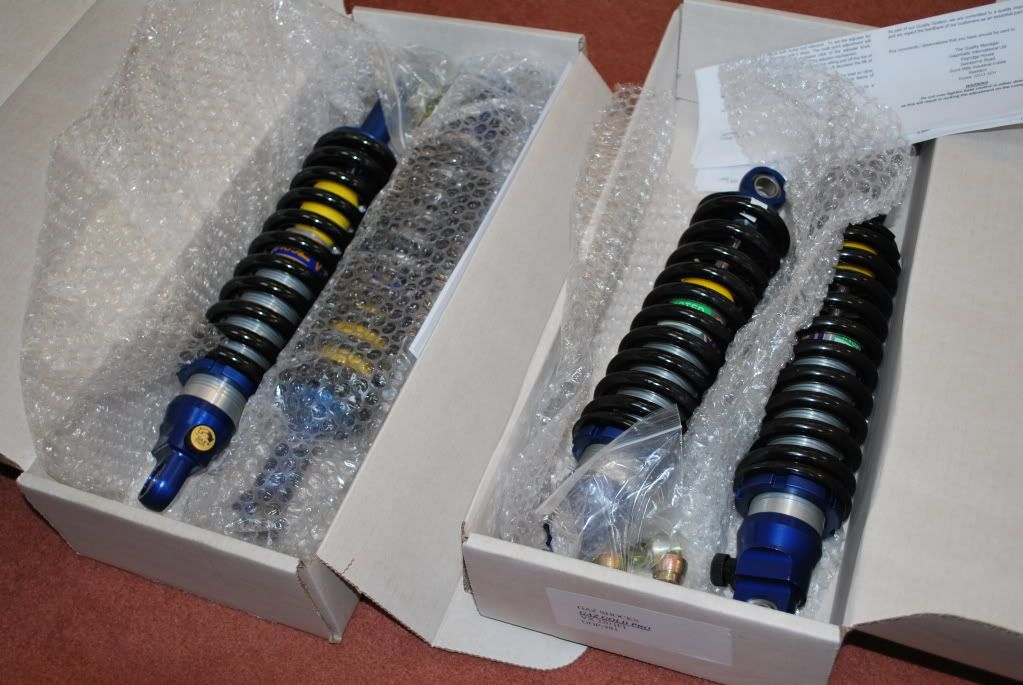
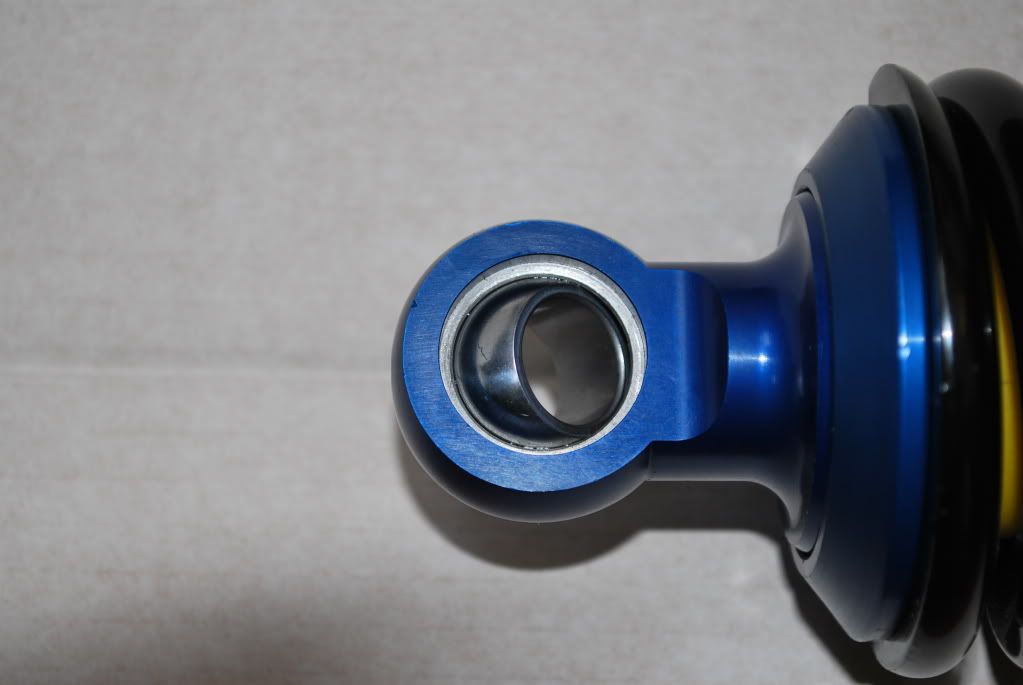
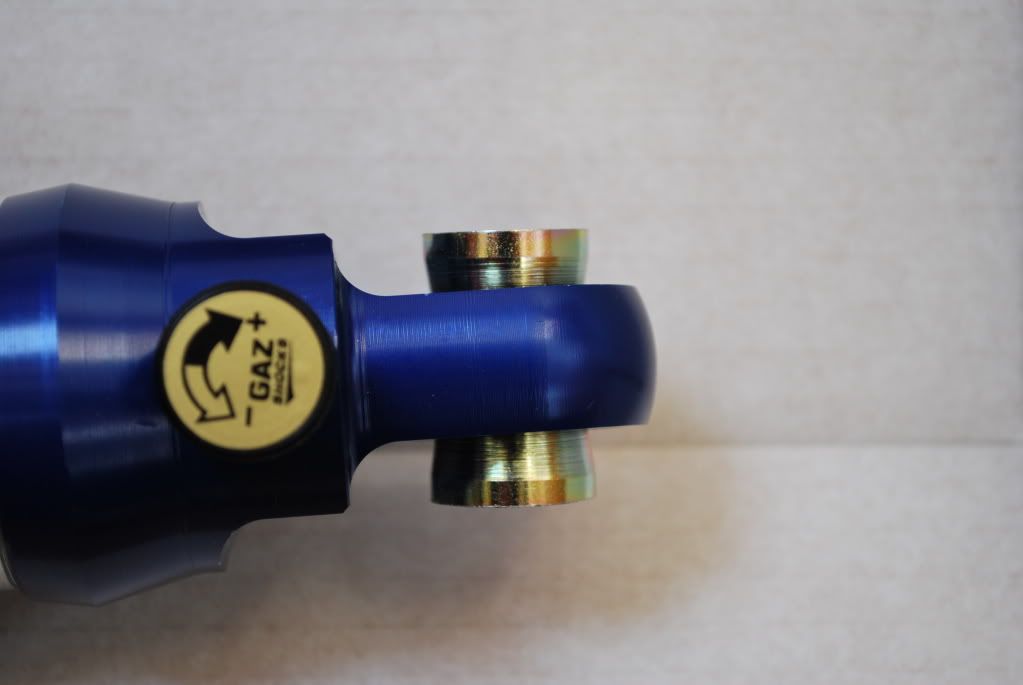
Some new toys arrived today - a set of Gaz Gold Pro :)

These are all alloy, so lighter than the standard version, and many parts are machined in one. I went for 425 front; 475 rear spring rates :)
Posted Image

Posted Image

Posted Image

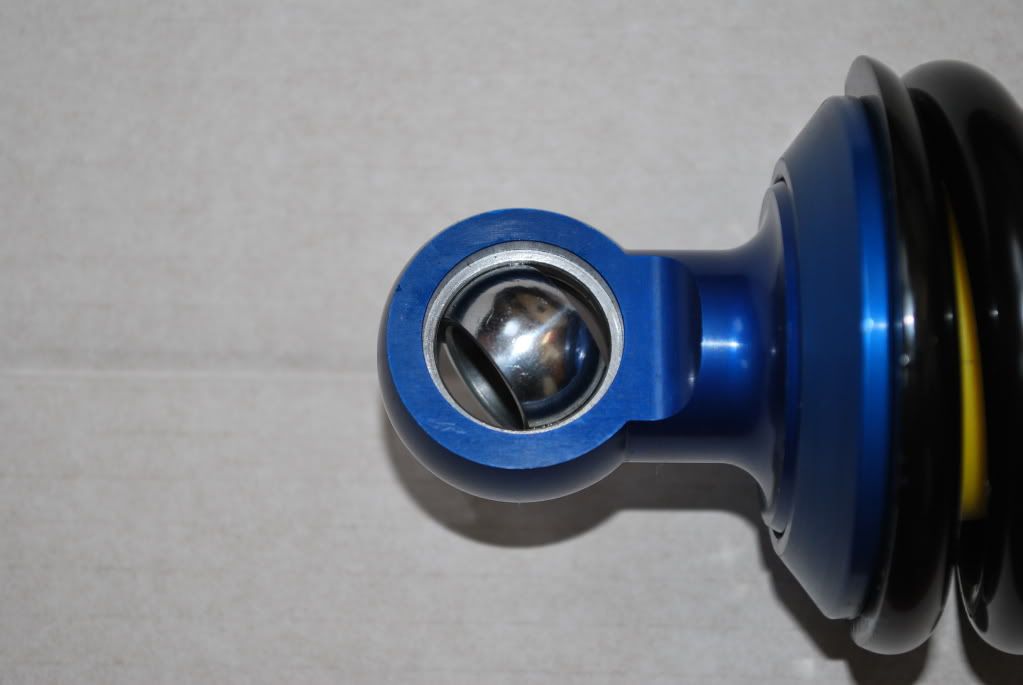
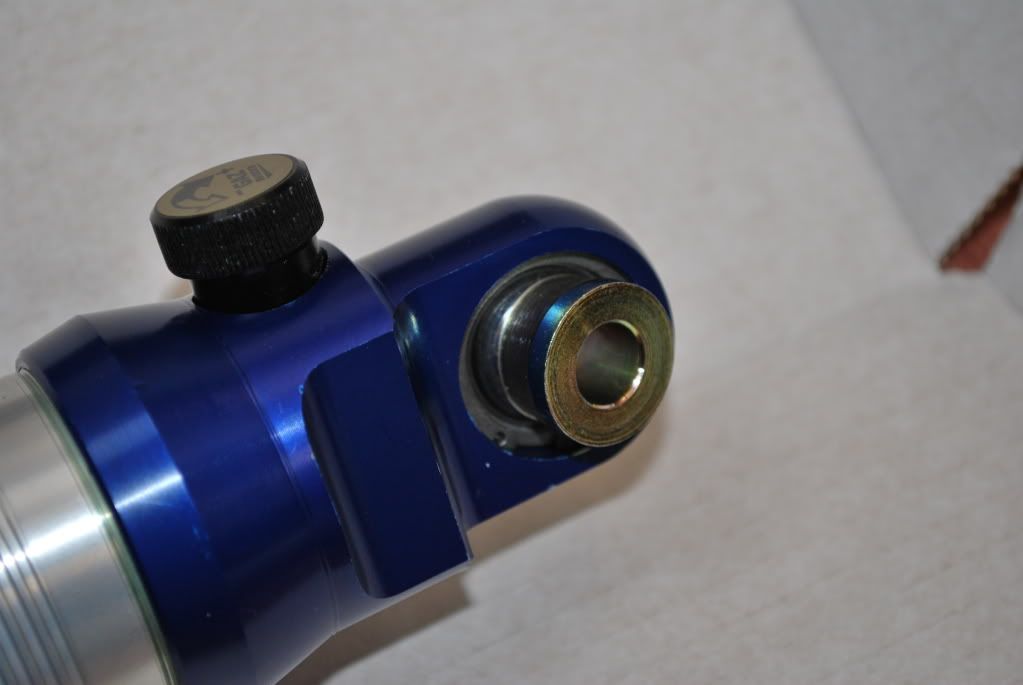
They use a bearing mount instead of the bush
Posted Image

Posted Image

Into which you insert the spacers provided
Posted Image

Posted Image

#162 mandarinvx

mandarinvx

    King of First Replies

  • PipPipPipPipPipPipPipPip
  • 12,621 posts
  • Gender:Male
  • Location:West Mids / Oxfordshire

Posted 20 March 2009 - 04:01 PM

great project - good to see the polishing tutorial coming into play thumbsup

:) I've now put two coats of Collinite over the entire car, so will hopefully last some time thumbsup

Great job done on the car, I did love this car before and its what made me want a black one Imnotworthy Imnotworthy to N1k NS

Cheers - I've grown used to the stealth look very quickly - just need to sort out the fuel cap and surround now :)

#163 james141

james141

    Whiiiiiiiiiiiiiiiiiiiiiiiiiiiiiiiiiiiiiiiiiiiine

  • PipPipPipPipPipPip
  • 3,667 posts
  • Gender:Male
  • Location:Northampton

Posted 20 March 2009 - 04:22 PM

Looking really good, you have done loads of the jobs that I need to do on mine!

#164 mandarinvx

mandarinvx

    King of First Replies

  • PipPipPipPipPipPipPipPip
  • 12,621 posts
  • Gender:Male
  • Location:West Mids / Oxfordshire

Posted 21 March 2009 - 11:06 AM

Still a fair way to go yet :D Not sure what to do about a rear diffuser (if at all) :unsure:

#165 mandarinvx

mandarinvx

    King of First Replies

  • PipPipPipPipPipPipPipPip
  • 12,621 posts
  • Gender:Male
  • Location:West Mids / Oxfordshire

Posted 22 March 2009 - 03:56 PM

Well the new shocks are fitted (mini fitting guide here) They feel great!

Went for a long blast to bed them - they did feel a bit pants at first, but after playing with the rebound adjuster a bit they are now fine. I've got them set surprisingly low at the moment - 7 from full soft on the front and 10 from full soft on the rear, tho this may change as they settle more

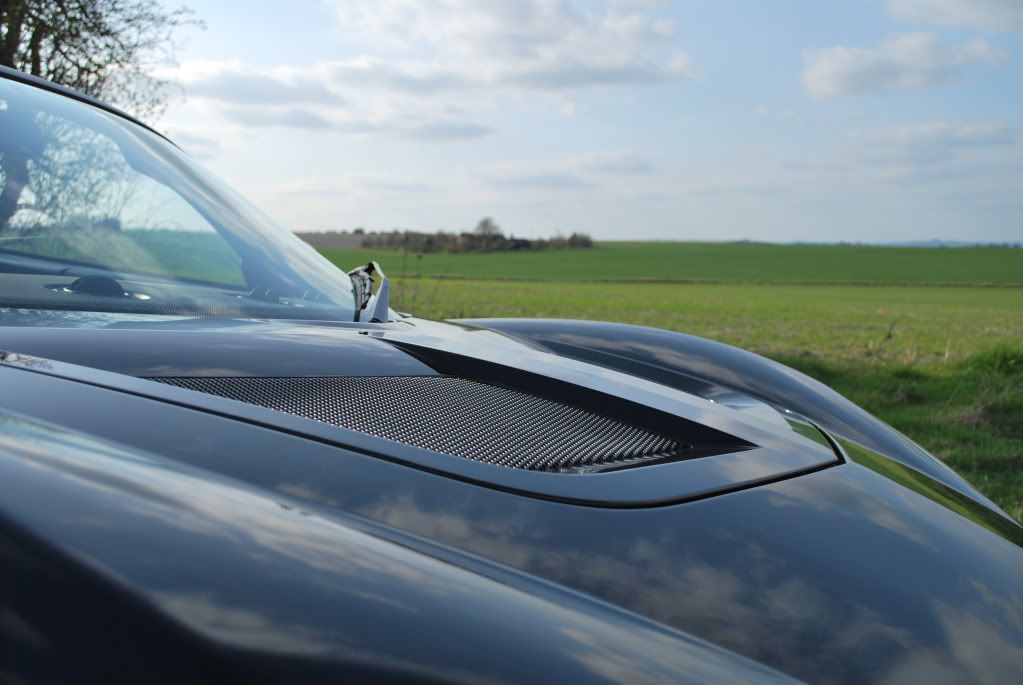
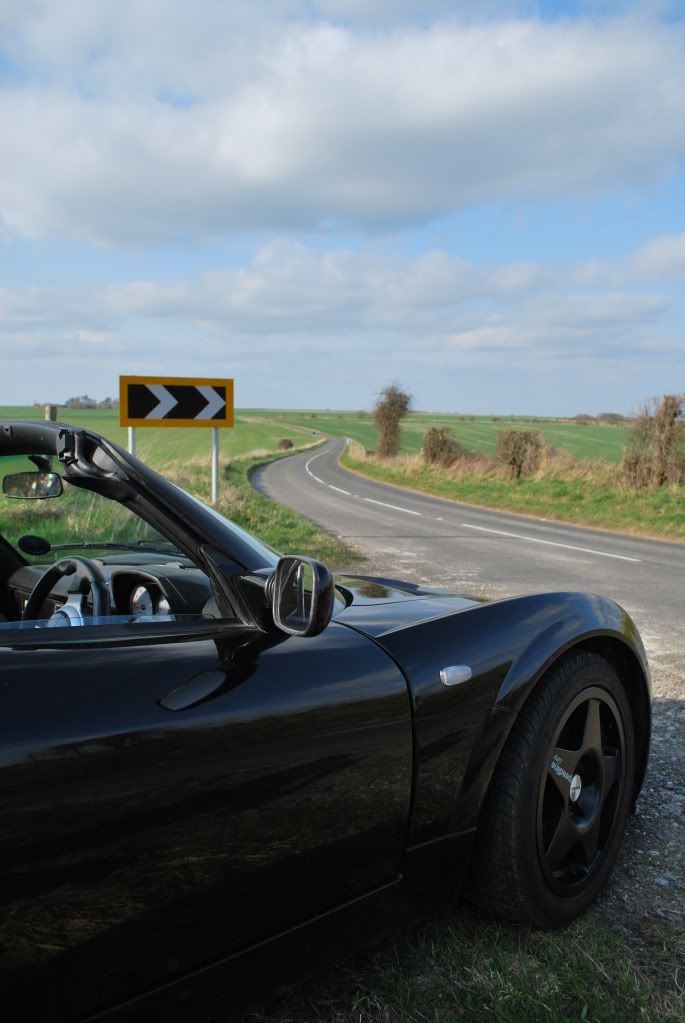
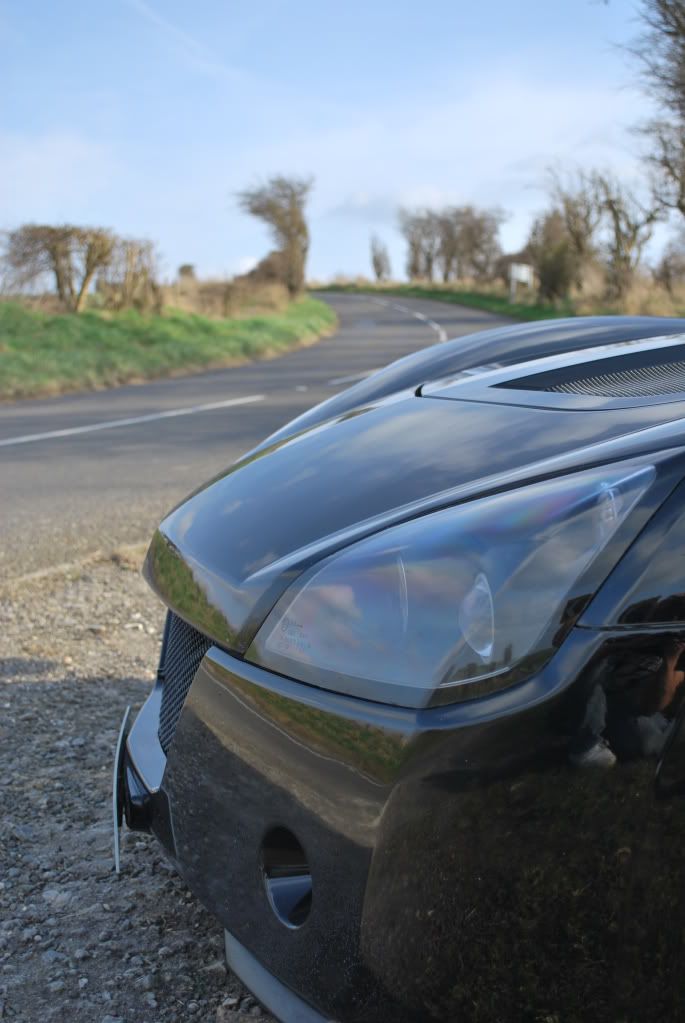
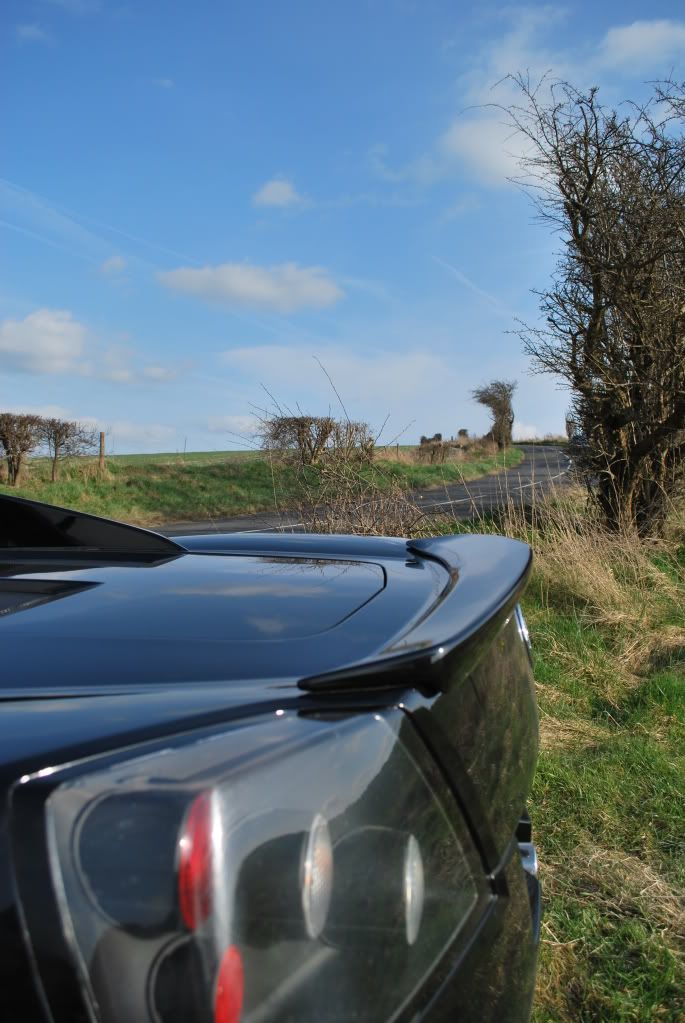
A couple of quick pics from my adventure around Oxfordshire :)

Posted Image

Posted Image

Posted Image

Posted Image

#166 JG

JG

    Newbie

  • 13,612 posts
  • Gender:Male
  • Location:West Berks

Posted 22 March 2009 - 08:59 PM

looking great adam!

#167 mandarinvx

mandarinvx

    King of First Replies

  • PipPipPipPipPipPipPipPip
  • 12,621 posts
  • Gender:Male
  • Location:West Mids / Oxfordshire

Posted 28 March 2009 - 02:47 PM
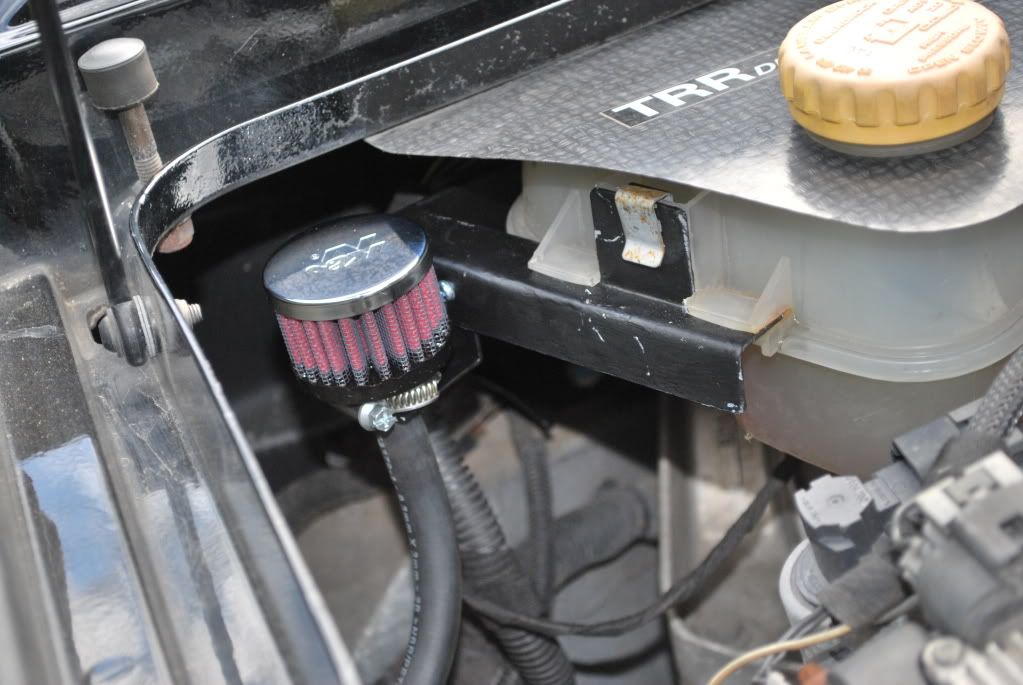
Finally got around to hooking up the oil breather

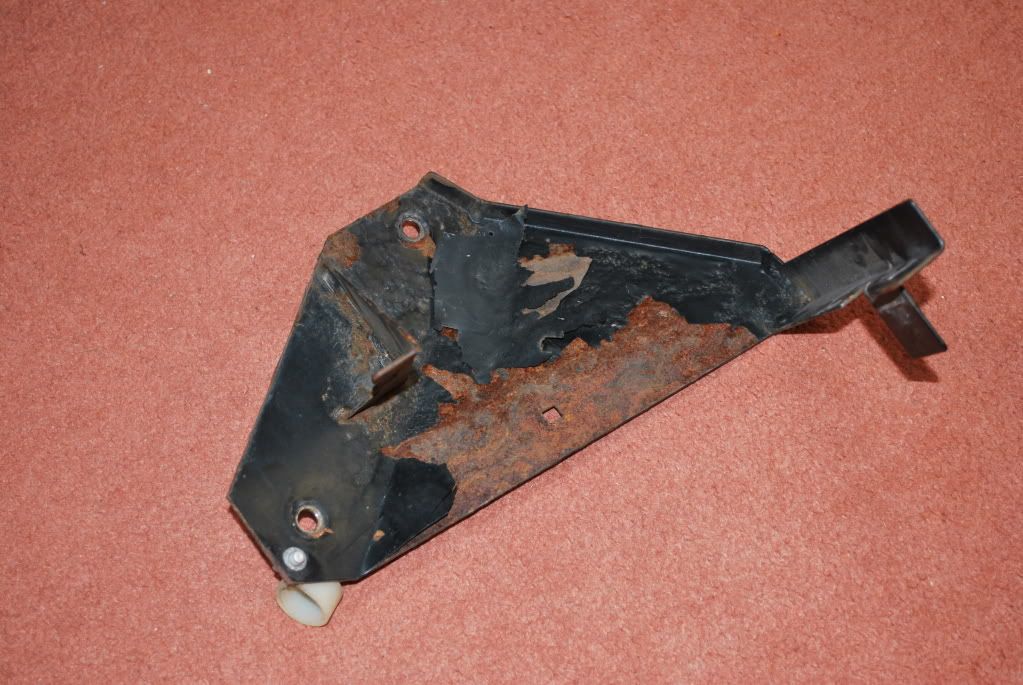
First off I removed the header tank bracket, was in a right state - presumably down to the fact there was just one thin coat of black paint onto unprepped mild steel :rolleyes:

Posted Image

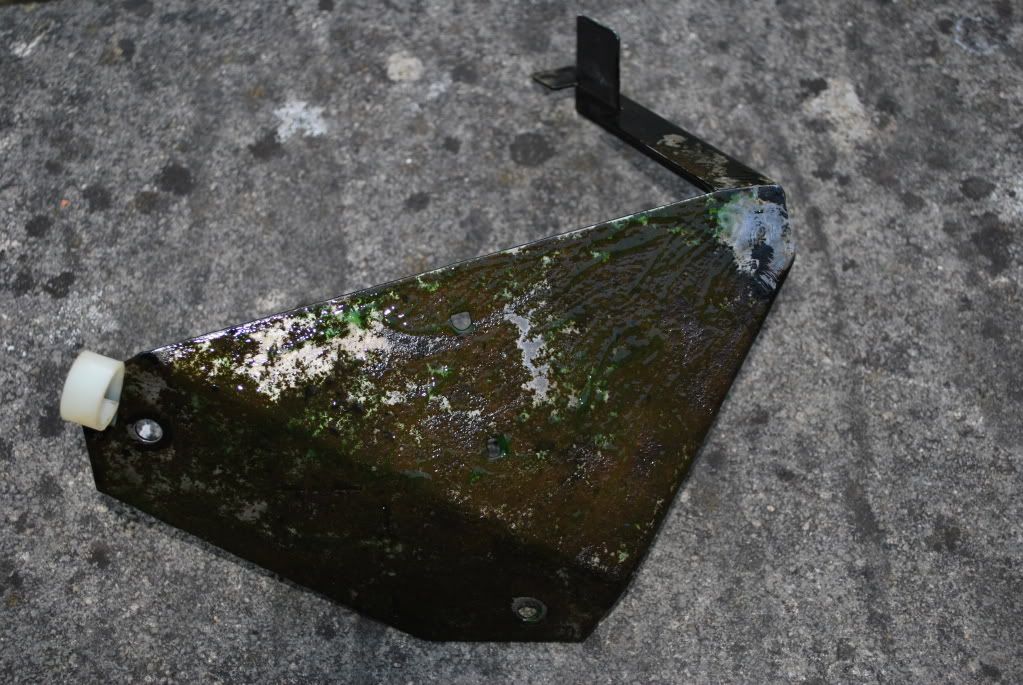
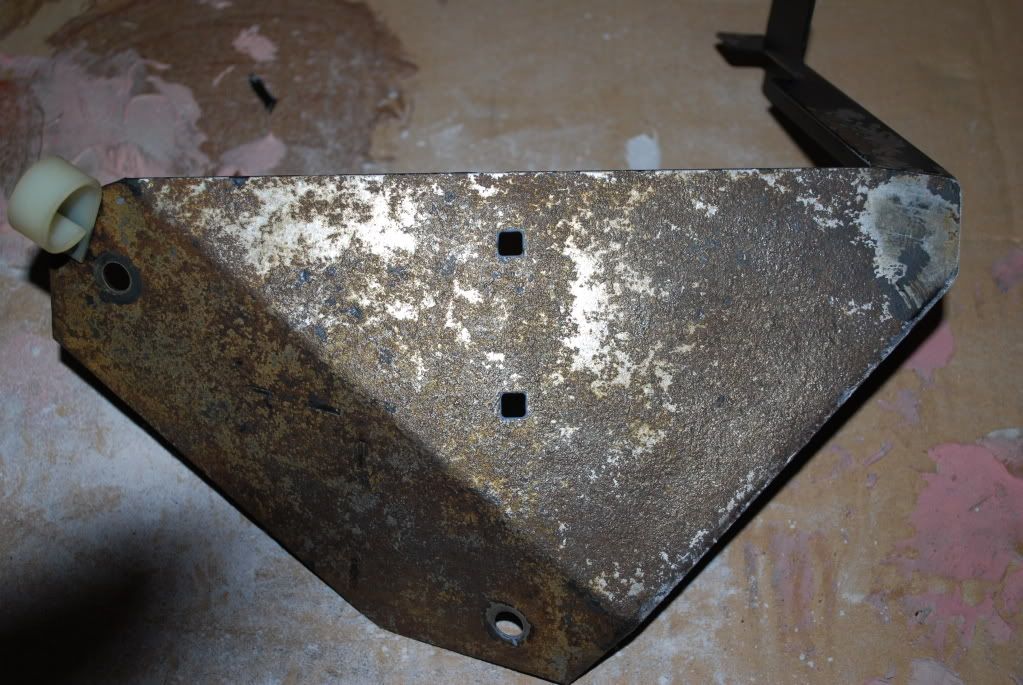
So used Hammerite gel to remove a good portion of the rust (worked quite well considering) and painted with Hammerite undercoat

Posted Image

Posted Image

Posted Image

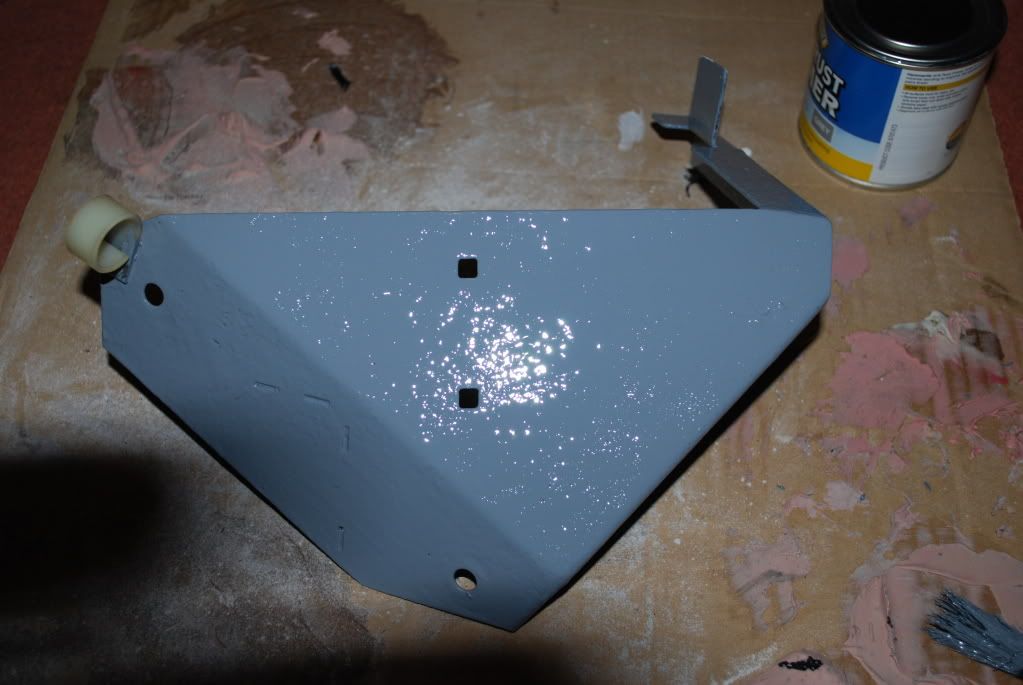
Then sprayed with primer and matt black

Also made a small bracket with 10mm hole and bolted that to the existing bracket

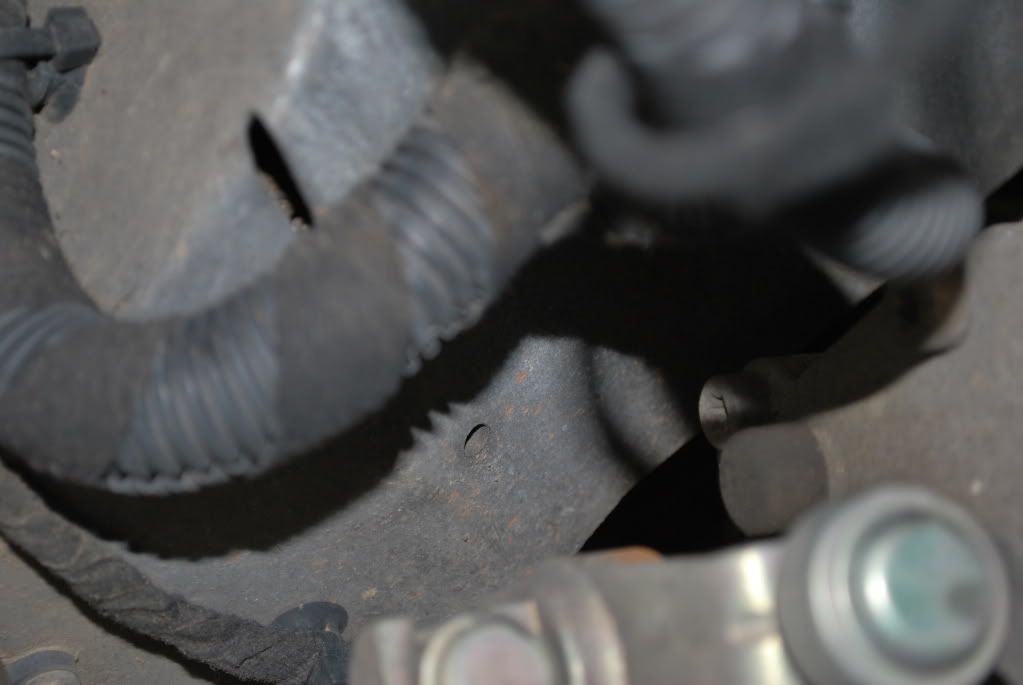
This is the cap covering the gearbox aperture - you may or may not have one. Was quite a stuggle to get it off as access is so limited

Posted Image

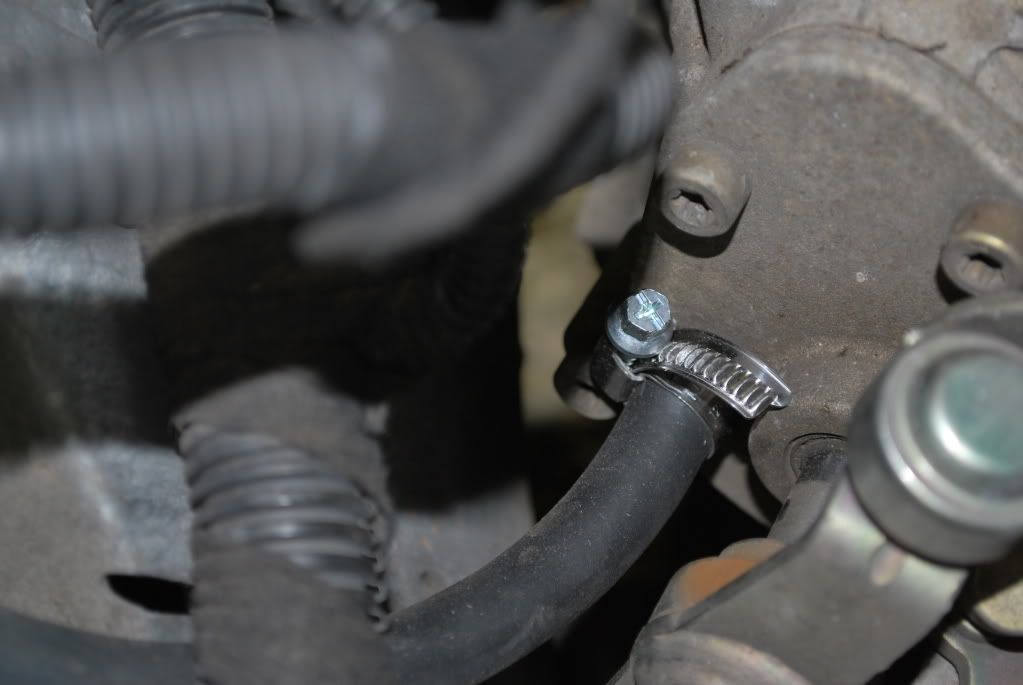
Used a stainless Jubilee to connect the fuel hose on - to be honest I'd go for 10.5 - 12mm bore pipe over the 9.3mm bore I used here - was a right PITA getting it on!

Posted Image

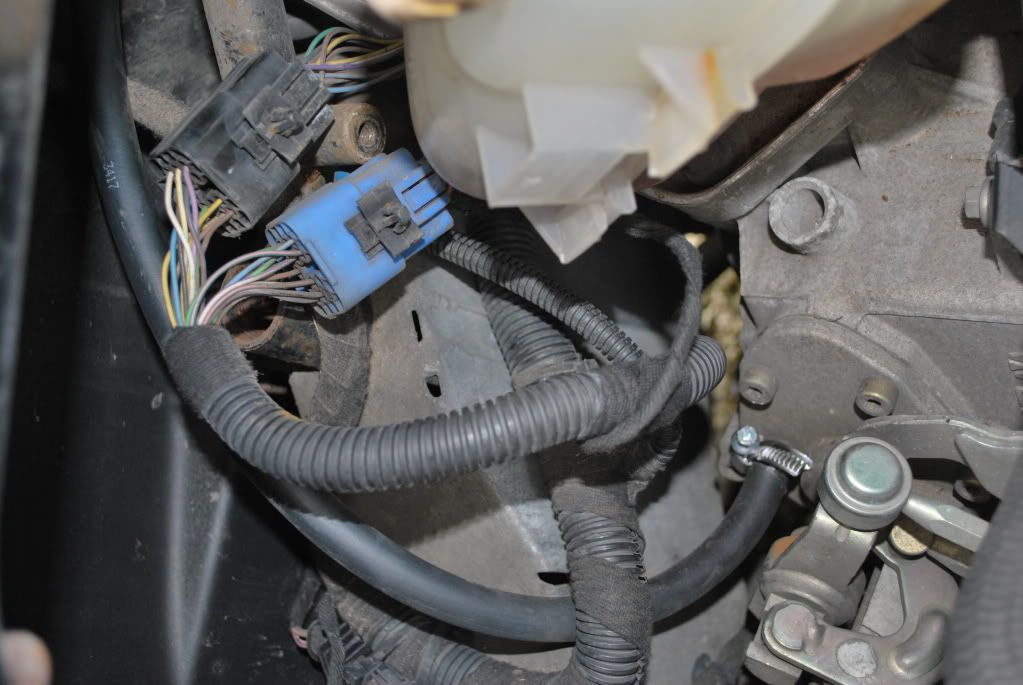
And twisted the pipe round the wiring loom to keep it out the way of the gear linkage

Posted Image

And the finished effect

Posted Image

#168 Strugs

Strugs

    World's #1 cheese fan

  • PipPipPipPipPipPip
  • 3,008 posts
  • Gender:Male
  • Location:Farnham, Surrey

Posted 28 March 2009 - 10:07 PM

looking great adam!


:yeahthat: thumbsup

#169 mandarinvx

mandarinvx

    King of First Replies

  • PipPipPipPipPipPipPipPip
  • 12,621 posts
  • Gender:Male
  • Location:West Mids / Oxfordshire

Posted 05 April 2009 - 02:29 PM

Flame suit at the ready :lol:

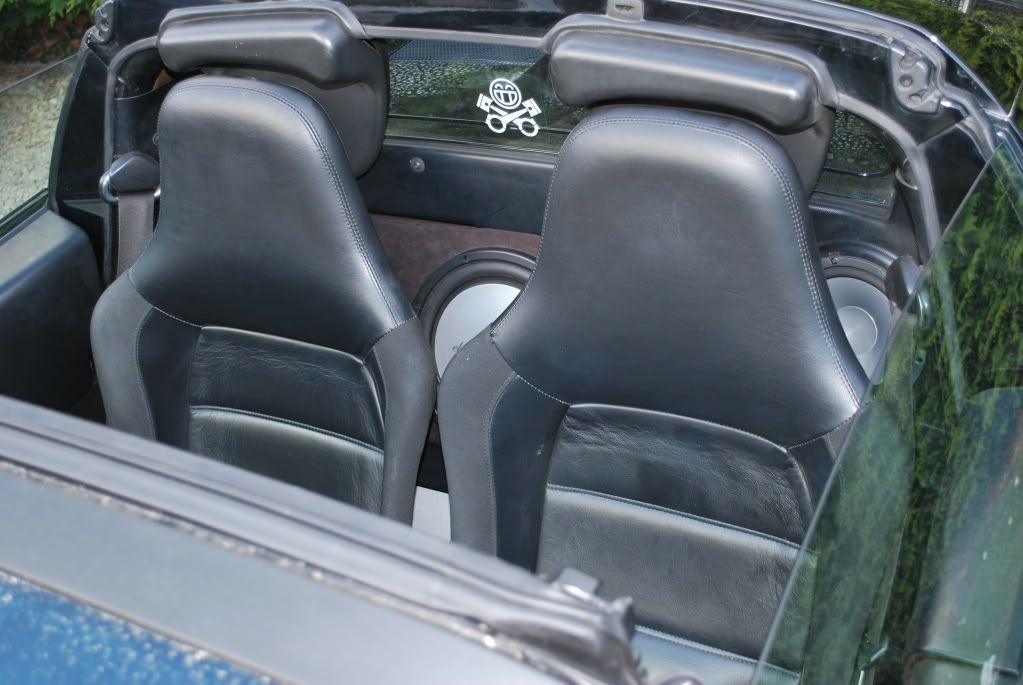
I decided to fit my stereo system back in :D

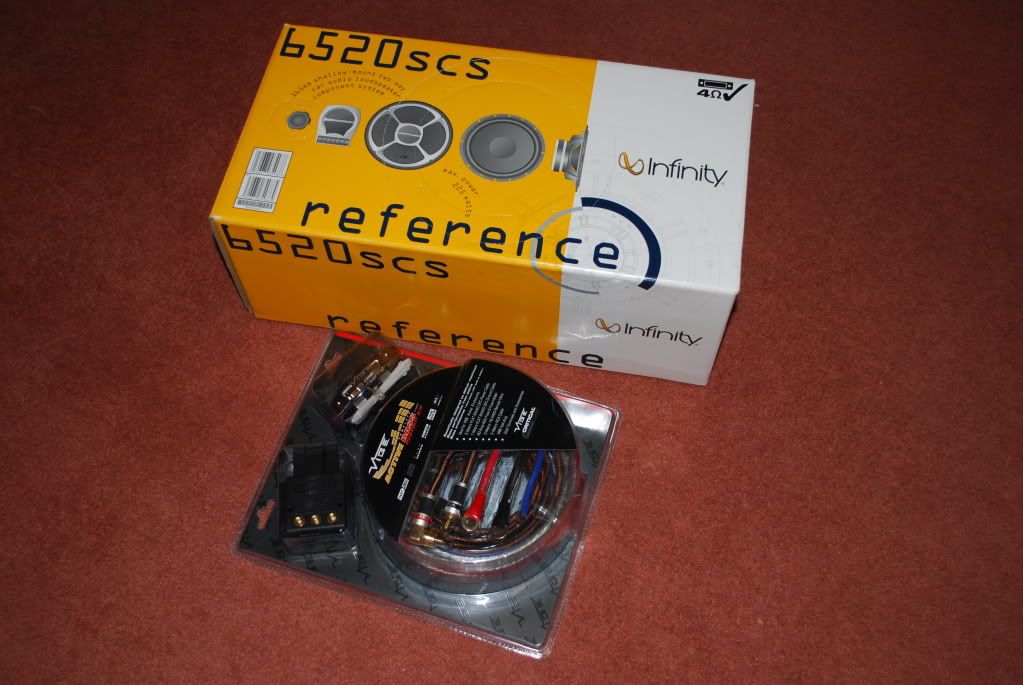
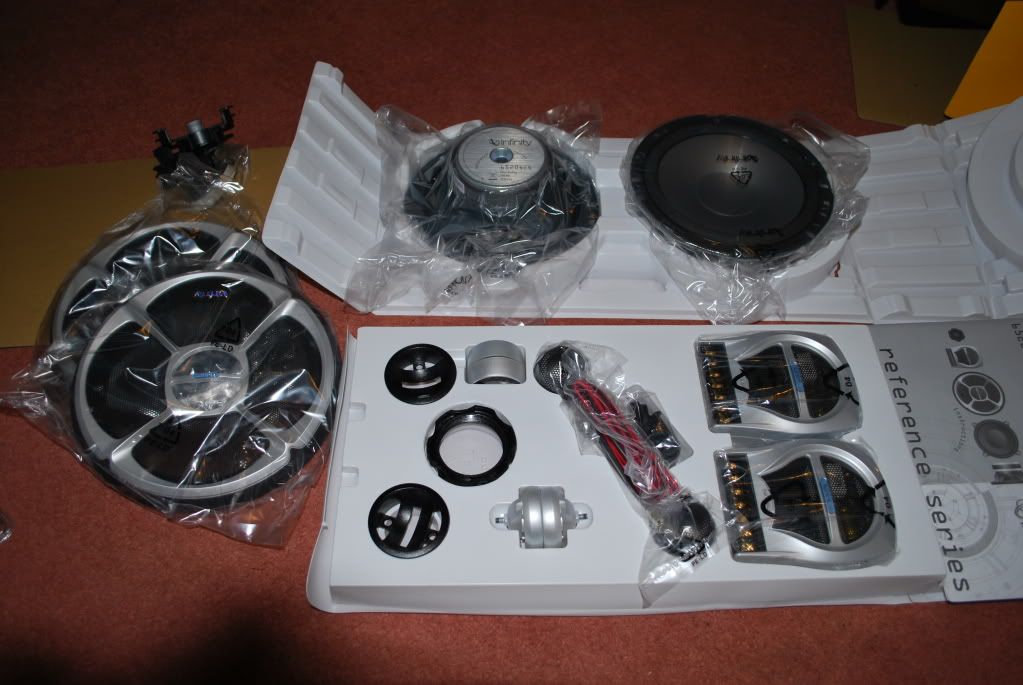
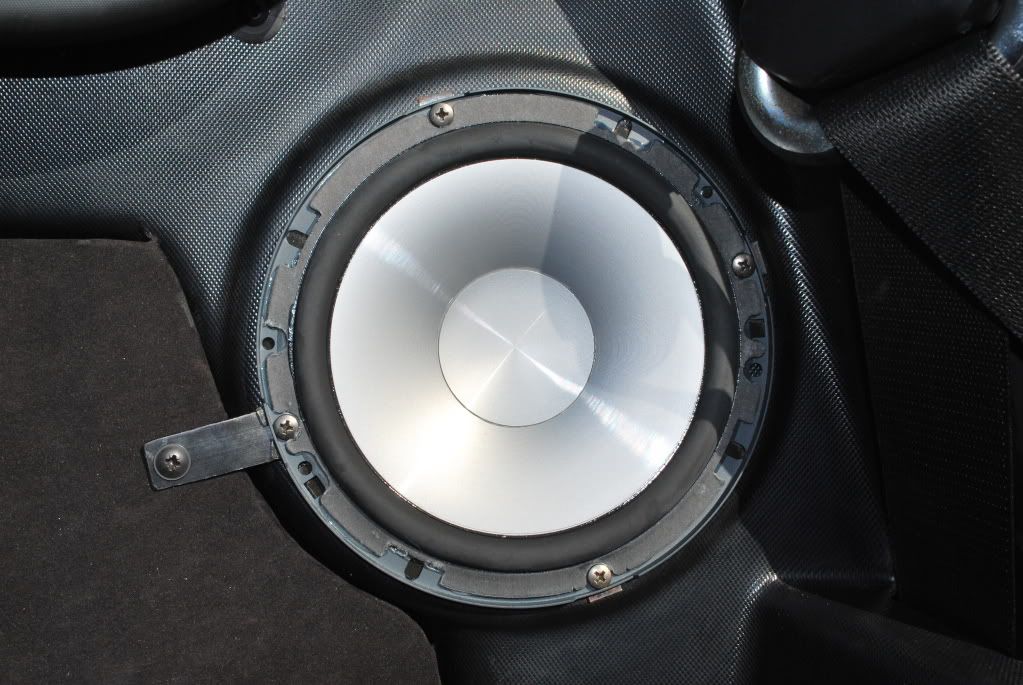
Went for a set of Infinity component speakers, and a Vibe wiring kit (8AWG)

Posted Image

Posted Image

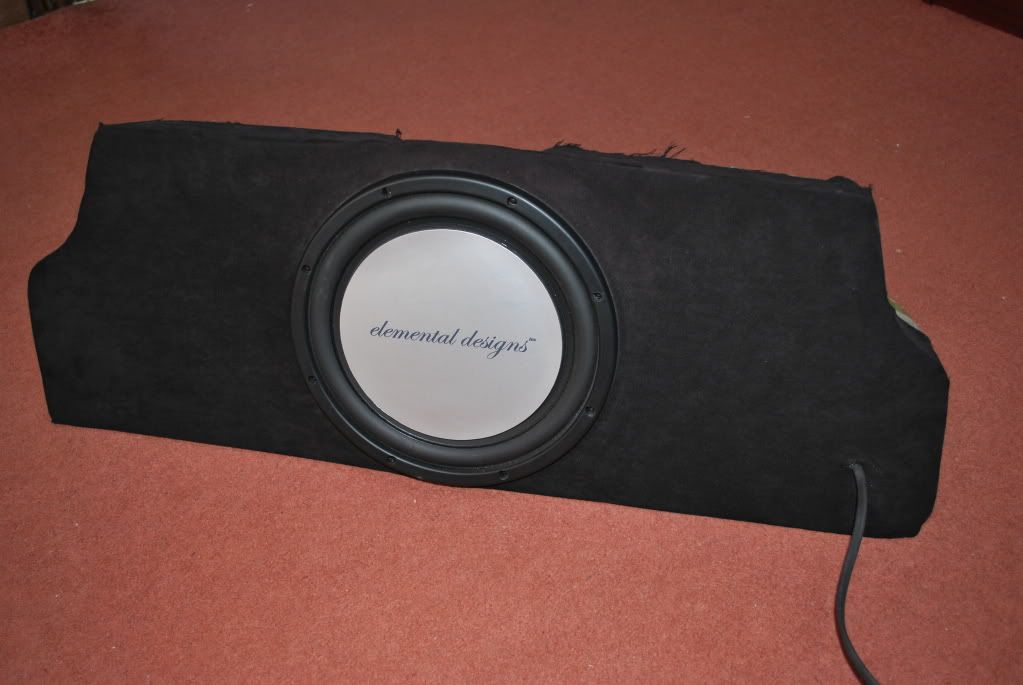
And using the sub from my last car and amp

Posted Image

I took some pics this time around

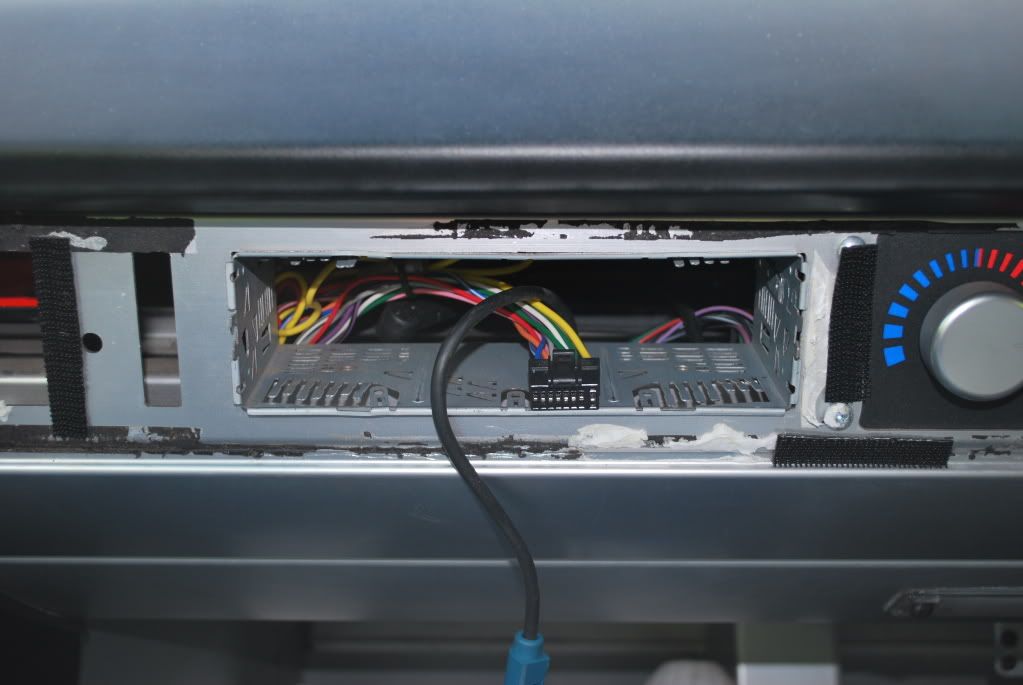
The head unit that came with the car is an Alpine iDA-X001, which has no CD player, only a flying lead for full Ipod connection, so first I had to buy an Ipod - went for a black Nano B)

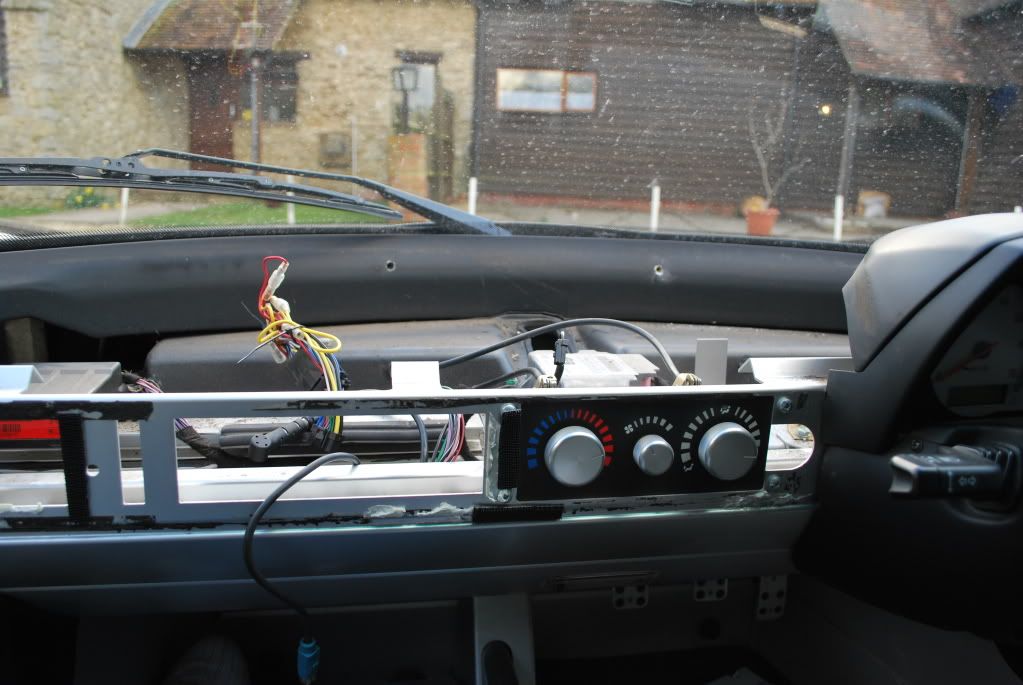
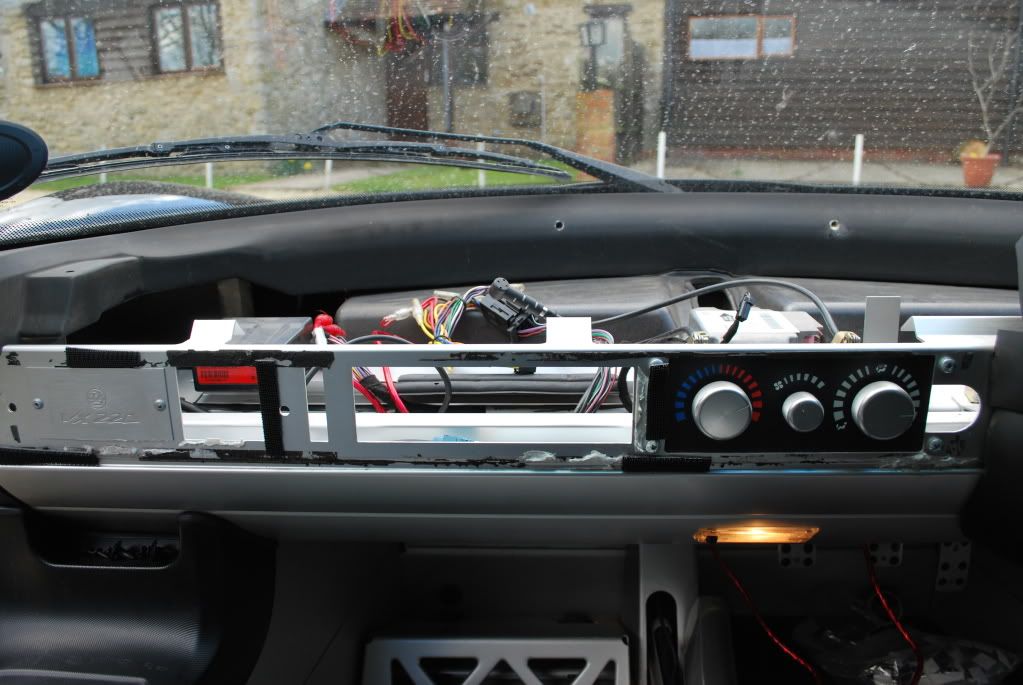
Removed the head unit and cage, so that I could get the dash off to give me full access to the back of the head unit

Posted Image

There was a fair bit of crap under the dash :rolleyes:

Posted Image

#170 mandarinvx

mandarinvx

    King of First Replies

  • PipPipPipPipPipPipPipPip
  • 12,621 posts
  • Gender:Male
  • Location:West Mids / Oxfordshire

Posted 05 April 2009 - 02:30 PM
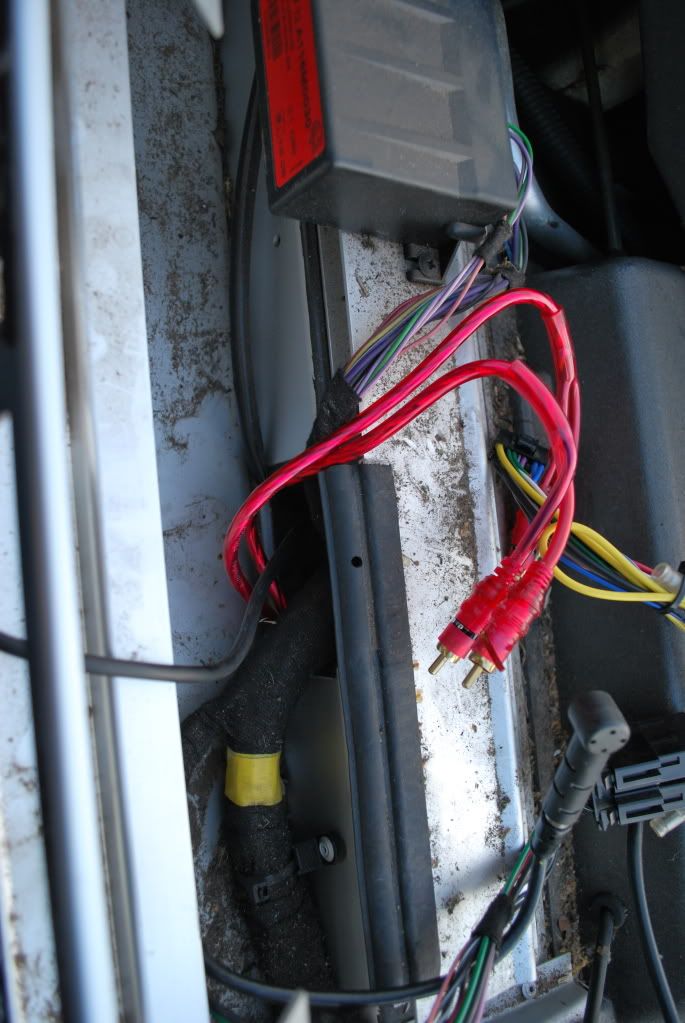
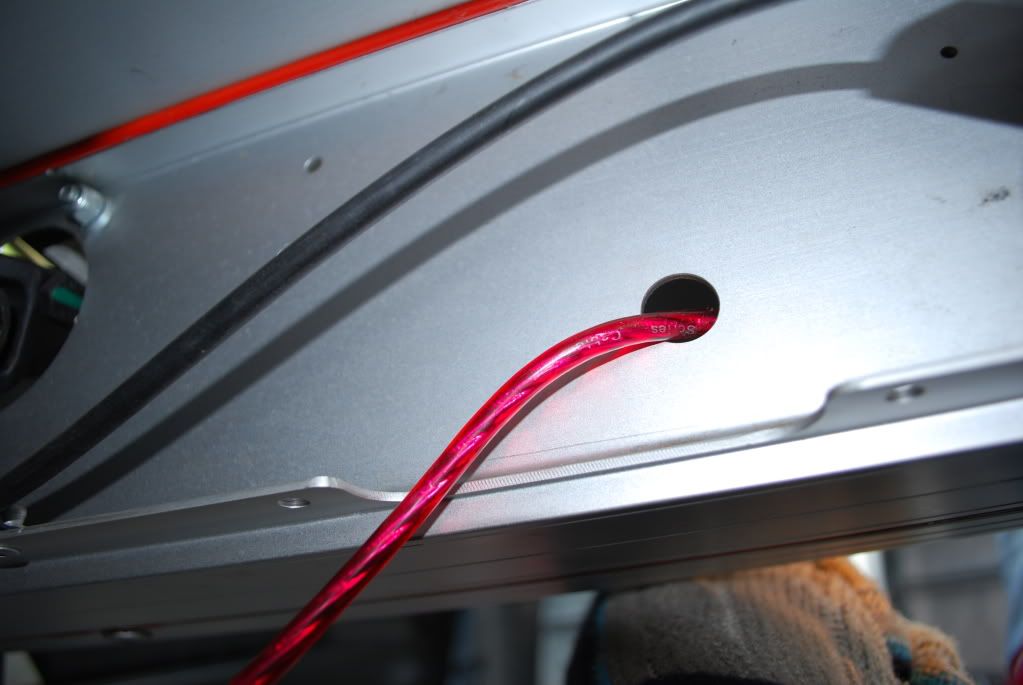
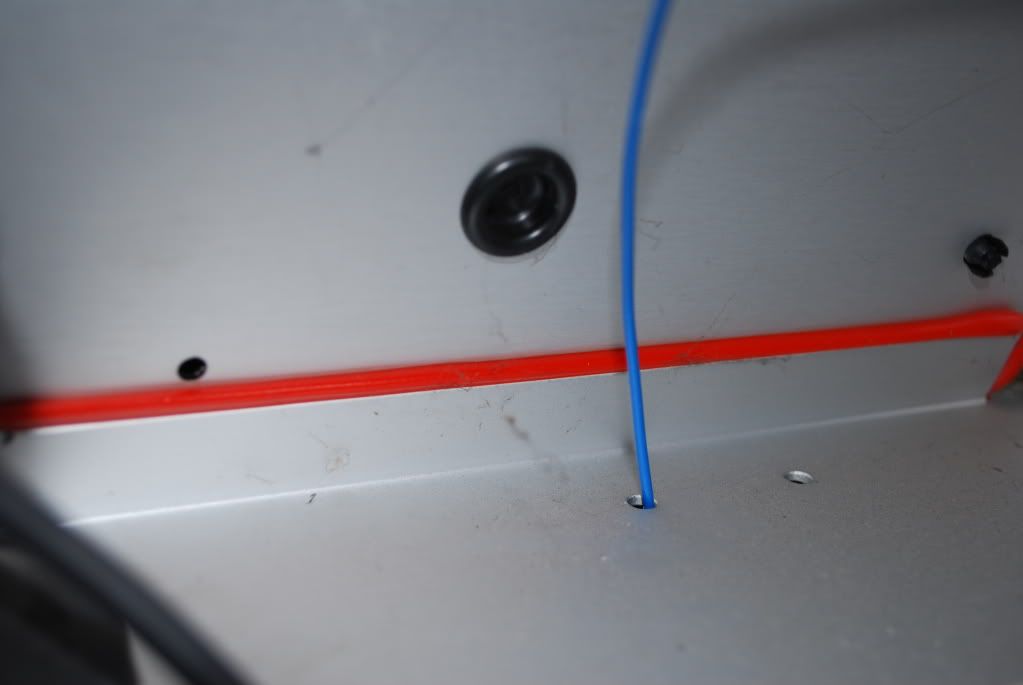
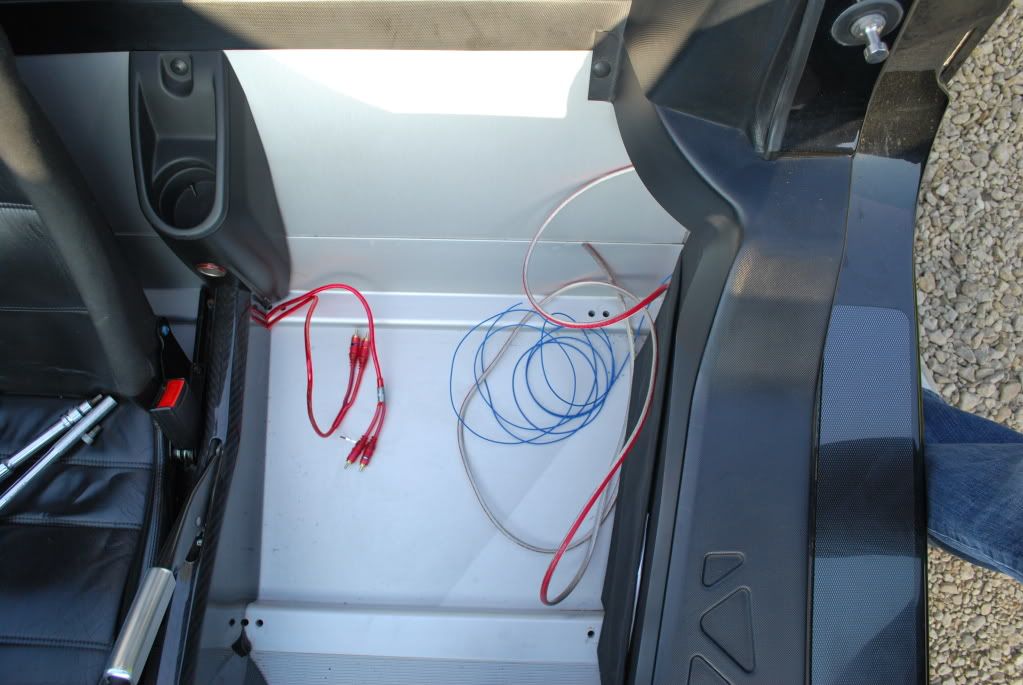
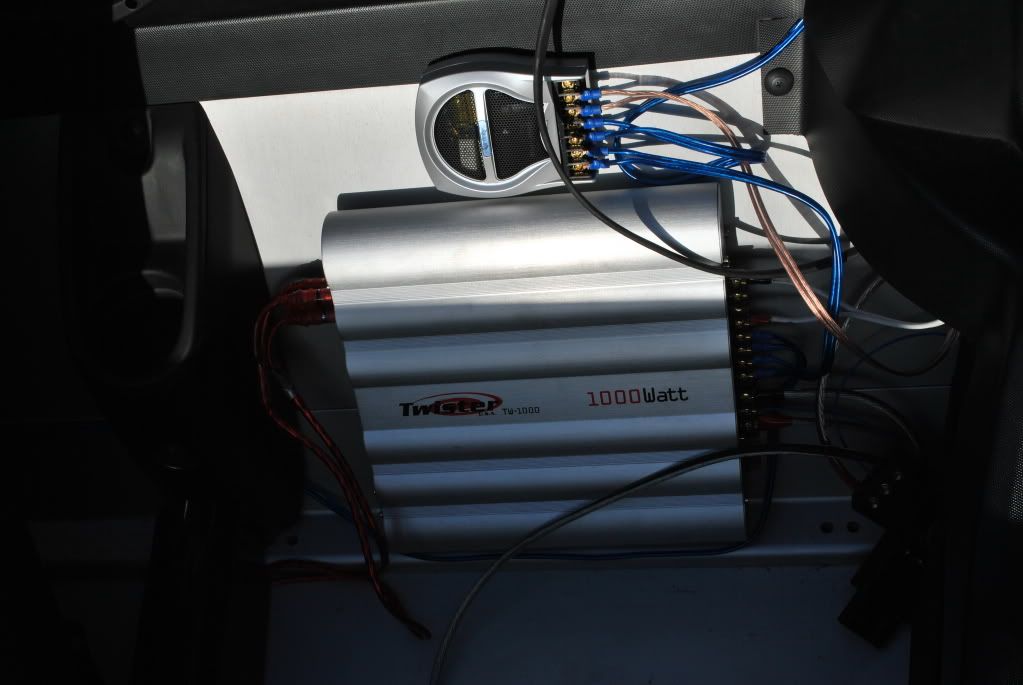
The amp is four channel, so two phono leads needed, and a remote power lead for the amp

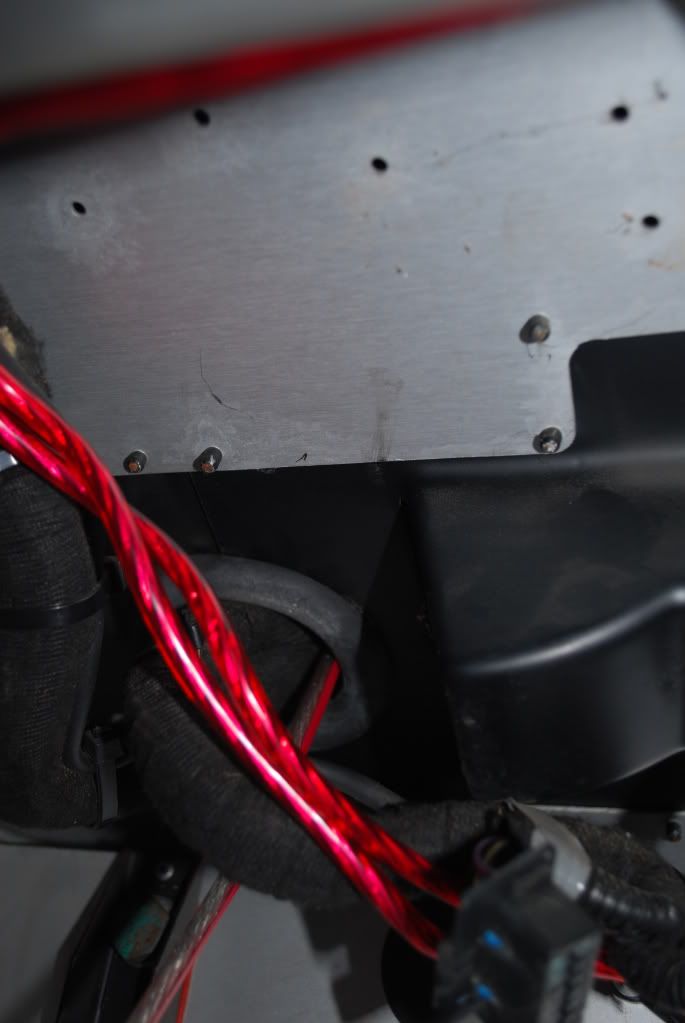
Found a few holes that lead into the ali column under the stereo, and passed the phono's through, then cable tied out of the way of passengers feet. Both holes were fairly central to the car, near the bonnet release lever

Posted Image

Same for the remote lead, but this time over the far near side, to seperate power and signal thumbsup

Posted Image

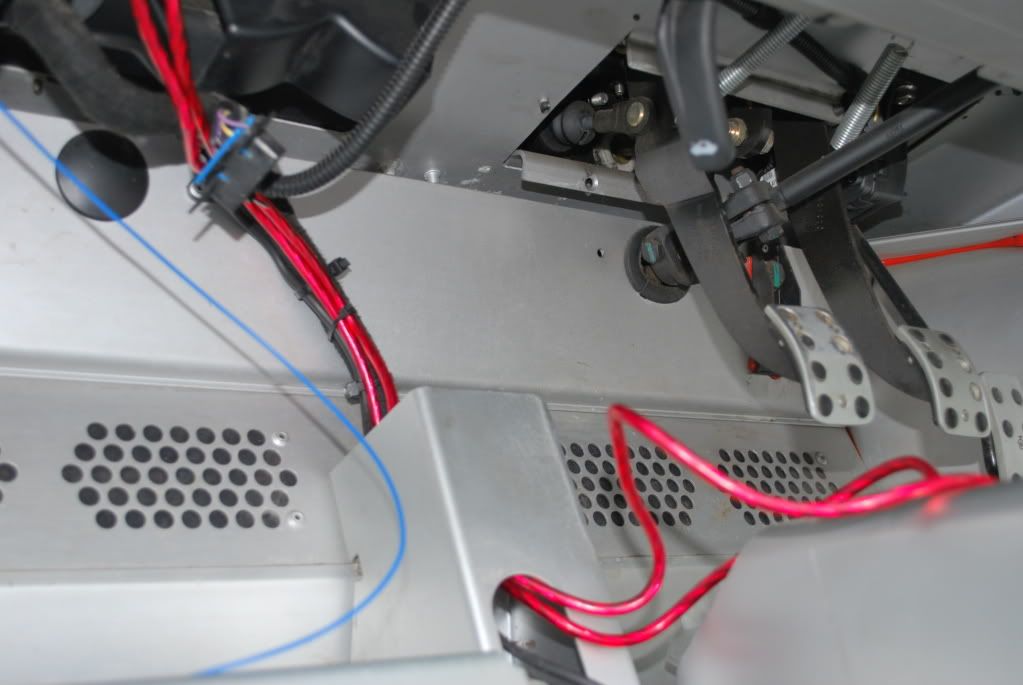
And then fed up to the stereo

Posted Image

Reinstalled the head unit and fitted the dash back together after giving it a good clean

Posted Image

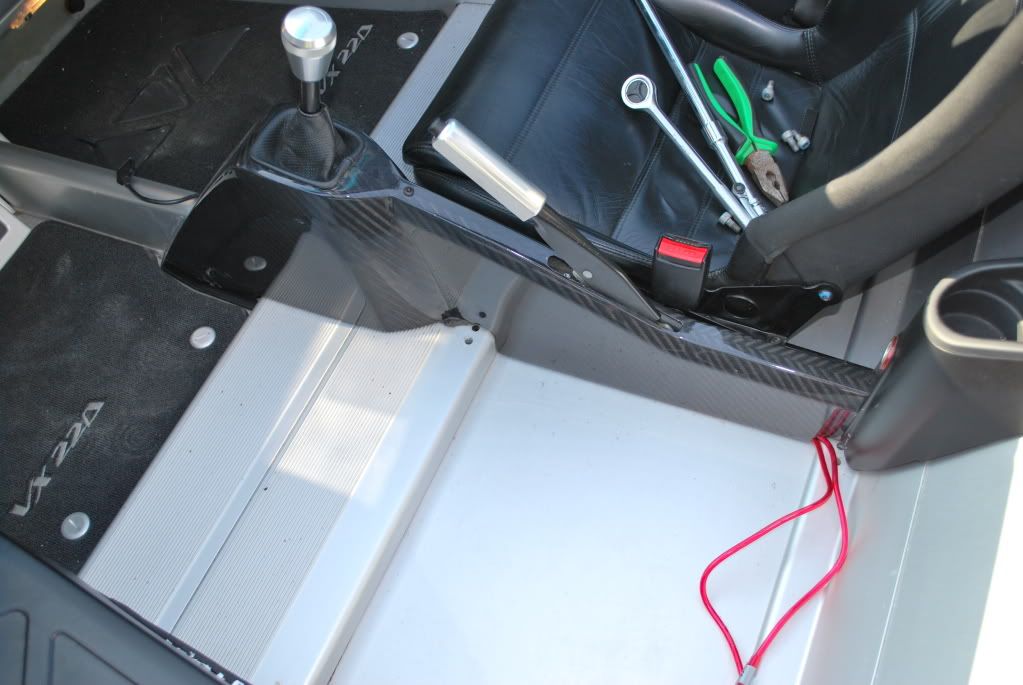
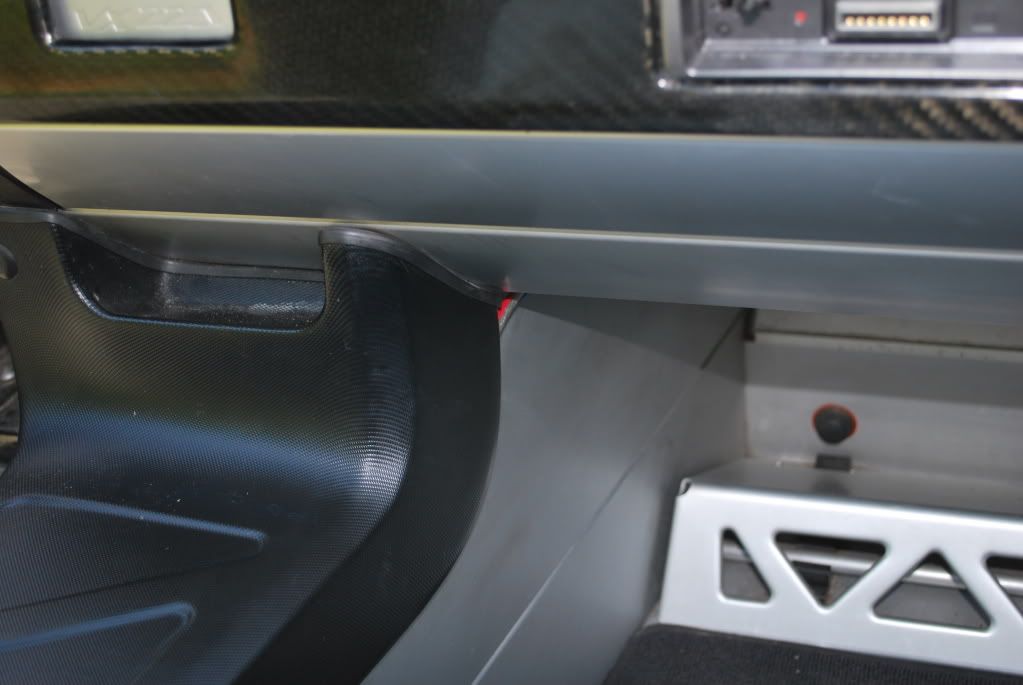
I decided to run the phono cables down the centre of the car, and the power cables along the sill; to help prevent interference

So removed the lower centre console (just two scrivets holding it in place)

Posted Image

Posted Image

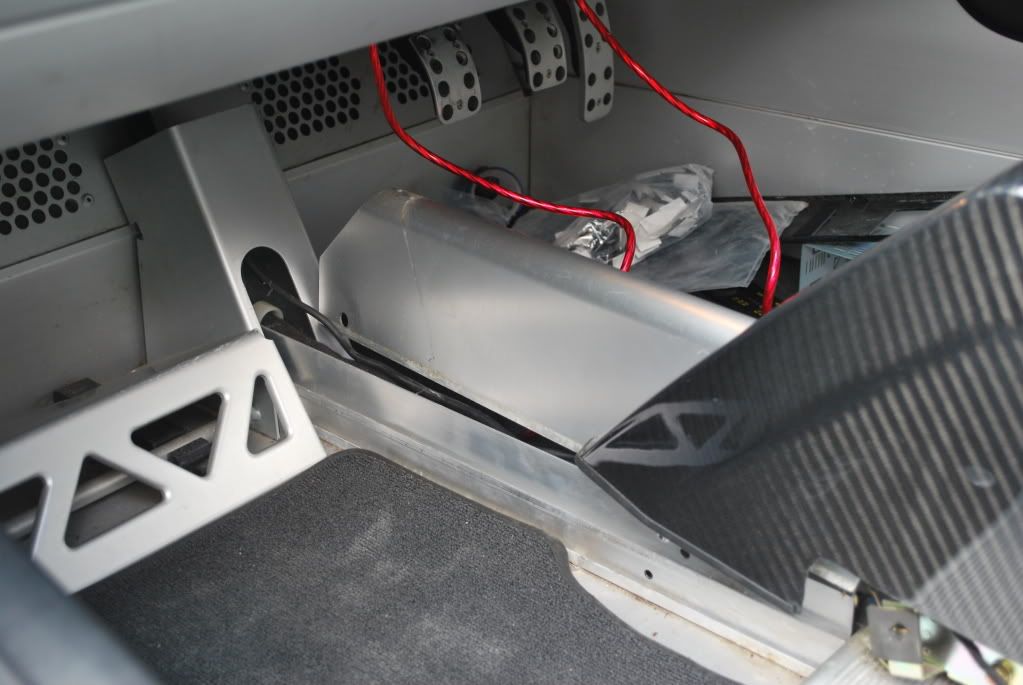
And ran them under the main console to the back of the car

Posted Image

#171 mandarinvx

mandarinvx

    King of First Replies

  • PipPipPipPipPipPipPipPip
  • 12,621 posts
  • Gender:Male
  • Location:West Mids / Oxfordshire

Posted 05 April 2009 - 02:30 PM
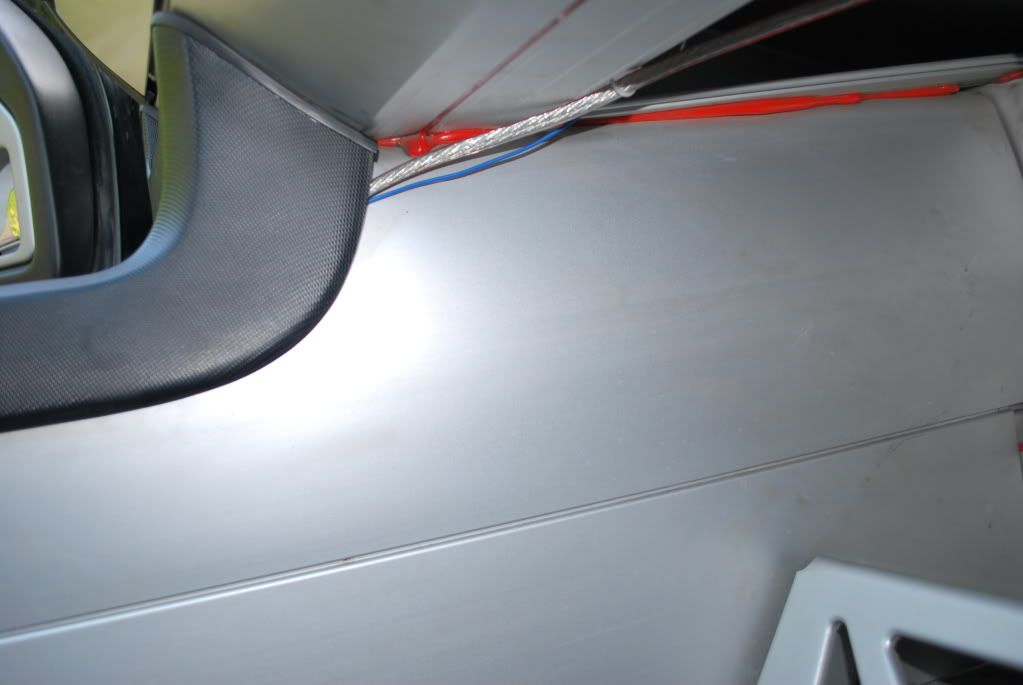
And then the power cable, the cable in the kit is flat, so much easier to hide behind interior trim :)

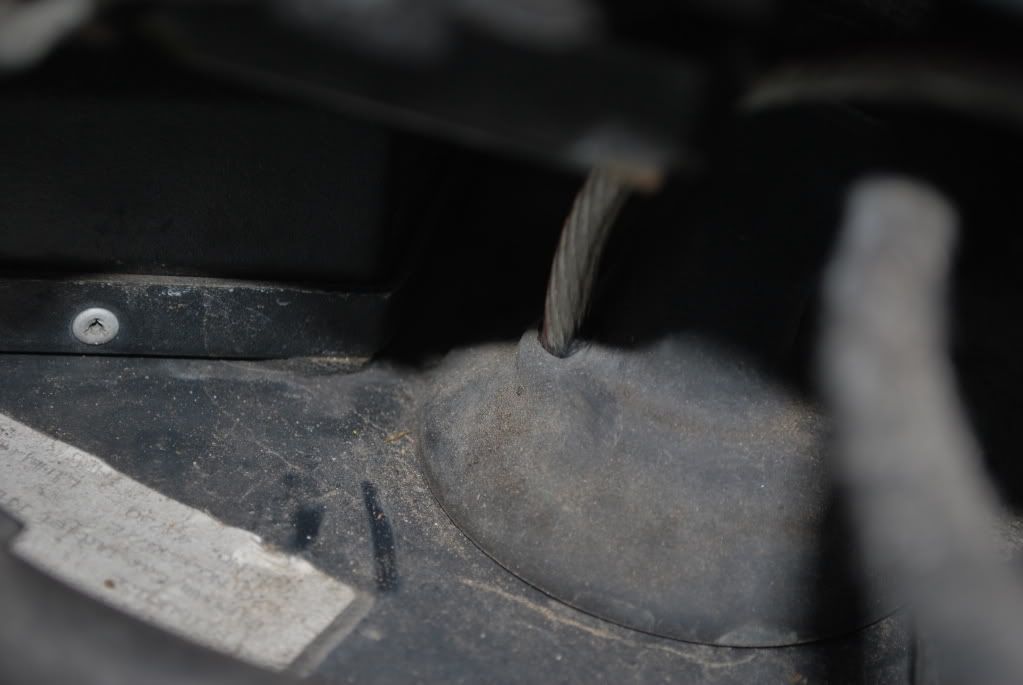
There is a grommet leading to the front compartment, just below where the stereo sits, so I used this for the cable

Posted Image

This is where it comes out at the front

Posted Image

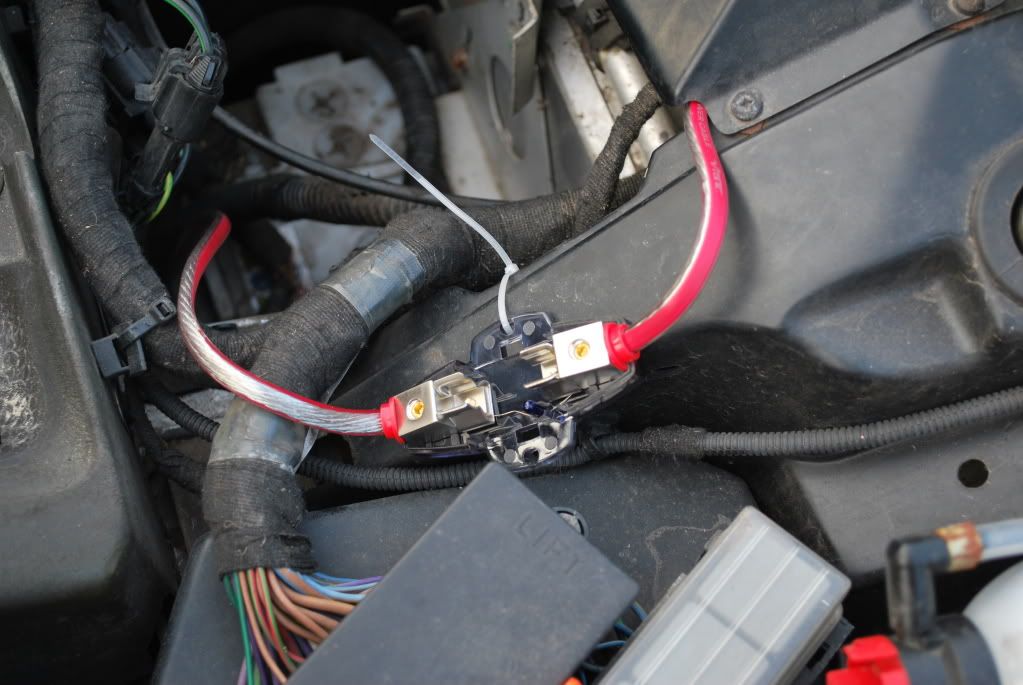
Then connected to the battery with an in line fuse holder

Posted Image

Leaving this :)

Posted Image

The Vibe wiring kit I bought come with a power connecting block, which could be handy if the car is going to sit for a while, so I can isolate power to the amp completely

Posted Image

The cables were run down the sill

Posted Image

They aren't very noticable when sat in the car though

Posted Image

#172 mandarinvx

mandarinvx

    King of First Replies

  • PipPipPipPipPipPipPipPip
  • 12,621 posts
  • Gender:Male
  • Location:West Mids / Oxfordshire

Posted 05 April 2009 - 02:30 PM
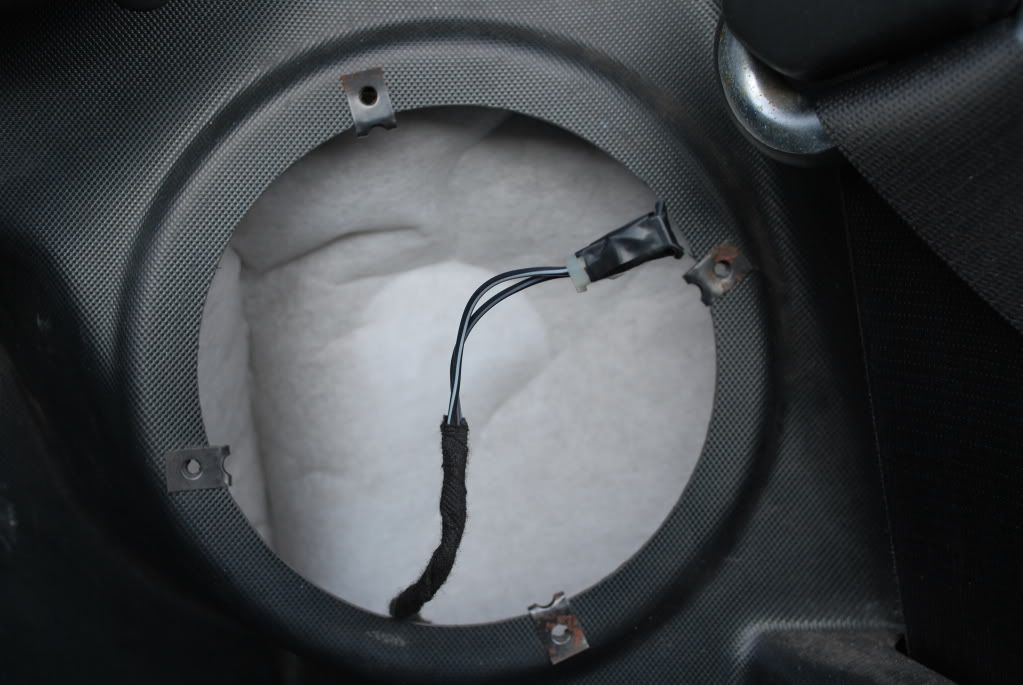
Then removed the old speakers, they were only rated at 40W RMS (the amp is 125W RMS) and had the tweeter mounted in the centre, so directly in line with ears

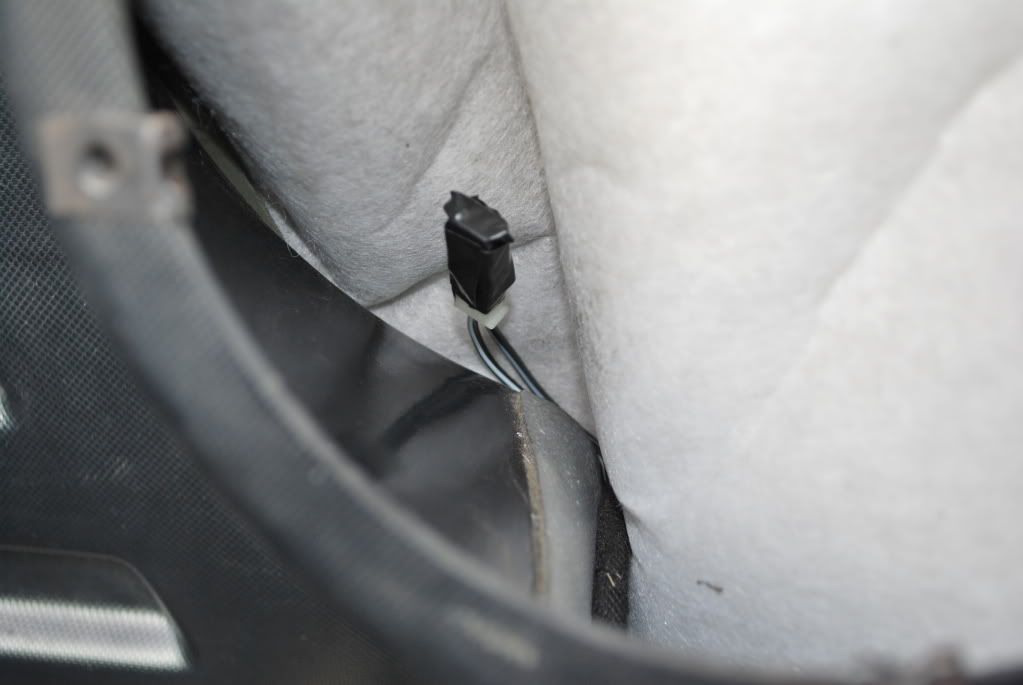
Taped up the old speaker connections - not as important in this case as the head units amp can be turned off all together on this system B)

Posted Image

And tucked out of harms way

Posted Image

Now to install the sub

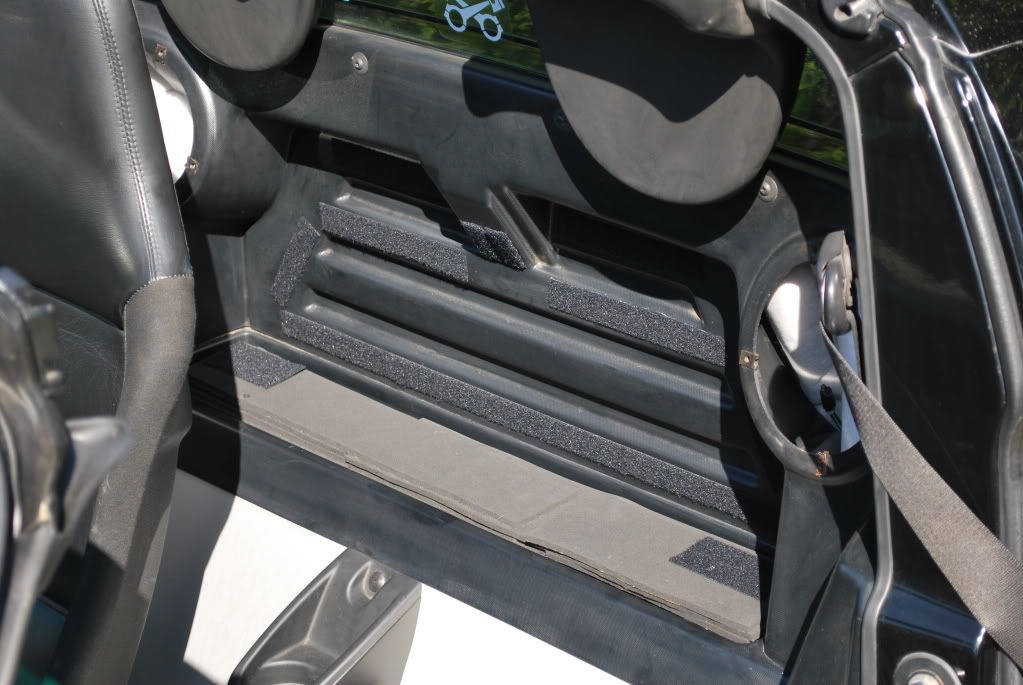
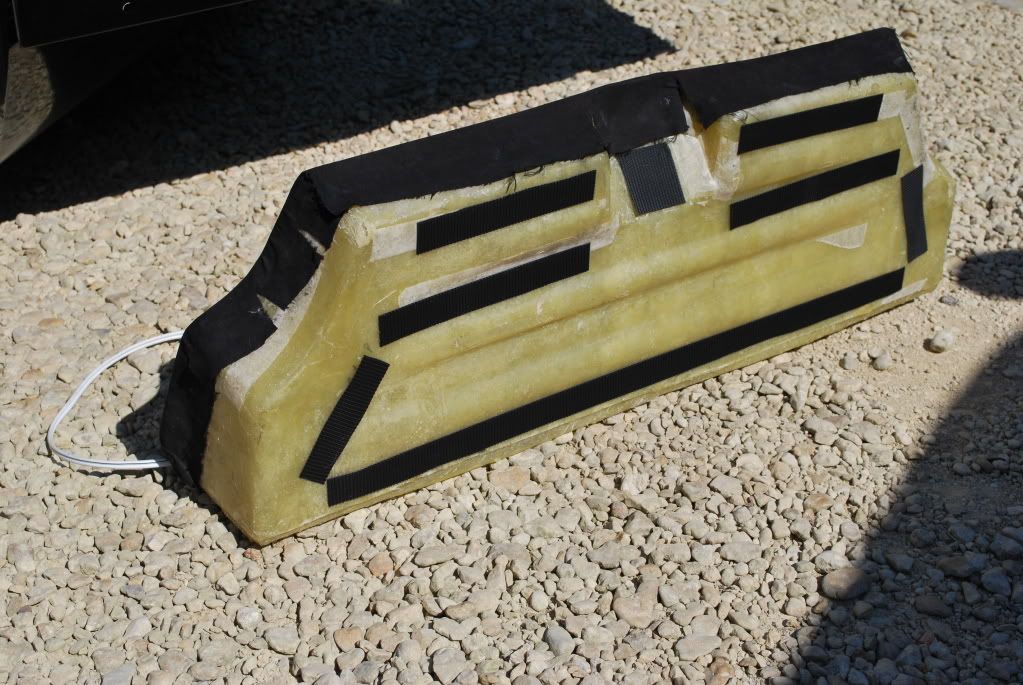
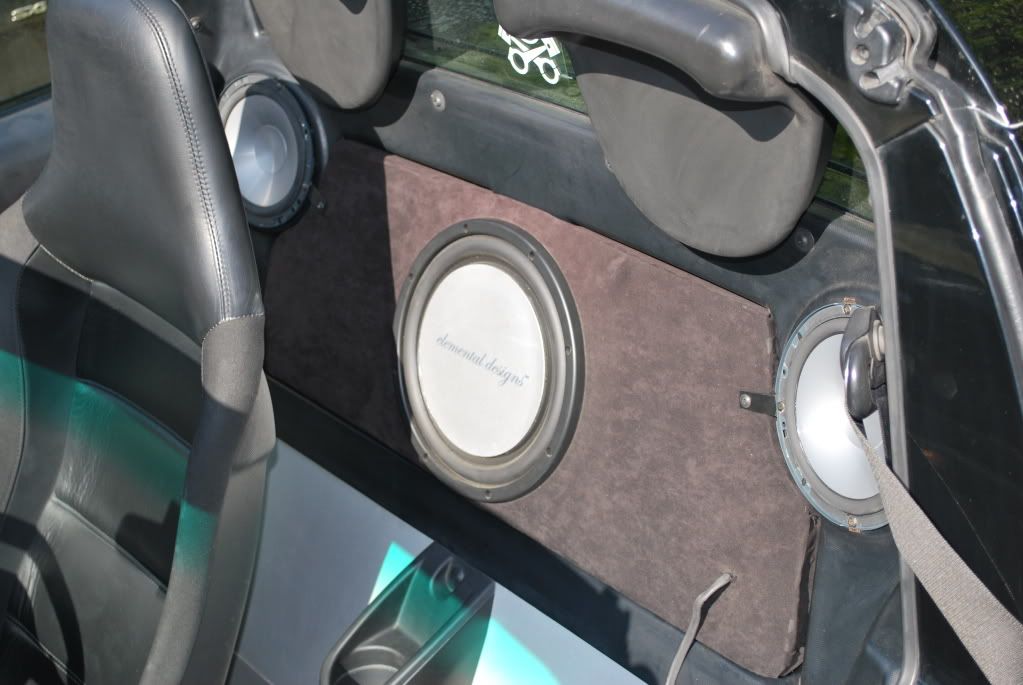
I used heavy duty Velcro on both the parcel shelf and the sub

Posted Image

Posted Image

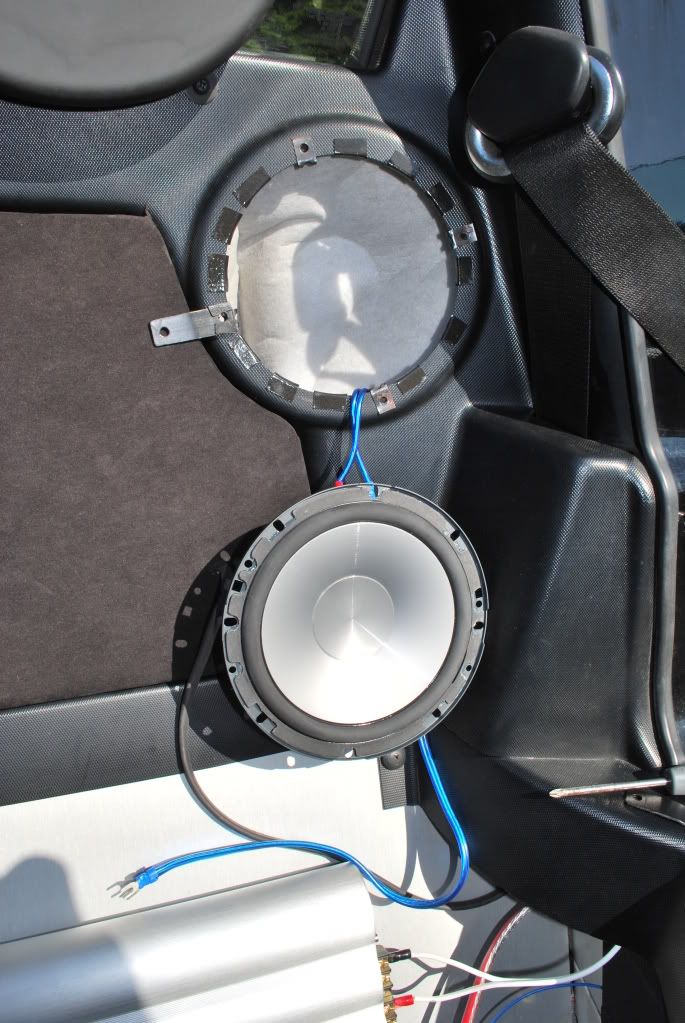
Then installed the speakers - using some adhesive foam around the aperture to stop any rattles. I also made some brackets to screw into the sub - It didn't move previously, but I always thought I probably should have fixed it properly!

Posted Image

Posted Image

edit- I put the tweeters in the little cubby pockets at the front of the car, pointing at the seats, and again ran the cabling underneath the sills

Edited by mandarinvx, 05 April 2009 - 02:35 PM.


#173 mandarinvx

mandarinvx

    King of First Replies

  • PipPipPipPipPipPipPipPip
  • 12,621 posts
  • Gender:Male
  • Location:West Mids / Oxfordshire

Posted 05 April 2009 - 02:31 PM

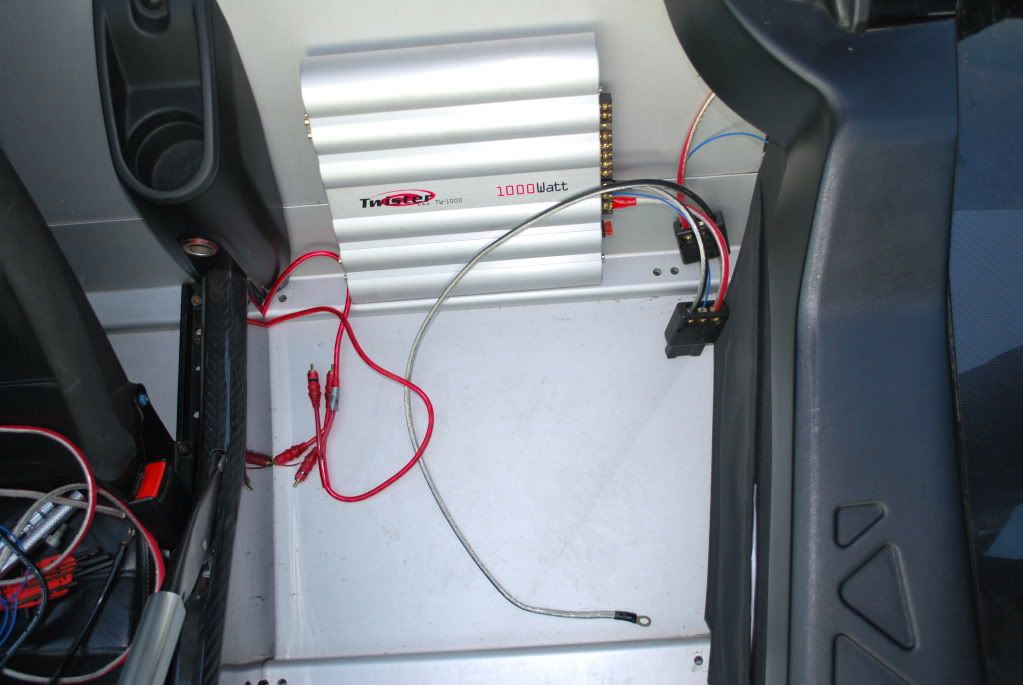
The amp was then fully wired in

Posted Image

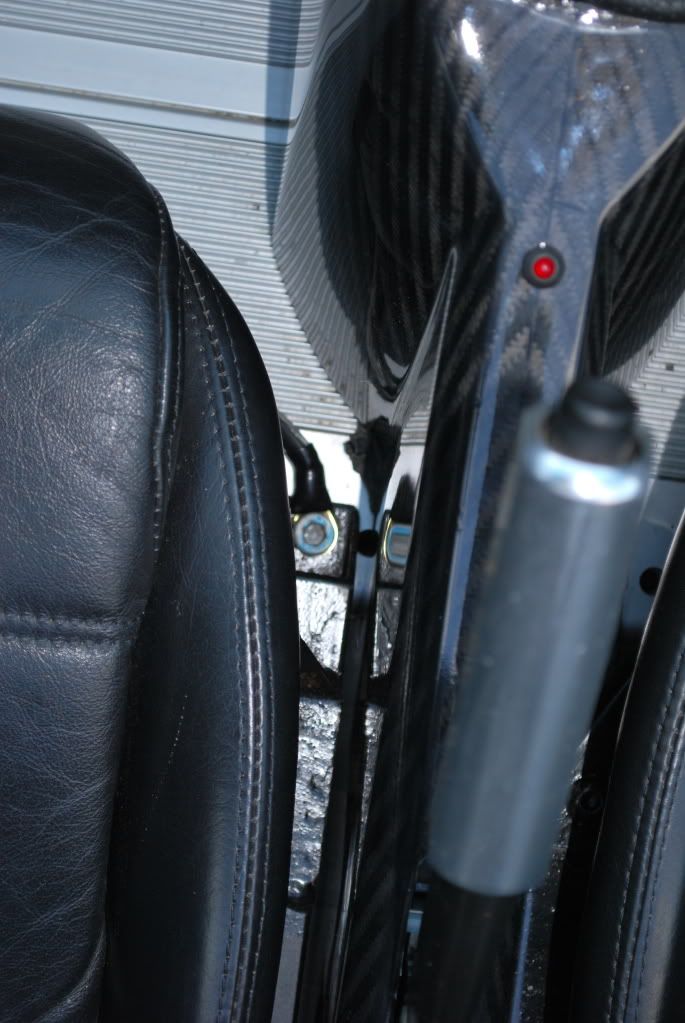
I used the front seat mounting as the earth point for the amp

Posted Image

And all finished

Posted Image

The cheap cloth from ebay has faded, so may recover the sub at some point :rolleyes:

Posted Image

It sounds stunning - really really stunning B) :jump:

Edited by mandarinvx, 05 April 2009 - 02:32 PM.


#174 RobNA

RobNA

    RobSC :)

  • PipPipPipPipPipPip
  • 2,856 posts
  • Gender:Male
  • Location:St Albans

Posted 05 April 2009 - 02:54 PM

Chav ;) Only kidding, looks like you have done a good job :)

#175 mandarinvx

mandarinvx

    King of First Replies

  • PipPipPipPipPipPipPipPip
  • 12,621 posts
  • Gender:Male
  • Location:West Mids / Oxfordshire

Posted 05 April 2009 - 04:15 PM

Chav ;) Only kidding, looks like you have done a good job :)

I'd like to contest that


But I can't really can I :D

#176 cheeky_chops

cheeky_chops

    Whipping Boy

  • PipPipPipPipPipPipPip
  • 7,922 posts
  • Gender:Male
  • Location:Solihull
  • Interests:my car, snowboarding and drinking

Posted 11 April 2009 - 07:32 AM

Posted Image


You can tell its been a long day here! :D

Not my thing, but very nice esp with the guide/pics thumbsup

#177 mandarinvx

mandarinvx

    King of First Replies

  • PipPipPipPipPipPipPipPip
  • 12,621 posts
  • Gender:Male
  • Location:West Mids / Oxfordshire

Posted 11 April 2009 - 11:56 AM

You can tell its been a long day here! :D

:lol: Ohhh yes

#178 mandarinvx

mandarinvx

    King of First Replies

  • PipPipPipPipPipPipPipPip
  • 12,621 posts
  • Gender:Male
  • Location:West Mids / Oxfordshire

Posted 11 April 2009 - 06:09 PM

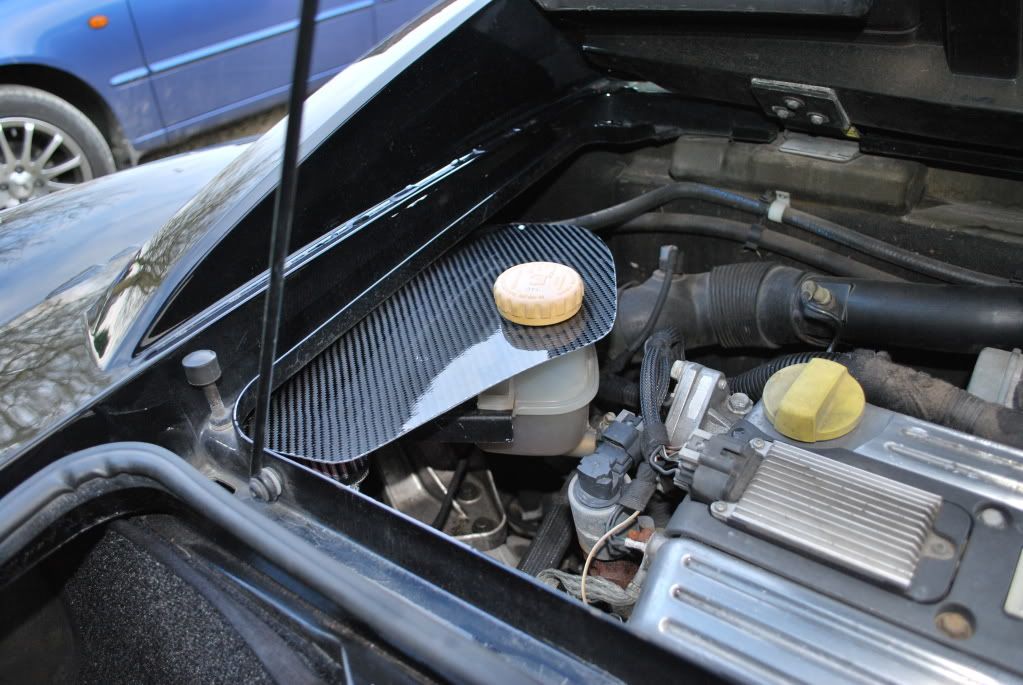
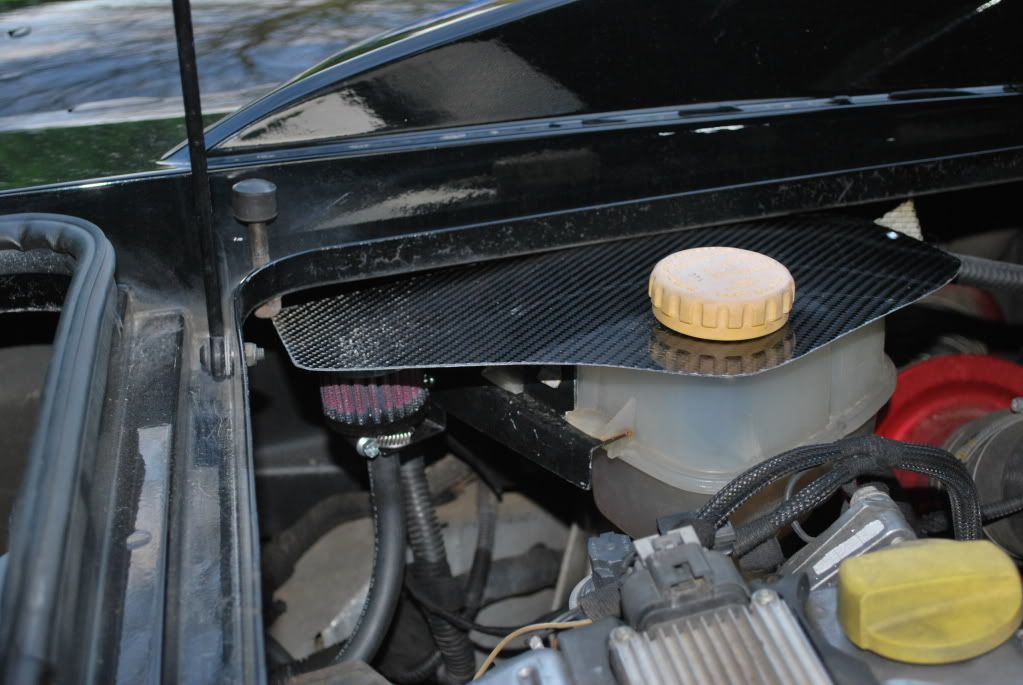
Made a new 'hat' for the header tank today out of some carbon fibre I had lying around. This extends further toward the rear of the car and fully covers the gearbox breather :)

Posted Image

Posted Image

#179 savvy

savvy

    Scary Internerd

  • PipPipPipPipPipPip
  • 2,524 posts
  • Gender:Male
  • Location:Berkshire

Posted 13 April 2009 - 12:10 PM

on here 24/7 and i have only just seen this thread :o

funny how things look easy when you see other people posting guides and pictures

great progress dude! chinky chinky

i really want some speedlines now though :huh:

#180 mandarinvx

mandarinvx

    King of First Replies

  • PipPipPipPipPipPipPipPip
  • 12,621 posts
  • Gender:Male
  • Location:West Mids / Oxfordshire

Posted 13 April 2009 - 12:50 PM

thumbsup

I ordered some 13mm fuel hose to see if that is a better fit on the gearbox breather

i really want some speedlines now though :huh:

:D For the right amount of cash... :lol: Still got the speedlinealikes with sticky tyres lying around upstairs so I prob don't need two sets of the same type :)


2 user(s) are reading this topic

0 members, 2 guests, 0 anonymous users