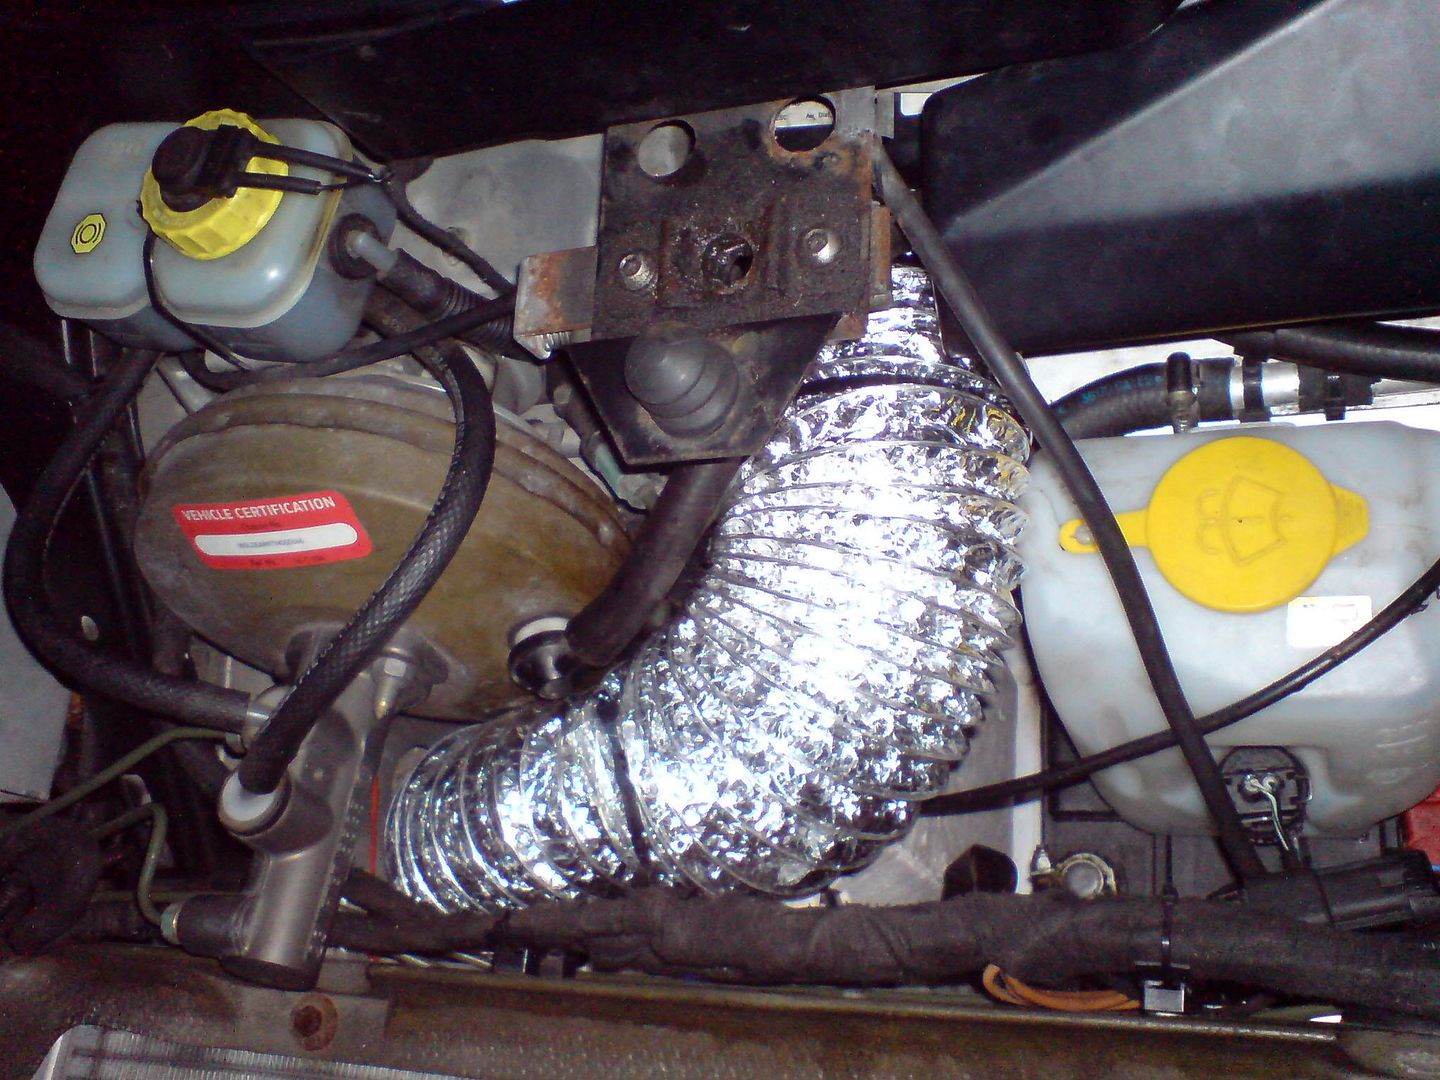
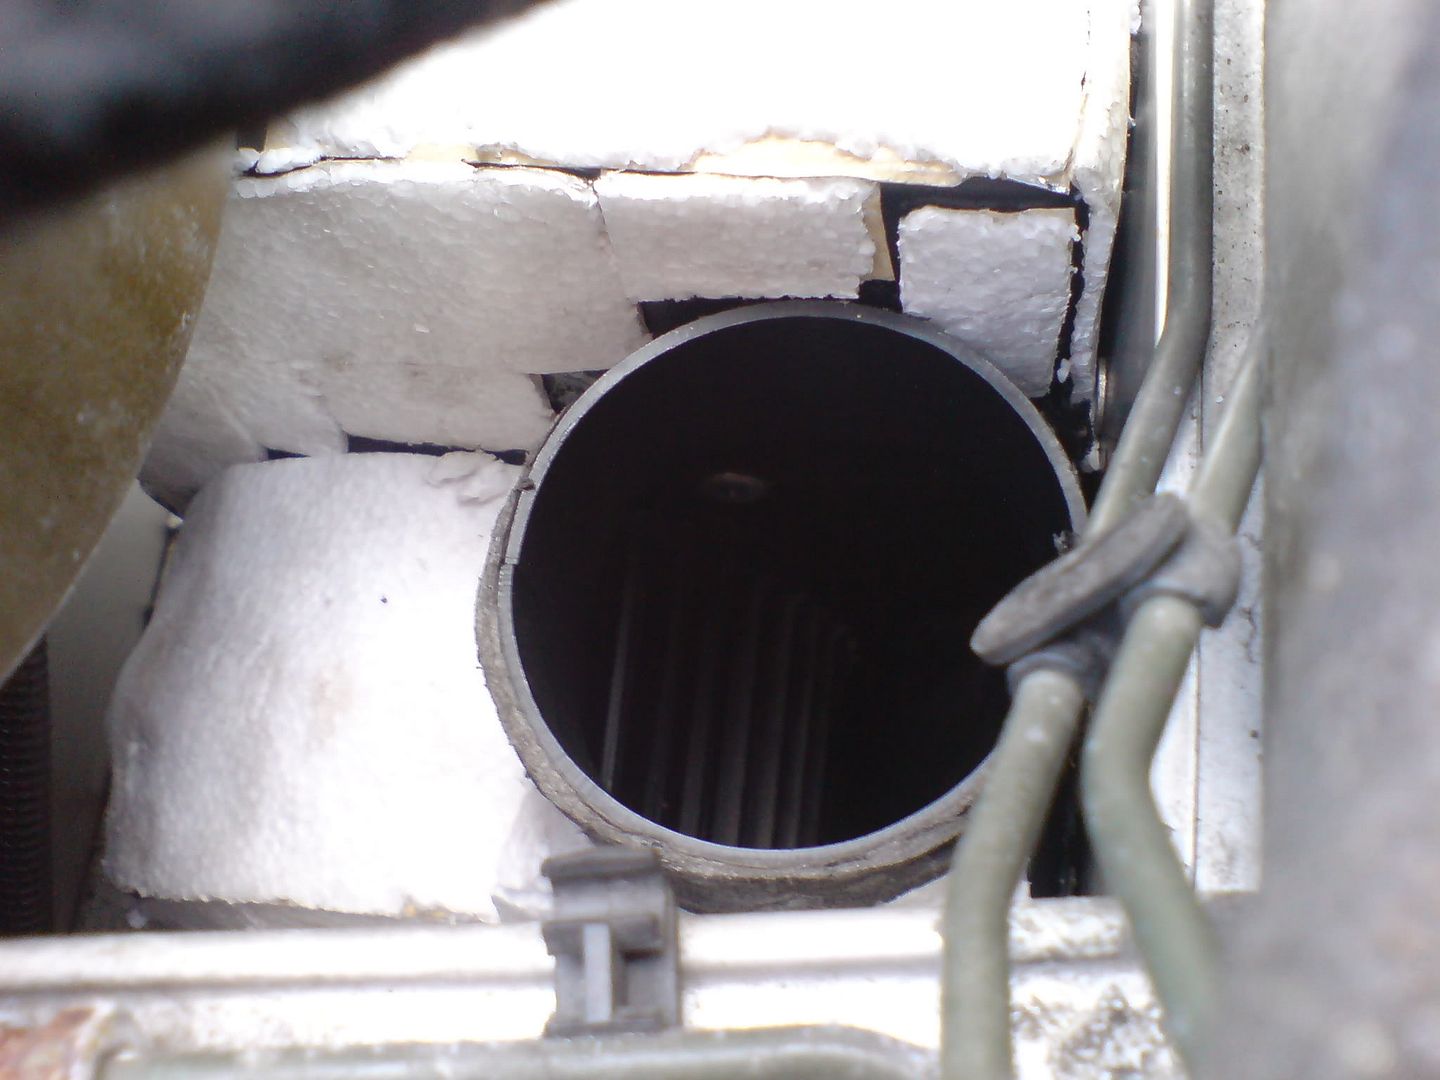
Heater Matrix Unit
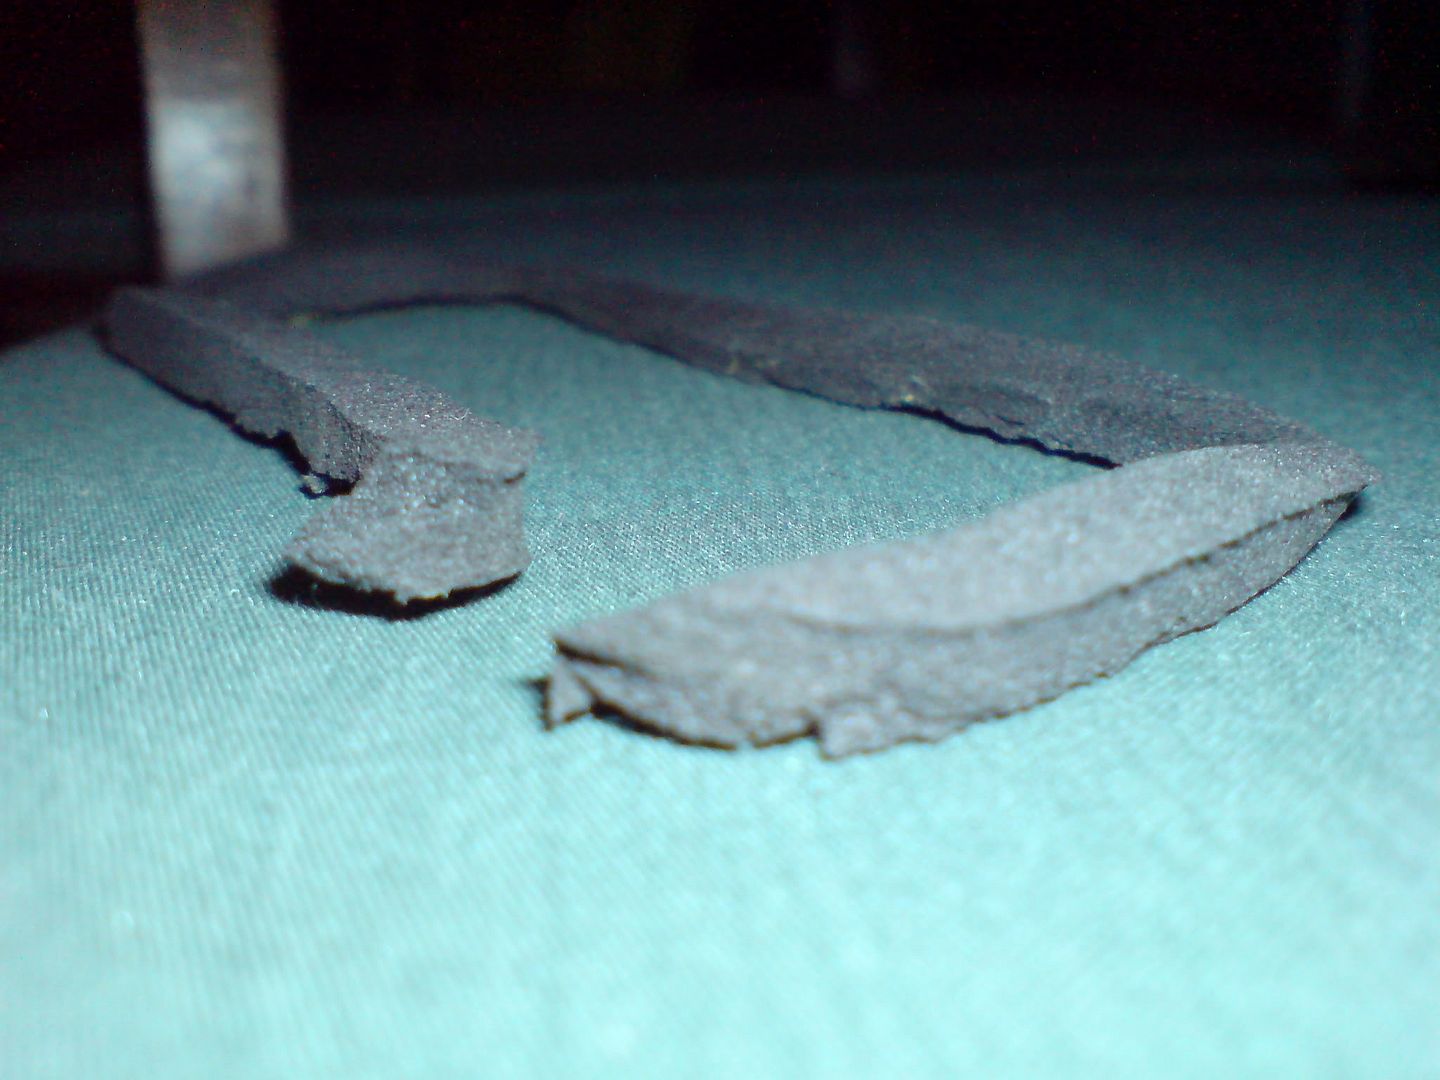
I could hear a rattle in the front bay of the car when I turned left and the heater was on so thought I'd take it out to check, as it wasn't producing much blowing power when on. This is what I found:
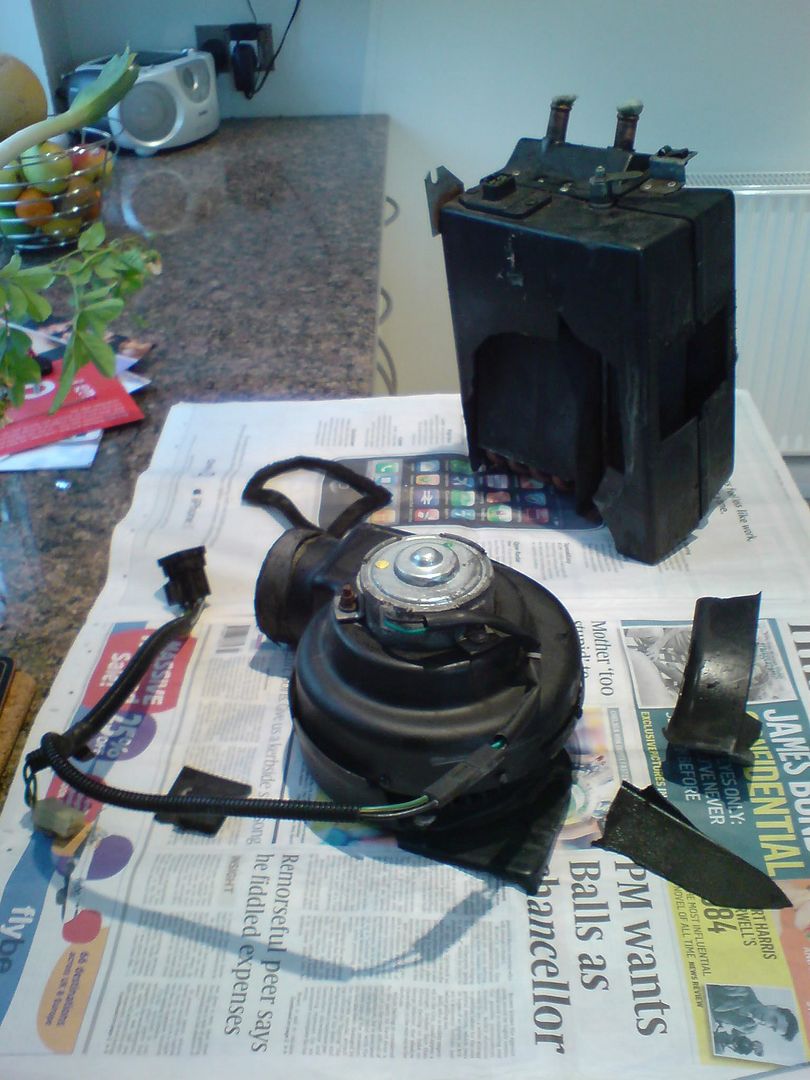
What should be one unit had snapped in two so that the fan was separate to the heater and little bits of black plastic were lying on the bottom of the bay. So, while using my hot glue gun to seal it all I also had to make a metal lower section to hold the base of the flap that controls hot/cold airflow through the matrix, as mine had disintegrated.
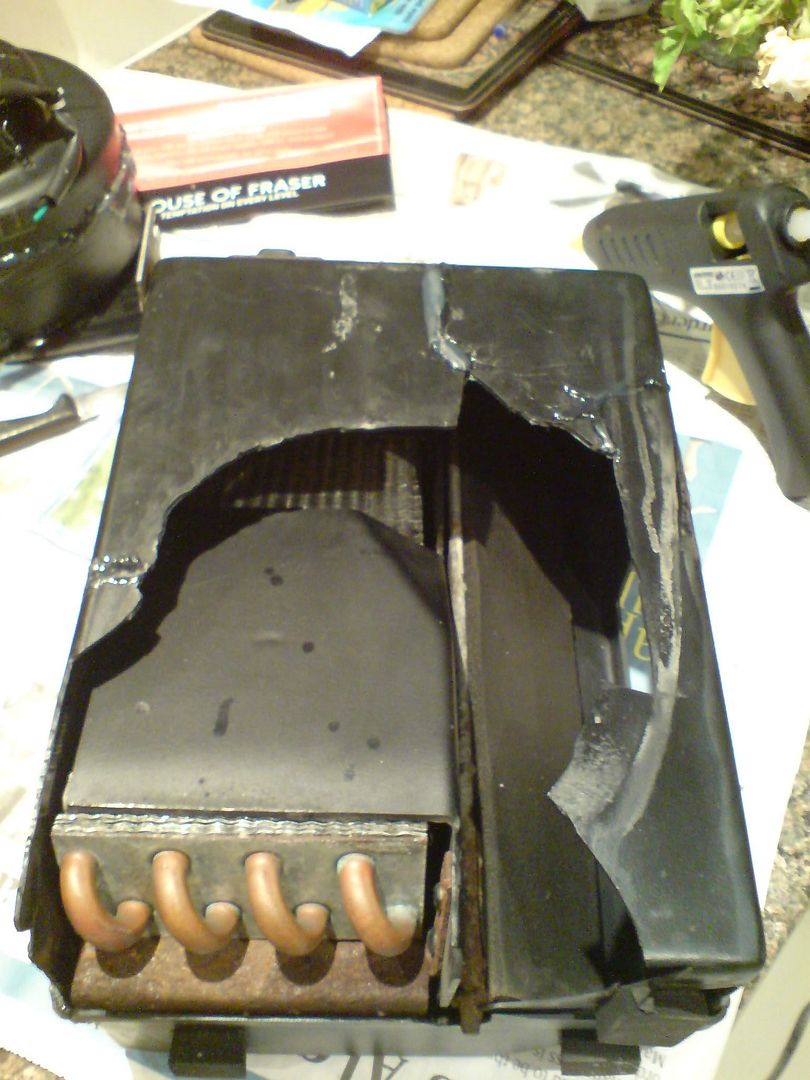
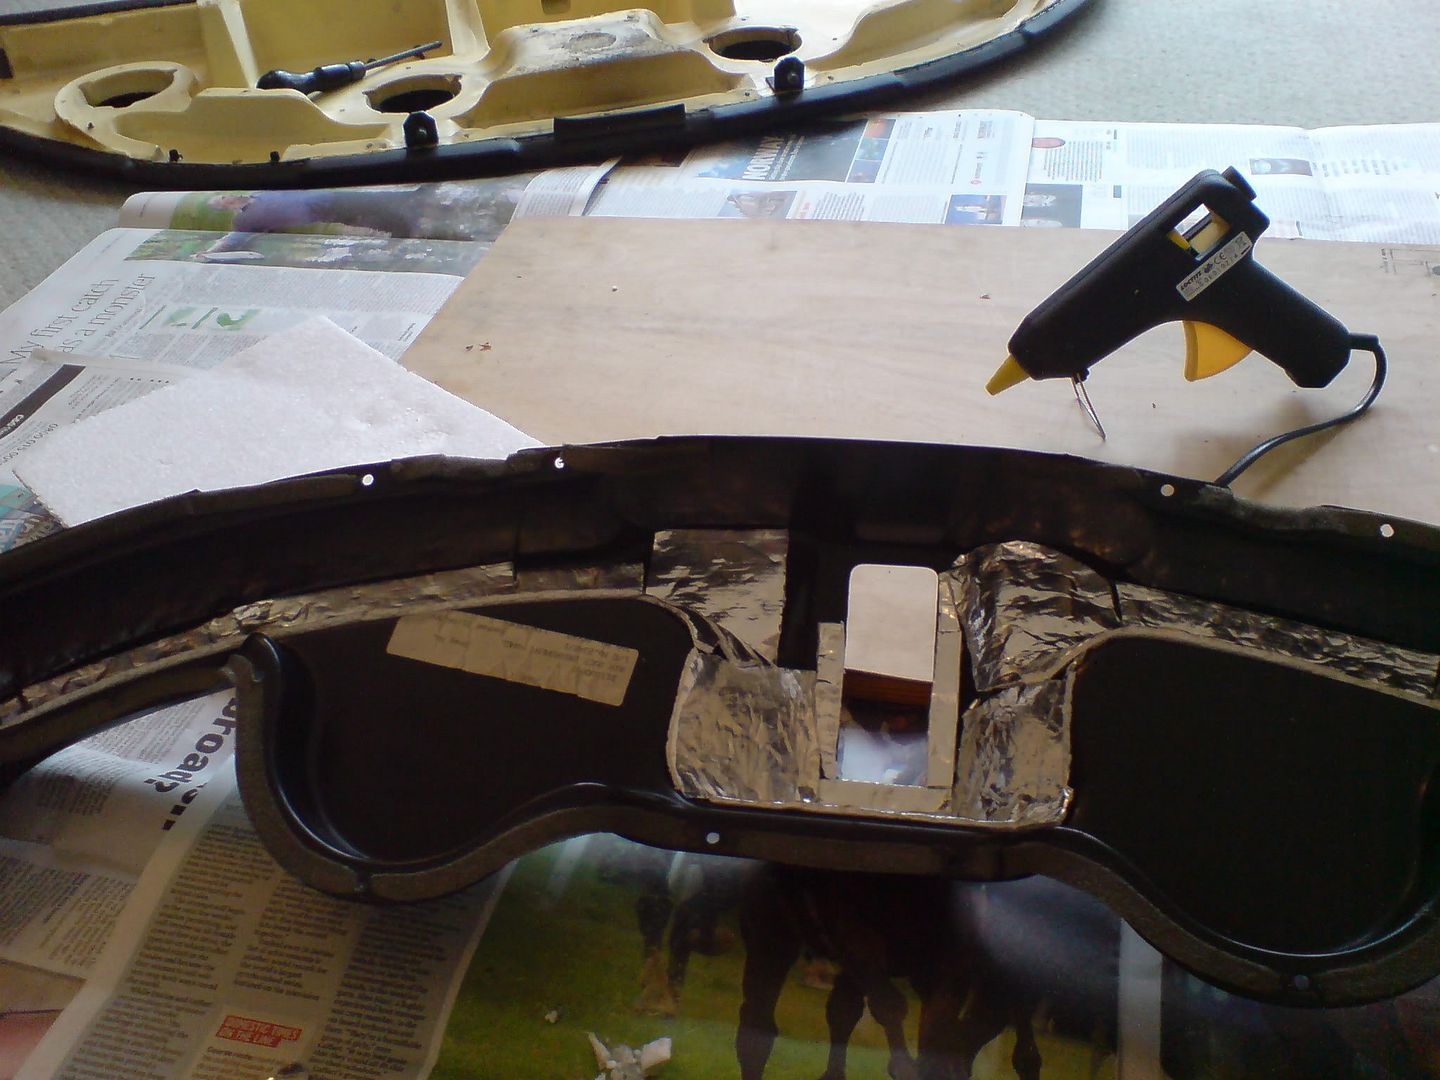
I meant to take a photo of it completely repaired before I put it back in the car but in trying a dummy run to work out how to fit it back in the car I did! And then I thought, after much cursing and scuffed knuckles: "no way I'm doing that again!" I completely sealed the two plastic skins that form the unit with glue to stop any air getting out anywhere except the out pipe!
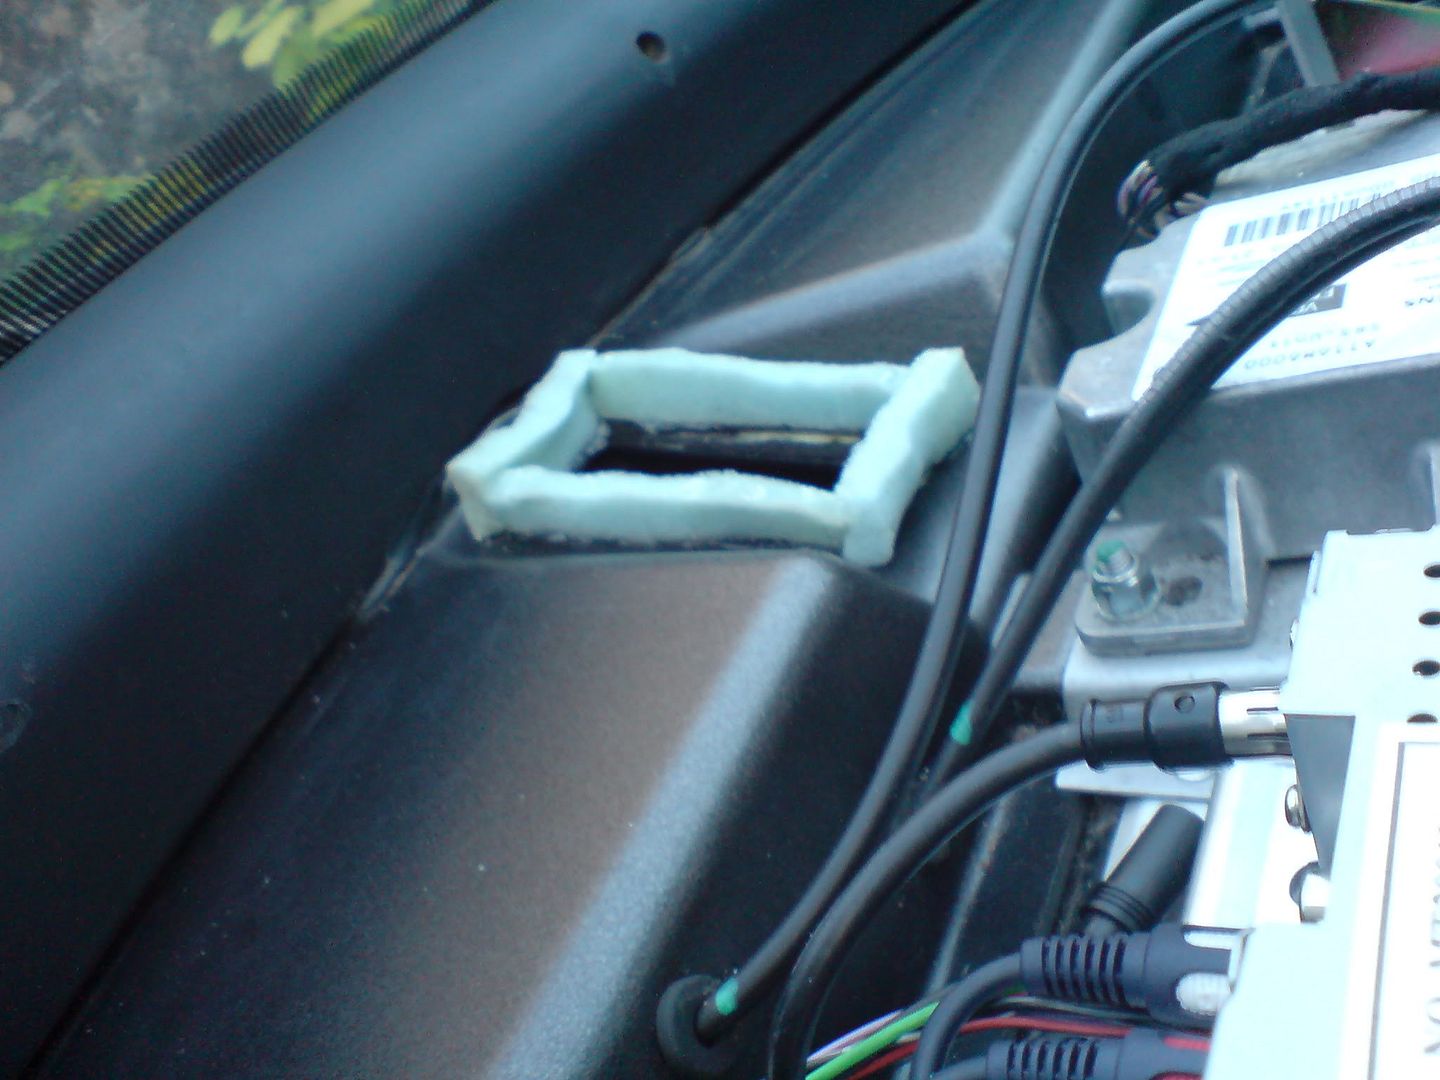
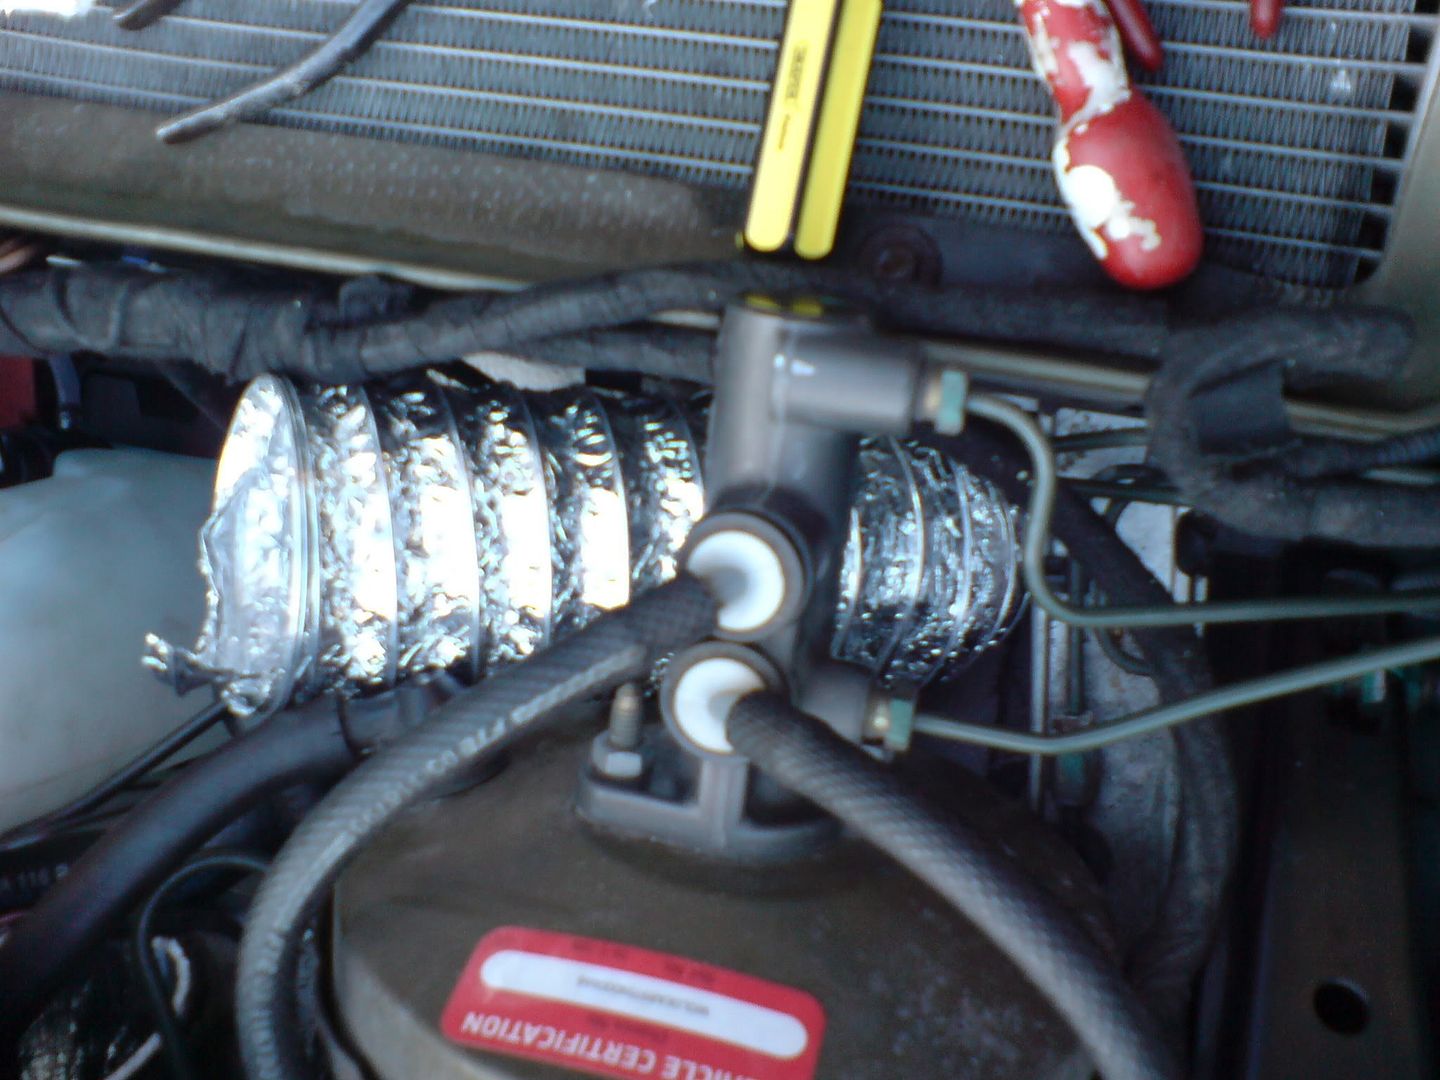
[On that point, the TIS recommends drilling out the plastic cable supports that are riveted to the radiator mounting. Don't do this, it's not necessary, just nick one side of them with a Stanley knife and wiggle them off the rivet, giving enough space to take out/put back in the heater matrix unit. (It really is that snug!) Once back in put them back in place and you're not left with lose cables and holes in the radiator mounting.]
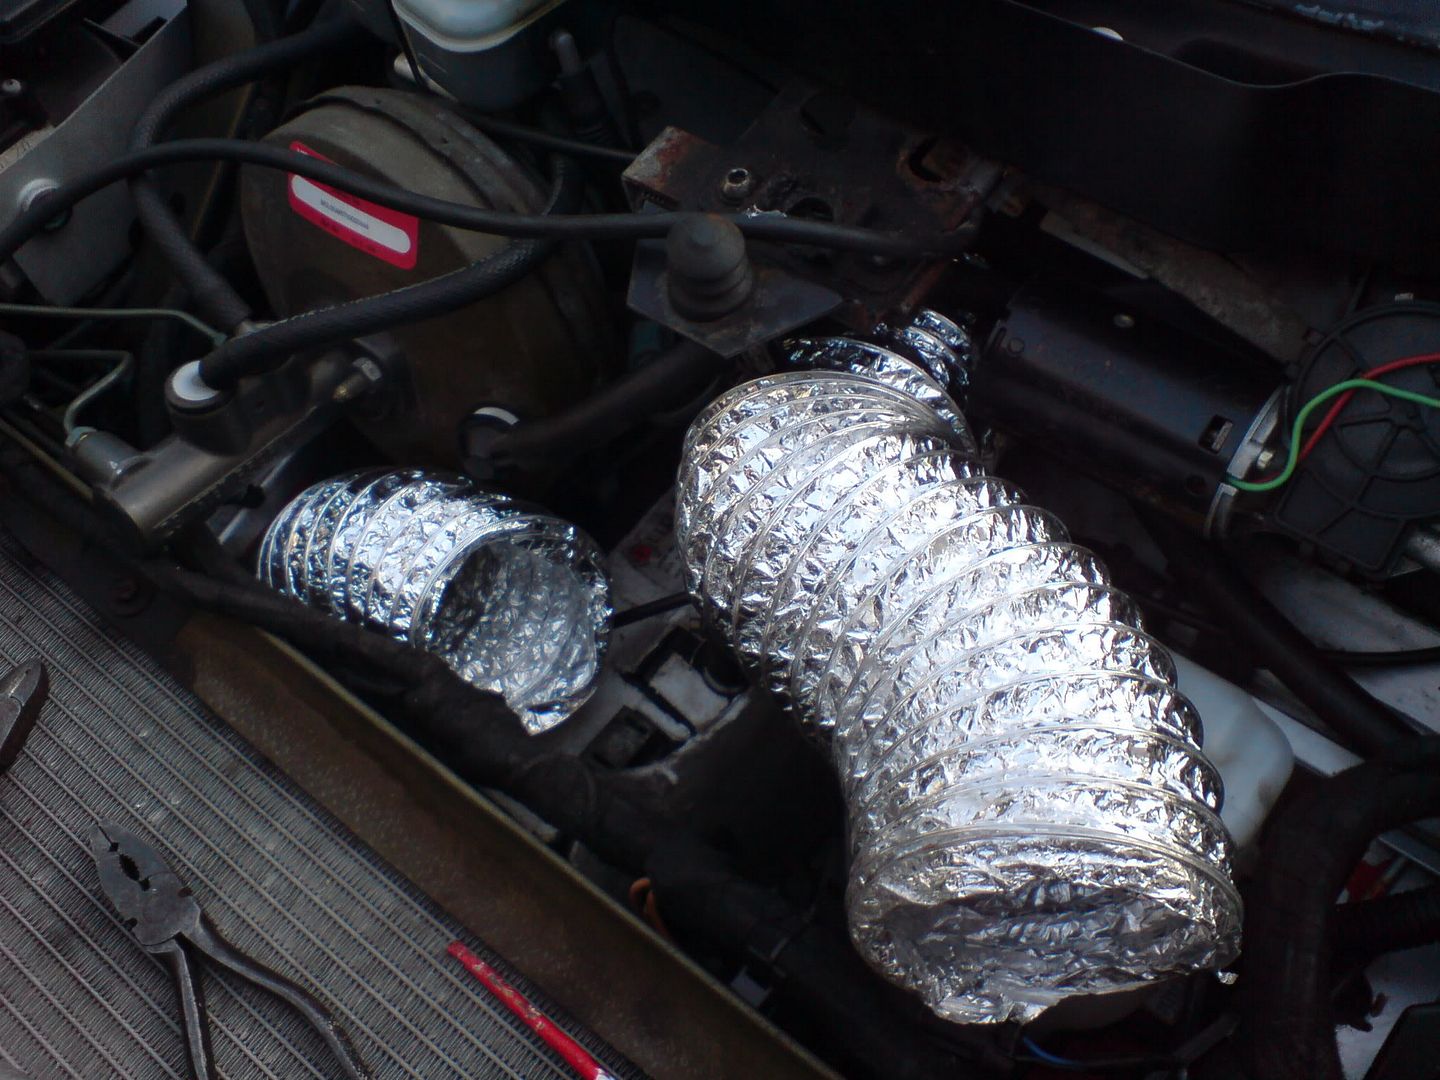
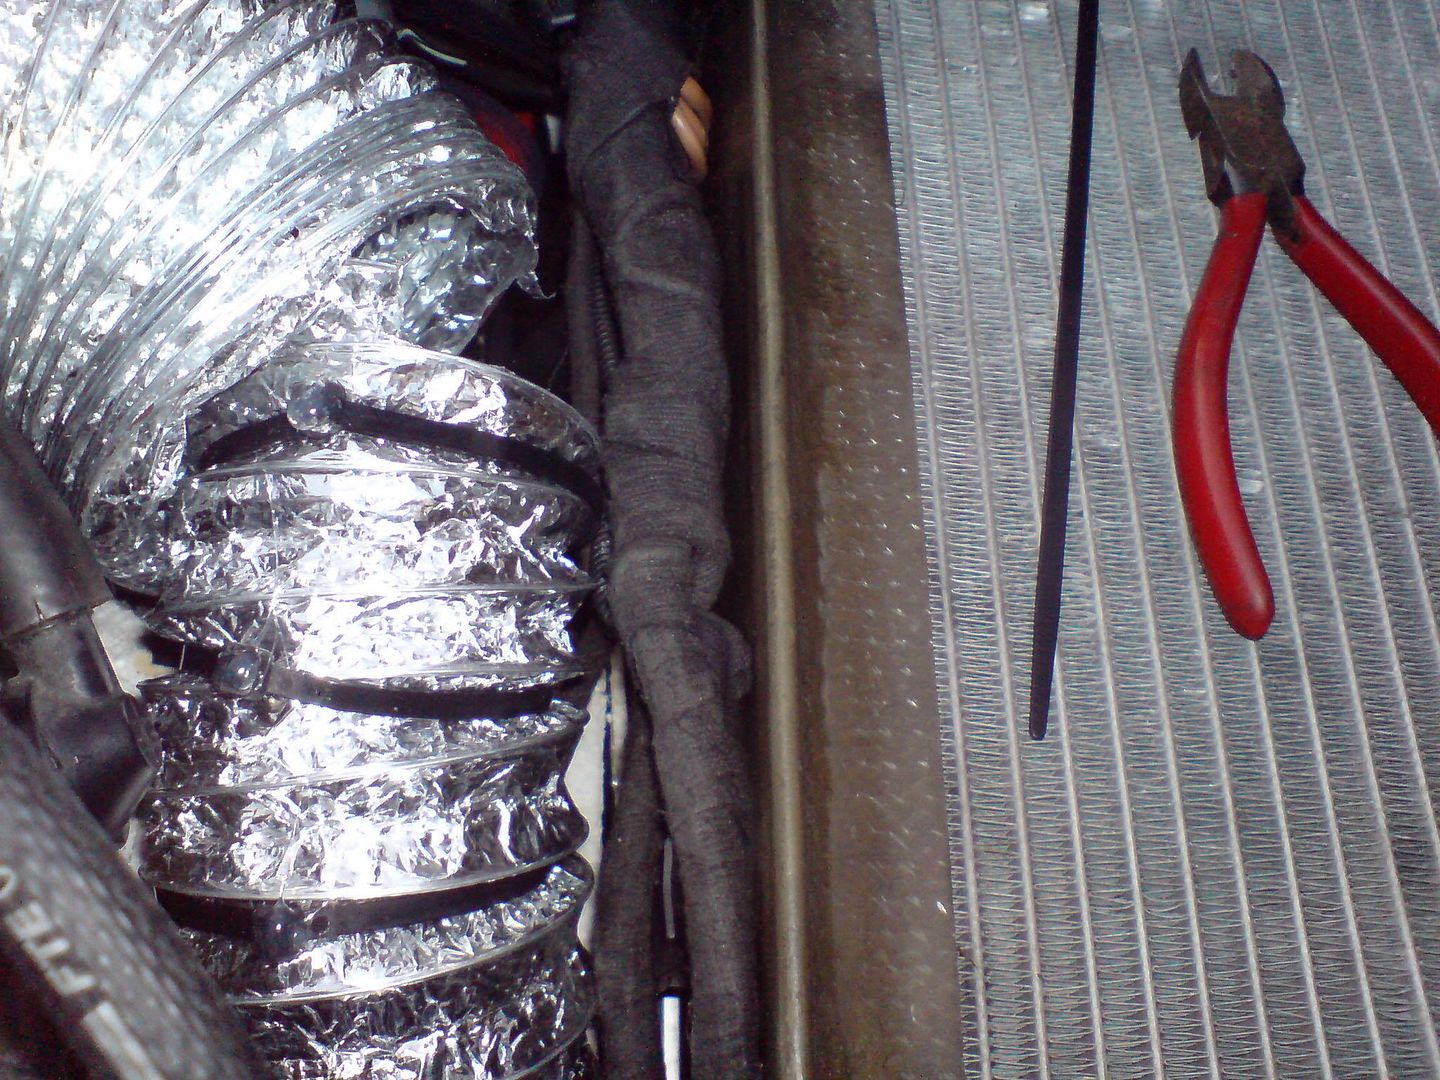
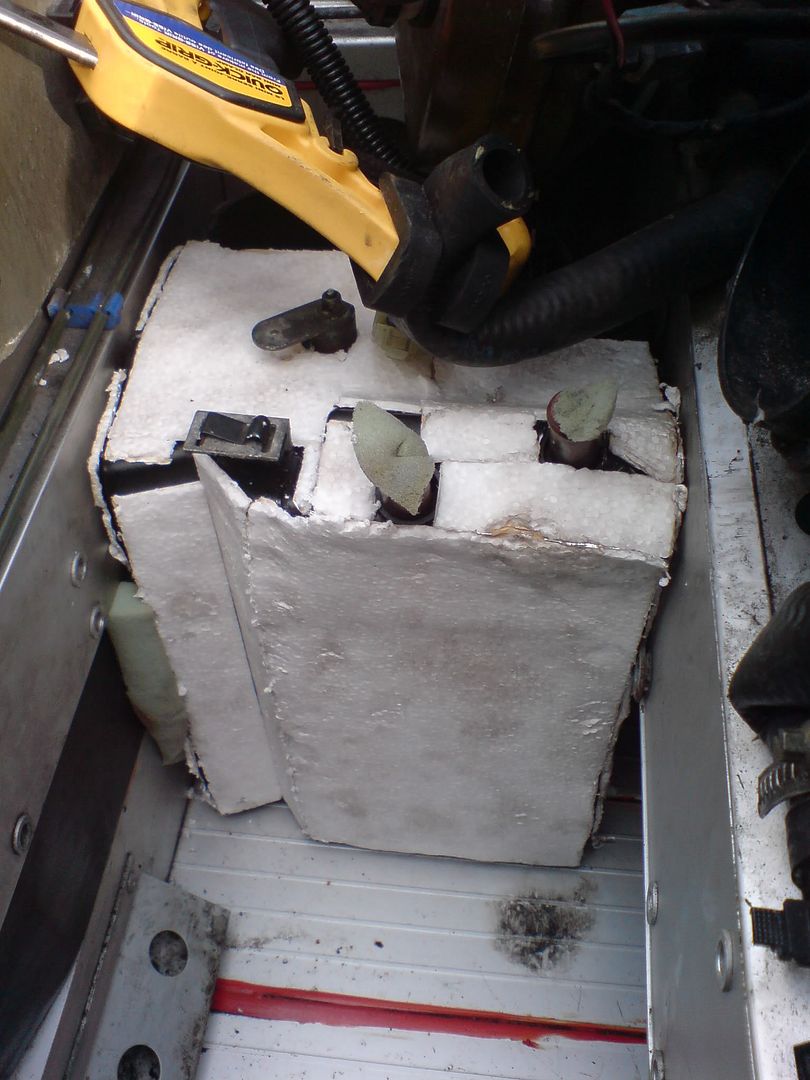
I used foam-backed insulating foil sheets that are used on walls to radiate heat from radiators into rooms to cover the unit once it was sealed, to prevent heat loss. In the past, when the unit's kicking out hot air the plastic would heat up, losing heat in the cabin. The sheets cost a few quid in a big pack from B&Q. I had considered wrapping glass fibre around it afterwards to stop it falling apart but it was such a snug fit to get back in that nothing's going to split it in two!
Dash Board
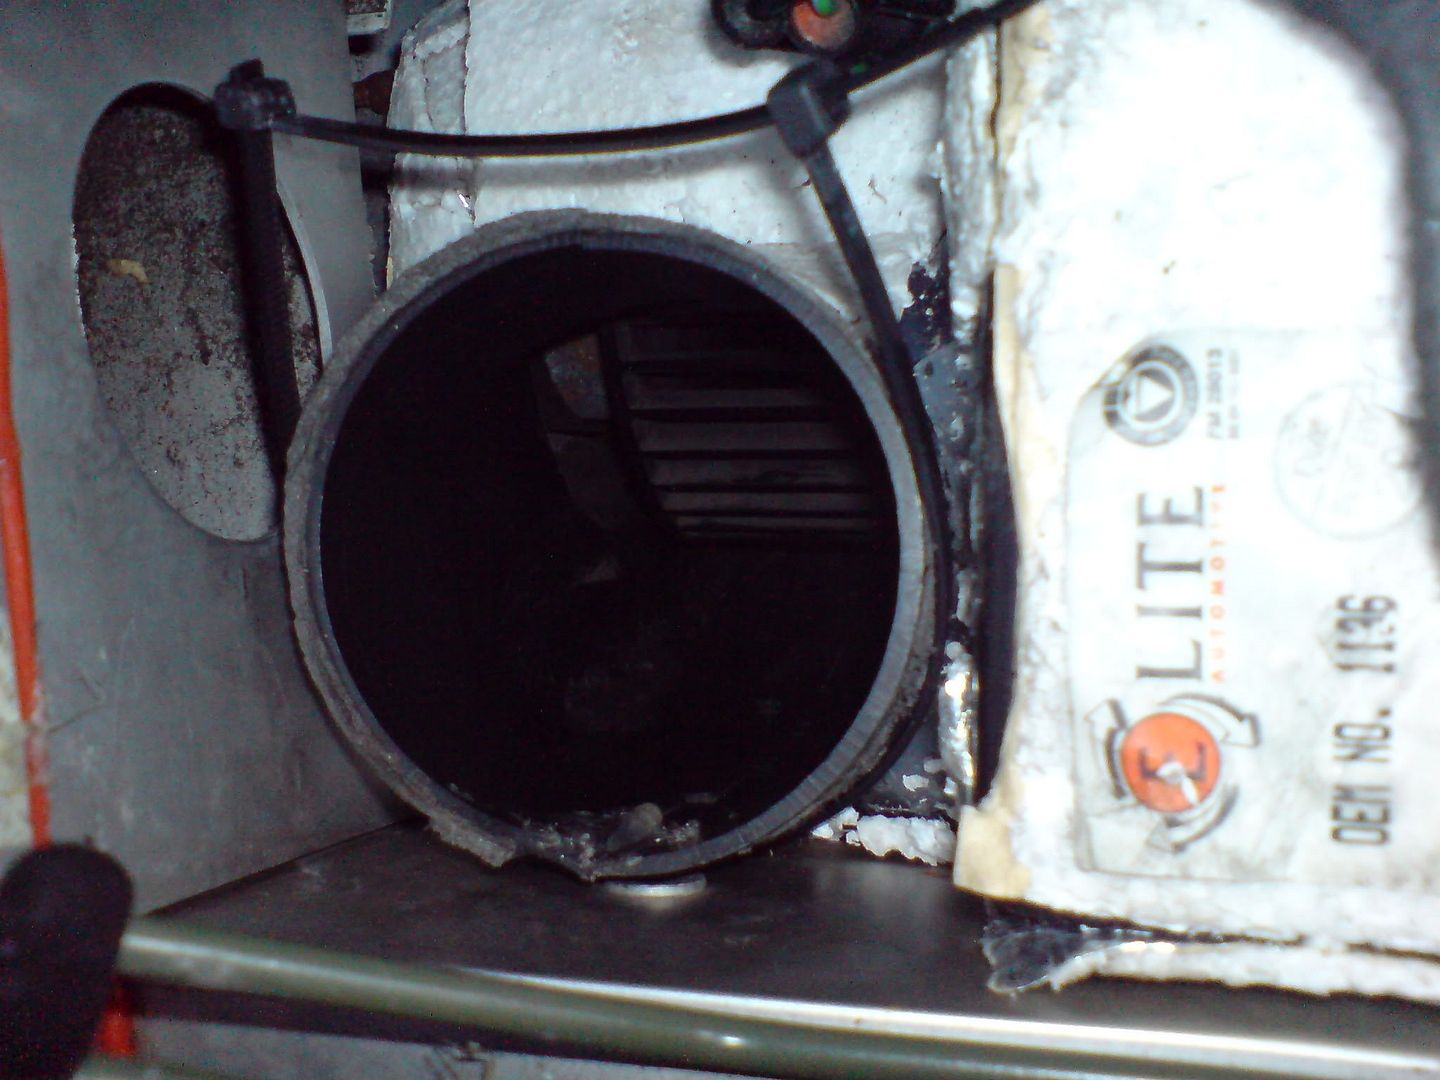
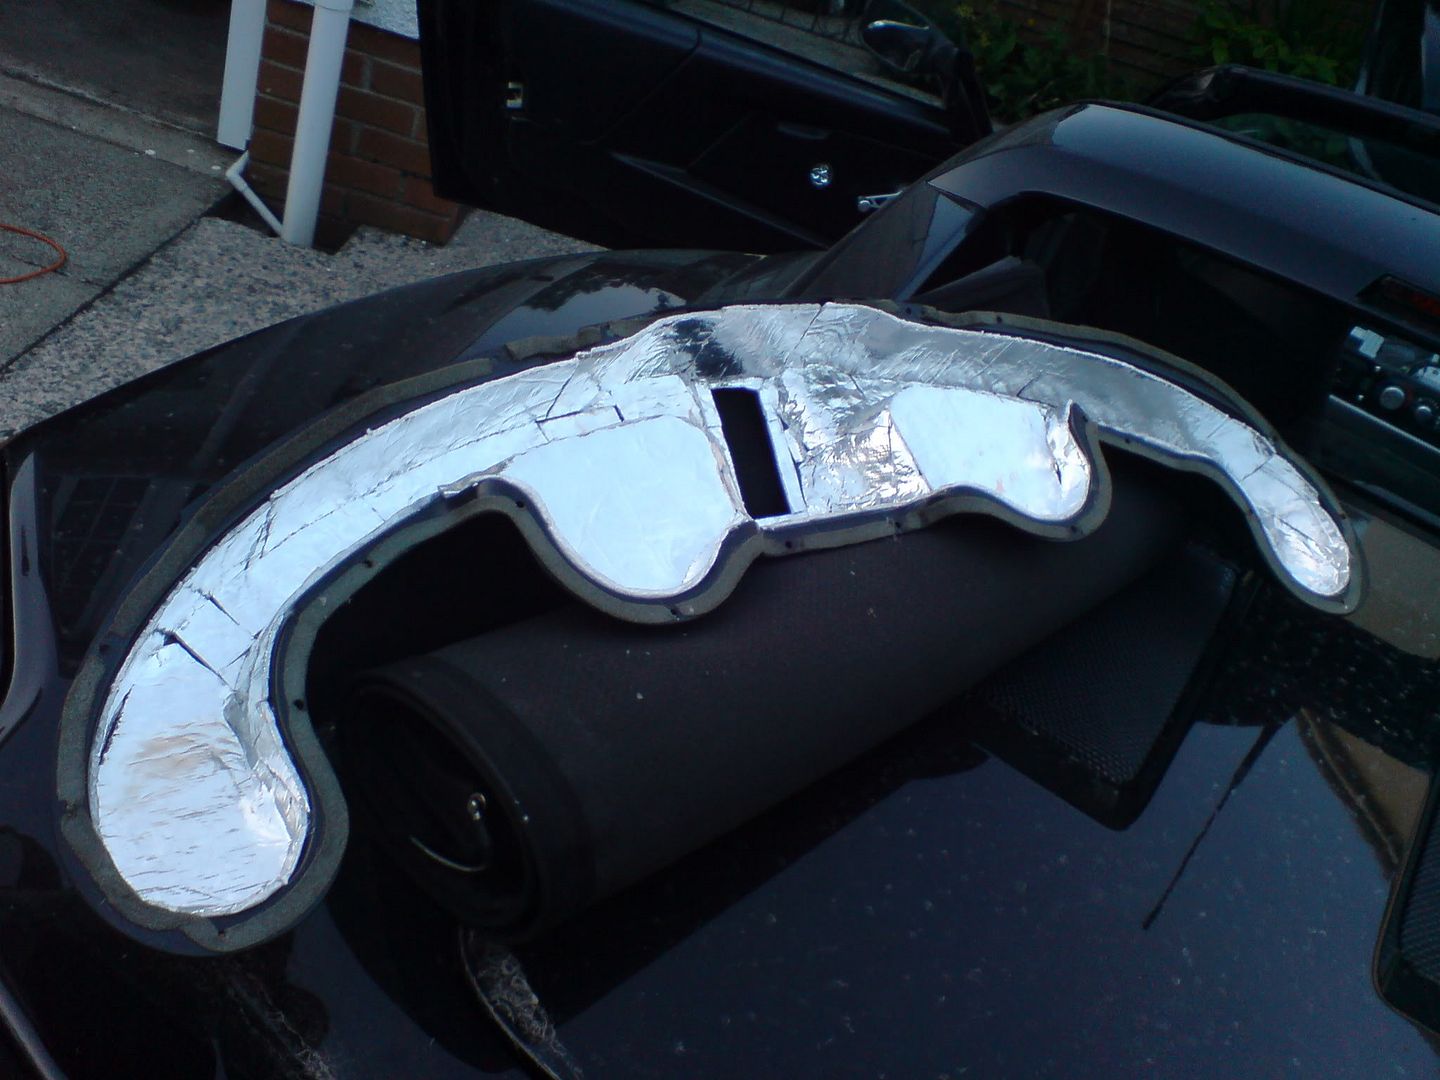
Next I took the dash board out, cleaned out the airway, which was full of eight years' flies, dust and rubbish. Then I glued the foam-backed insulating foil to the dash and to the detachable airway, foil facing inwards this time to keep the heat in:
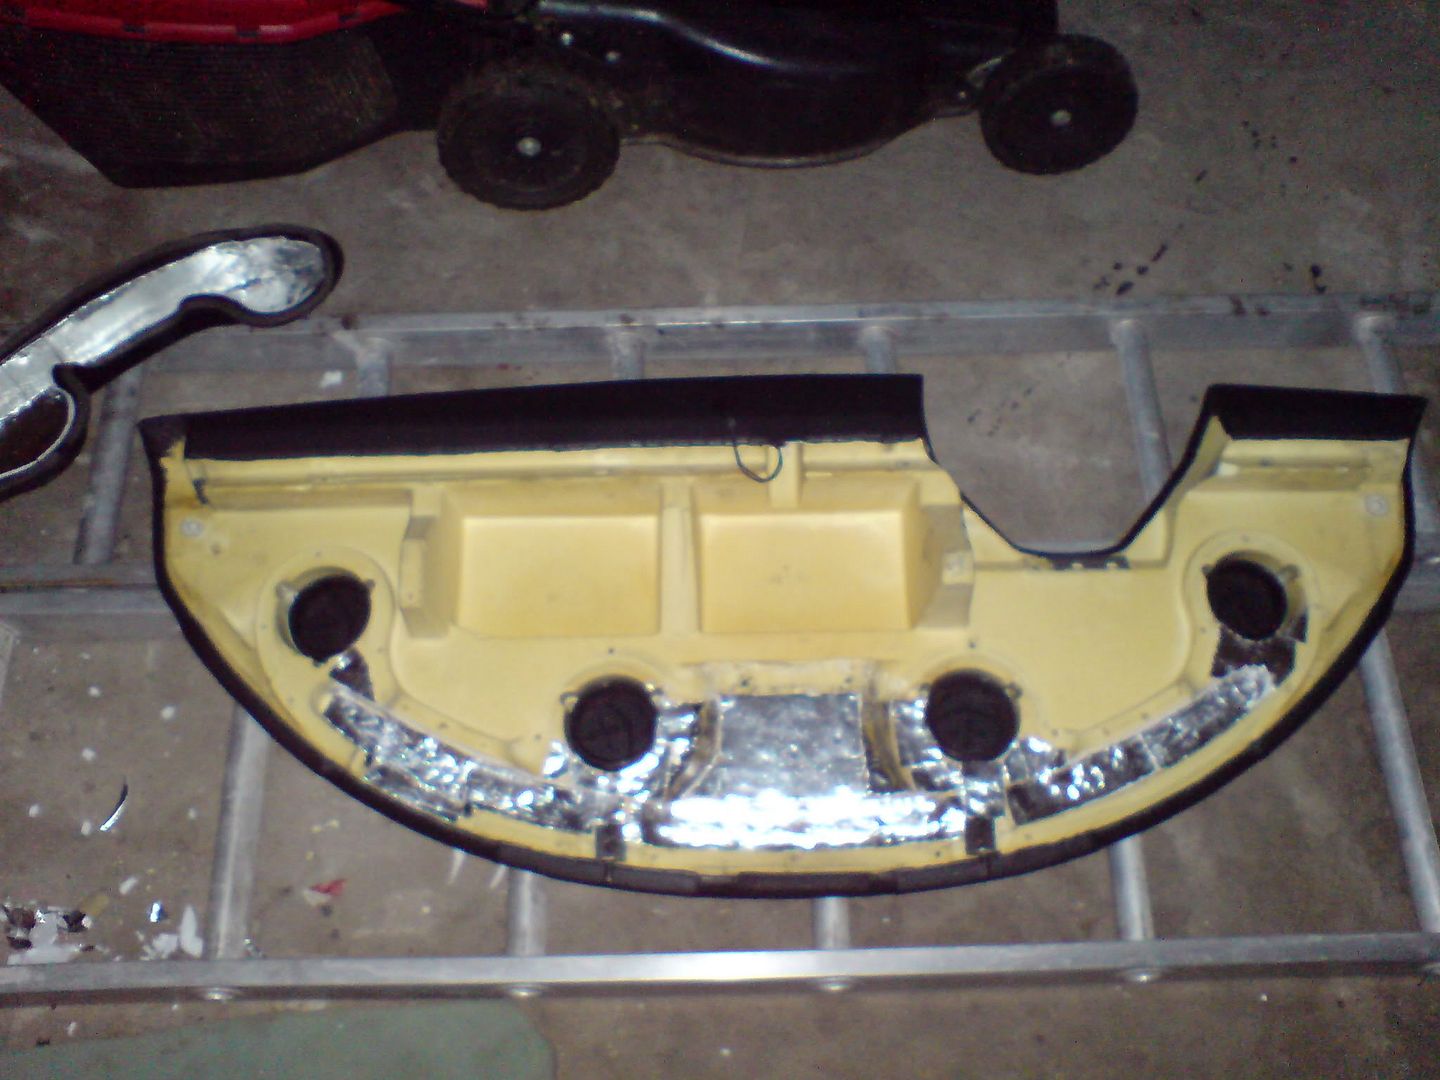
Finally, the grey foam that lines the air intake to the cabin and sits under the dash was filthy and flattened so I replaced it with thick foam. (I made the mistake of making it too tall so had to slice it down later in order to fit the dash board back on).