Jump to content


Photo

Haggi's New Project


  • Please log in to reply
750 replies to this topic

#561 haggi961

haggi961

    1cobrav8 is my god

  • PipPipPipPipPipPipPip
  • 6,003 posts
  • Gender:Male
  • Location:Richmond, N.Yorks
  • Interests:Keeping fit and in shape, and pretty much anything to do with an engine.

Posted 06 October 2015 - 09:17 AM

I post my images through photo bucket as a img code. The forum is so rubbish when it comes to uploading photos. When I try to upload through the forum my images are always to large and i wish it would post photos like it does on Facebook as its so efficient.

#562 Aerodynamic

Aerodynamic

    Billy No Mates

  • PipPipPipPipPip
  • 1,455 posts

Posted 06 October 2015 - 11:06 AM

Try Paste in Google Chrome instead.

#563 D-DAWG83

D-DAWG83

    Billy No Mates

  • PipPipPipPipPip
  • 1,276 posts
  • Gender:Male
  • Location:Milton Keynes
  • Interests:Cars, motorsport, music and films

Posted 06 October 2015 - 11:10 AM

Did you brush the POR15 on? A quick look only turns up tins that require brushing on


#564 fezzasus

fezzasus

    Whipping Boy

  • PipPipPipPipPipPipPip
  • 7,689 posts
  • Gender:Male
  • Location:Oxford

Posted 06 October 2015 - 12:10 PM

Did you brush the POR15 on? A quick look only turns up tins that require brushing on


If you've got a compressor you can spray it. 


#565 haggi961

haggi961

    1cobrav8 is my god

  • PipPipPipPipPipPipPip
  • 6,003 posts
  • Gender:Male
  • Location:Richmond, N.Yorks
  • Interests:Keeping fit and in shape, and pretty much anything to do with an engine.

Posted 06 October 2015 - 01:25 PM

Did you brush the POR15 on? A quick look only turns up tins that require brushing on

Nope I bought it in spray tin form as the finish isn't as good as brushing painting it. It's called top coat por 15 gloss black or they do chassie black with is a more satin finish.

#566 Eliselee281275

Eliselee281275

    Member

  • Pip
  • 155 posts
  • Location:Cumbria

Posted 06 October 2015 - 08:53 PM

Loving the write up Luke keep up the good work and will have to have a run over with VX220BOB, and pick your brains around your dash

Edited by Eliselee281275, 06 October 2015 - 08:53 PM.


#567 Eliselee281275

Eliselee281275

    Member

  • Pip
  • 155 posts
  • Location:Cumbria

Posted 06 October 2015 - 08:56 PM

Mmmm nice Exige

Attached Files


Edited by Eliselee281275, 06 October 2015 - 08:57 PM.


#568 haggi961

haggi961

    1cobrav8 is my god

  • PipPipPipPipPipPipPip
  • 6,003 posts
  • Gender:Male
  • Location:Richmond, N.Yorks
  • Interests:Keeping fit and in shape, and pretty much anything to do with an engine.

Posted 06 October 2015 - 09:52 PM

Loving the write up Luke keep up the good work and will have to have a run over with VX220BOB, and pick your brains around your dash

f Cheers mate and it's starting to get there now. These dark nights are not helping now tho.

#569 haggi961

haggi961

    1cobrav8 is my god

  • PipPipPipPipPipPipPip
  • 6,003 posts
  • Gender:Male
  • Location:Richmond, N.Yorks
  • Interests:Keeping fit and in shape, and pretty much anything to do with an engine.

Posted 06 October 2015 - 09:53 PM

Mmmm nice Exige

I can't wait 😀

#570 haggi961

haggi961

    1cobrav8 is my god

  • PipPipPipPipPipPipPip
  • 6,003 posts
  • Gender:Male
  • Location:Richmond, N.Yorks
  • Interests:Keeping fit and in shape, and pretty much anything to do with an engine.

Posted 06 October 2015 - 10:08 PM

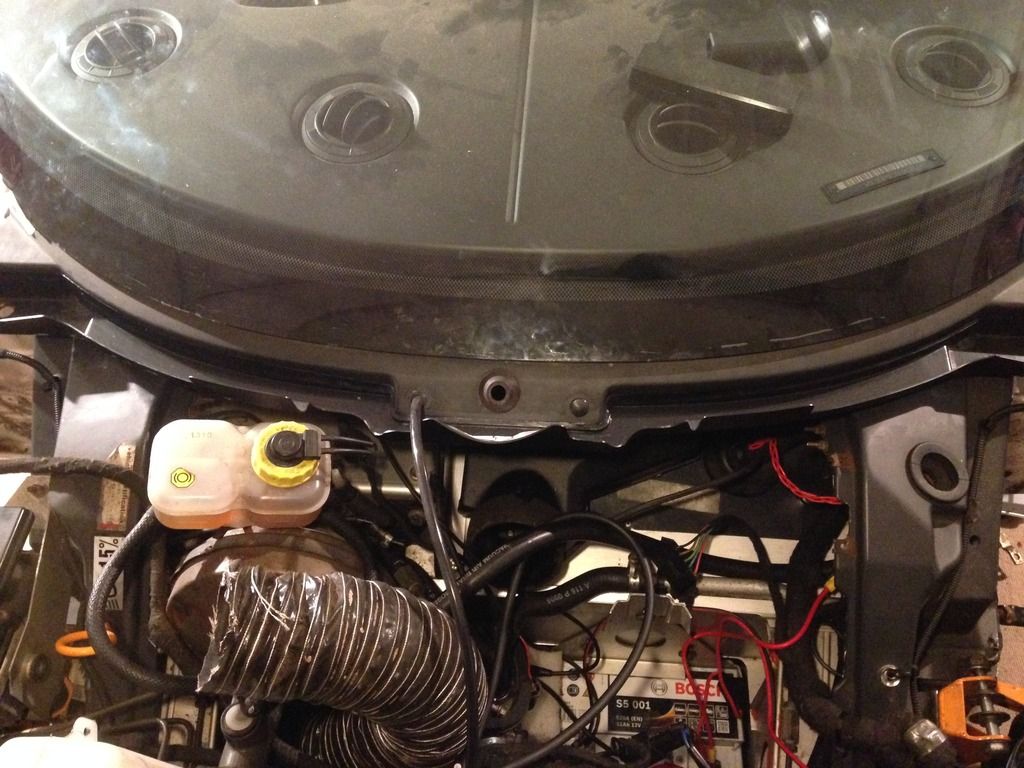
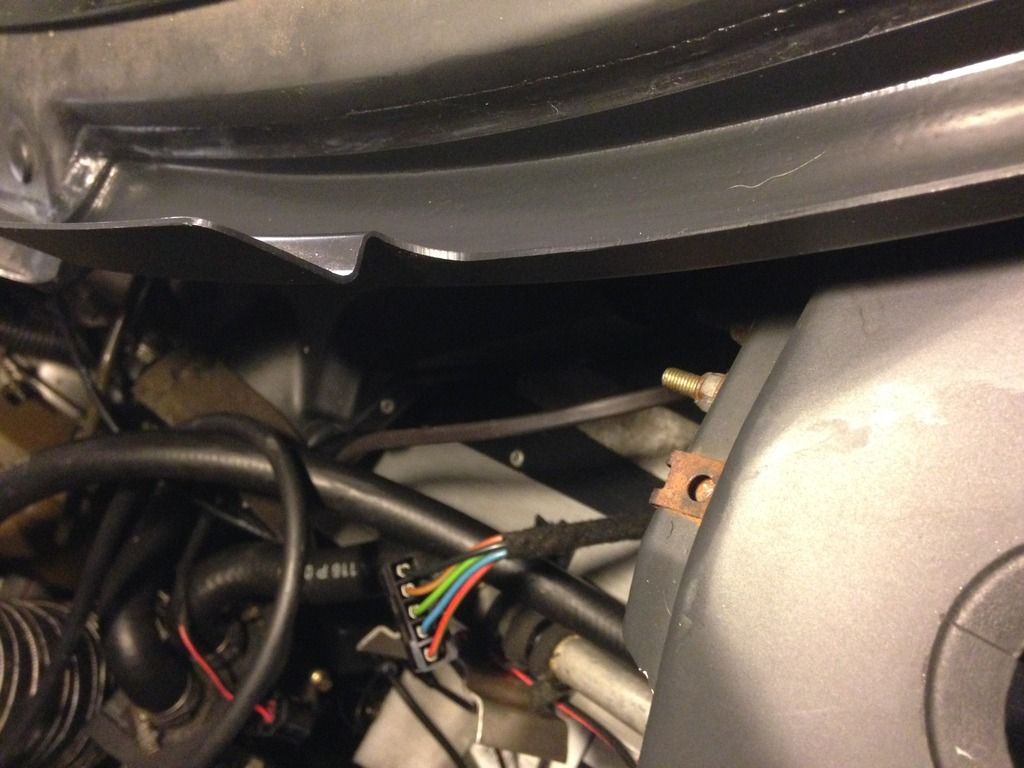
I managed a little bit tonight but I'm struggling without natural night as the garage lights are not the same.

I've bonded on the rain gutter now and got the silicone all nice and smooth and straight. I've also removed the washer jets and fitted a blanking grommet on one side and a open grommet to allow the washer pipe to run through on the other as I'm doing away with the spray jet version and fitting the version that's built into the wider arm.

Posted Image
Posted Image

#571 haggi961

haggi961

    1cobrav8 is my god

  • PipPipPipPipPipPipPip
  • 6,003 posts
  • Gender:Male
  • Location:Richmond, N.Yorks
  • Interests:Keeping fit and in shape, and pretty much anything to do with an engine.

Posted 10 October 2015 - 10:42 PM

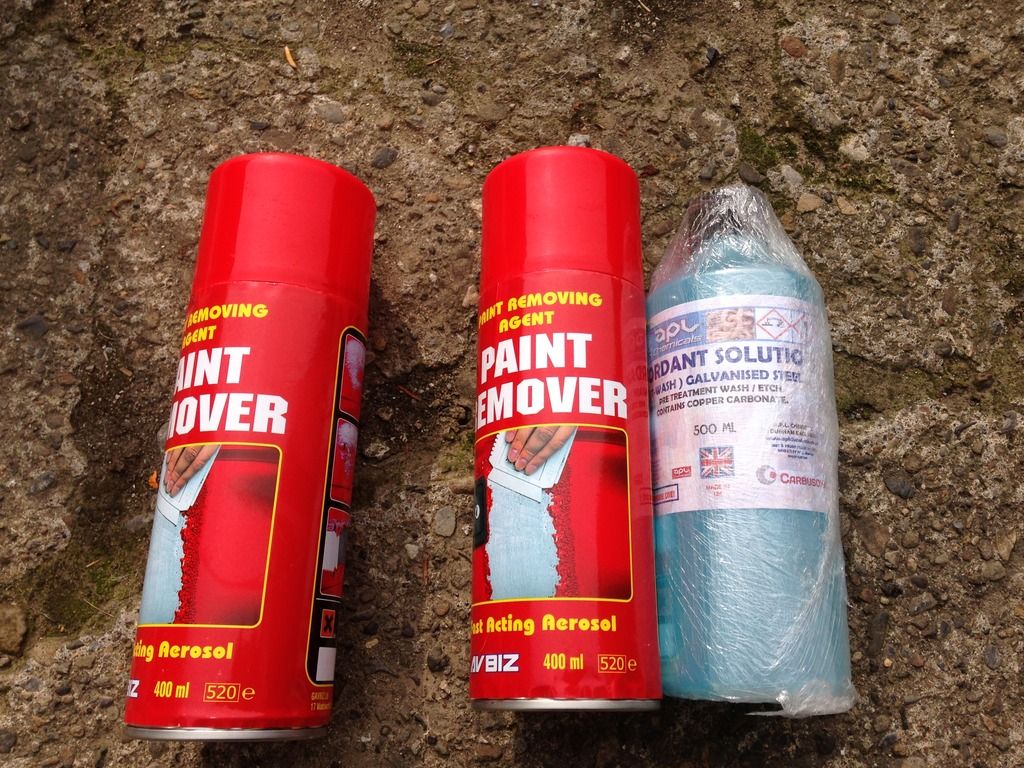
Received my next batch of paint stripper and t wash.
Posted Image
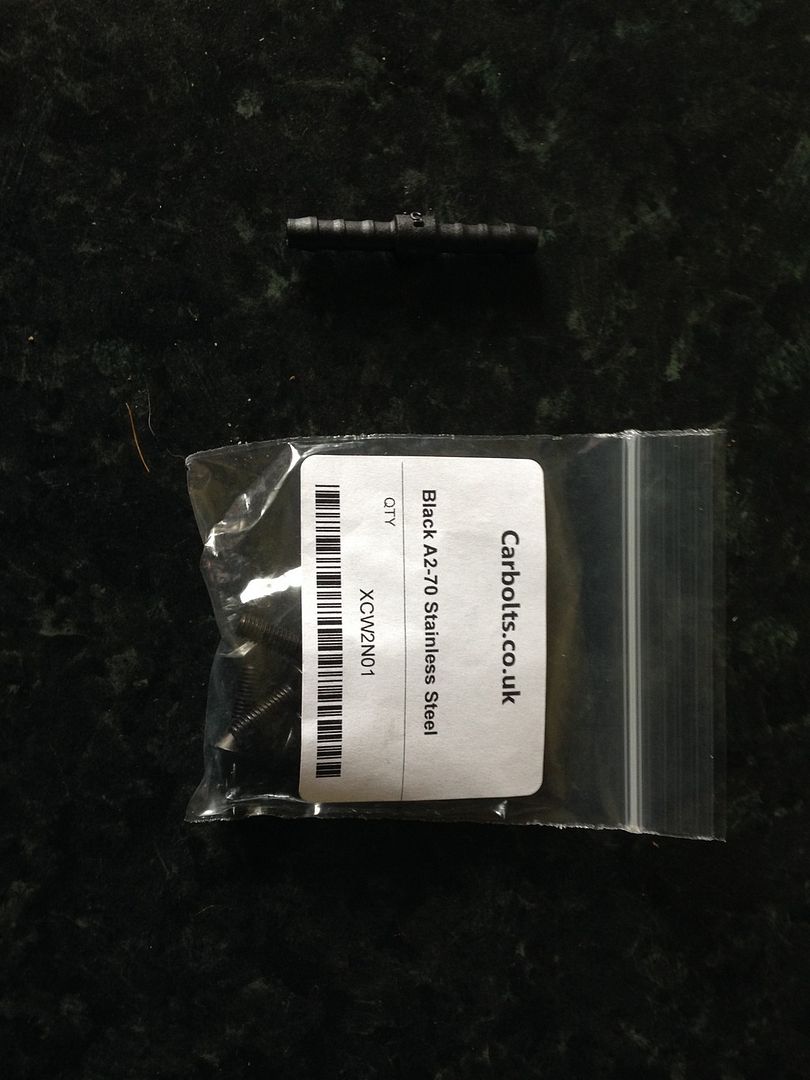
Stainless steel black screws for the fuel cap and screen watch straight connector.
Posted Image
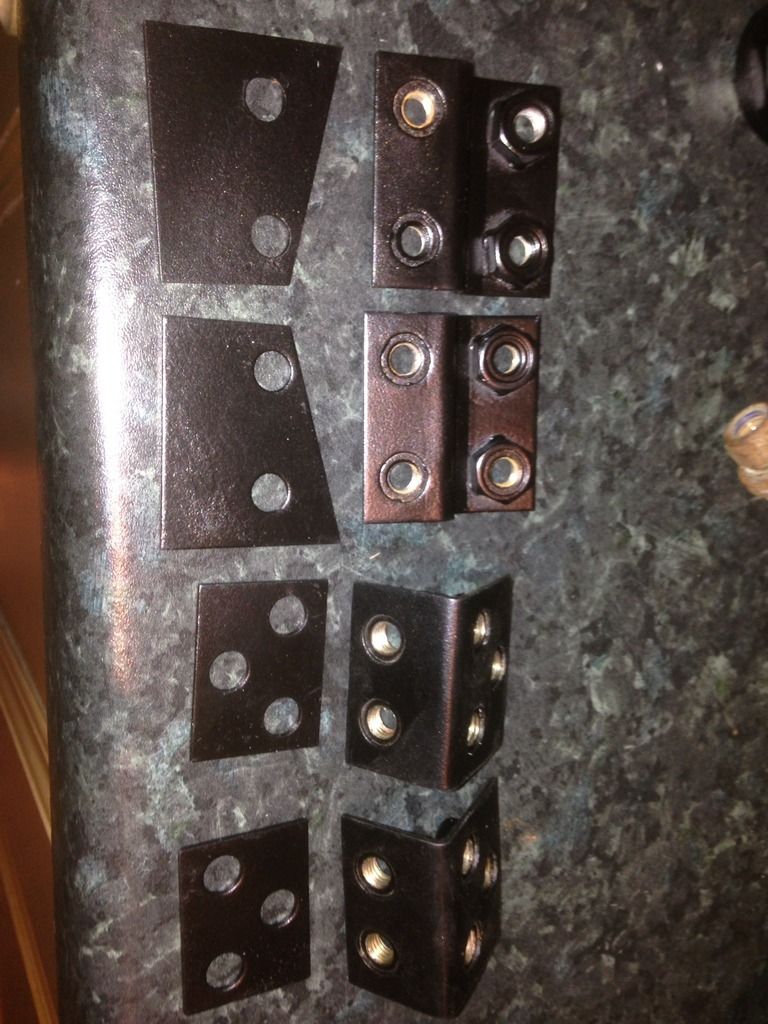
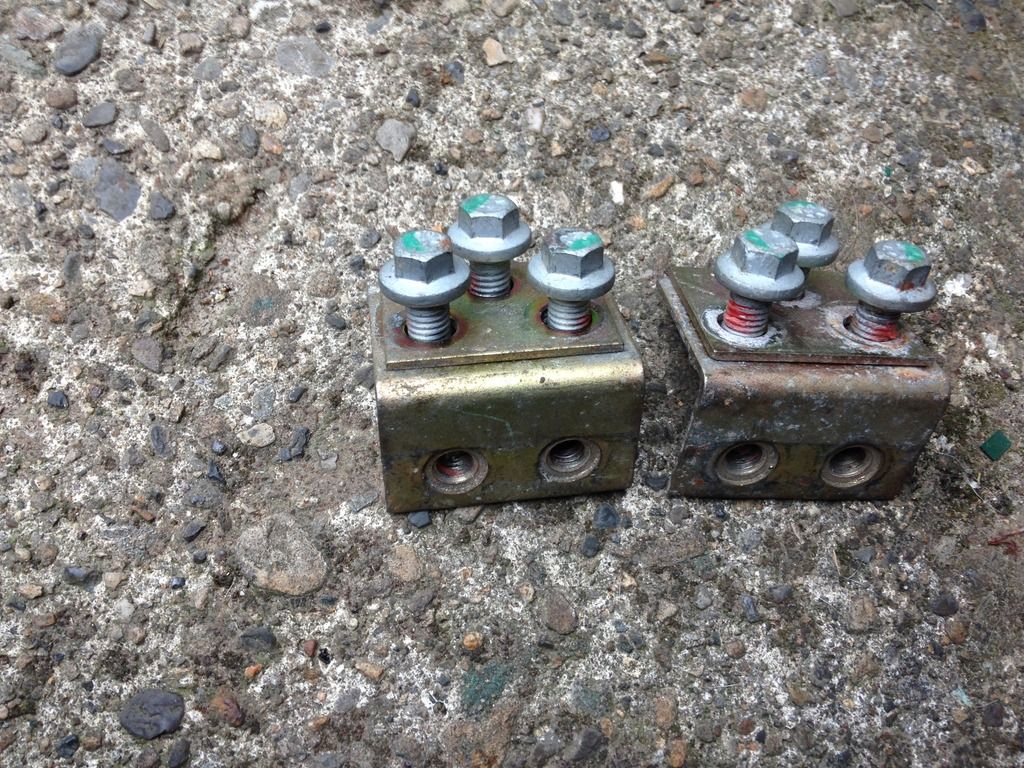
Brackets for the radiator to the housing but still need to source the front ones if anyone has a set for sale.
Posted Image

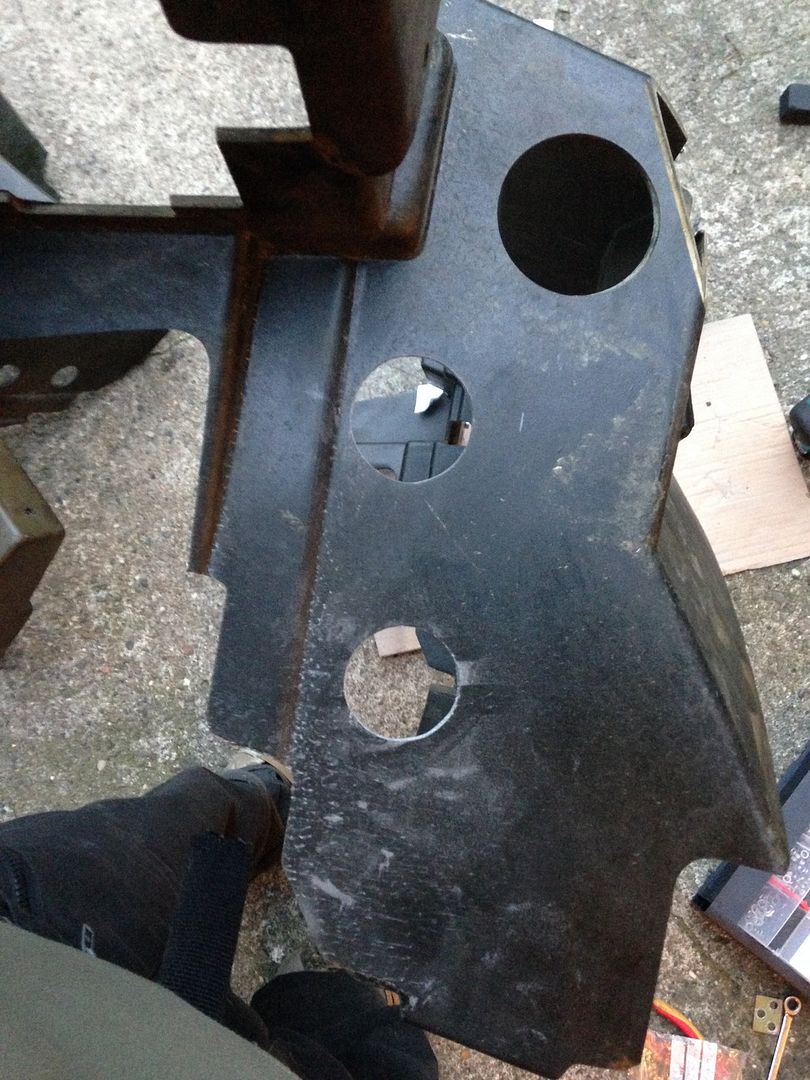
Holes cut in the new radiator housing for the charge cooler radiator. I've had to buy a new Exige radiator housing as I originally had a Elise one that Dan was suppose to cut the 2 cut outs on the top and didn't, then the clam was forced on causing the Elise housing to crack in places. It's not really bad but it's enough for me to replace it.
Posted Image
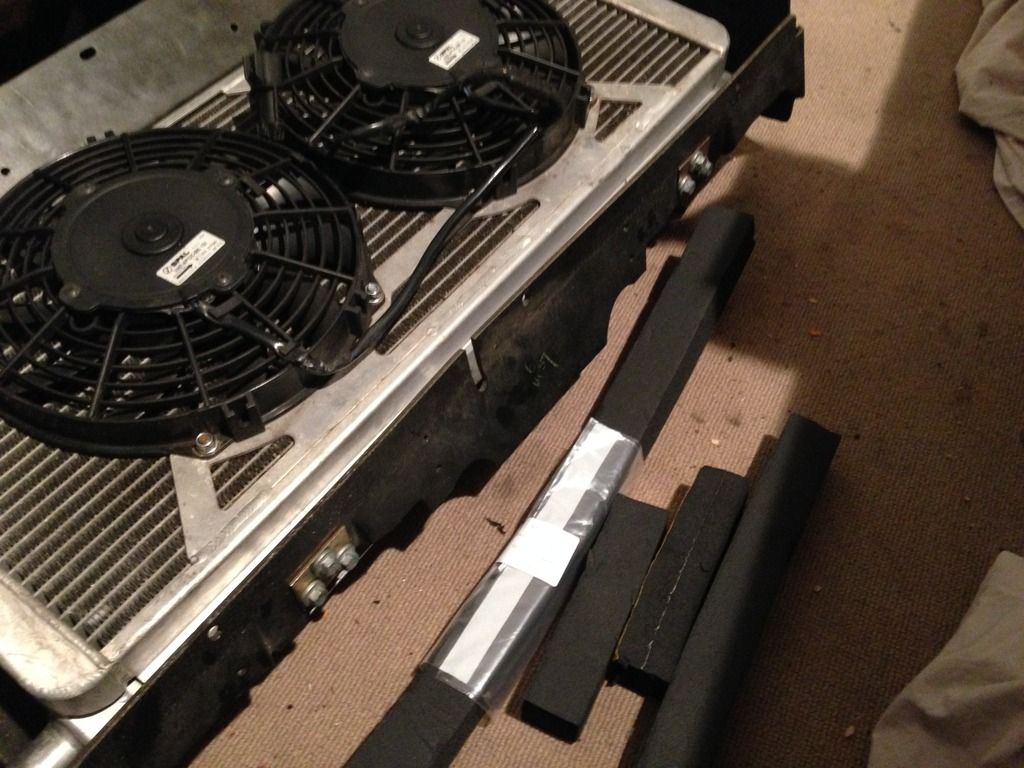
New foam from lotus to fill the gaps on the housing to stop the air escaping up the sides.
Posted Image
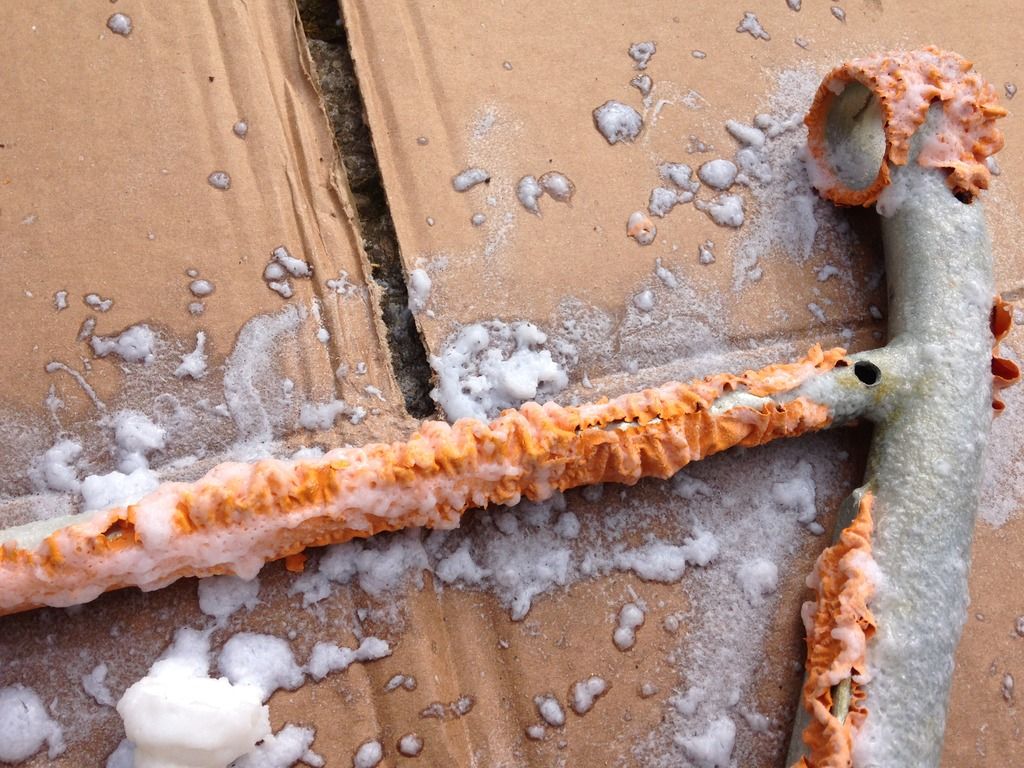
Paint stripper doing its job.
Posted Image
Posted Image

#572 haggi961

haggi961

    1cobrav8 is my god

  • PipPipPipPipPipPipPip
  • 6,003 posts
  • Gender:Male
  • Location:Richmond, N.Yorks
  • Interests:Keeping fit and in shape, and pretty much anything to do with an engine.

Posted 10 October 2015 - 10:43 PM

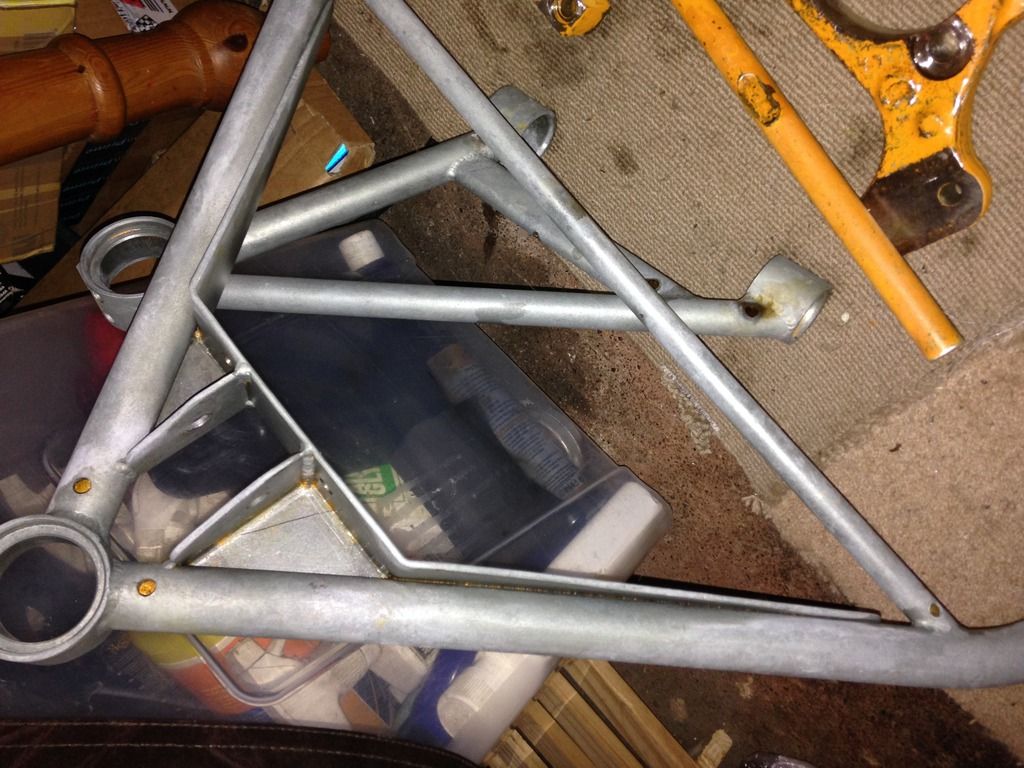
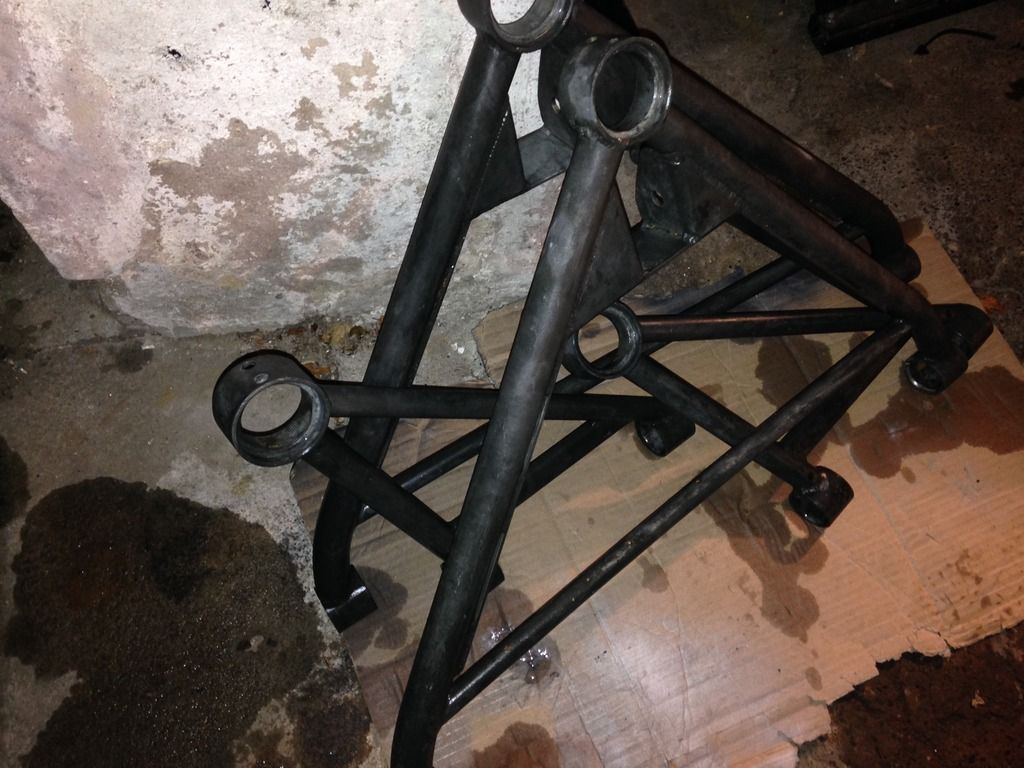
Then all degreased and t washed. Ready for paint now.

Before
Posted Image
After the t wash done its job turning the zinc coating to black so the paint will stick to the surface now.
Posted Image

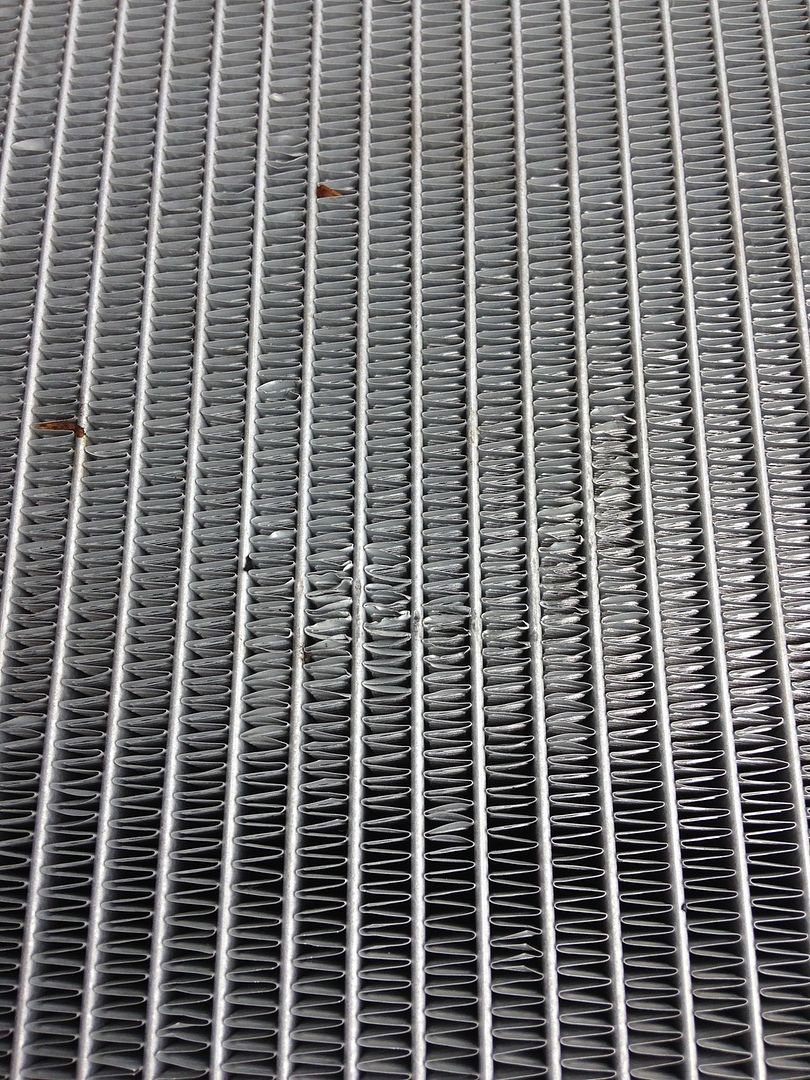
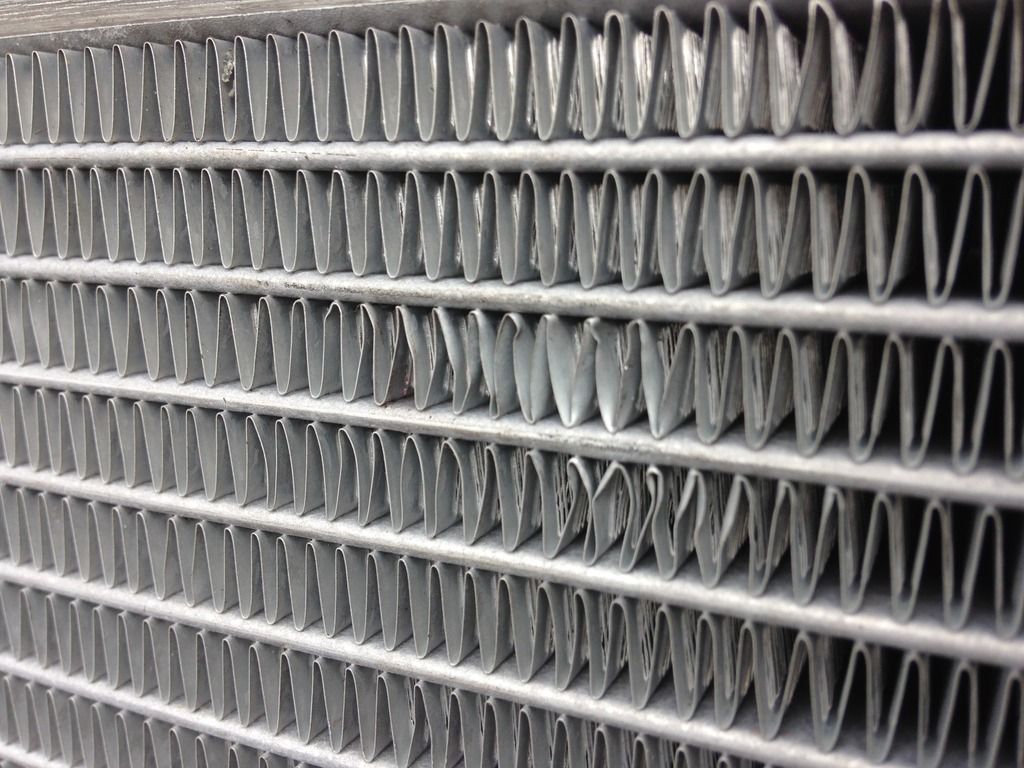
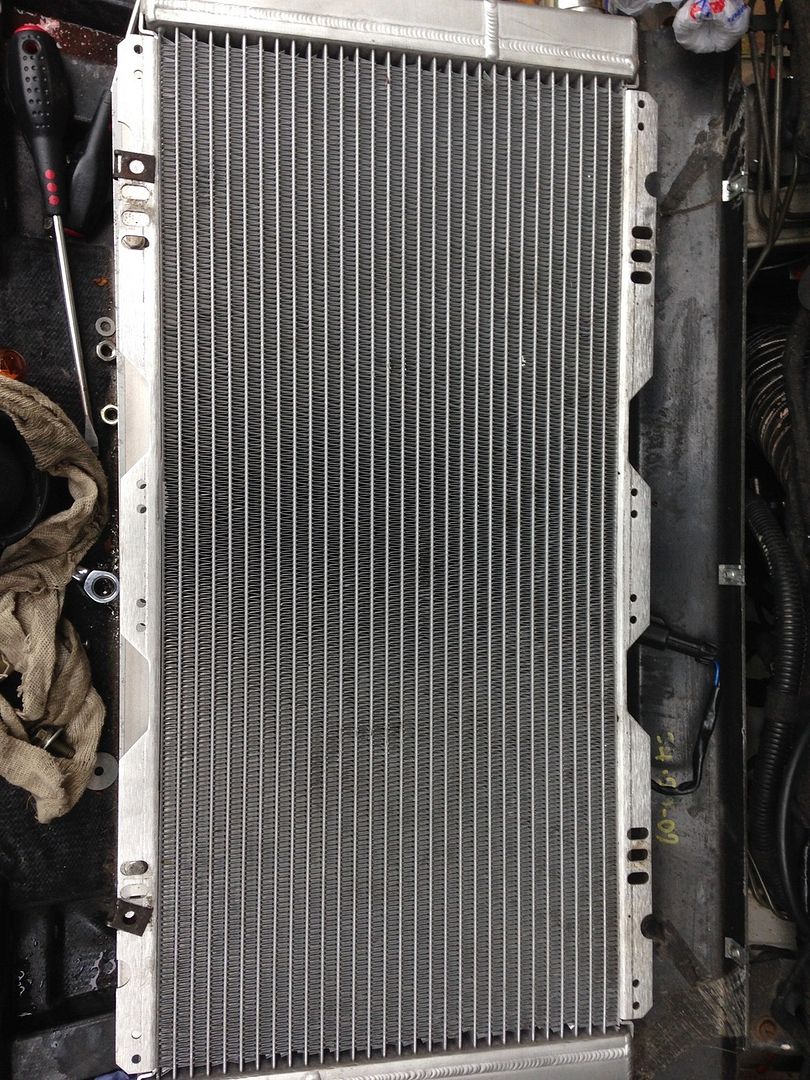
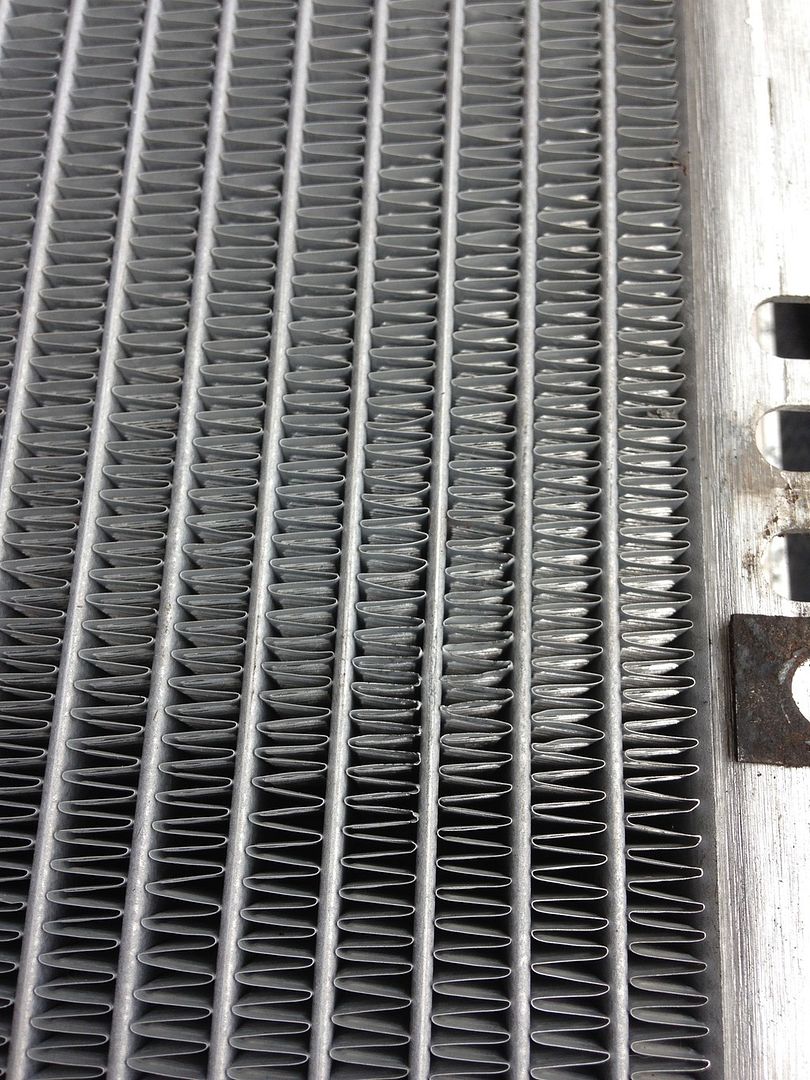
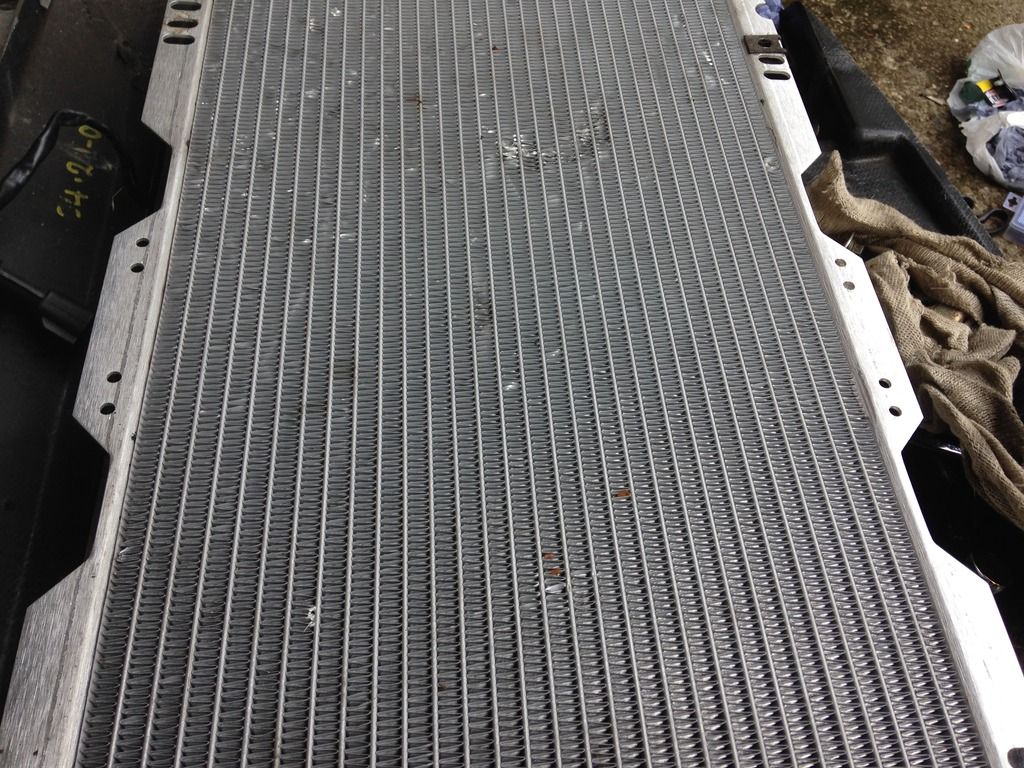
I spent ages sorting my triple pass radiator as it was new last year and when I got it back from Dans loads of my fins where bent. So I got a pair of tweezers and sorted all the fins to look like new again.

Before
Posted Image
Posted Image
Posted Image

After.
Posted Image
Posted Image

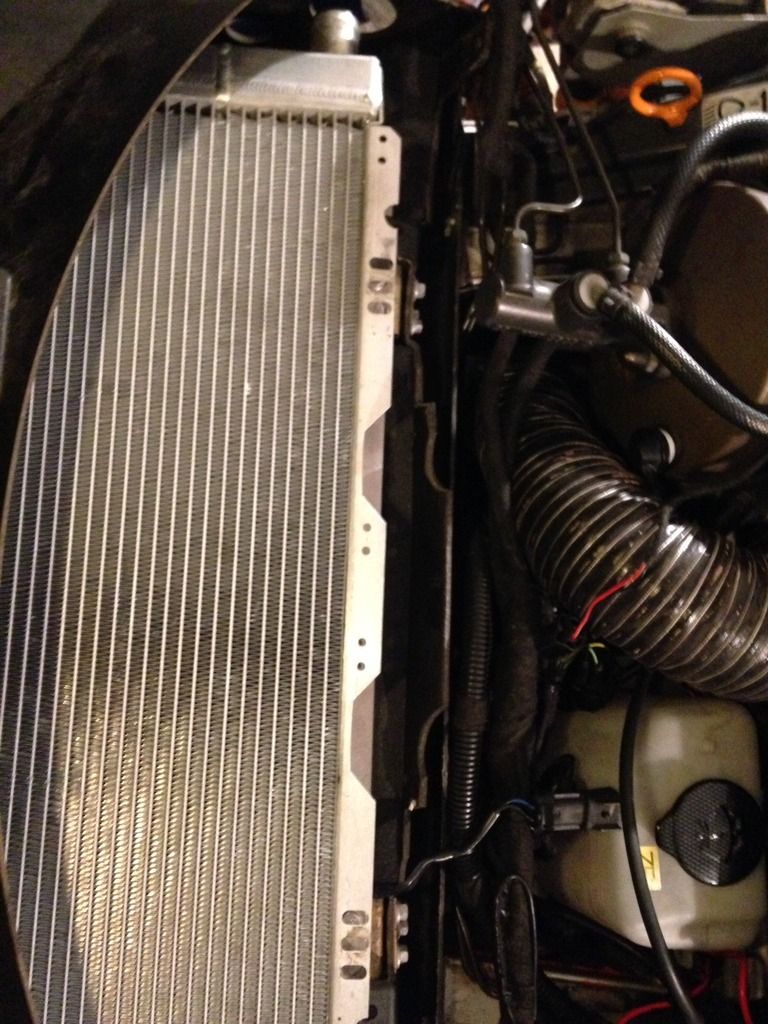
Trial fit of the new housing and radiator.
Posted Image

#573 vocky

vocky

    Moderator

  • 11,969 posts
  • Gender:Male
  • Location:Earth

Posted 11 October 2015 - 06:59 AM

glad I am not the only one who straightens the rad fins :blush:  :lol:


#574 haggi961

haggi961

    1cobrav8 is my god

  • PipPipPipPipPipPipPip
  • 6,003 posts
  • Gender:Male
  • Location:Richmond, N.Yorks
  • Interests:Keeping fit and in shape, and pretty much anything to do with an engine.

Posted 11 October 2015 - 08:28 AM

glad I am not the only one who straightens the rad fins :blush:  :lol:

I must admit it was very satisfying once I had finished, the girlfriend thought I was crazy tho 😄

#575 Crabash

Crabash

    Scared

  • PipPipPipPipPip
  • 1,686 posts
  • Gender:Male
  • Location:Durham

Posted 12 October 2015 - 02:48 PM


glad I am not the only one who straightens the rad fins :blush:  :lol:

I must admit it was very satisfying once I had finished, the girlfriend thought I was crazy tho 😄


And she would be right!


#576 D-DAWG83

D-DAWG83

    Billy No Mates

  • PipPipPipPipPip
  • 1,276 posts
  • Gender:Male
  • Location:Milton Keynes
  • Interests:Cars, motorsport, music and films

Posted 13 October 2015 - 09:34 AM

Really bugs me having bent fins, so id have done the same. Even the ones at work i straighten the fins on when i see them.

#577 haggi961

haggi961

    1cobrav8 is my god

  • PipPipPipPipPipPipPip
  • 6,003 posts
  • Gender:Male
  • Location:Richmond, N.Yorks
  • Interests:Keeping fit and in shape, and pretty much anything to do with an engine.

Posted 19 October 2015 - 11:25 PM

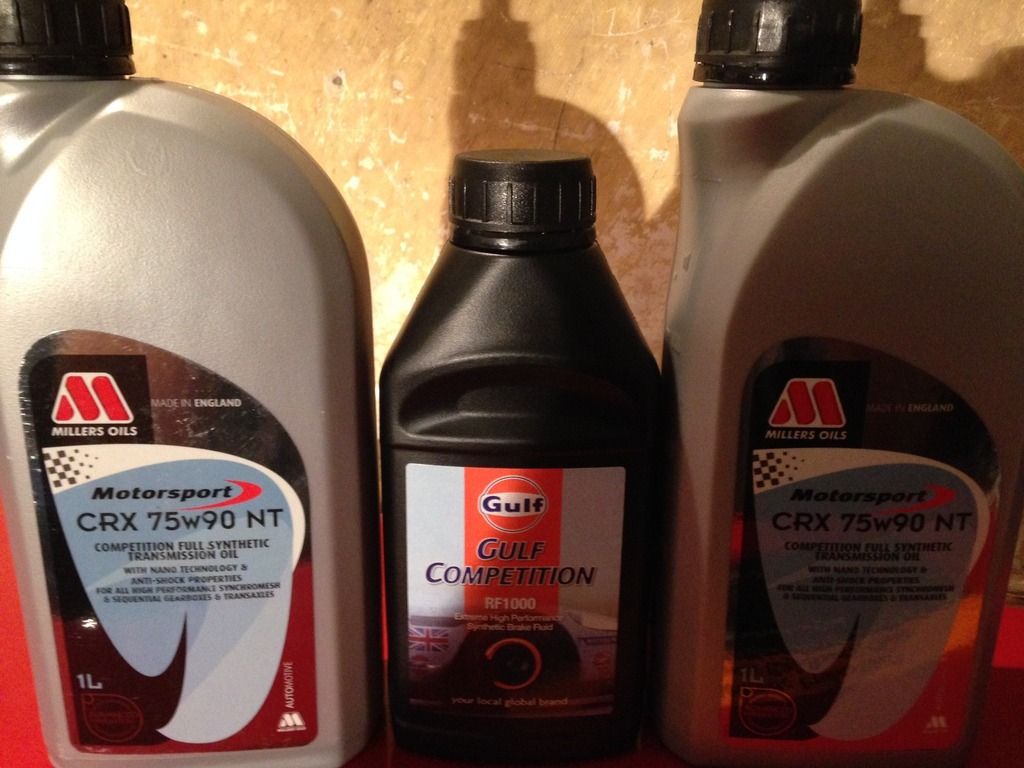
Gear box oil and brake fluid.
Posted Image

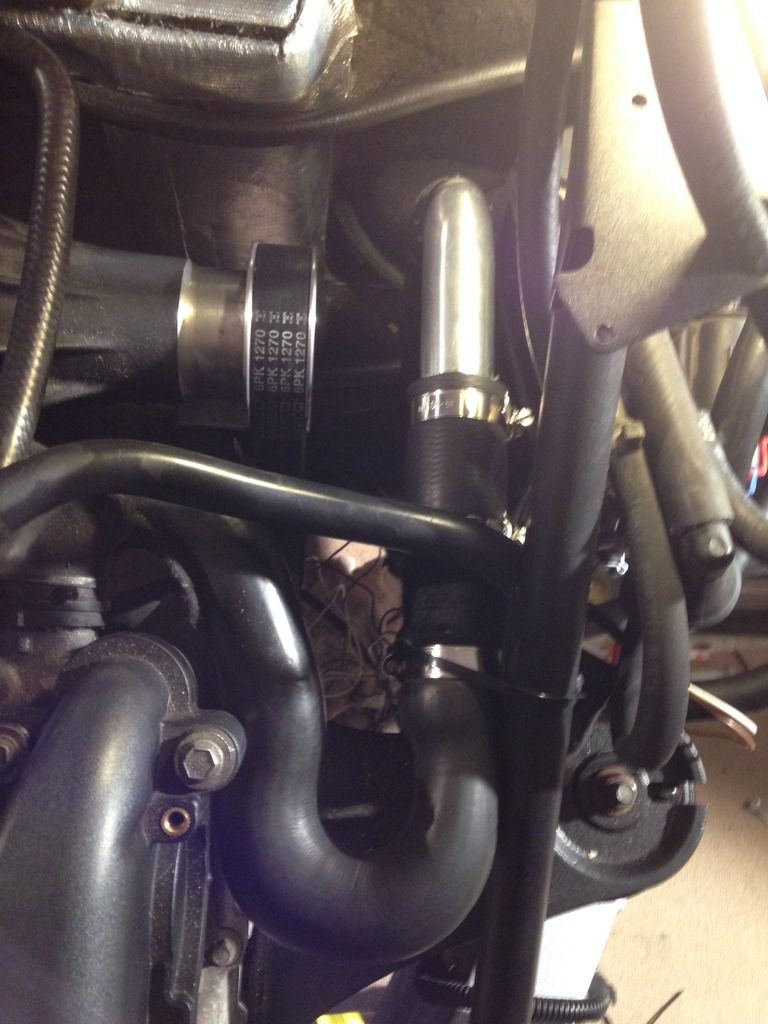
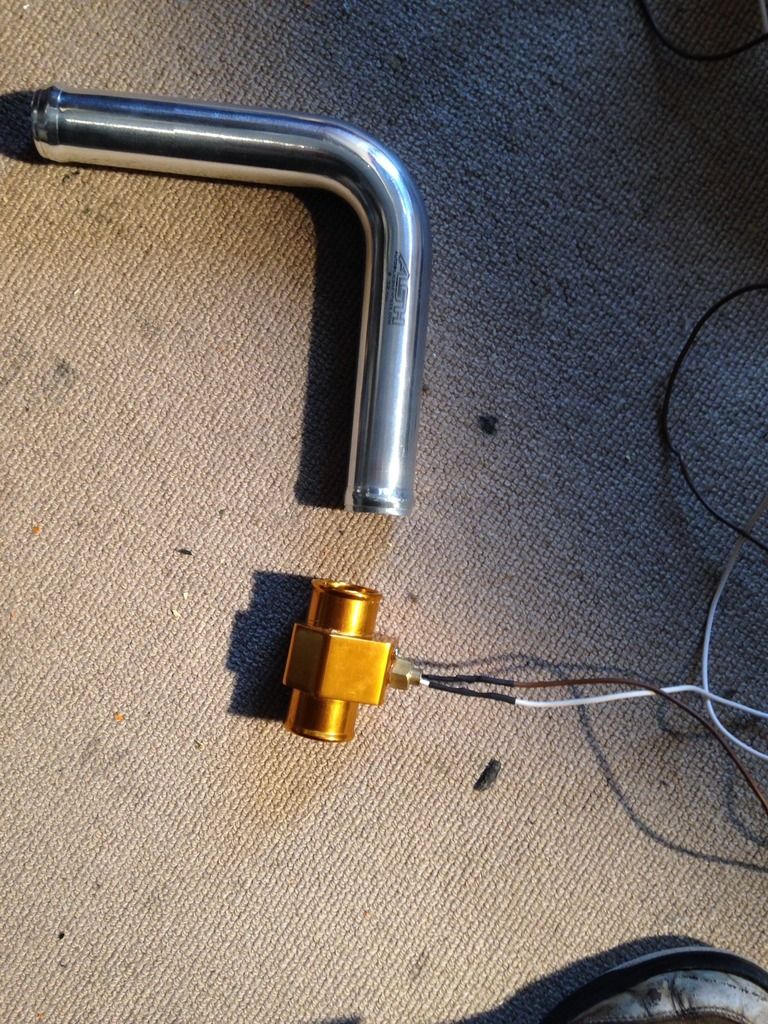
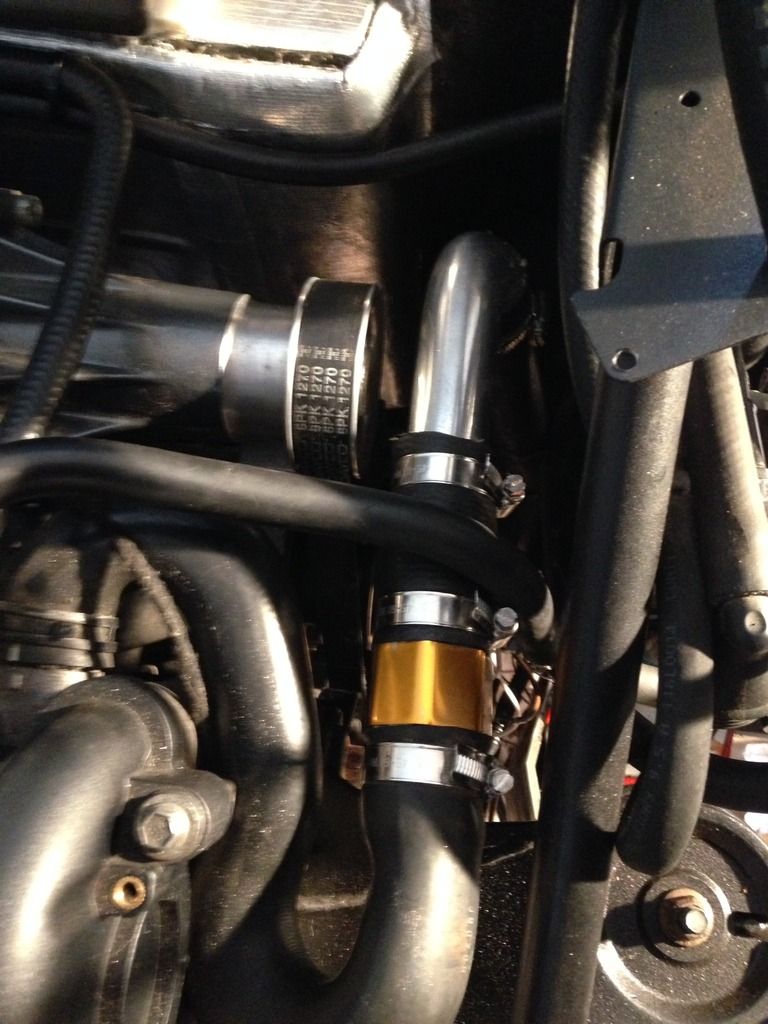
Alloy pipe and a extra water temperature sensor. I'm having to cut a section away on the pipe due to it rubbing on the supercharger pulley as Dan didn't secure it out the way enough.
Posted Image

All fitted but the sensor is to bling for me.
Posted Image

That's better.
Posted Image

#578 haggi961

haggi961

    1cobrav8 is my god

  • PipPipPipPipPipPipPip
  • 6,003 posts
  • Gender:Male
  • Location:Richmond, N.Yorks
  • Interests:Keeping fit and in shape, and pretty much anything to do with an engine.

Posted 19 October 2015 - 11:27 PM

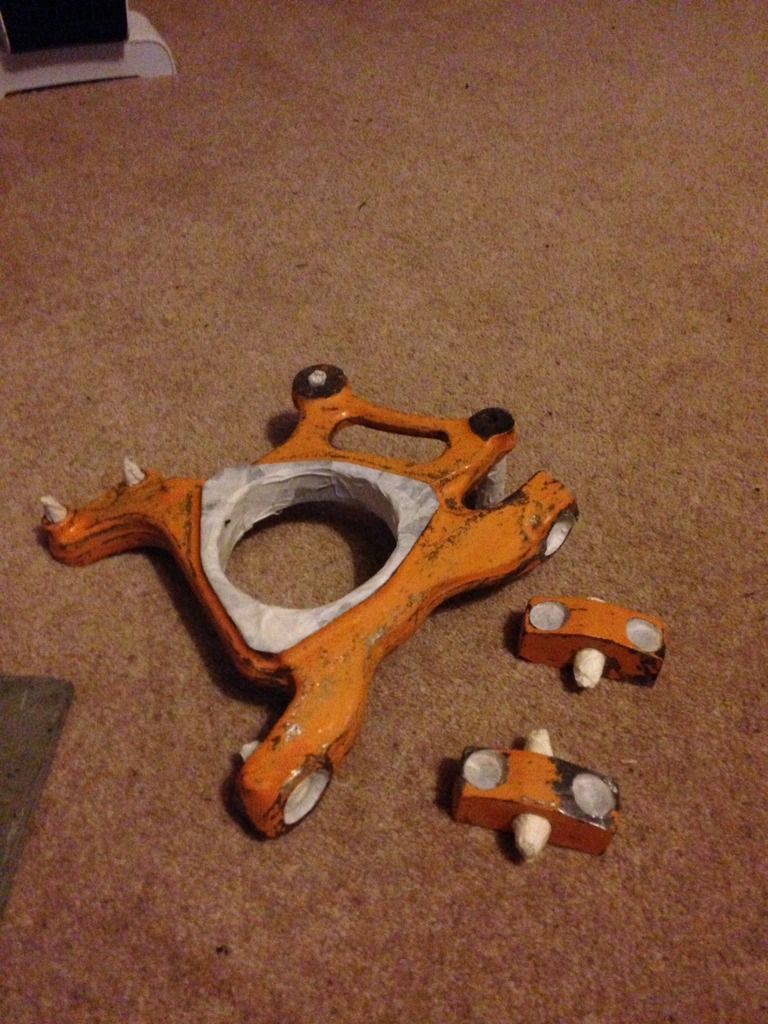
Wishbones and uprights all masked up and ready for paint.
Posted Image

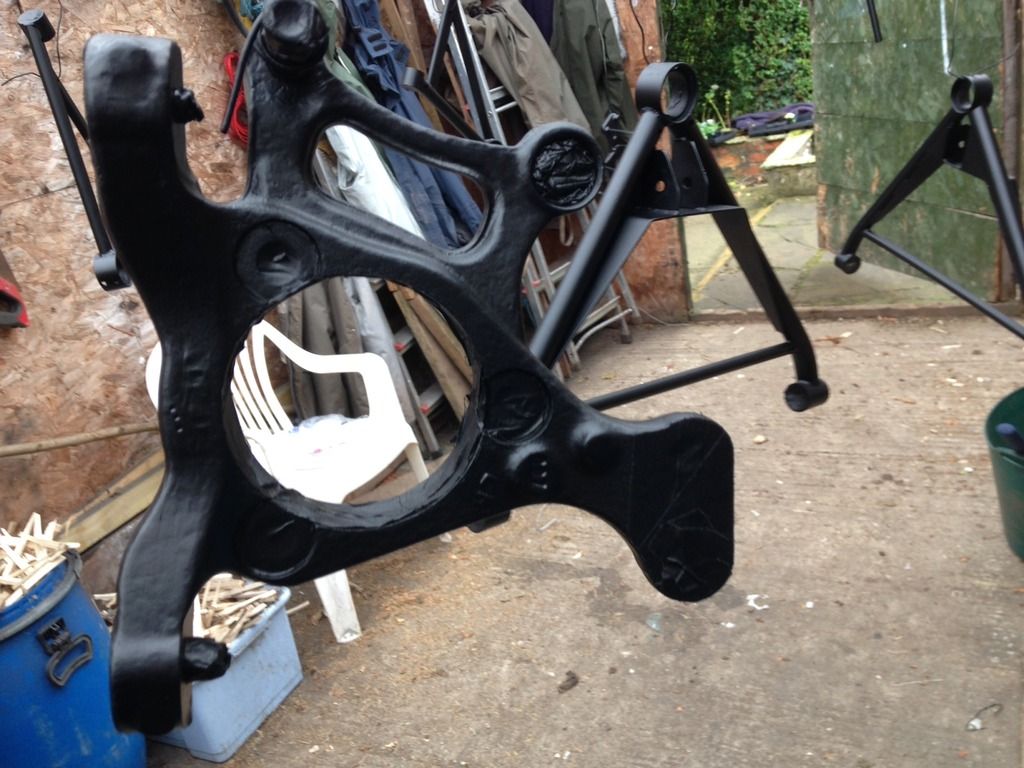
Few coats of paint on them now and looking good.
Posted Image
Posted Image

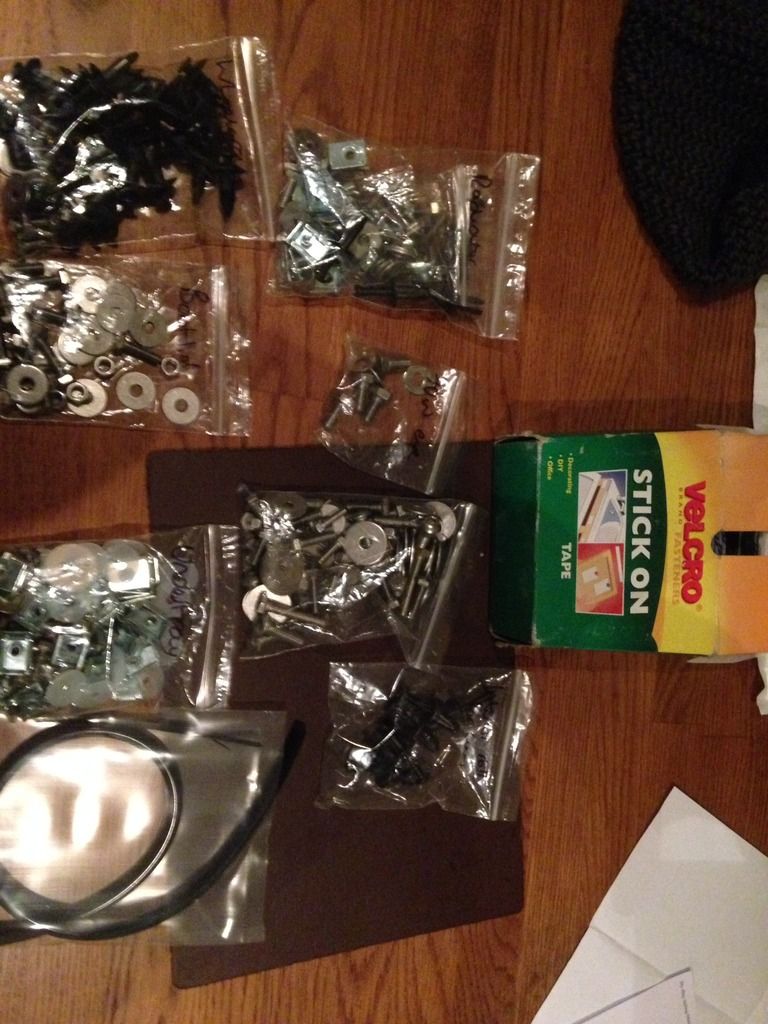
Full stainless steel nut and bolt kit for the clams etc. Silicone pipe for the washer fluid bottle and more Velcro.
Posted Image

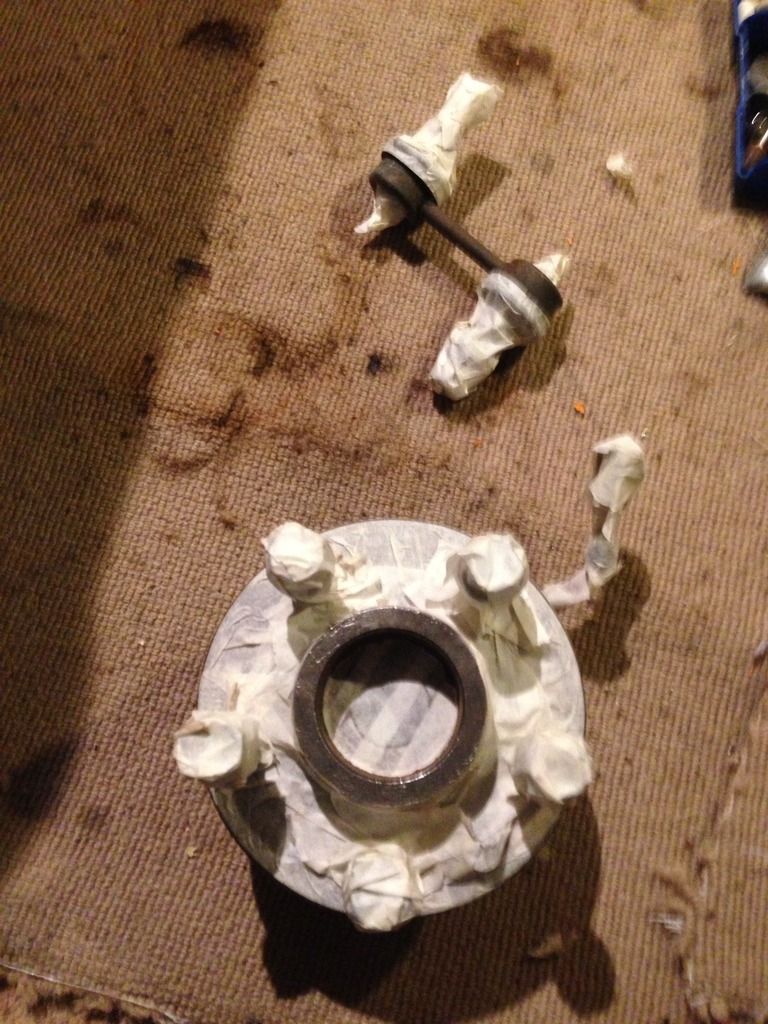
Hubs and drop links masked up.
Posted Image

#579 haggi961

haggi961

    1cobrav8 is my god

  • PipPipPipPipPipPipPip
  • 6,003 posts
  • Gender:Male
  • Location:Richmond, N.Yorks
  • Interests:Keeping fit and in shape, and pretty much anything to do with an engine.

Posted 19 October 2015 - 11:28 PM

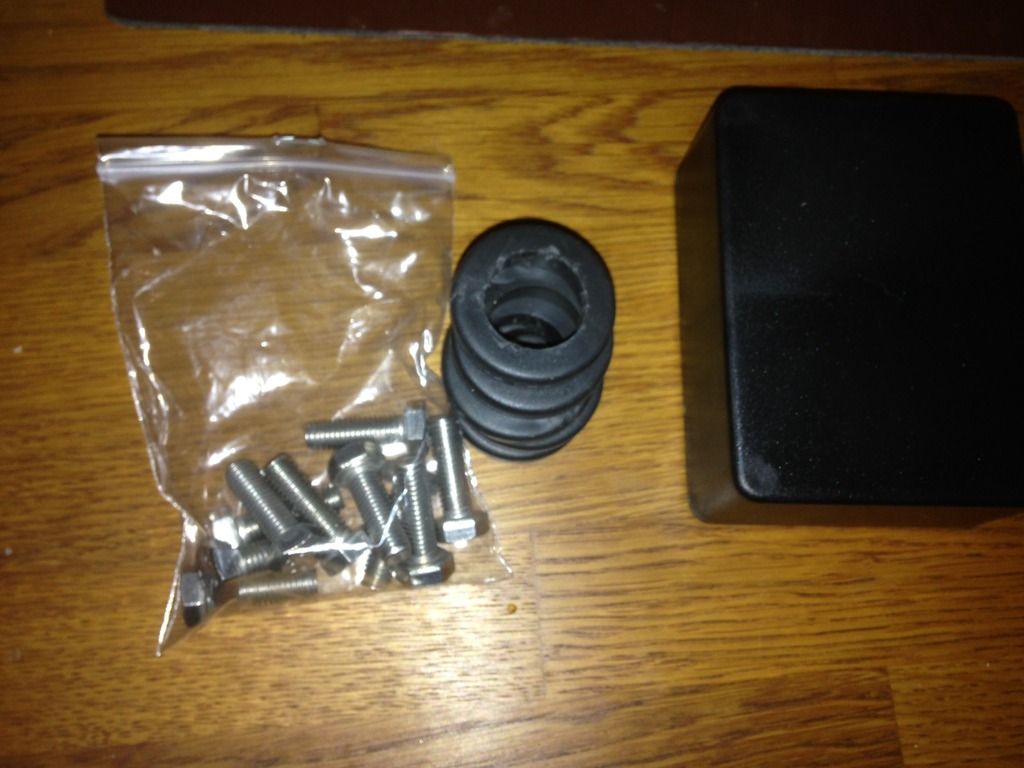
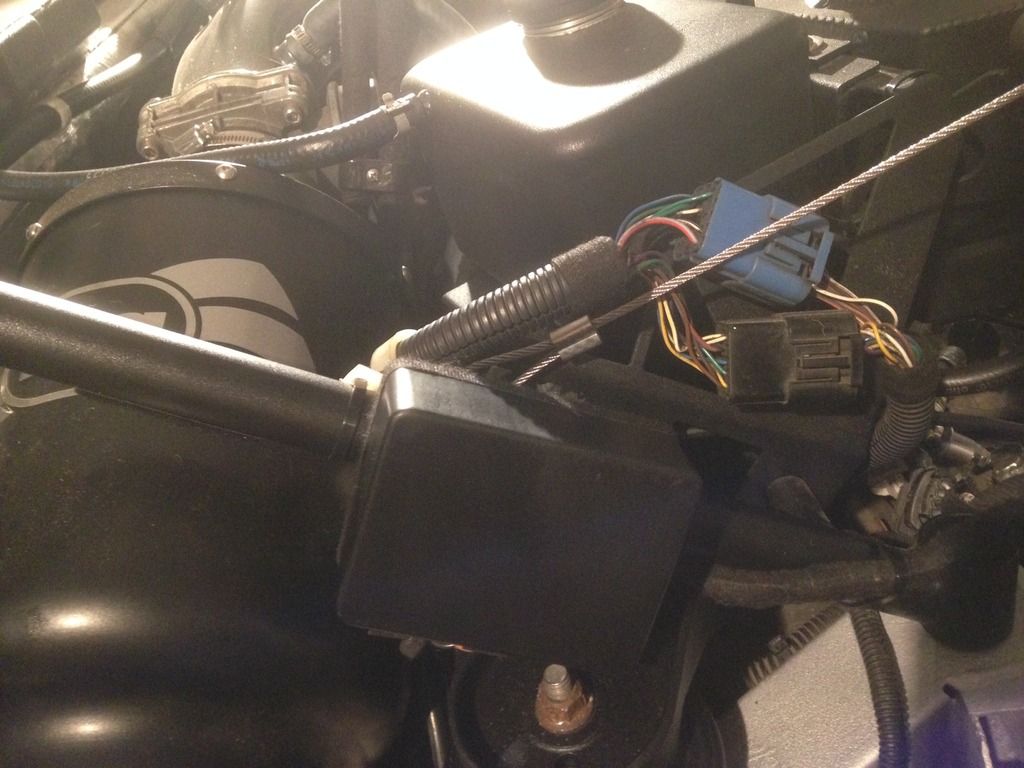
More bolts, grommets and plastic box for the relays.
Posted Image

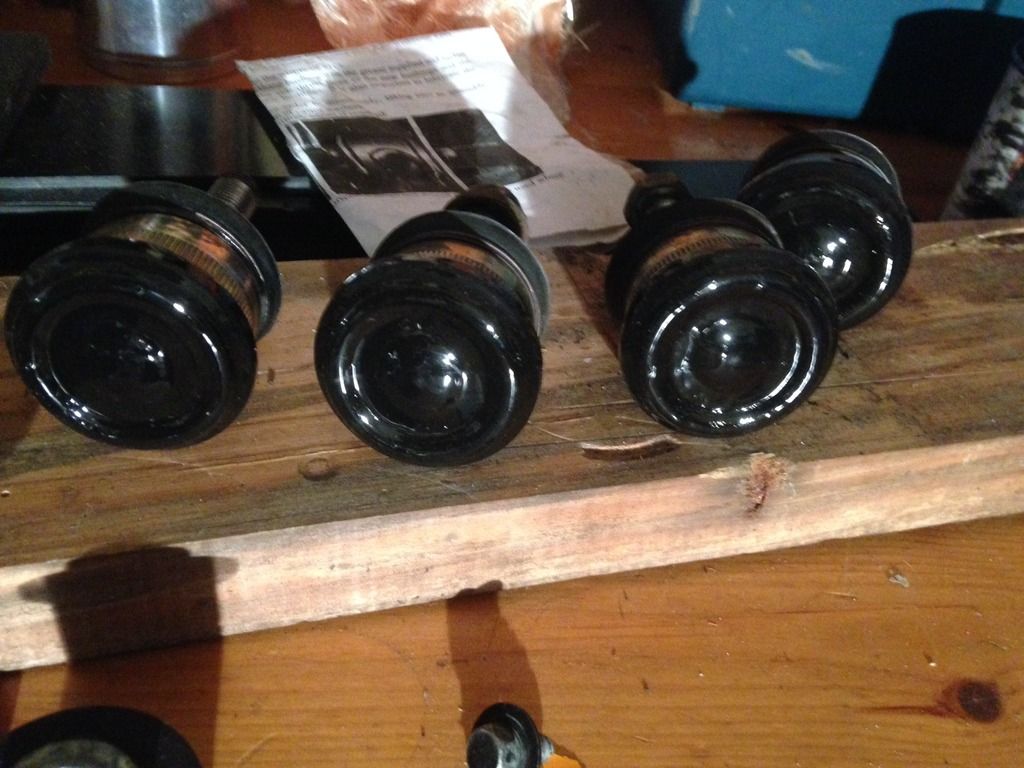
Balljoints painted.
Posted Image

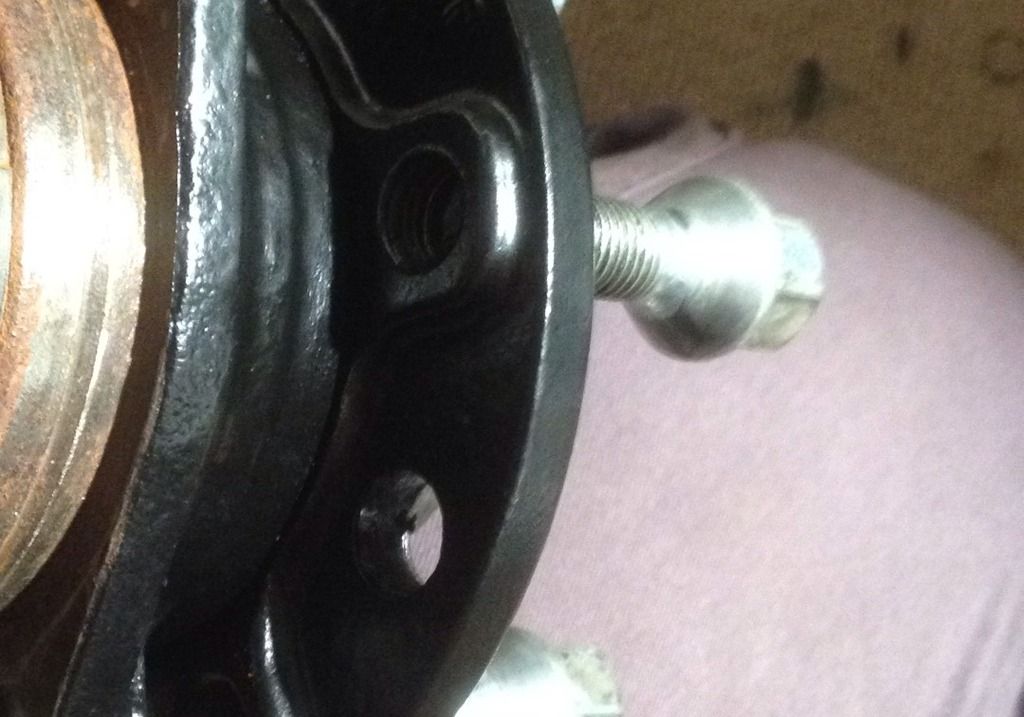
Hubs painted
Posted Image

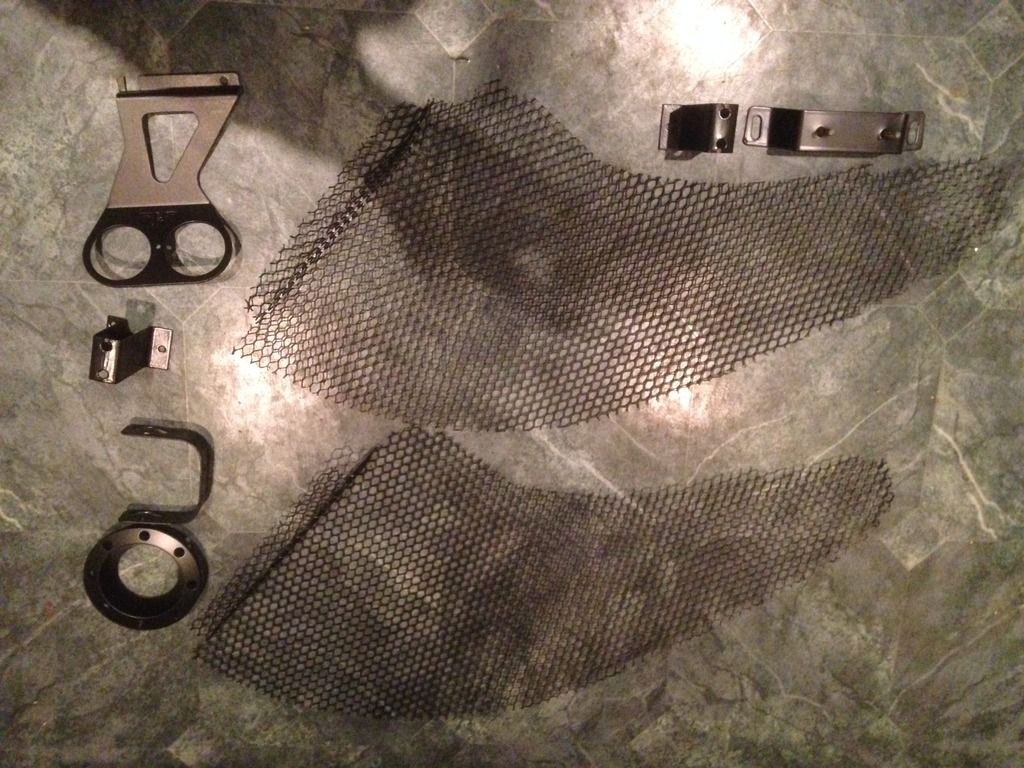
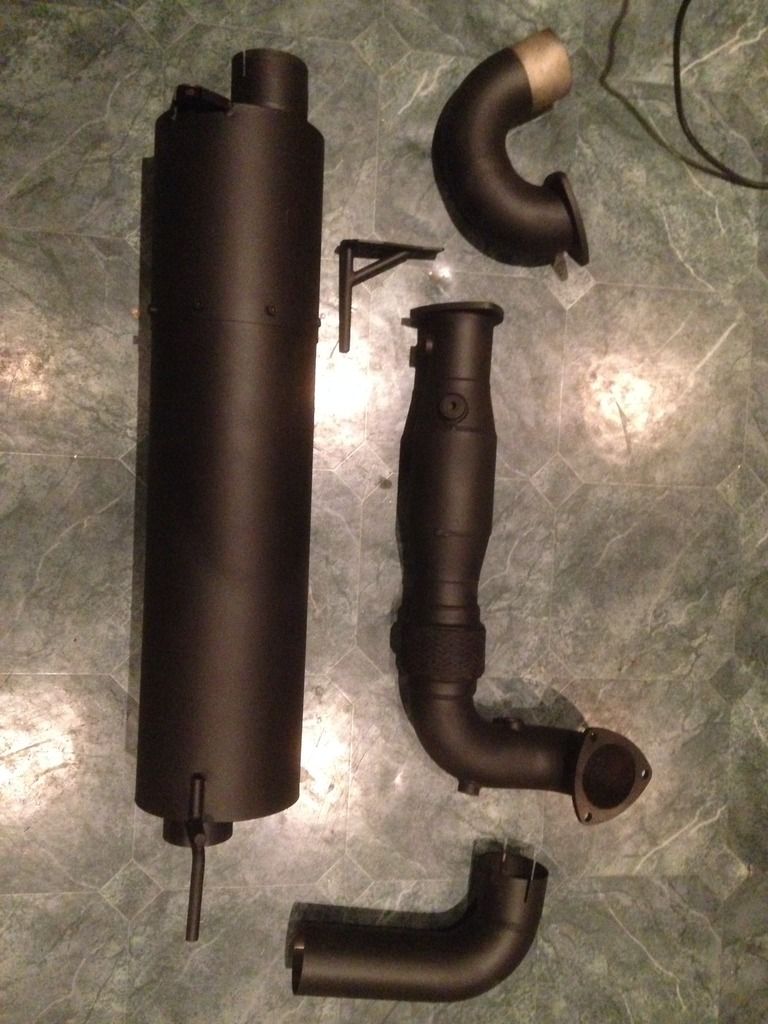
Received my exhaust back plus a few other bits from being powder coated. The parts are front clam mesh grills, fuel cap, gauge bracket, alarm bracket, side vent brackets, front clam support bracket.
Posted Image
Posted Image

#580 haggi961

haggi961

    1cobrav8 is my god

  • PipPipPipPipPipPipPip
  • 6,003 posts
  • Gender:Male
  • Location:Richmond, N.Yorks
  • Interests:Keeping fit and in shape, and pretty much anything to do with an engine.

Posted 19 October 2015 - 11:29 PM

Got all the brackets I need to bolt the radiator to the housing now so I painted them.
Posted Image

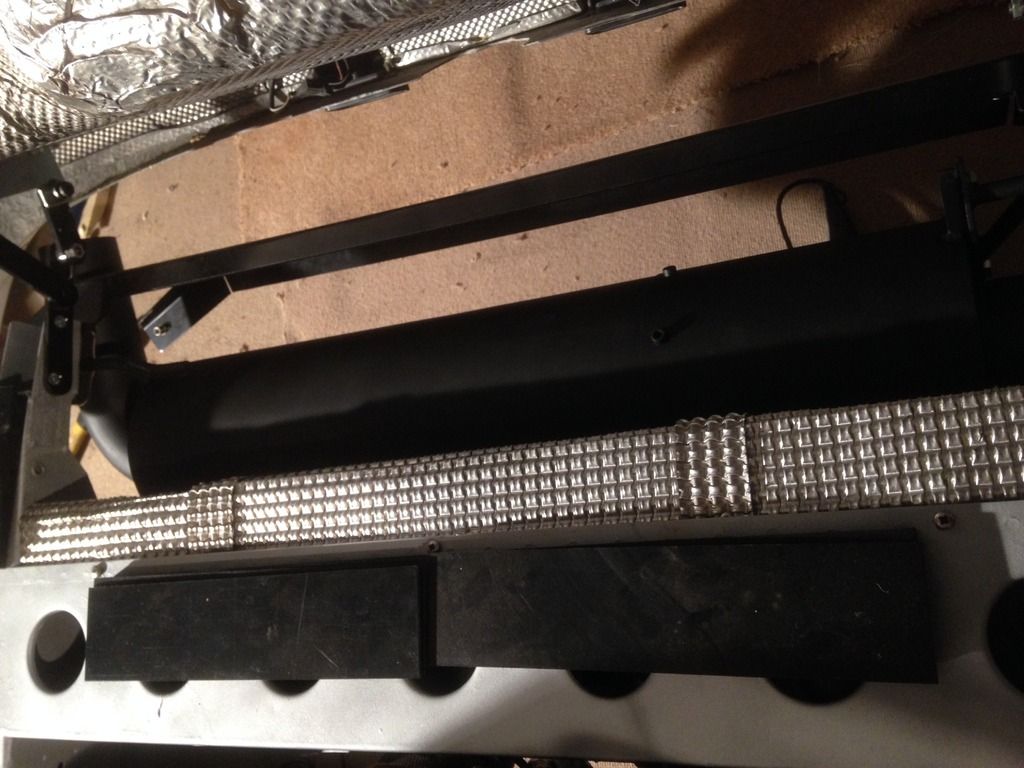
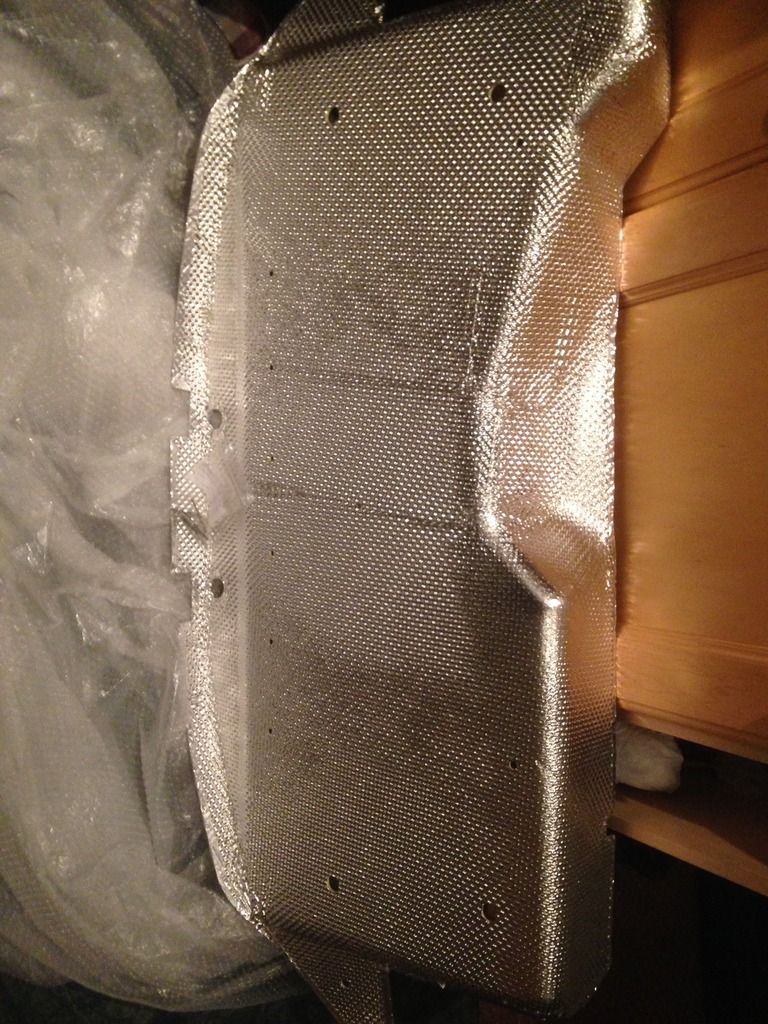
New rear clam heat shield to fit at some point.
Posted Image

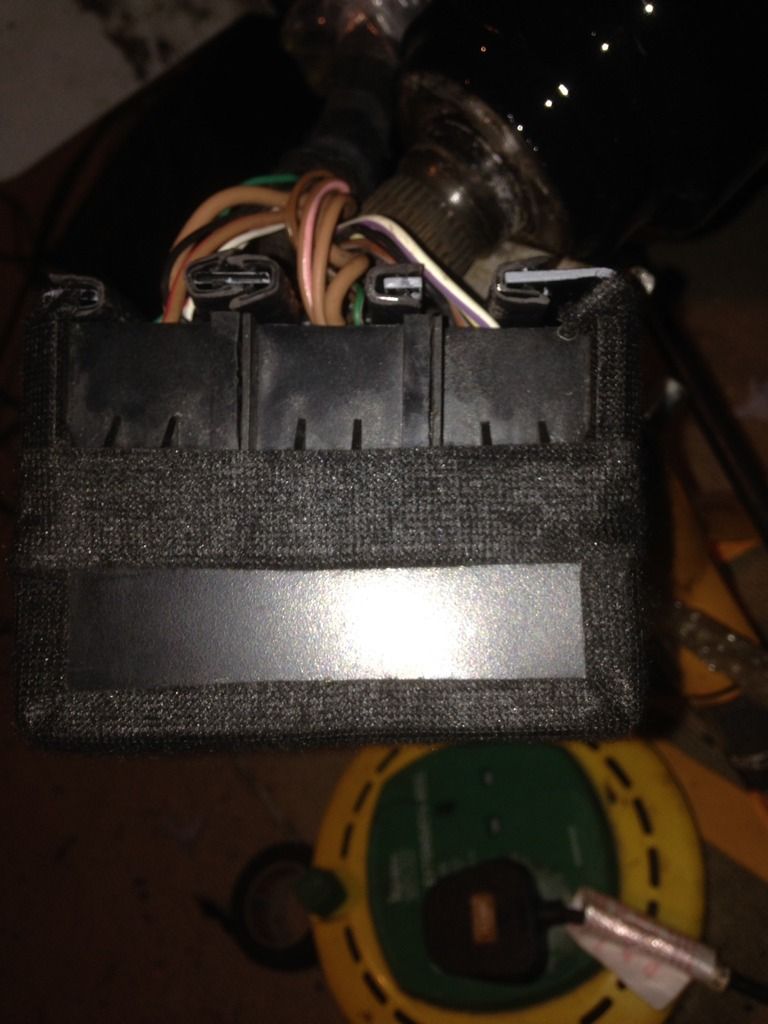
Black box fitted to the relays to stop any moisture getting into them. It took some time to get the box to fit perfect.
Posted Image
Posted Image

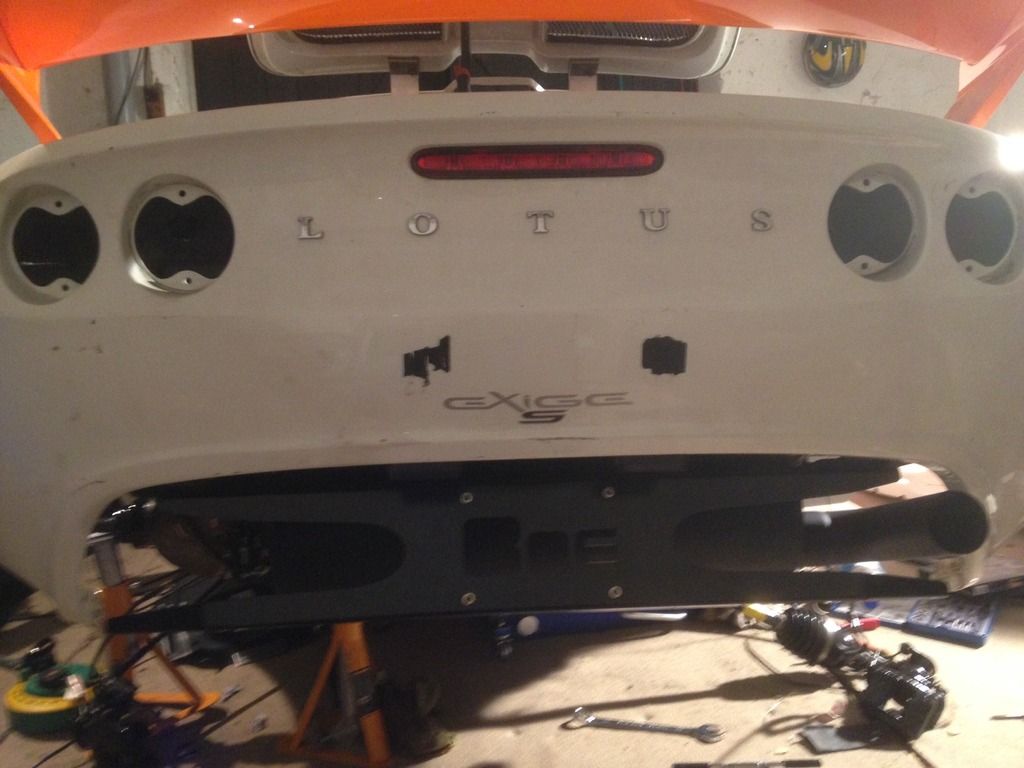
Exhaust fitted.
Posted Image
Posted Image
Posted Image


1 user(s) are reading this topic

0 members, 1 guests, 0 anonymous users