Haggi's New Project
#621

Posted 03 January 2016 - 10:27 PM
#622

Posted 04 January 2016 - 09:22 AM
#623

Posted 04 January 2016 - 09:31 AM
#624

Posted 04 January 2016 - 09:58 AM
With a chassis that clean I hope you are not planning on driving it ![]()
#625

Posted 04 January 2016 - 10:17 AM
I know it's scares me at the thought 😂 But it's been built to be driven hard and can't have it as a garage queen.With a chassis that clean I hope you are not planning on driving it
#626

Posted 11 January 2016 - 12:09 AM
#627

Posted 03 March 2016 - 04:09 PM
First road trip the Hoon ?
#628

Posted 03 March 2016 - 04:32 PM
Not sure if you have used DAB a lot Luke but IMO those stick on aerials are fairly poor. I was getting dropouts about 40% of the time until I swapped to a roof mounted powered one.
#629

Posted 03 March 2016 - 05:03 PM
Yep 😂, well that my aim so I better get a move on as the front end is in bits atm.First road trip the Hoon ?
#630

Posted 03 March 2016 - 05:05 PM
I've only tested it inside my garage and it seems to work well. It's got to be better then nothing as the Exige areial runs inside the front clam so would mean getting another wire in that direction. I haven't the vx setup anymore with the wires so can't go down that route.Not sure if you have used DAB a lot Luke but IMO those stick on aerials are fairly poor. I was getting dropouts about 40% of the time until I swapped to a roof mounted powered one.
#631

Posted 13 April 2016 - 07:56 PM
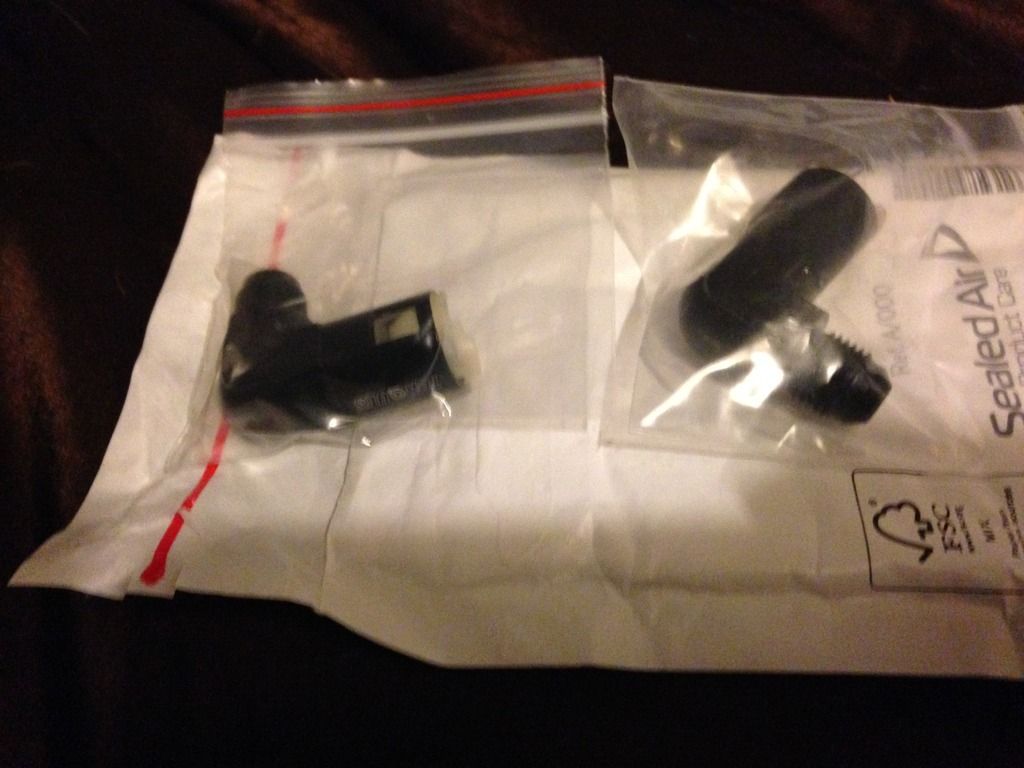
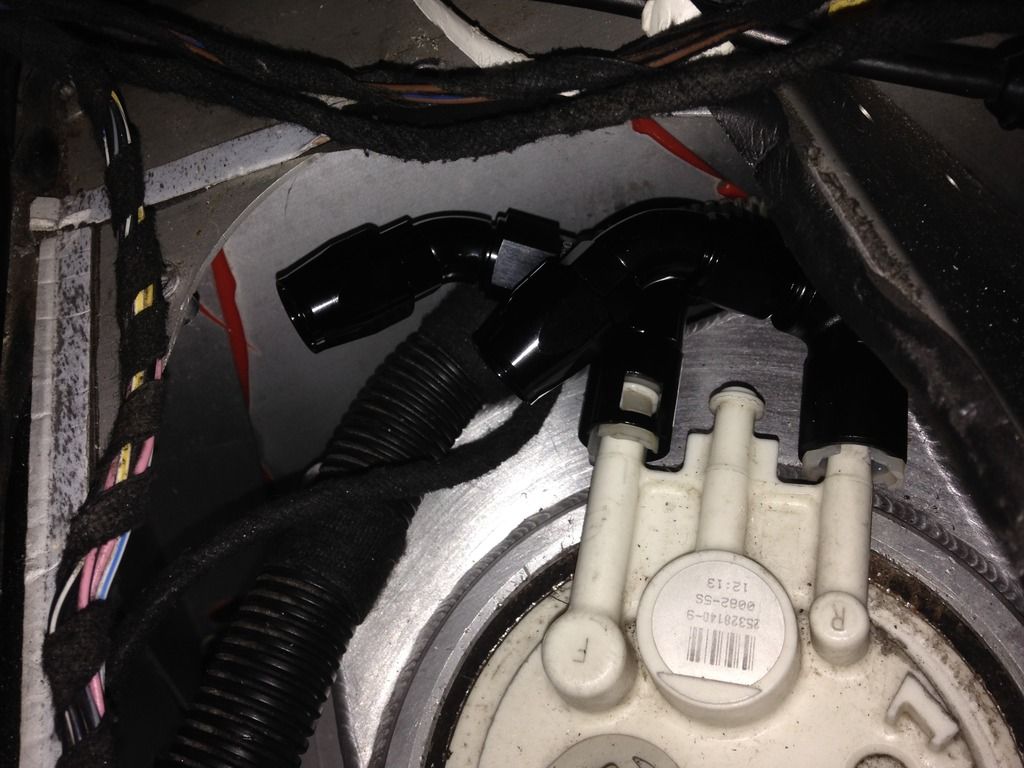
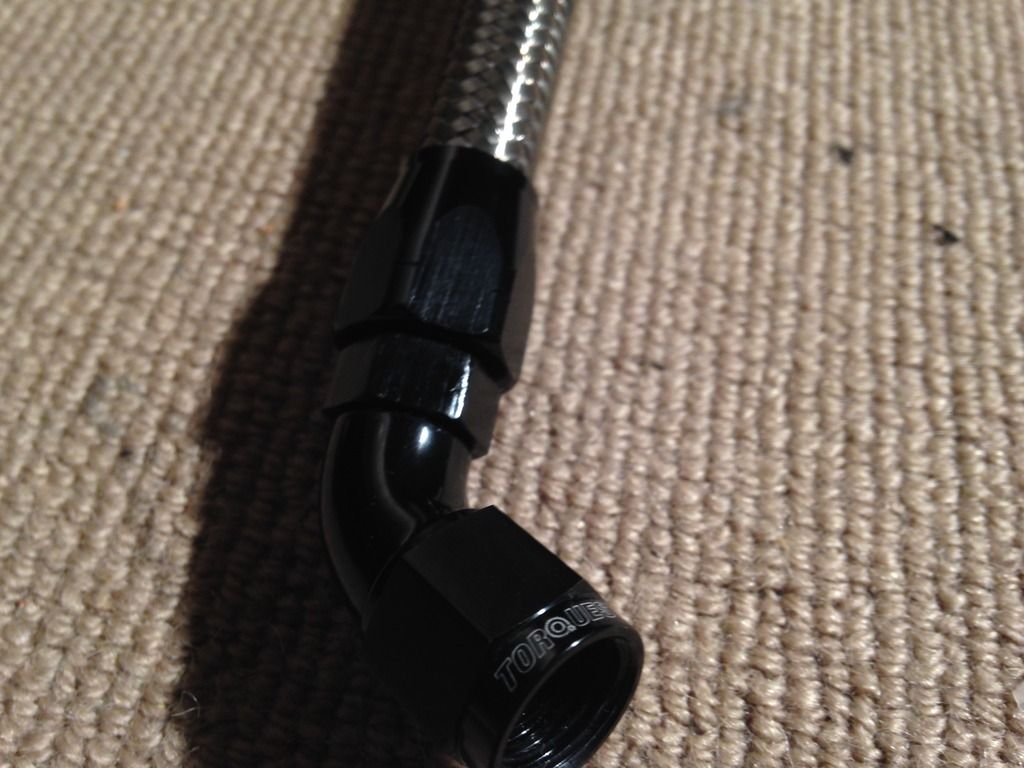
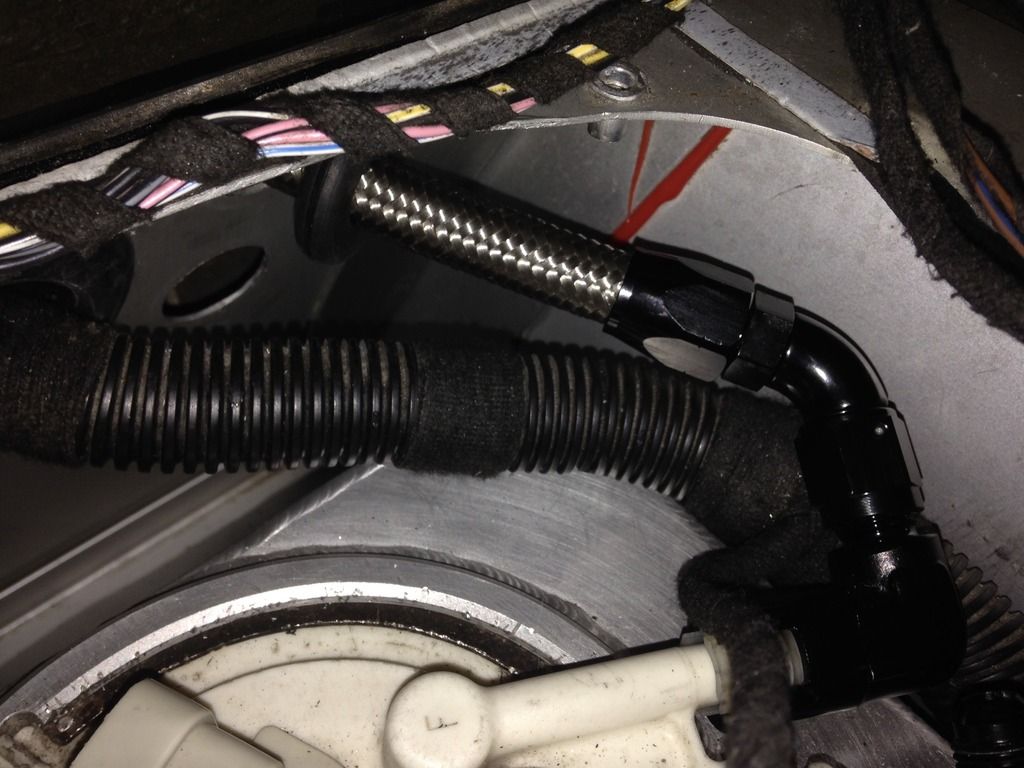
Right it was time to start fitting my pro alloy tank and braided lines and fittings. I bought the first set of fittings which was the 180 and 150 degrees ones for inside the inspection hatch to go in the canister housing. They did fit but it didn't leave very much room inside with the braided hoses and to be able to take the fittings off the canister quick.
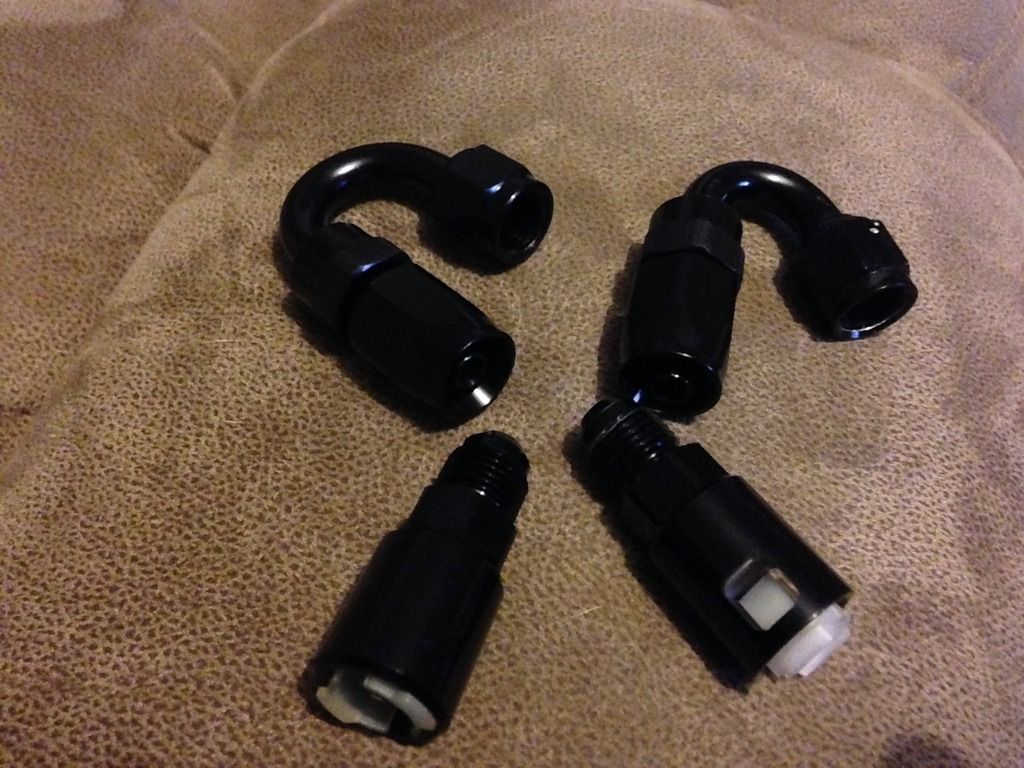
So a few measurements later and a couple of days later I received some more fittings. Two 90 degrees quick clip connectors and a 30 degrees and a 40 degrees in think it was.
New tank vs old one
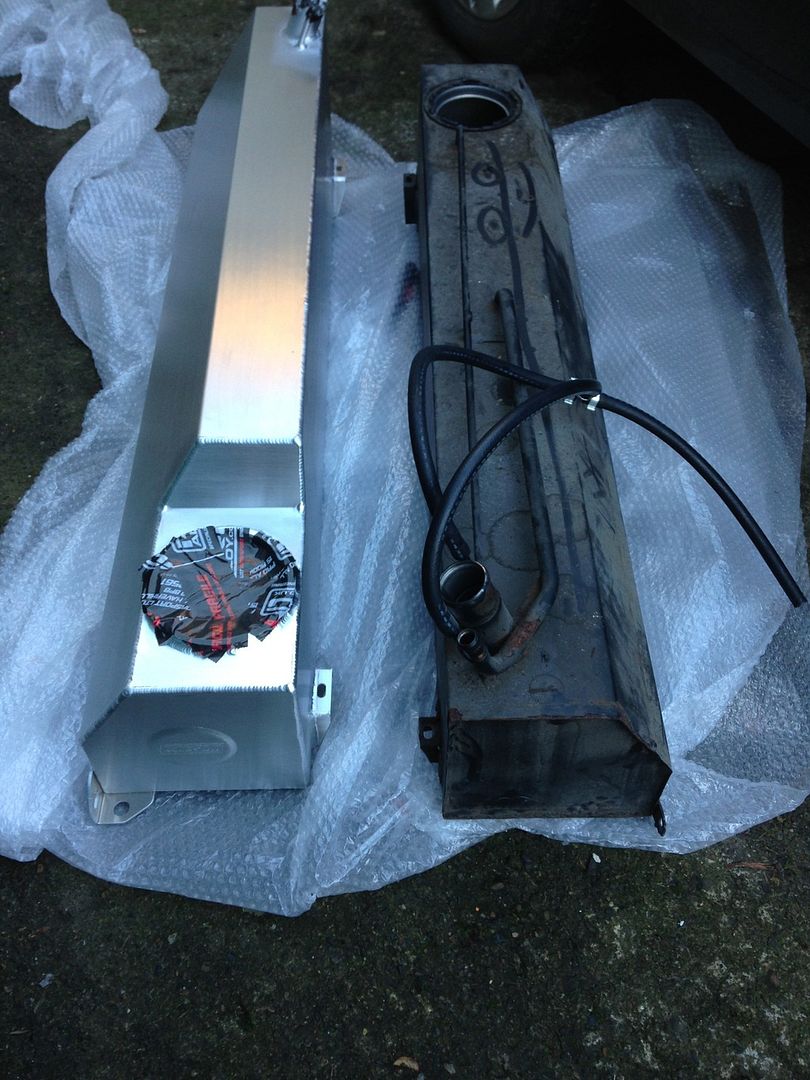
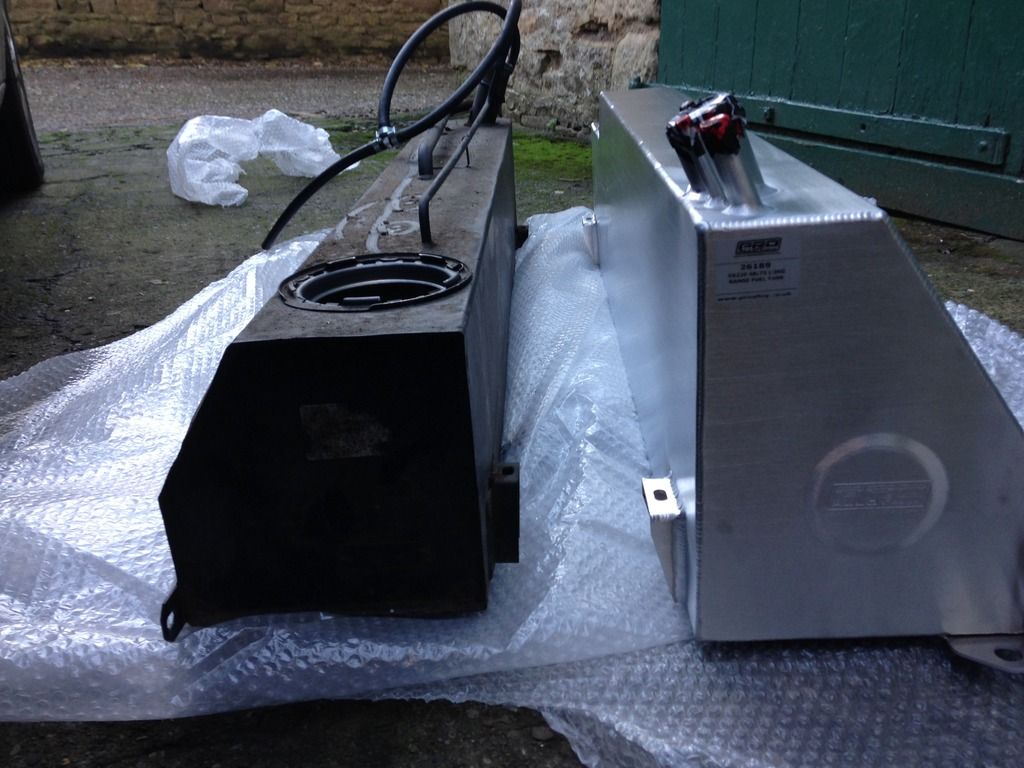
Photo of where the tank lives after a good clean and the duct tape comes as standard.
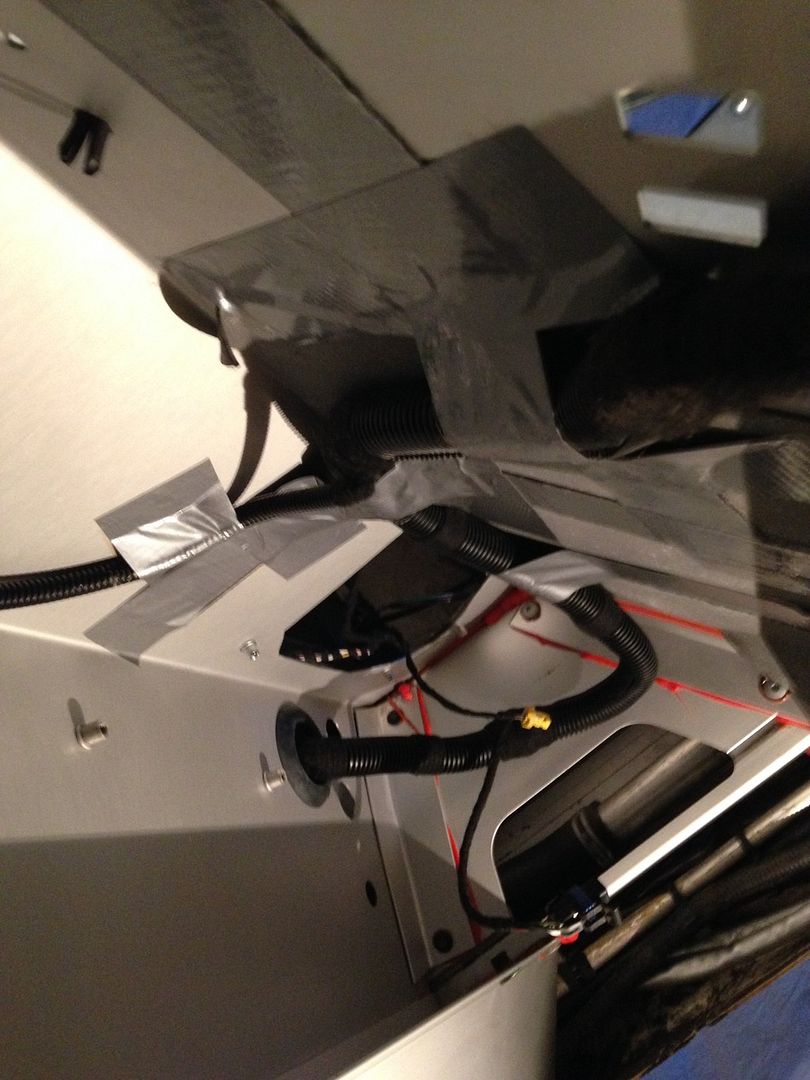
#632

Posted 13 April 2016 - 07:57 PM
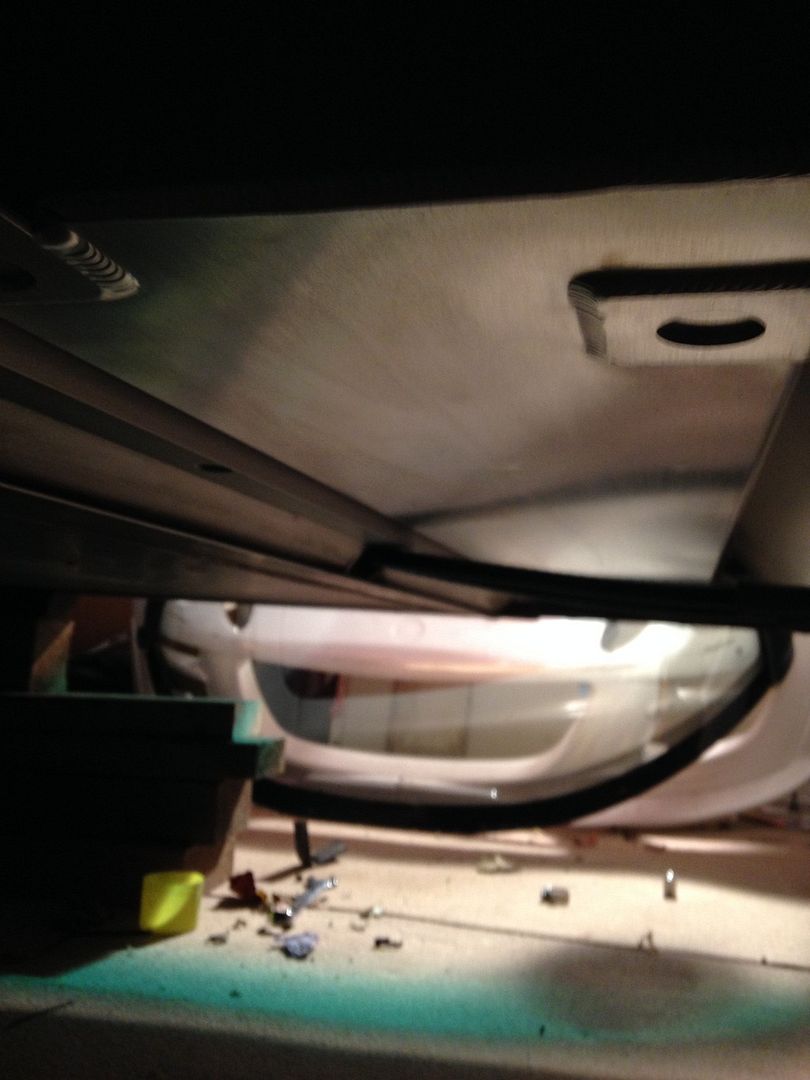
The fit already looks miles better
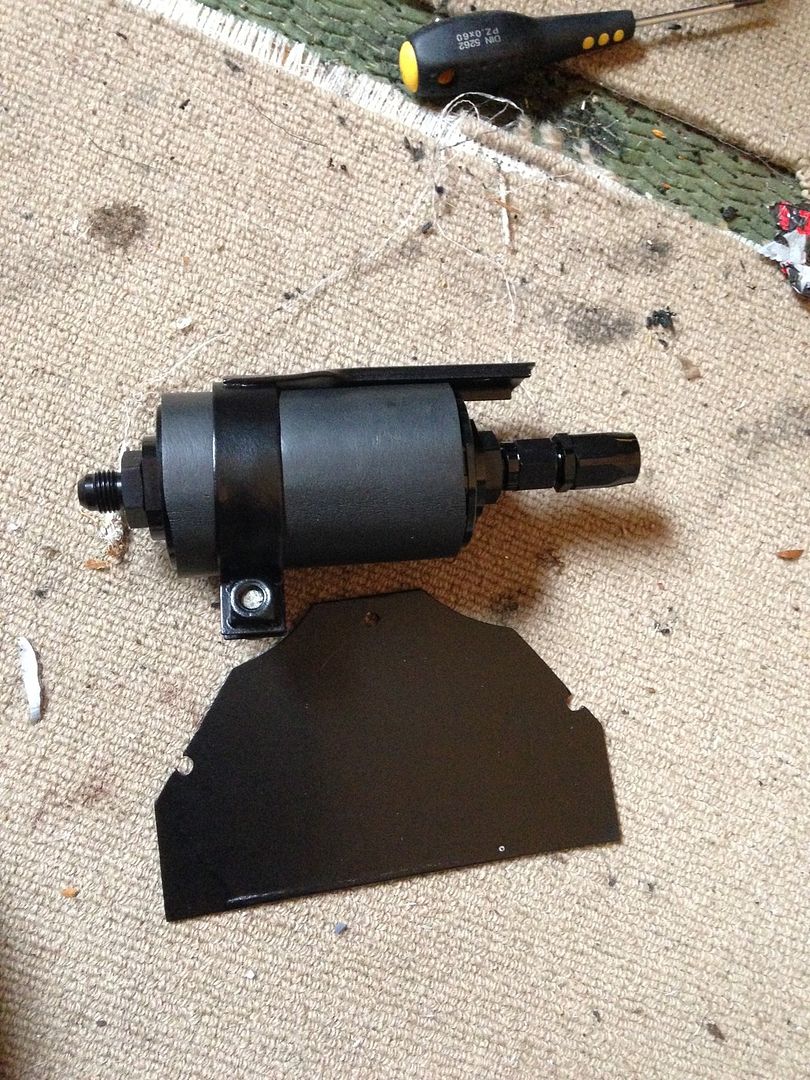
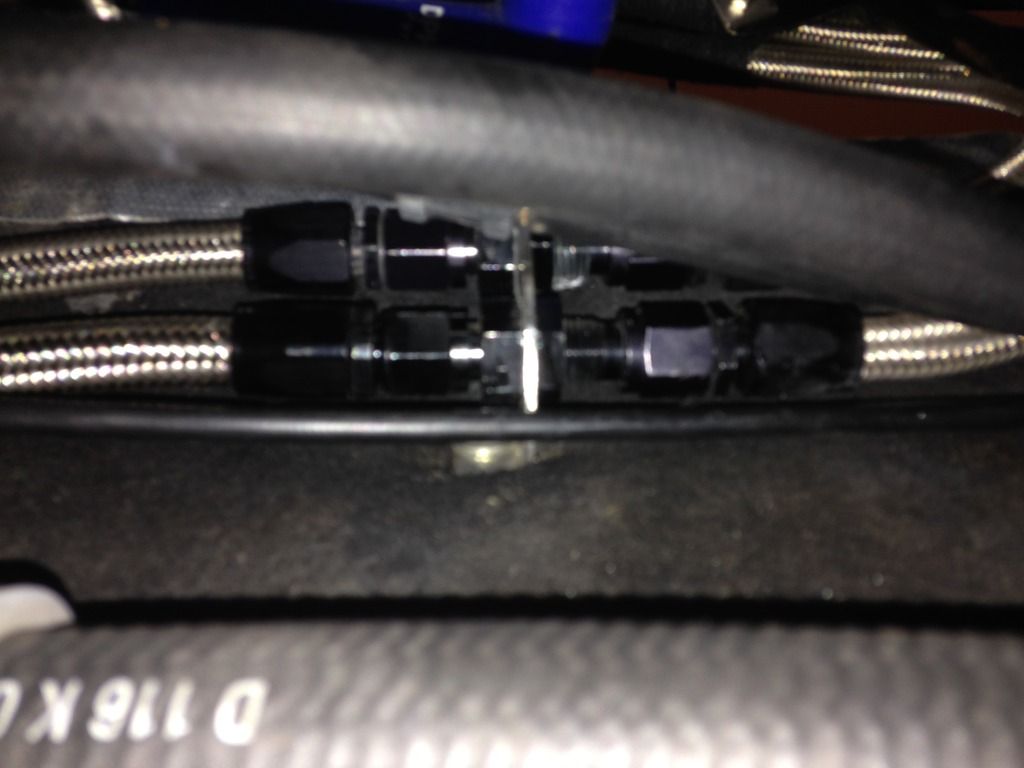
I then got a AN6 inline fuel filter with stainless steel and changeable filter and it fitted the oem bracket perfect. So I decided to paint the bracket black to match the colour theme.
 [/
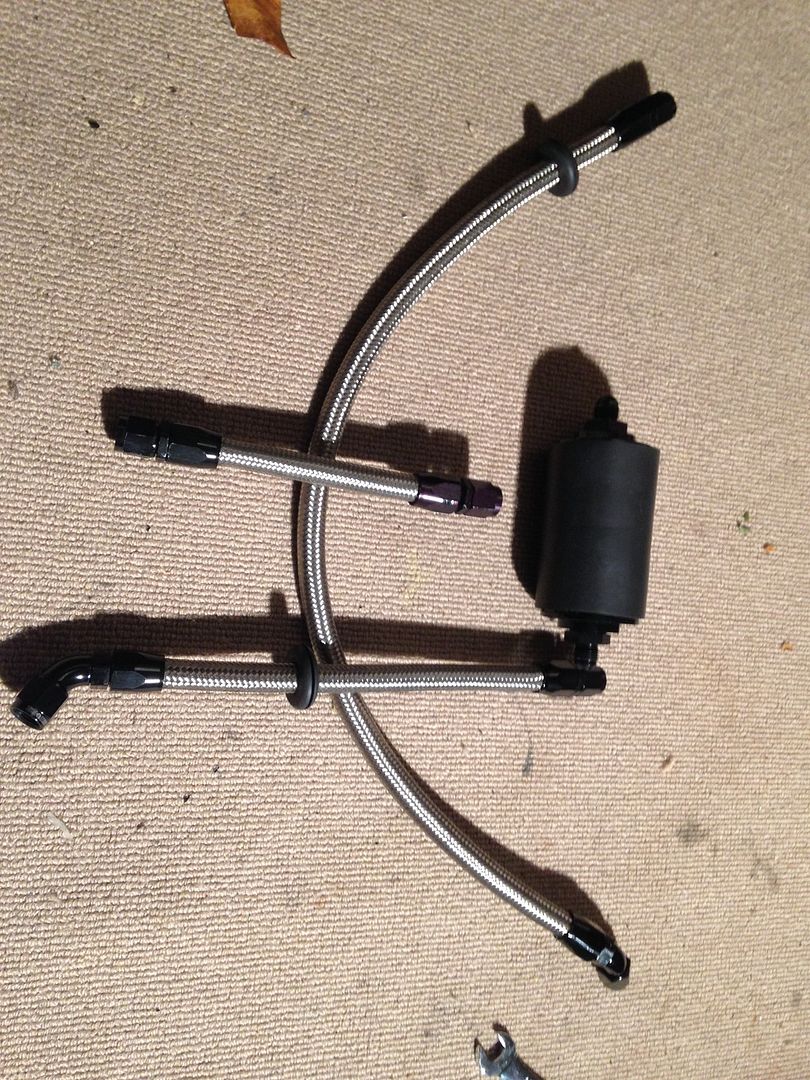
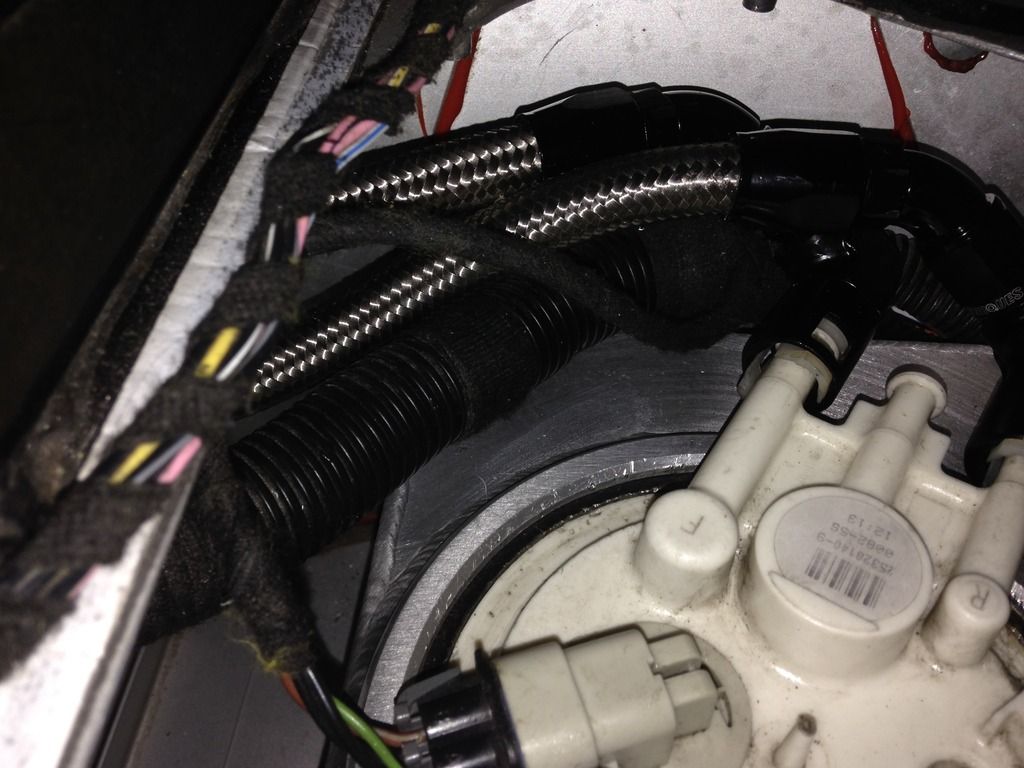
[/All the hoses made up and the fit inside the canister was loads better and left me with lots of room.
[URL=http://s1174.photobu...uyiid.jpg.html]
#633

Posted 13 April 2016 - 07:58 PM
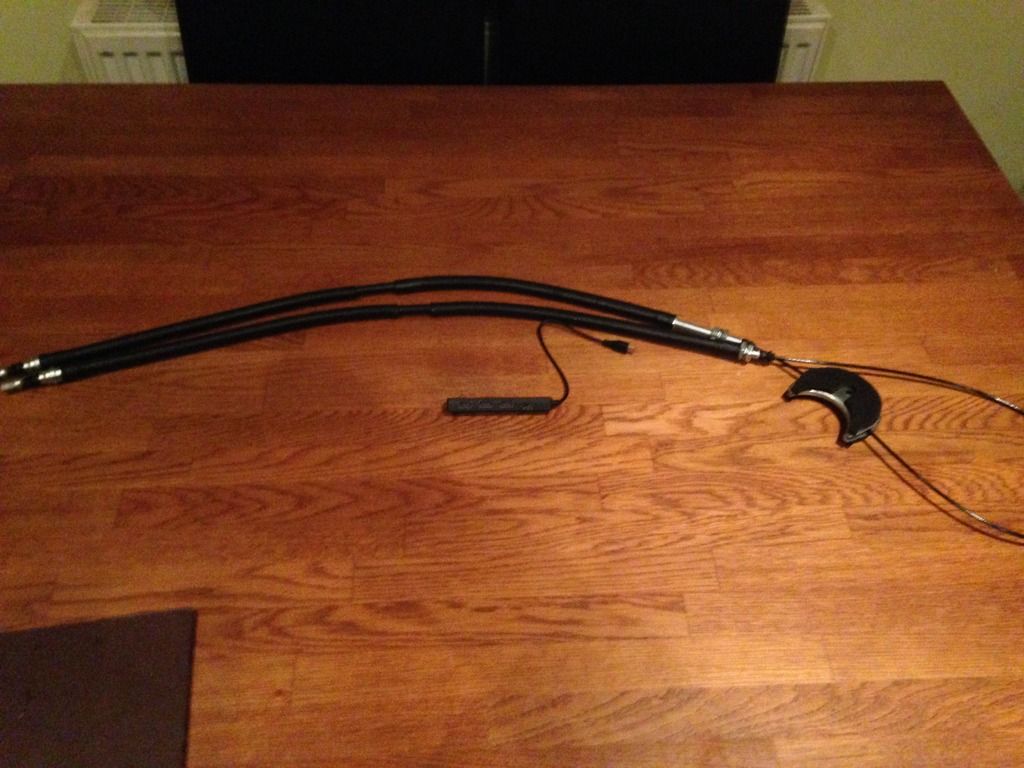
Since the handbrake cable was off i thought I may as well replace it with a new one.
Cleaned the tank under tray
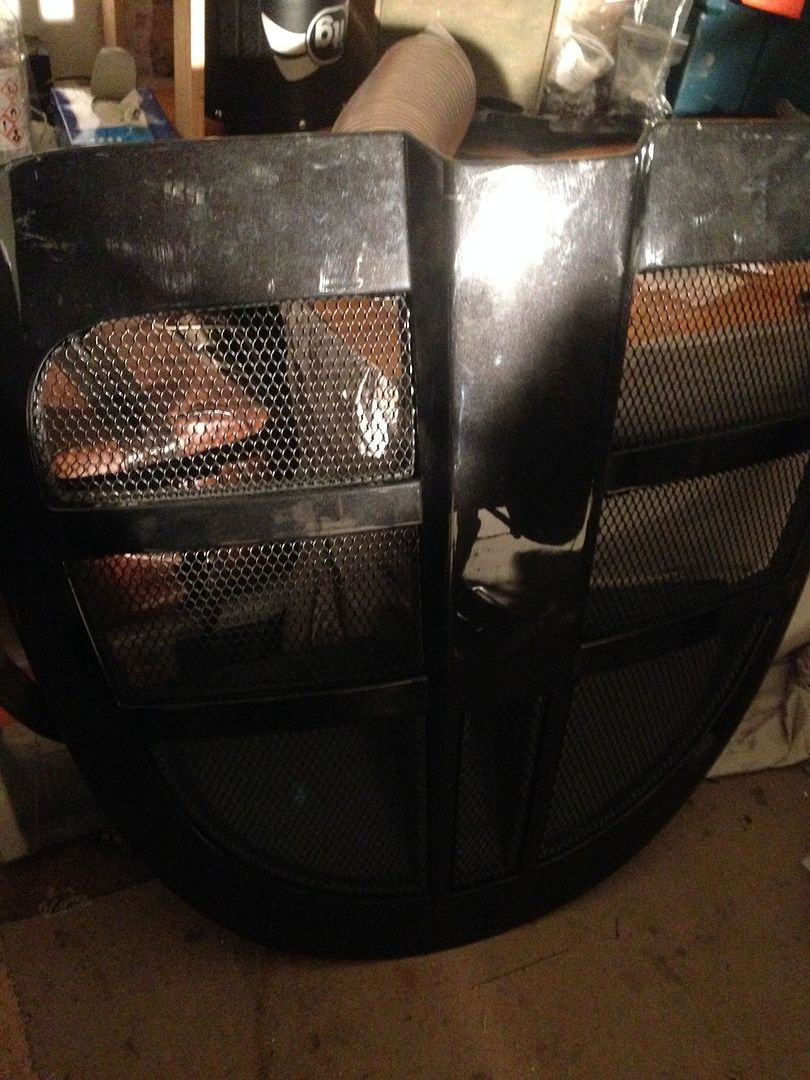
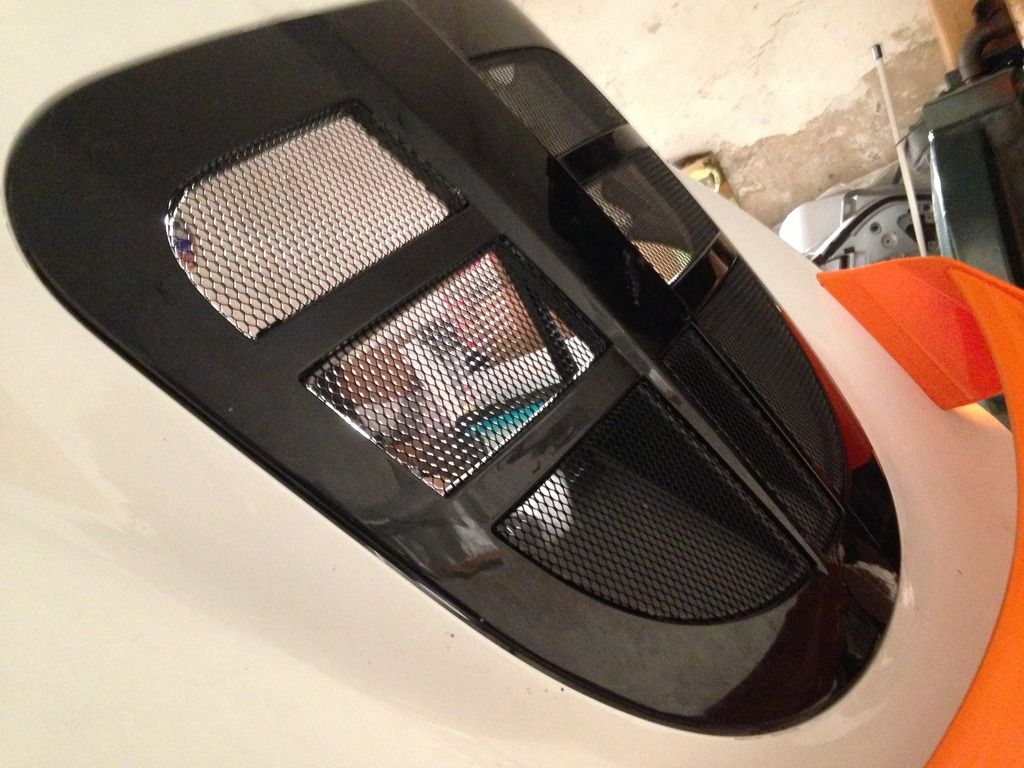
I also managed to get hold of an oem 2010 engine cover which was lucky
#634

Posted 13 April 2016 - 07:59 PM
 [/URL
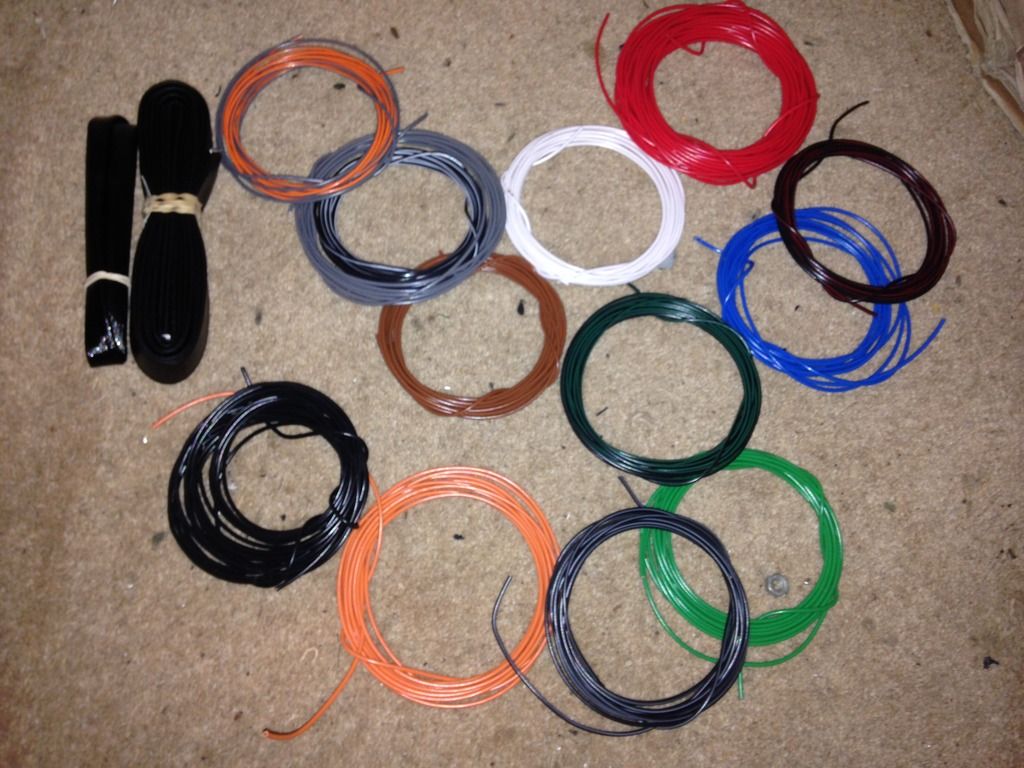
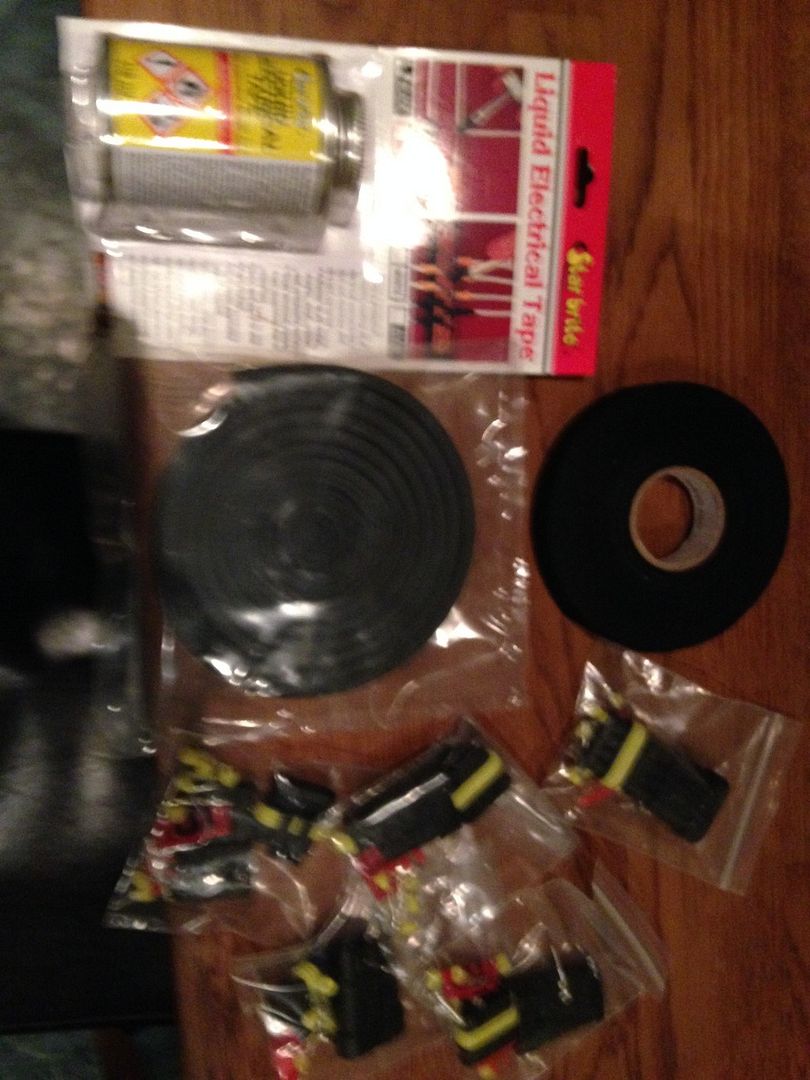
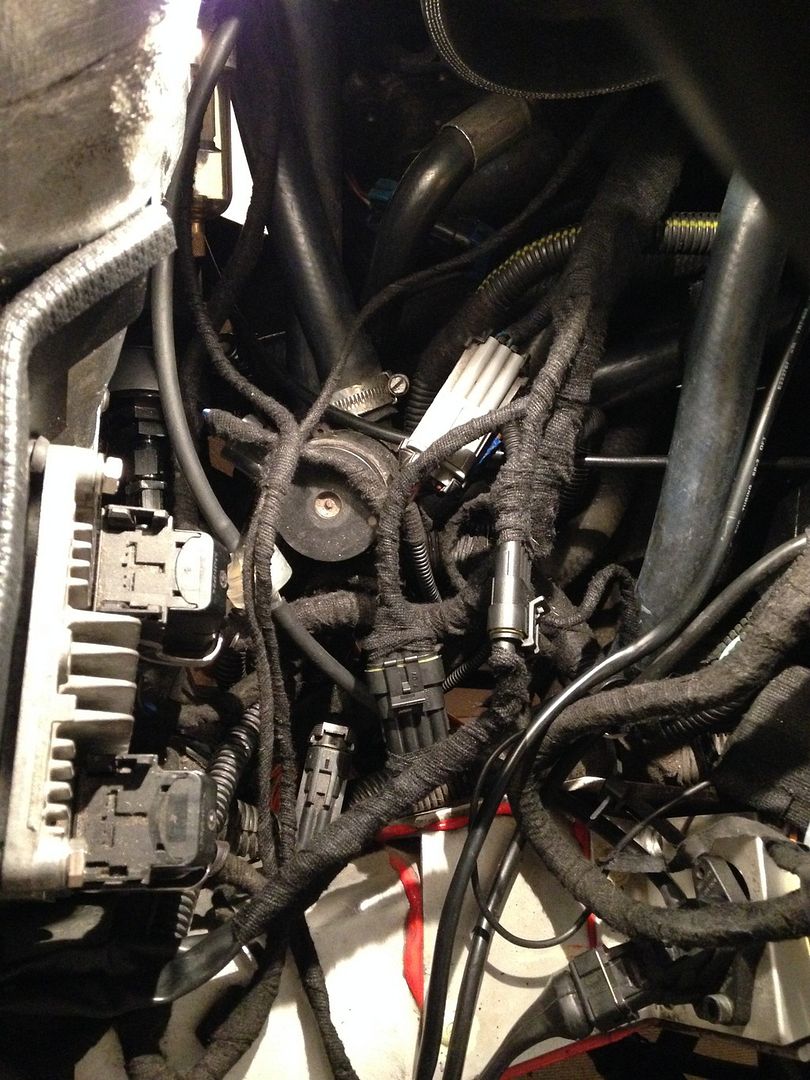
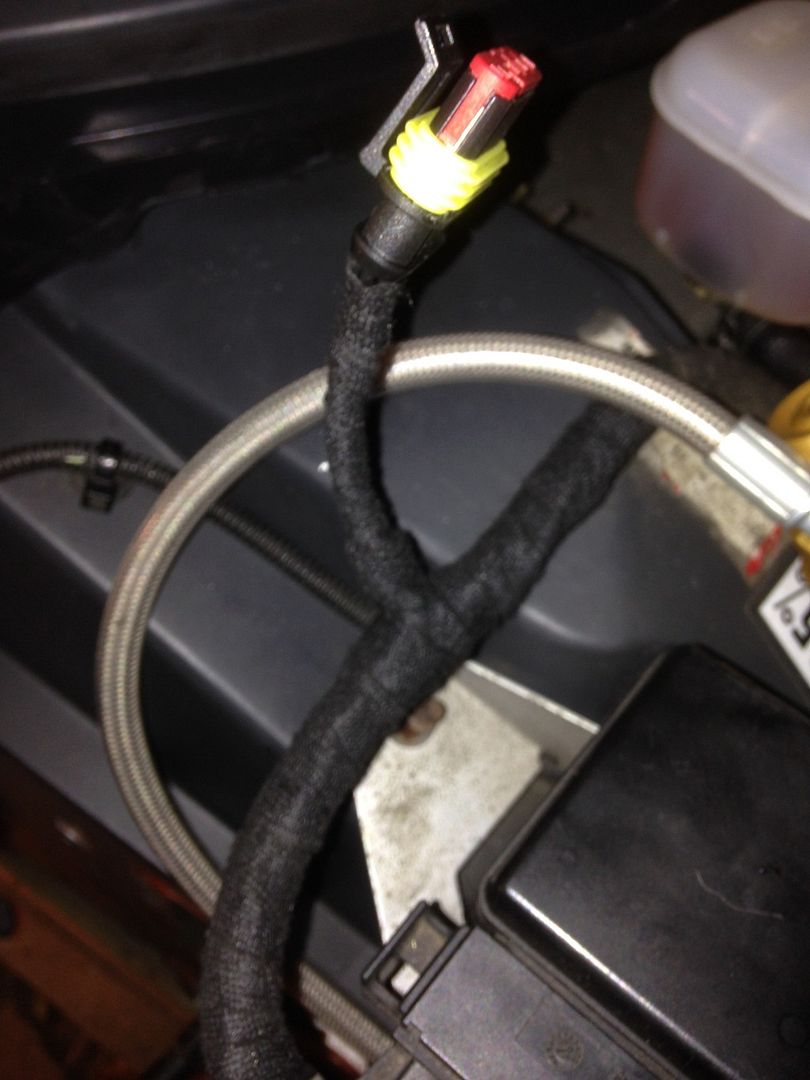
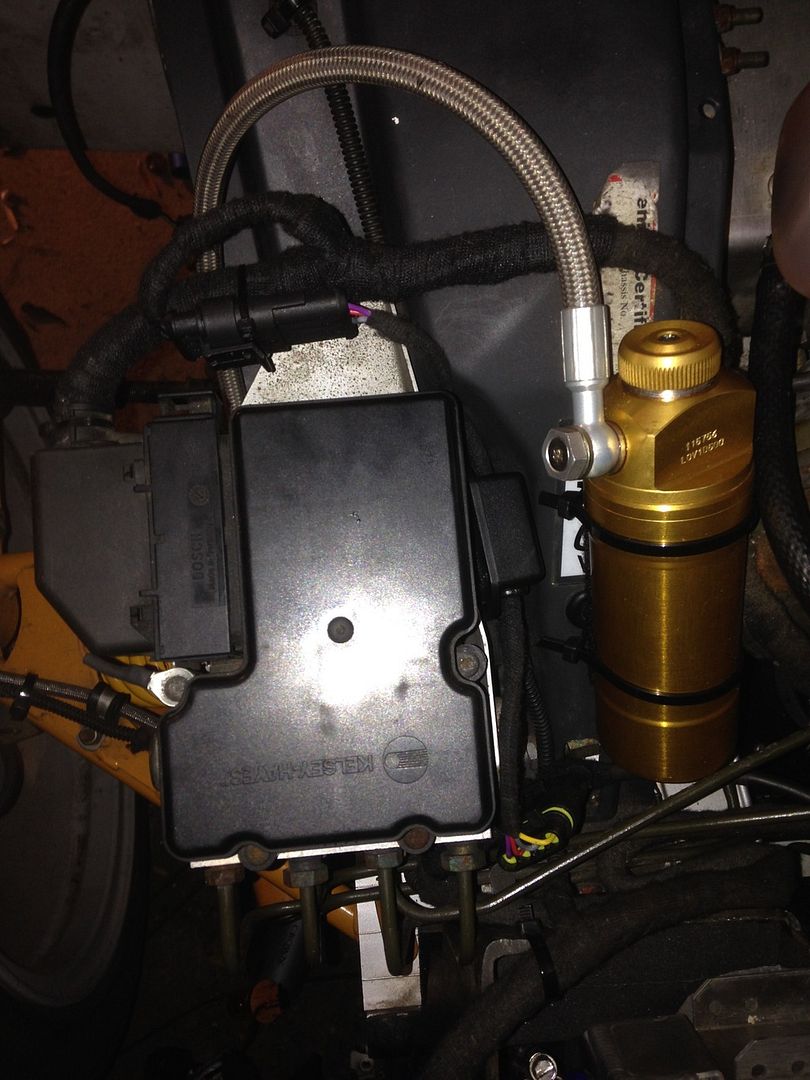
[/URLDecided to make a start fitting my racelogic traction control. So I ordered all the correct wire colours I needed to make the extra looms. I also got some more new waterproof plugs and electrical liquid tape for the wires at the abs end as I didn't want to cut the abs wires but instead splice into them and add the wires to them with solder and then the liquid tape to seal them.
[URL=http://s1174.photobu...rv3cn.jpg.html]
#635

Posted 13 April 2016 - 08:01 PM
This is what it looked like to start with
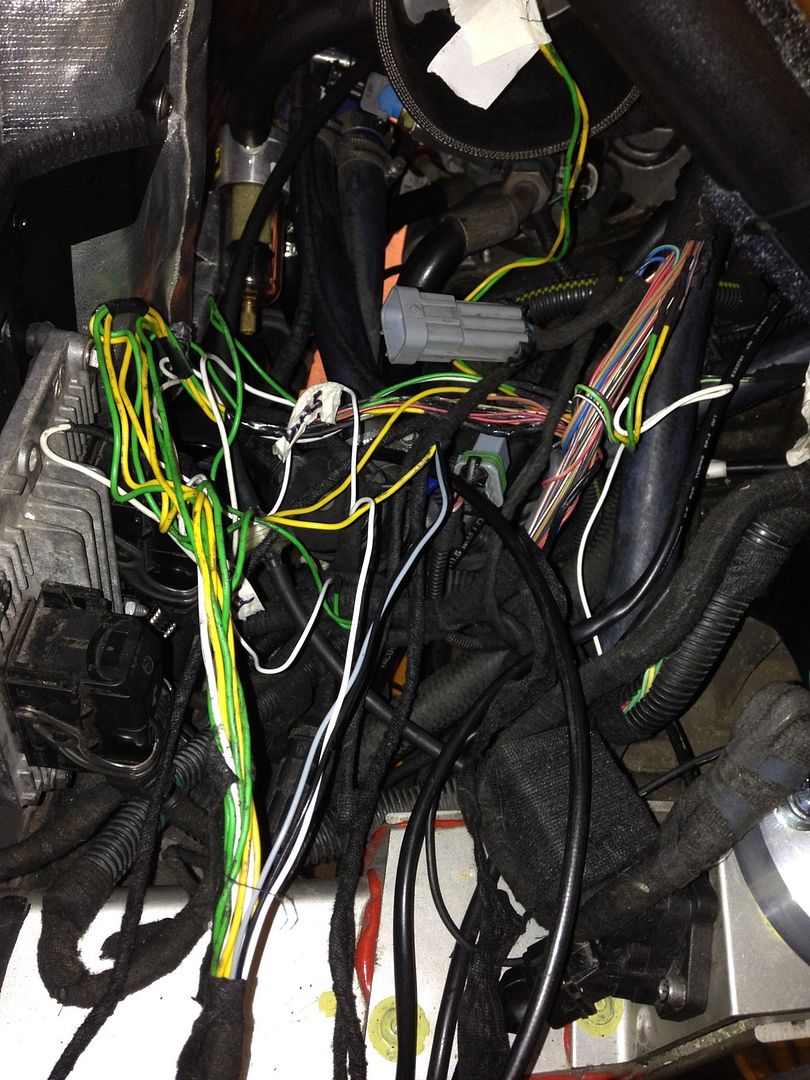
Getting there
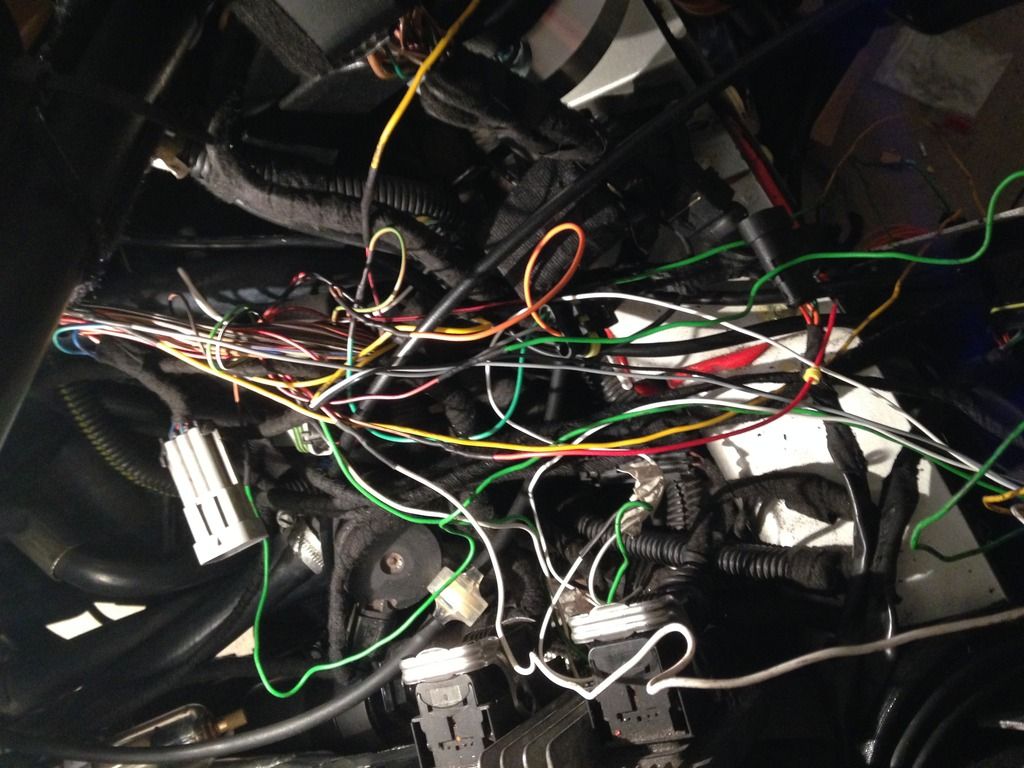
All done and wrapped in cloth tape
#636

Posted 13 April 2016 - 08:02 PM
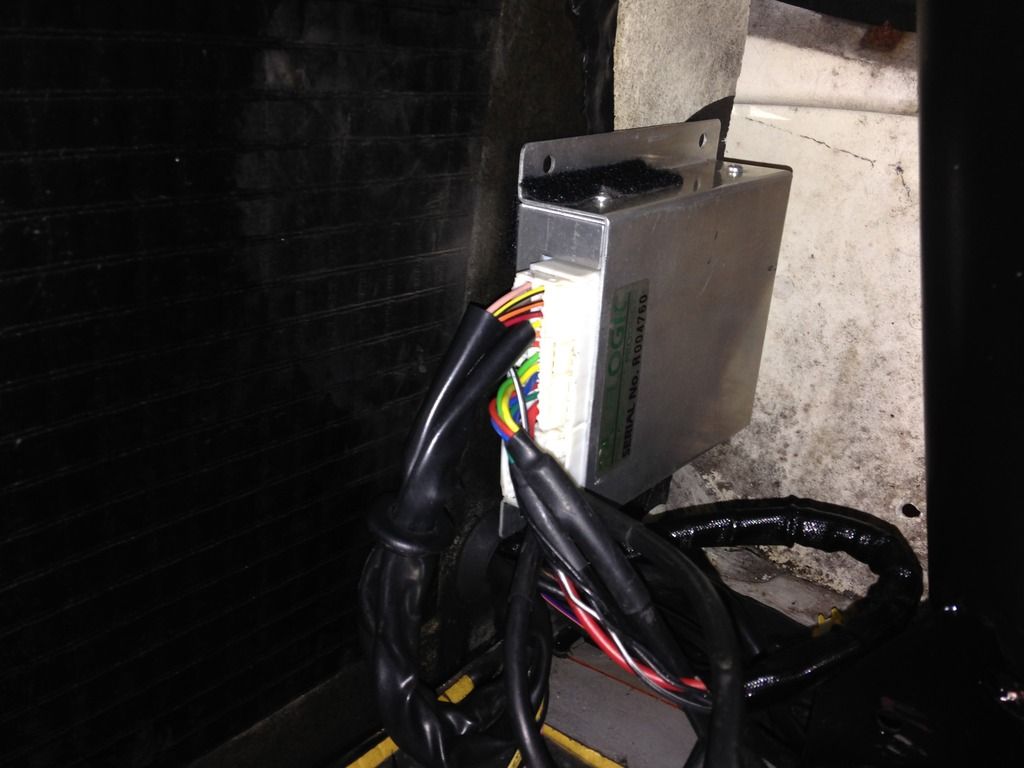
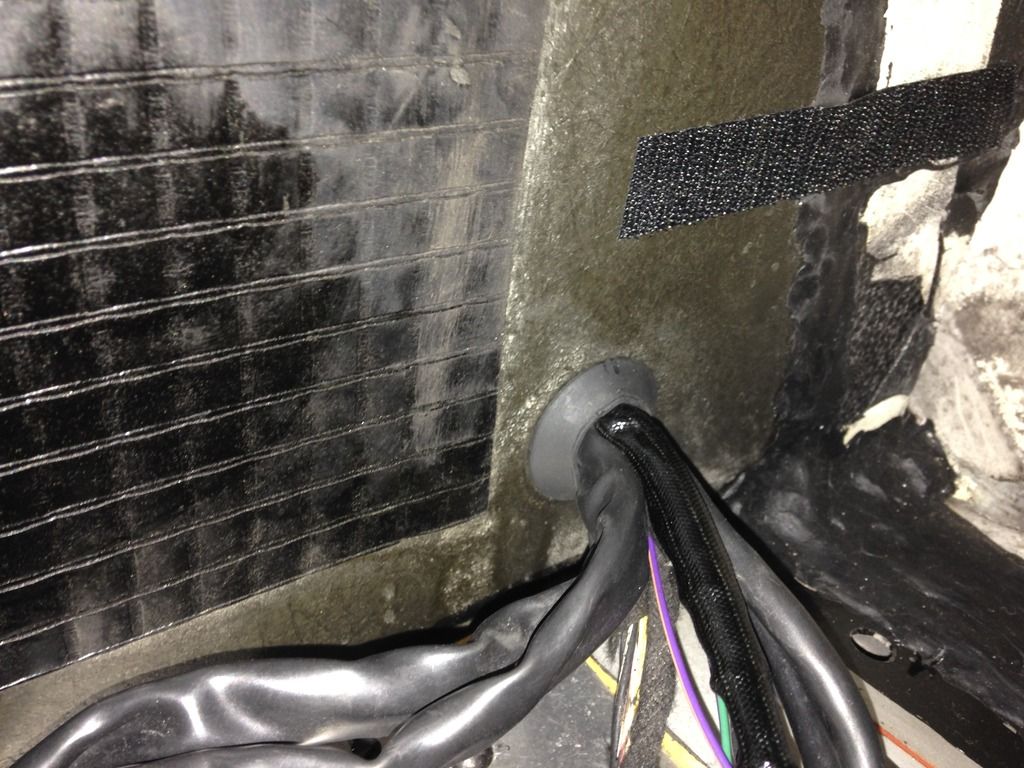
The front all connected to the abs unit with a waterproof plug and also a filter added to help with the dirty signals from the abs under 30 mph.
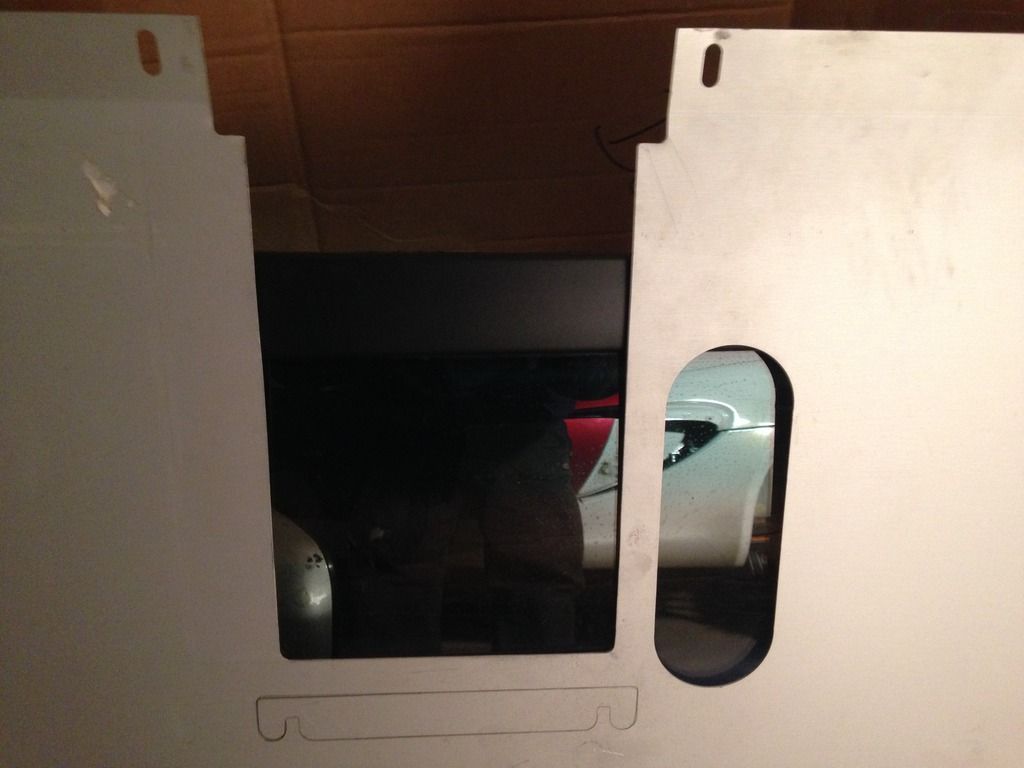
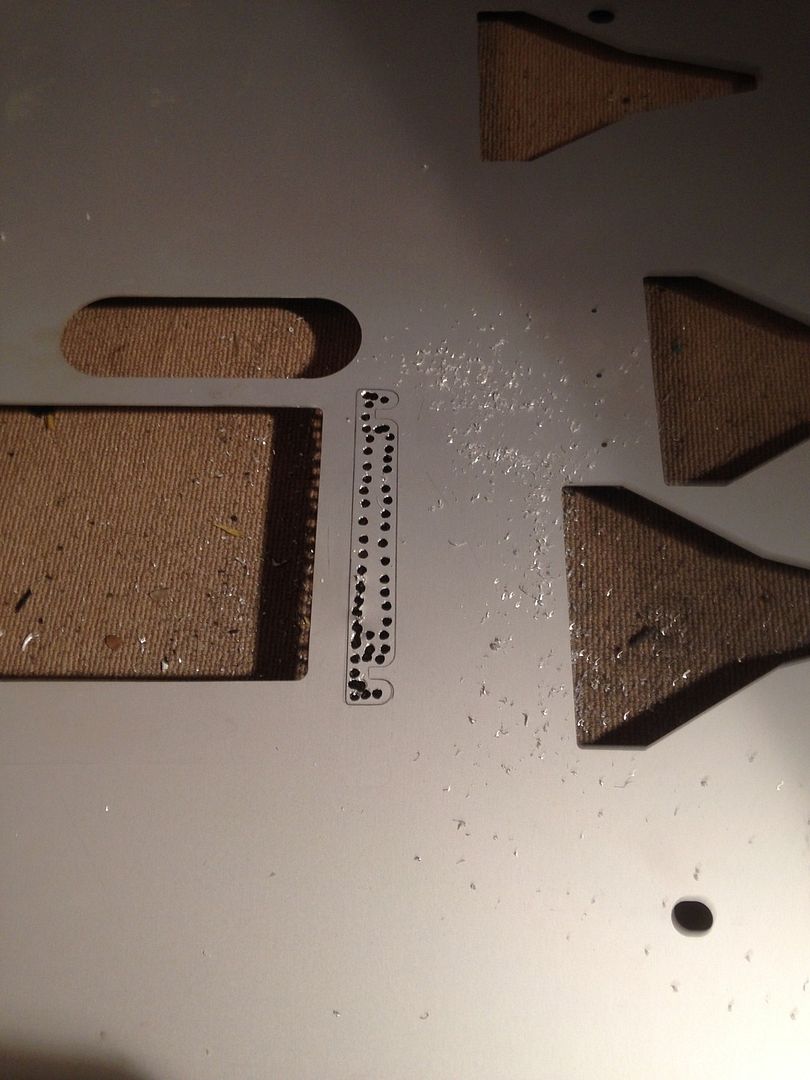
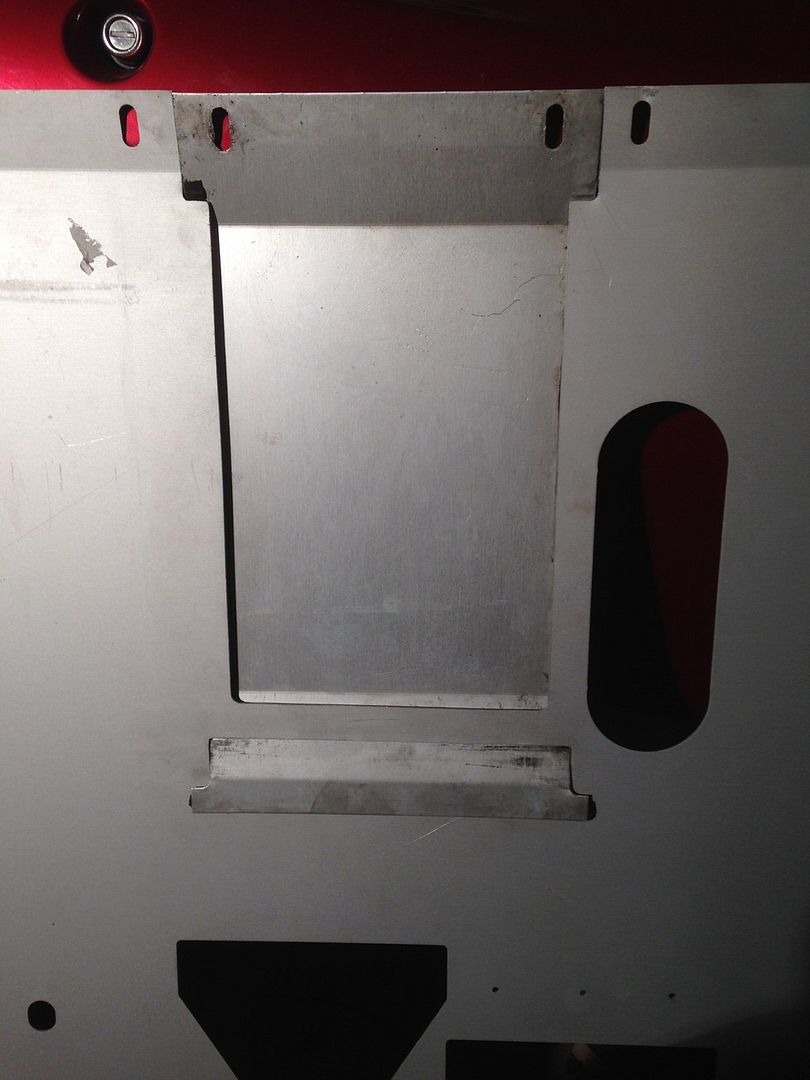
Next job was to cut the inspection hatch in the new middle under tray
#637

Posted 13 April 2016 - 08:02 PM
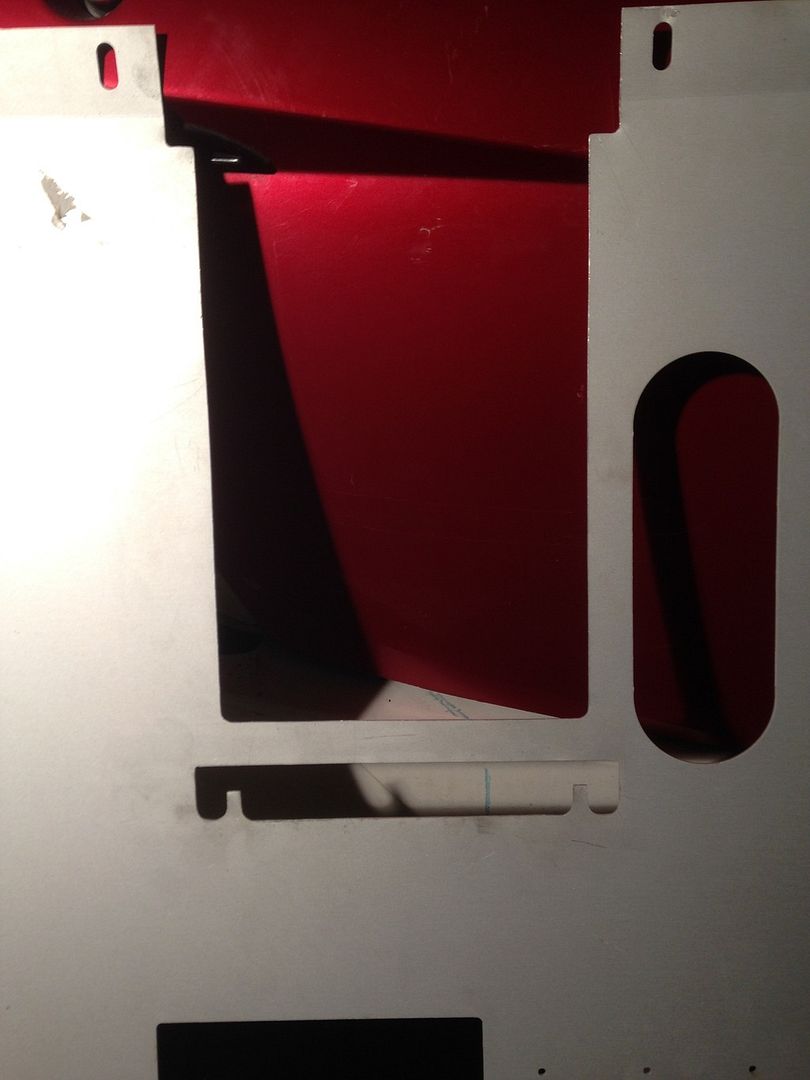
Fits perfect
 m
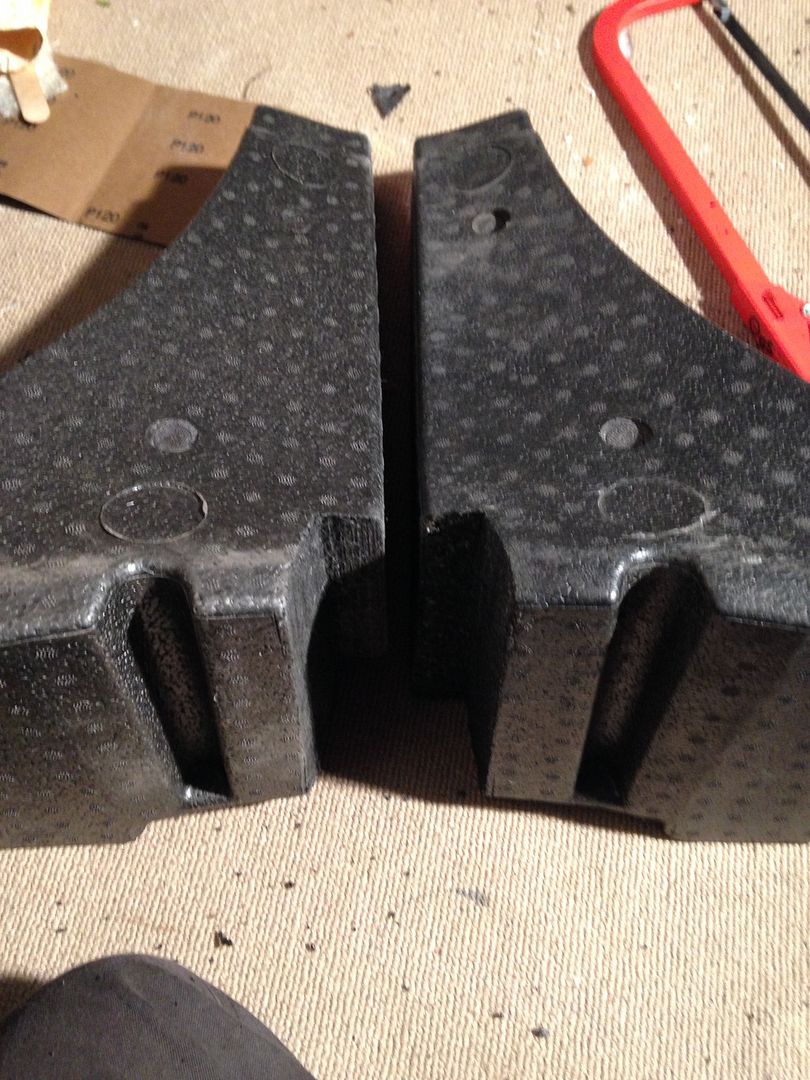
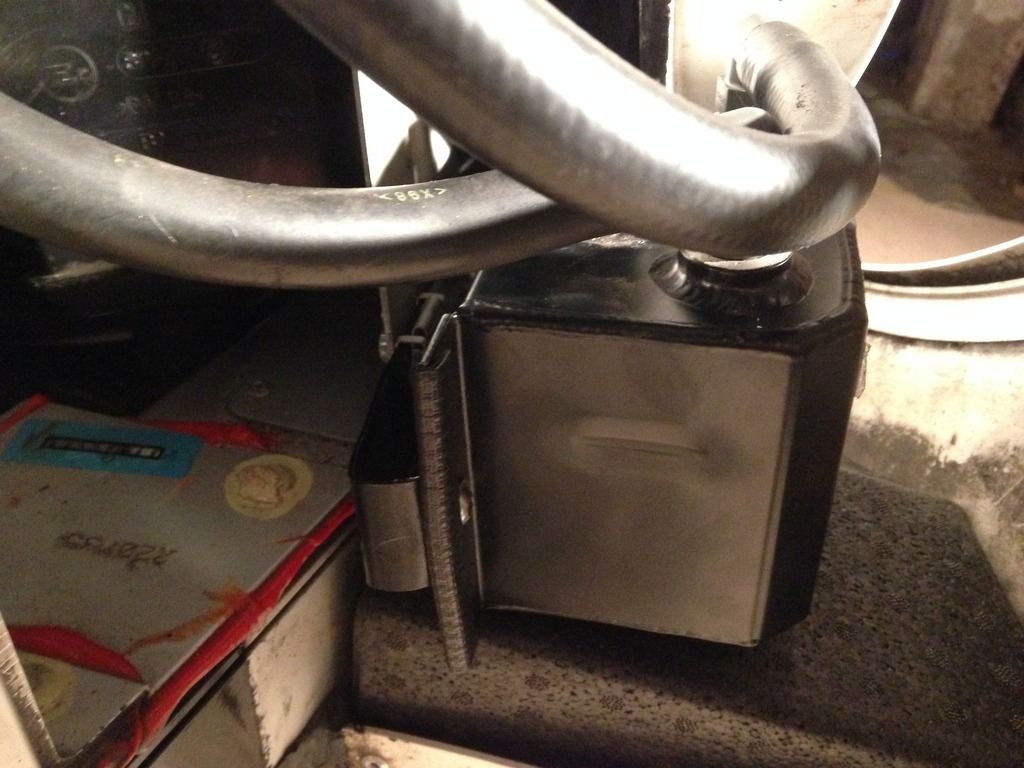
mI then decided to make the oil catch tank on quick release connectors and cut down the other lotus impact foam so I can slide this in and out when needed.
Quick shot of the engine to show what it's looking like now
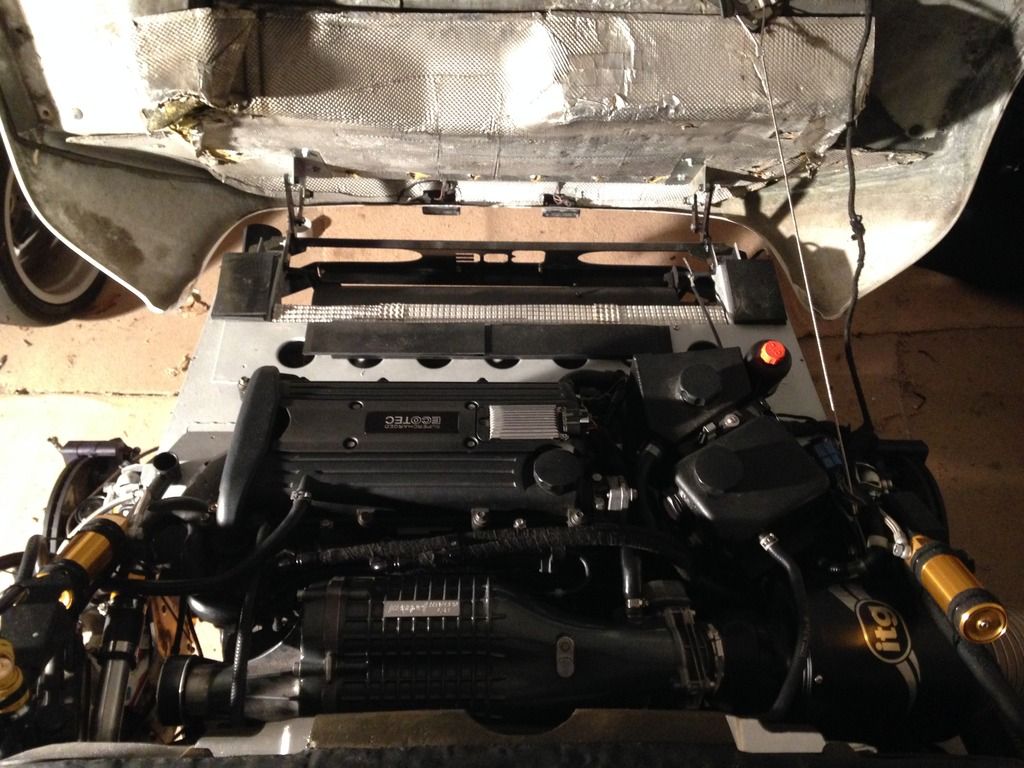
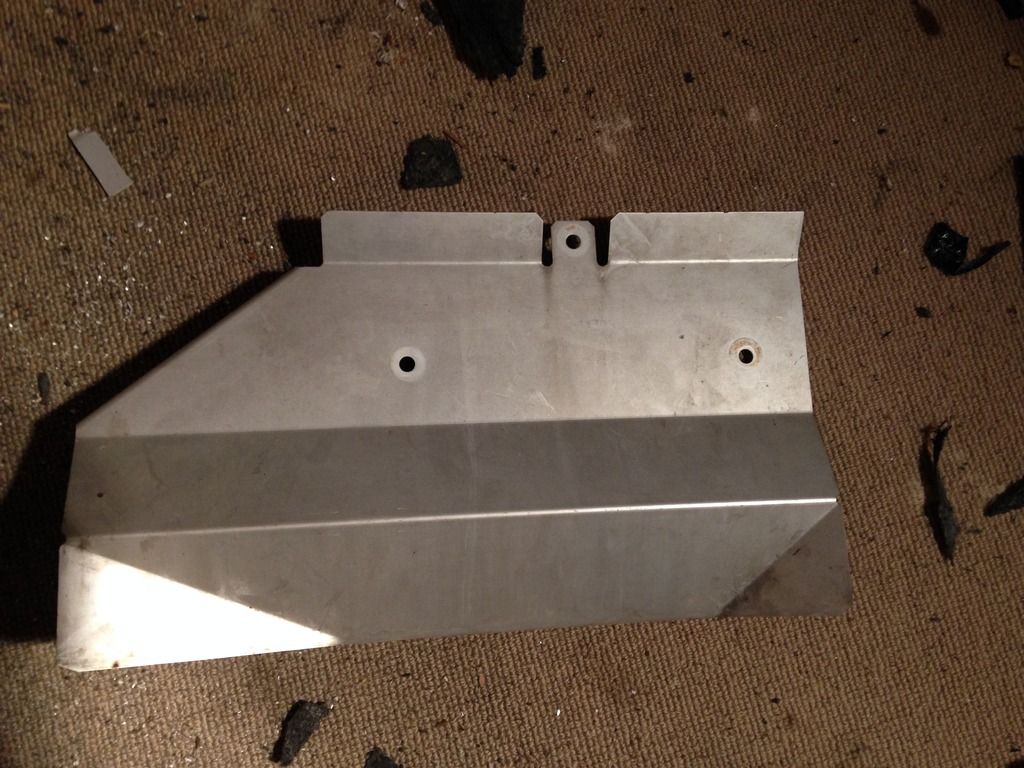
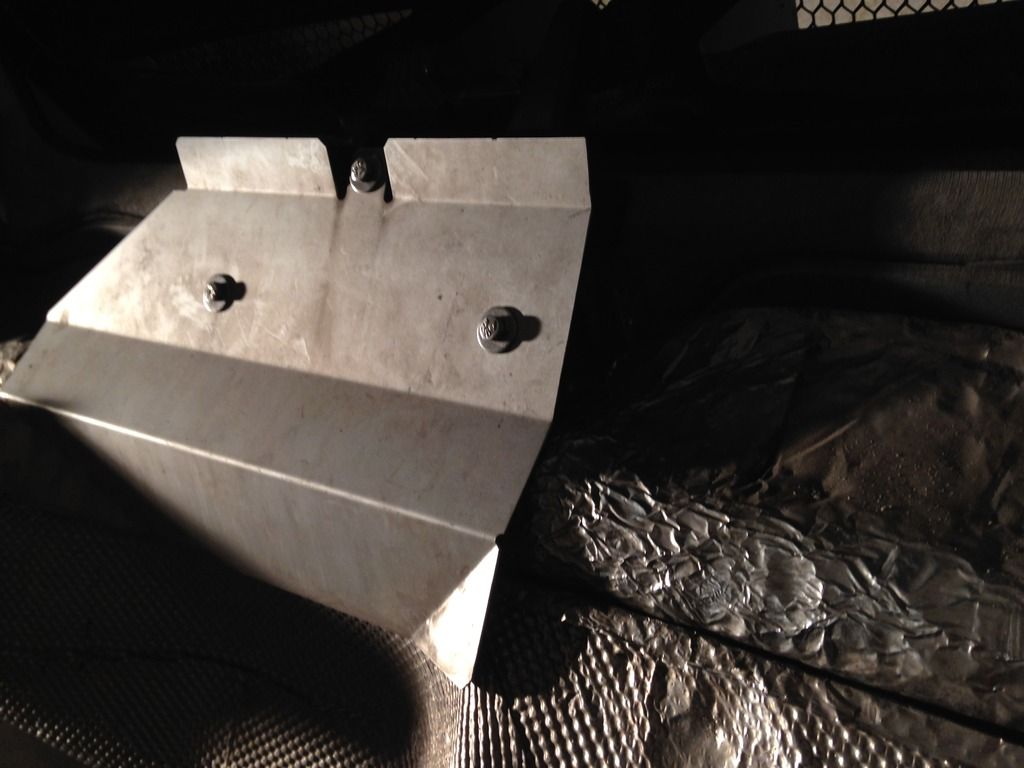
Next job was to cut the heat shield down for the engine cover release mechanism. Before the heats shield went over the cable where as I need to be able to get my fingers in to release the cable for when I flip the clam up. So i cut a small section out of the corner of it and then fitted it back up with nice new stainless bolts.
#638

Posted 13 April 2016 - 08:03 PM
interesting way to cut/drill the undertray!!
#639

Posted 13 April 2016 - 08:04 PM
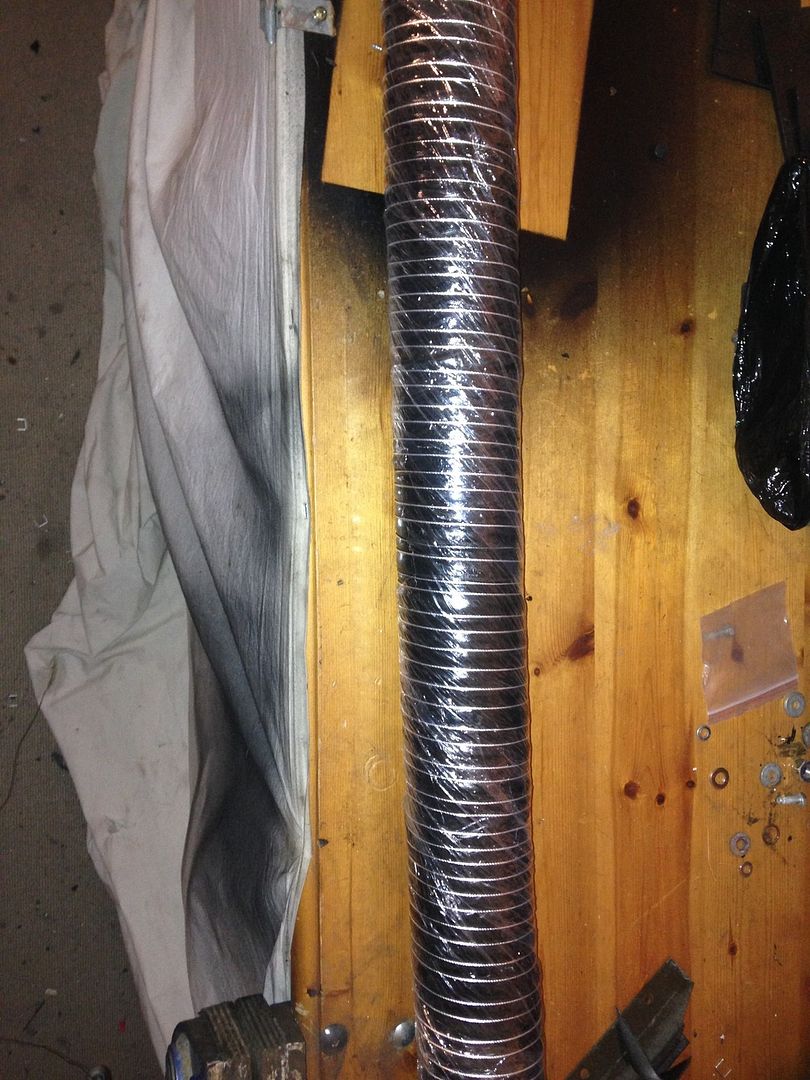
The front is now just about finished
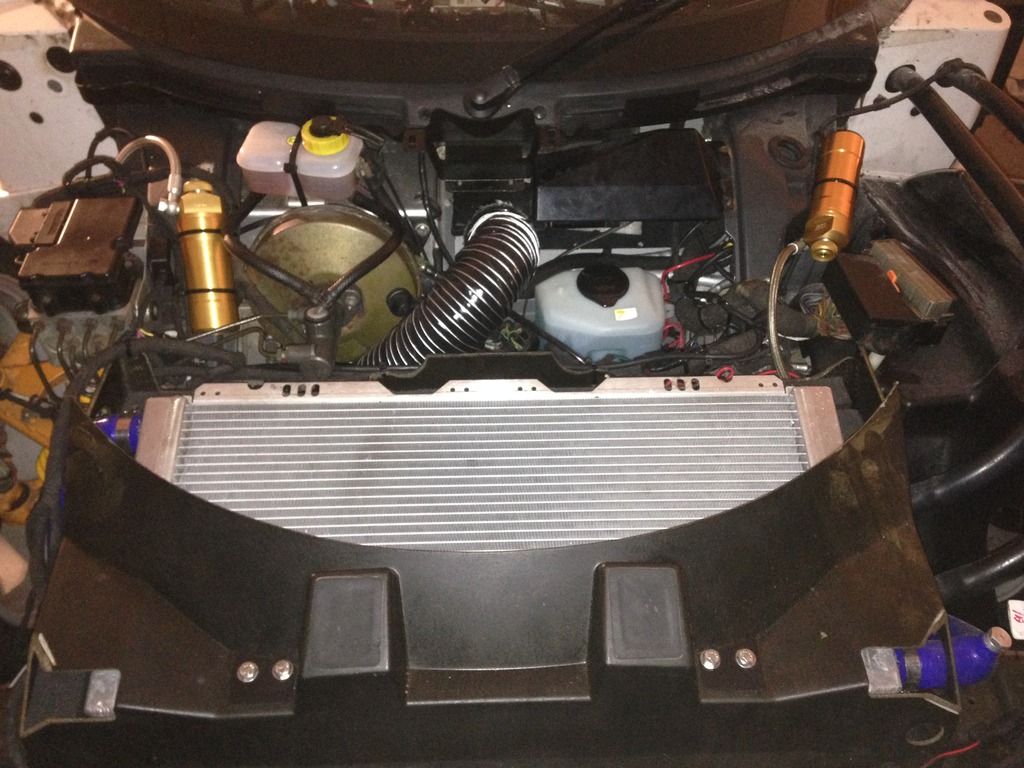
Arch liners front and rear all cut to size and fitted to work with the flip up clam. The lotus liners are so much better then the vx version as they have rubber seals fitted on the edges to stop the crap getting in.
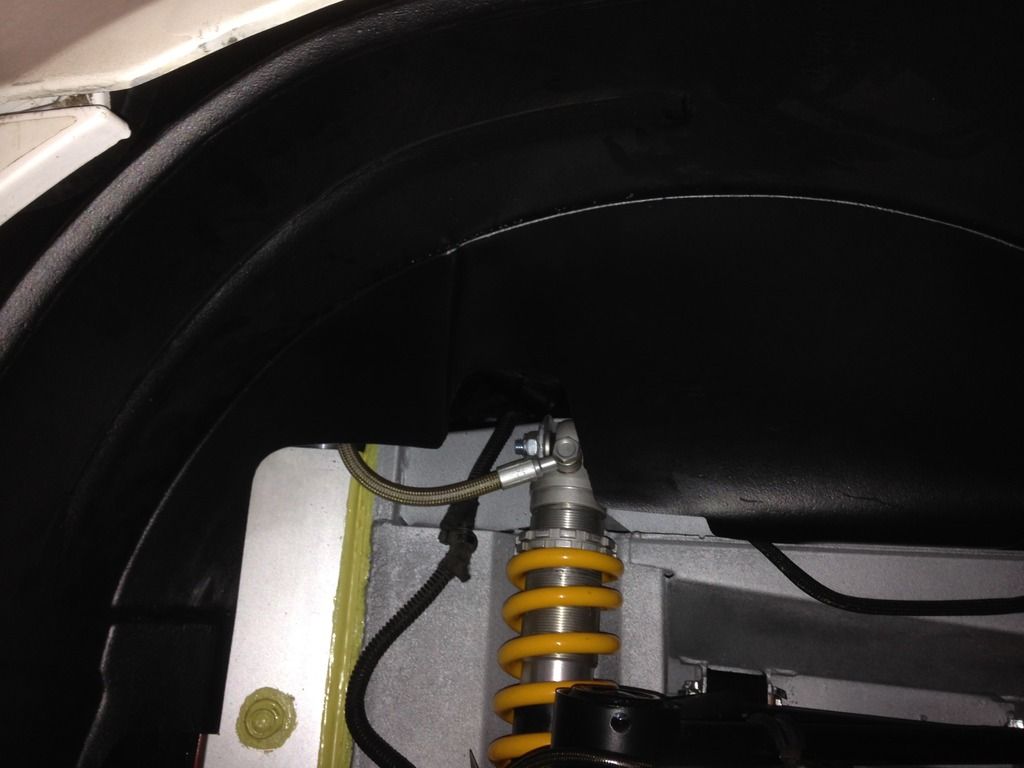
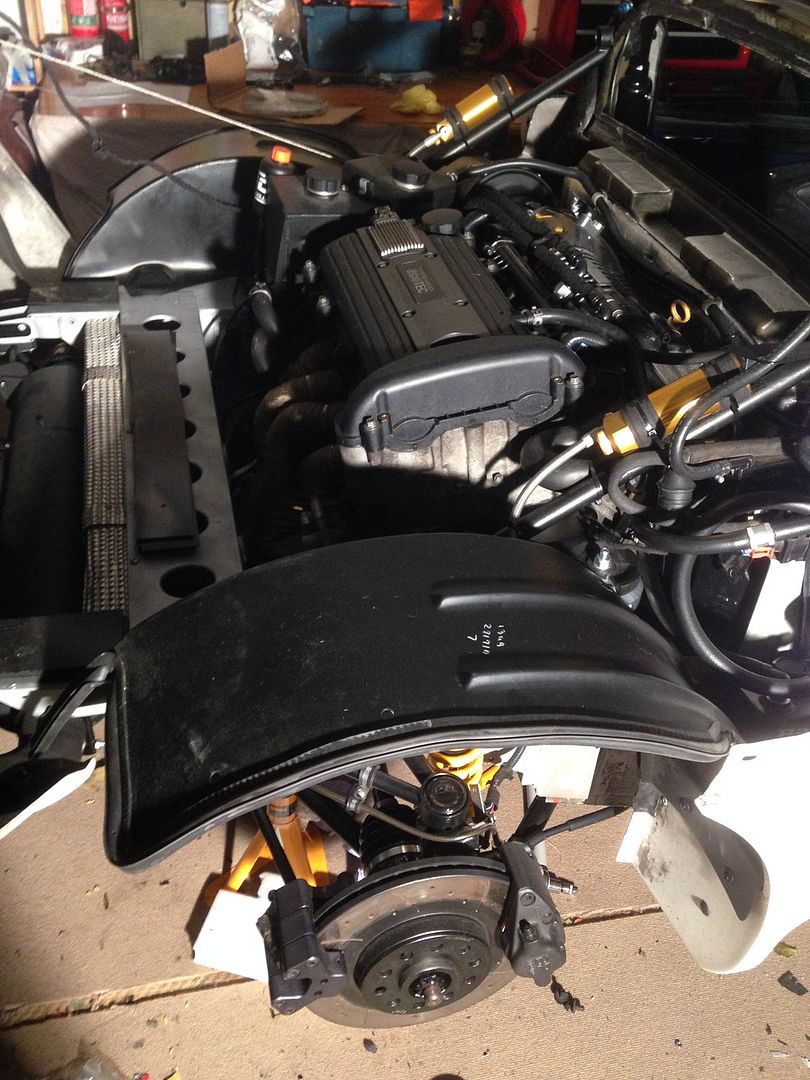
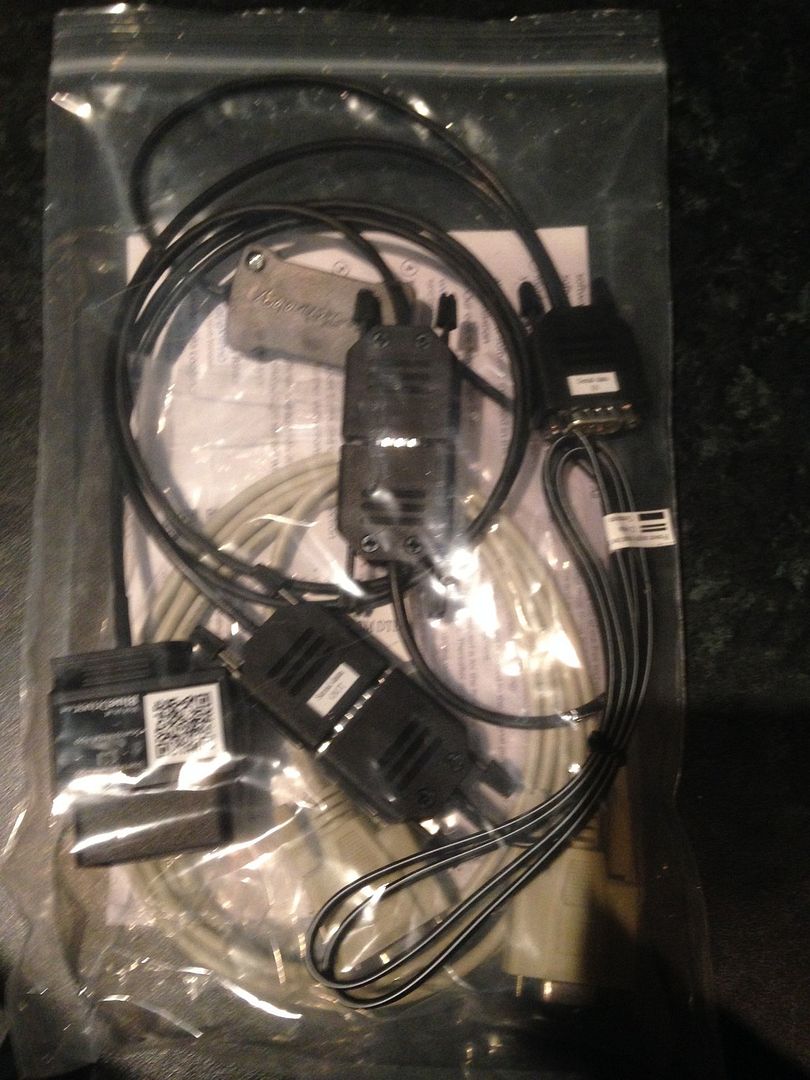
New cable for the dash2 so i can read inlet temps and also water straight from the obd port. This had to be wired into another switched live.
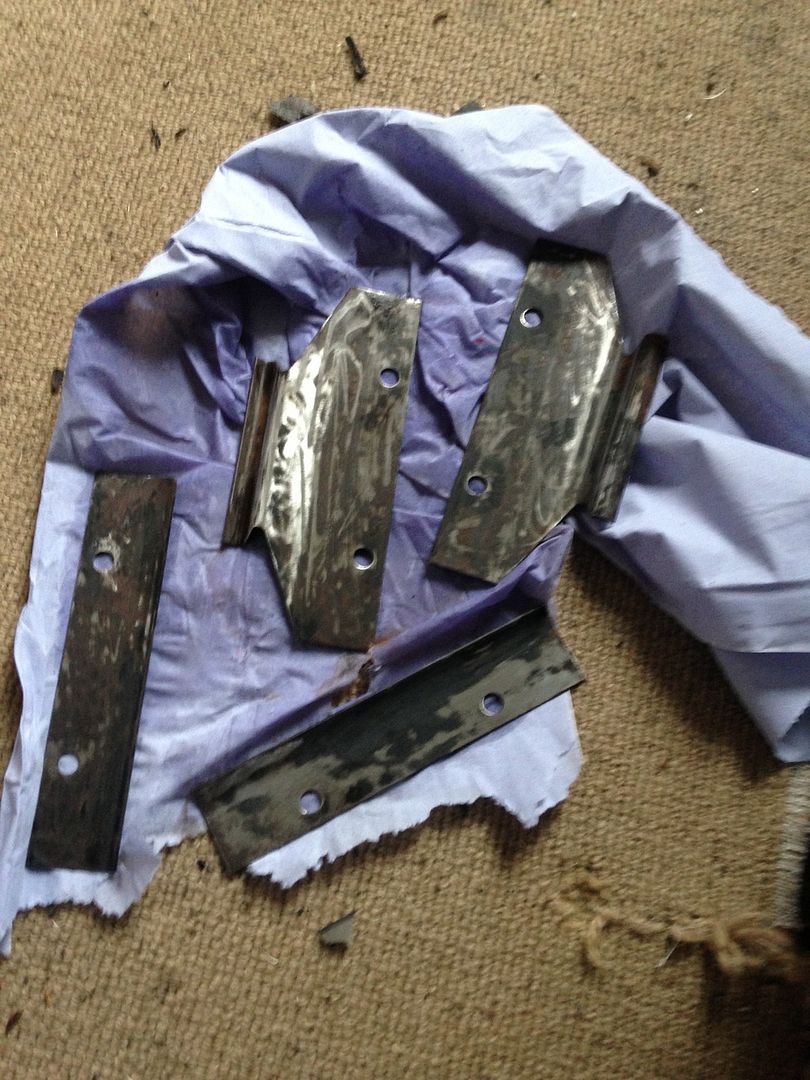
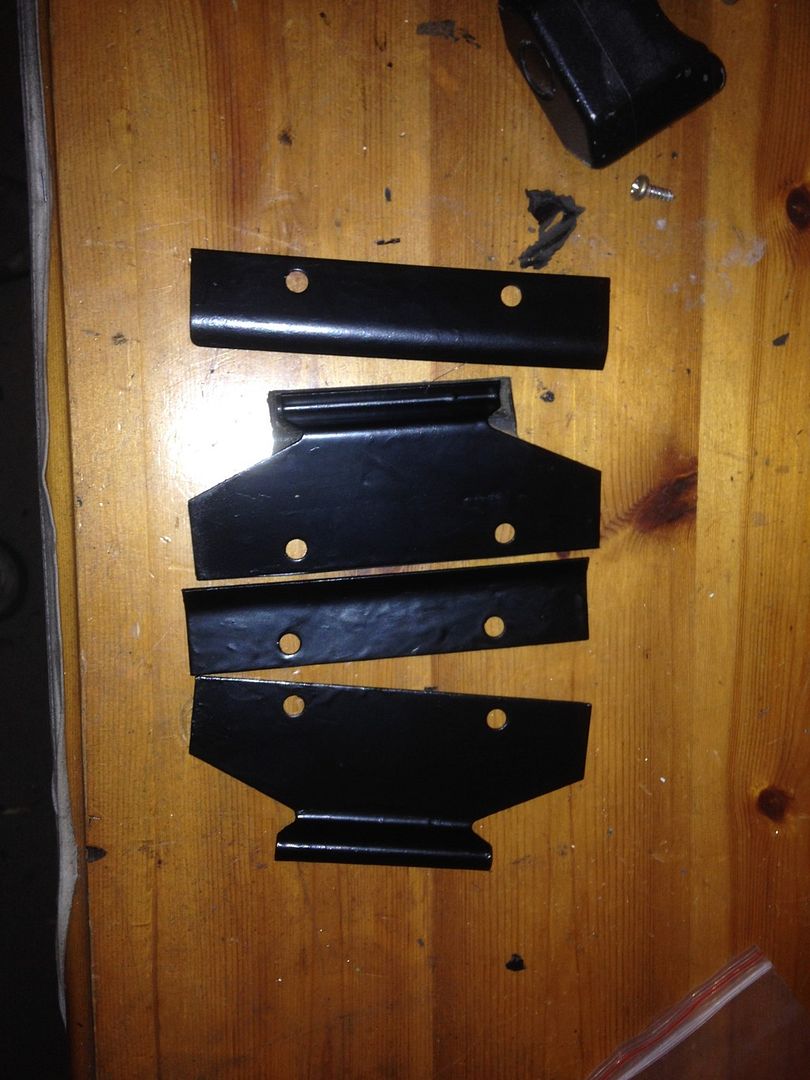
Decided while I was lining the doors up that the brackets could do with a lick of paint so I stripped them off and cleaned them up and a coat of por15 paint did the trick.
#640

Posted 13 April 2016 - 08:05 PM
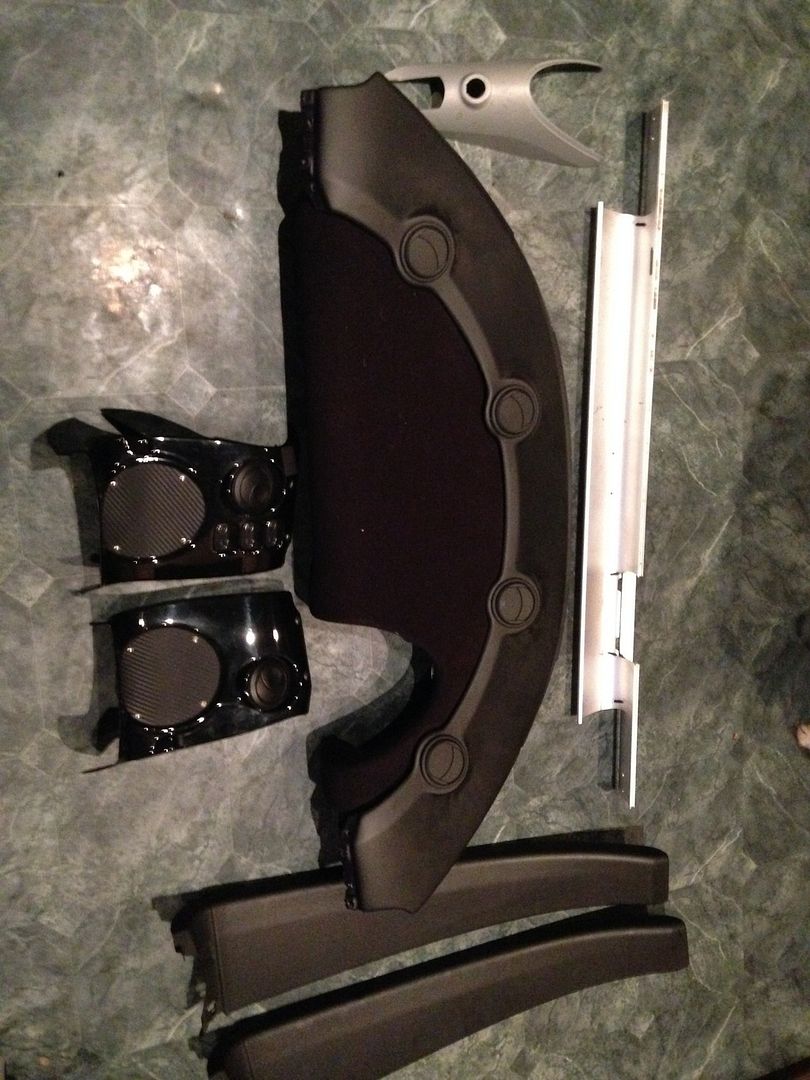
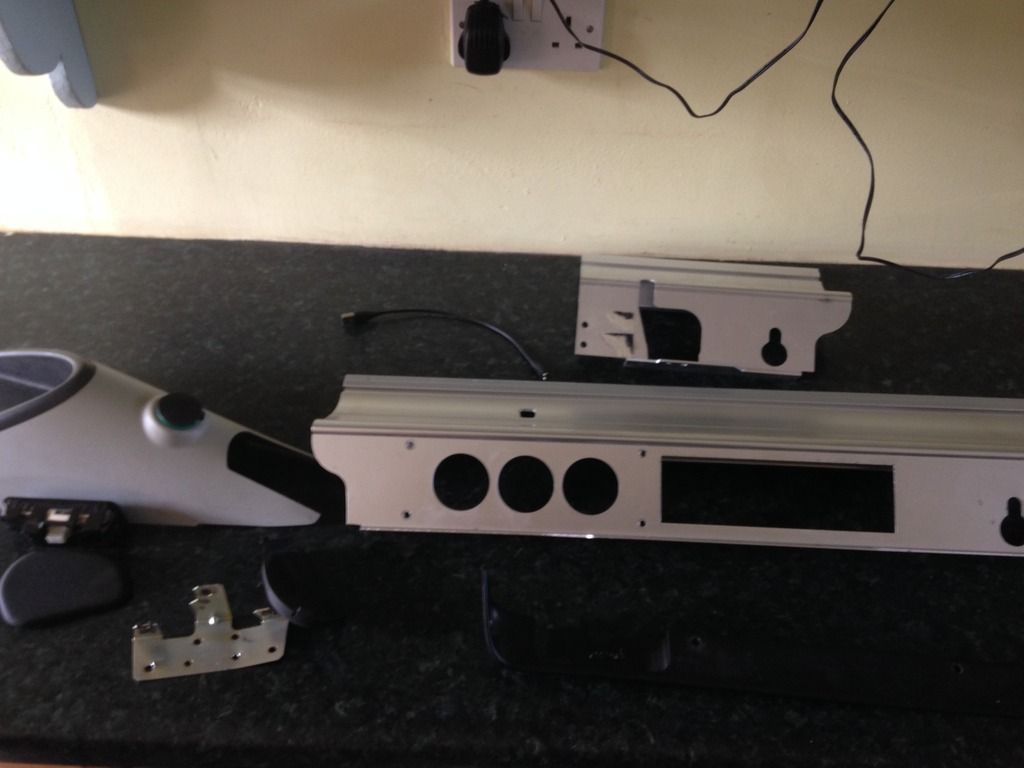
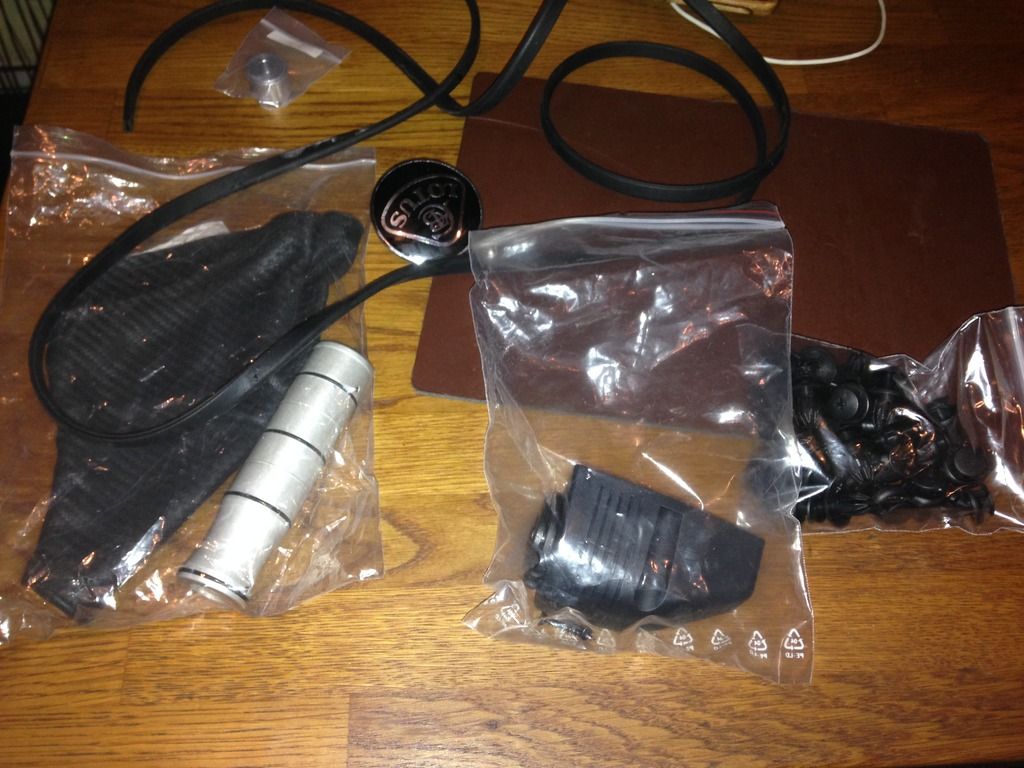
Few more things bought which was Interior trim seal, cig lighter, lotus front badge, plastic clips, cf leather handbrake gator and handbrake handle
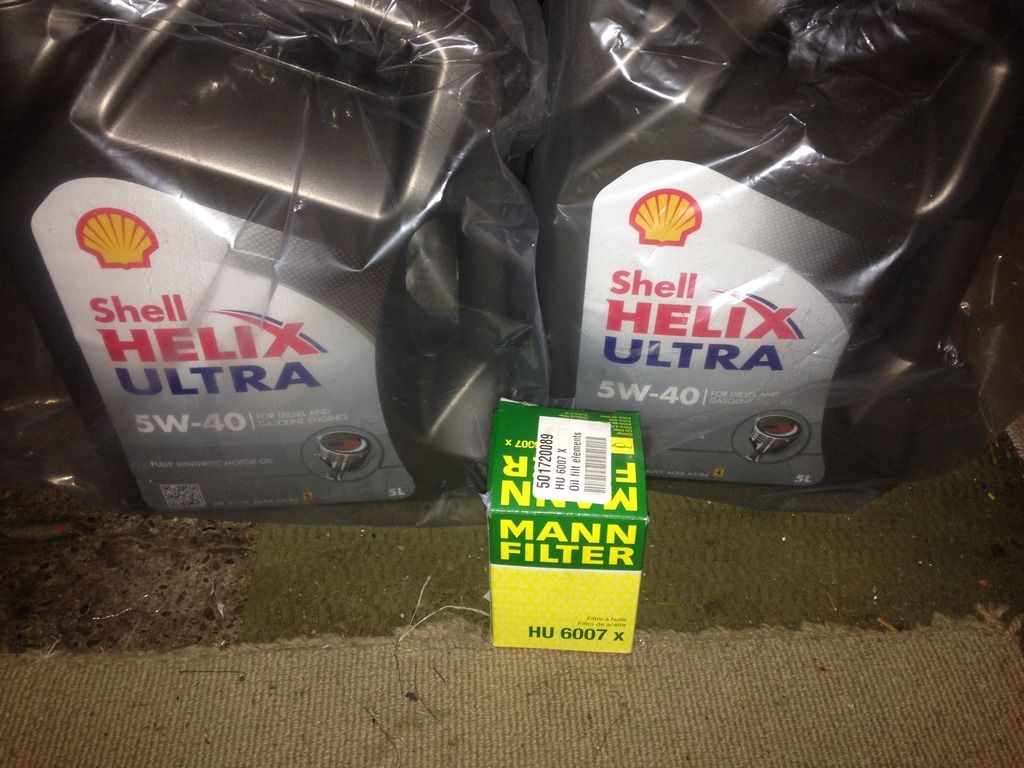
Gave the vx a fresh service with new oil and filter. Trying a 5w 40 this time round to see how I get on from the 10w 50 i have been using normally.
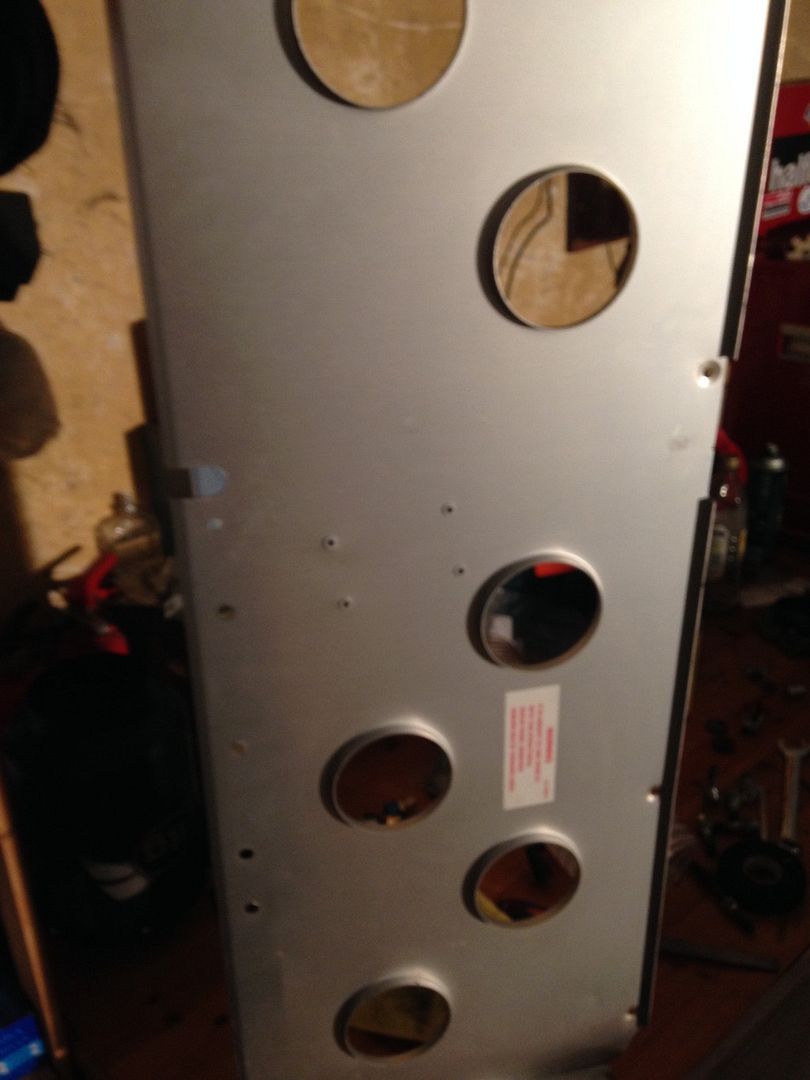
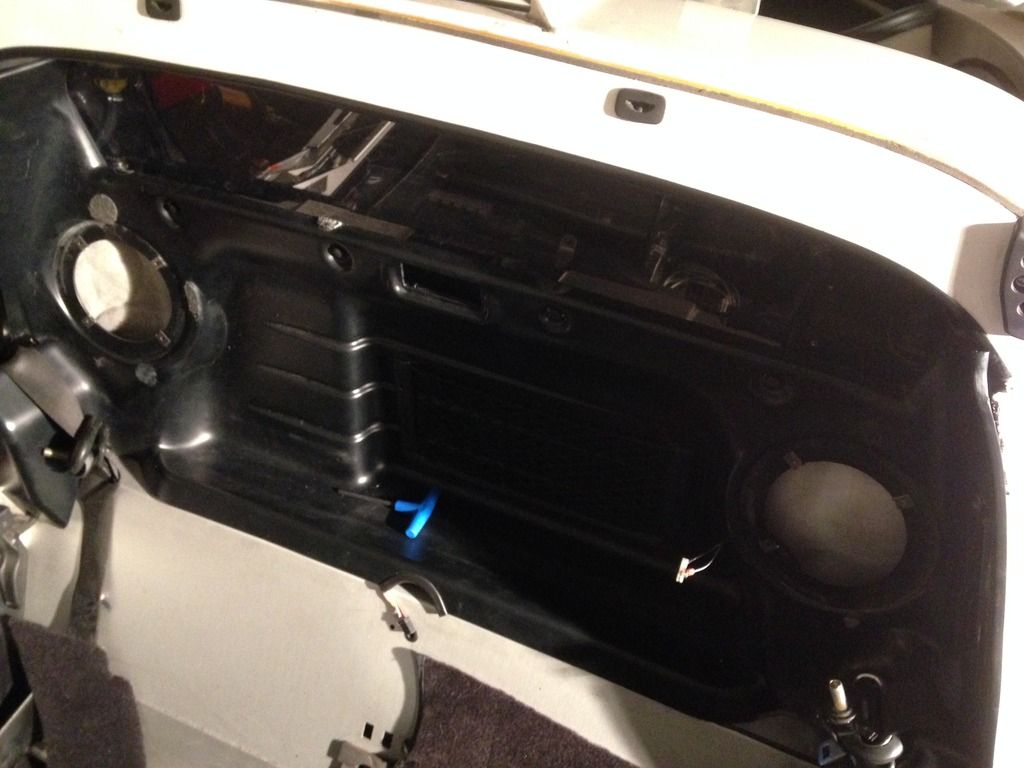
Bought a lotus bulkhead panel and it fits so that's staying which is good news
 [/URL
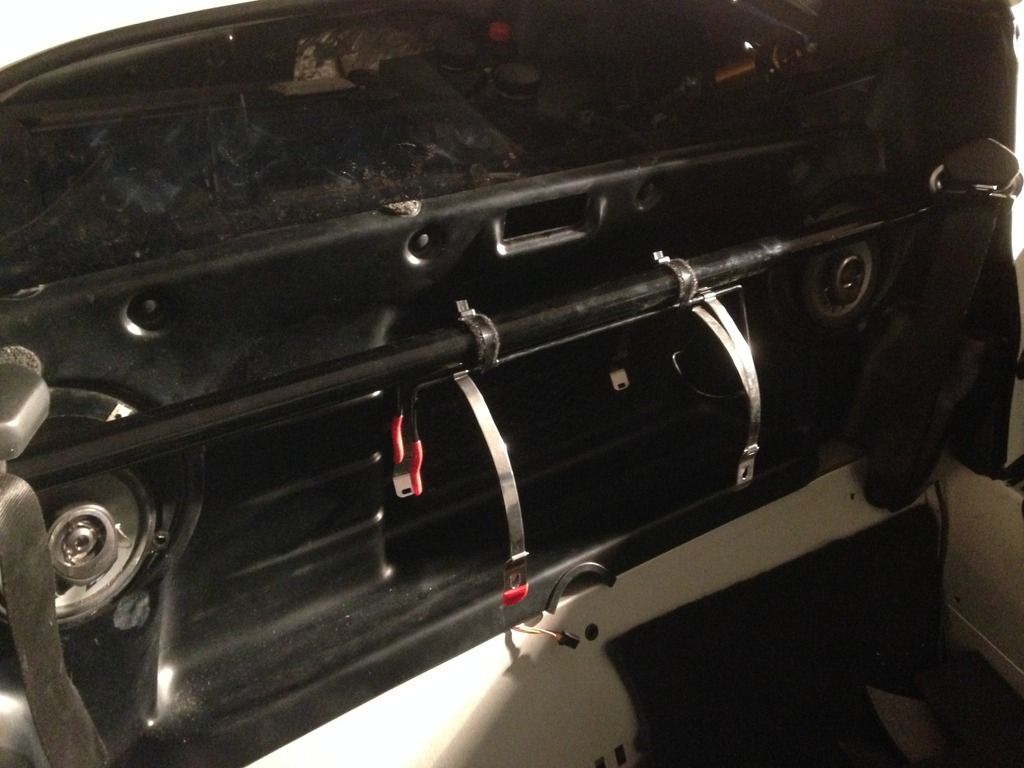
[/URLFits perfect with the harness bar
[URL=http://s1174.photobu...bjlt5.jpg.html]
2 user(s) are reading this topic
0 members, 1 guests, 0 anonymous users
-
Bing (1)


