Jump to content


Photo

How To: Fit An Inflatable Lumbar Support To Passenger Seat


  • Please log in to reply
5 replies to this topic

#1 IvarS

IvarS

    Super Member

  • PipPip
  • 346 posts
  • Gender:Male
  • Location:Sweden

Posted 03 August 2010 - 12:12 PM

I did this the other day, got tired of the gf complaining about a sore back. The parts come from the Elise seats, which are identical. You can buy the parts from any Lotus-dealer, I used Elise-parts because they're easy to deal with and answer e-mails (!) This job is quite time consuming and I recommend doing something else while you wait for the contact adhesive to dry (need to wait 5-10 minutes before the glue will "adhere"). I did some polishing on the car, which helped me pass the time while waiting.

This is what you need, Lotus part numbers and prices excl. VAT

A116U0190 BRACKET-LUMBAR SUPPORT £2
A089V6142F PUMP & VALVE ASSY £16
B111V0117F LUMBAR SUPPORT-INFLATABLE £19

You also need
At least 0,25 liters of high quality contact Adhesive
A pair of working gloves, to keep the glue from getting onto your hands (pretty unhealthy stuff)
A well ventilated working area, to stop the adhesive solvent from dissolving your brain (Methylethylketone will do just that)
A roll of masking tape, to mask off the leather that's not supposed to have glue all over it (lesson learned)

1. Take the seat out of the car

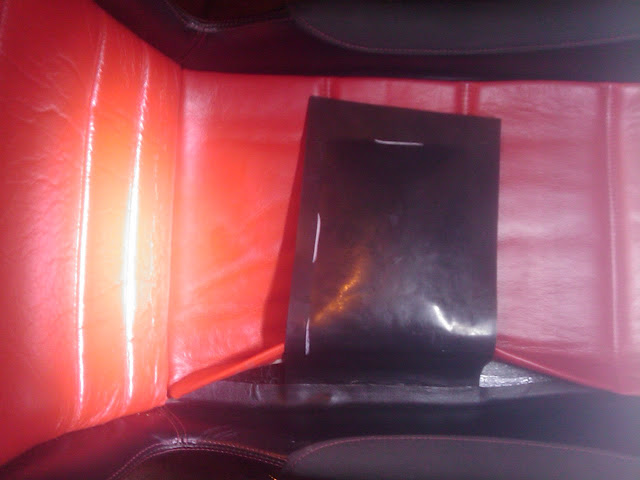
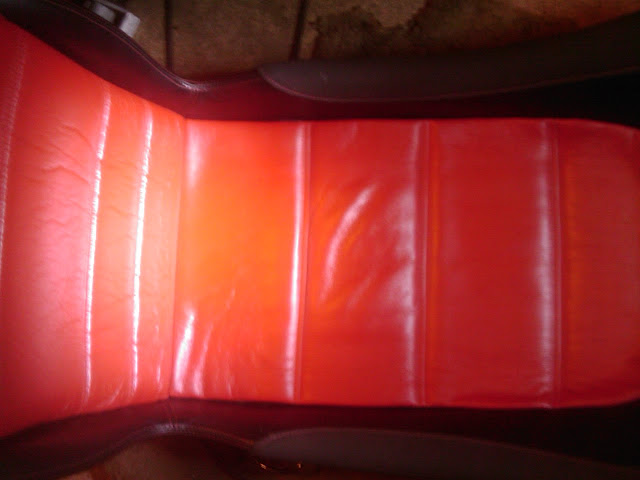
2. Carefully loosen the center leather along both sides, like shown in picture below.
Posted Image

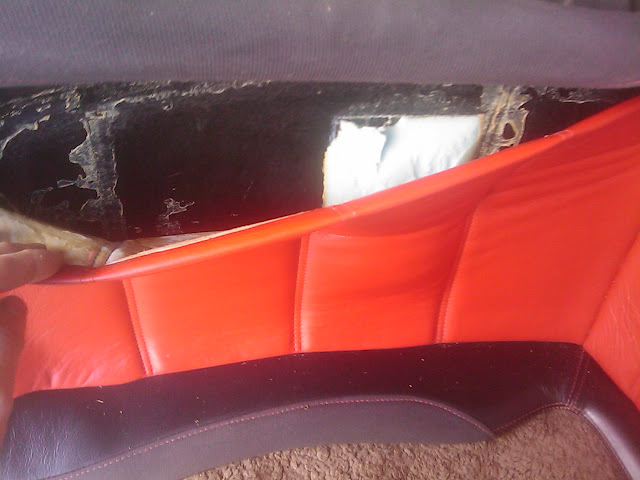
The foam pad is the green bit obviously
Posted Image

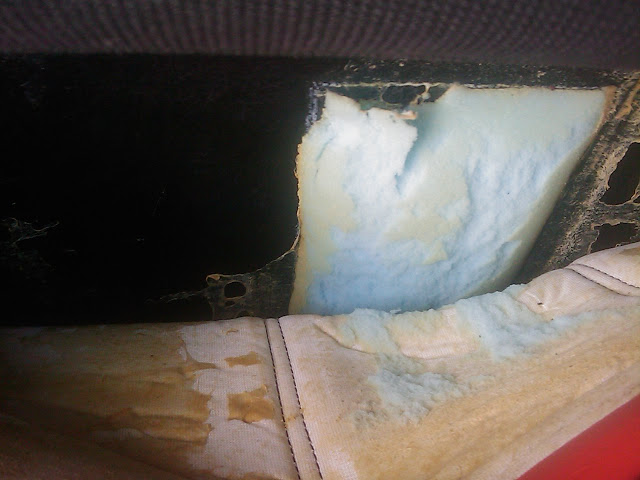
3. Annihilate the foam pad. I found no easy way doing this, it comes out piece by piece and after half an hour there is nothing left. I used a knife to scrape the glue off the seat shell. I found it useful to use a vacuum cleaner to get all the foam and glue out of the seat, once done with the scraping.
Posted Image

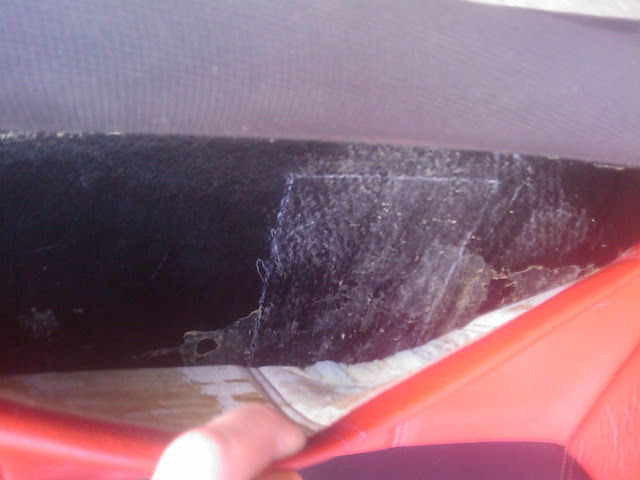
4. Time to install the rubber bladder to the seat. You need to drill a 6.5mm hole for the hose, look at the inside of the seat shell and you will see where the hole needs to be. Drill the hole to the LH side of the seat or the pump and valve assy will foul the cup holder. The hose is supposed to be at the lower end of the bladder, so you will inflate the section that used to have the foam bit behind it.
Posted Image

5. Now this is the tricky part, I did this three times before I got it right. Glue the inside EDGE of the rubber bladder to the seat, making sure it sits perfectly straight. The bladder goes directly onto the seat so you need to loosen the side leather to get it in there. Once you have it lined upp the right way, you can glue the rest of the back of the bladder in place. Again glue the bladder directly onto the seat shell, loosen the leather on the RH side of the seat to do so.

Posted Image
If you try to glue all of the bladder in place at the same time, it will most probably stick to the seat before you get it in place and you will need to start all over again. This happened to me twice before I gave up and did it in two steps.

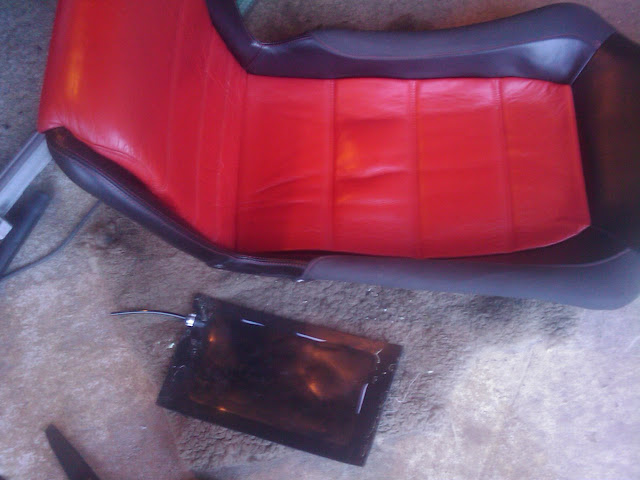
6. Glue the leather back in place
Try to get as much of the old glue off the seat and leather as your patience allows. I found it easier to glue sections of the seat back together, than trying to do it all at once.
Posted Image

Job done! This took me about three hours and well worth it. Now owning a VX220 Turbo with the luxury of inflatable lumbar supports on both seats ;)

Edited by IvarS, 03 August 2010 - 12:17 PM.


#2 soupdragon

soupdragon

    Super Duper Member

  • PipPipPip
  • 691 posts
  • Gender:Male
  • Location:Torquay
  • Interests:Revolution

Posted 03 August 2010 - 12:33 PM

Nice mod and excellent guide thumbsup

#3 Paulus H

Paulus H

    Evil Triumphs When Good Men Do Nothing

  • PipPipPipPipPipPip
  • 2,063 posts
  • Gender:Male
  • Location:DE65 5NX
  • Interests:I really appreciate my car. I have piled on 100,000 miles in 8 years of ownership. I still love every day I get in it

Posted 03 August 2010 - 02:06 PM

Excellent guide. I may use this to convert both my seats to sponge lumber support. I have always found the passenger seat more comfortable than the drivers seat. I'm not trying to be awkward. Just shows one size does not fit all. PS I must admit that I don't fancy ringing those bells at Notre Dame any more.........

#4 davemate

davemate

    Harrop!!!

  • PipPipPipPipPipPip
  • 3,228 posts
  • Gender:Male
  • Location:Bath
  • Interests:Provoking Badgers

Posted 05 August 2010 - 11:52 AM

Great guide. I nodded mine by upping back the leather, removing the existing foam and cutting a newer smaller one. Seems like a good plan, and probably do that sear padding mid that was mentioned on here at the same time.... And the seat cut outs....

#5 mackenzie

mackenzie

    Newbie

  • 4 posts
  • Gender:Male
  • Location:Aylesbury
  • Interests:not going where I don't want to

Posted 31 October 2010 - 12:56 PM

Nice one - exactly what I was looking for!

#6 Andrew aka Stuwy

Andrew aka Stuwy

    Made In England

  • PipPipPipPipPipPipPip
  • 8,731 posts
  • Gender:Not Telling
  • Location:At Sea
  • Interests:most things are intersting

Posted 17 December 2010 - 09:13 PM

Excellent guide.

I may use this to convert both my seats to sponge lumber support. I have always found the passenger seat more comfortable than the drivers seat.

I'm not trying to be awkward.

Just shows one size does not fit all.

PS I must admit that I don't fancy ringing those bells at Notre Dame any more.........


just swap the seats over??


1 user(s) are reading this topic

0 members, 1 guests, 0 anonymous users