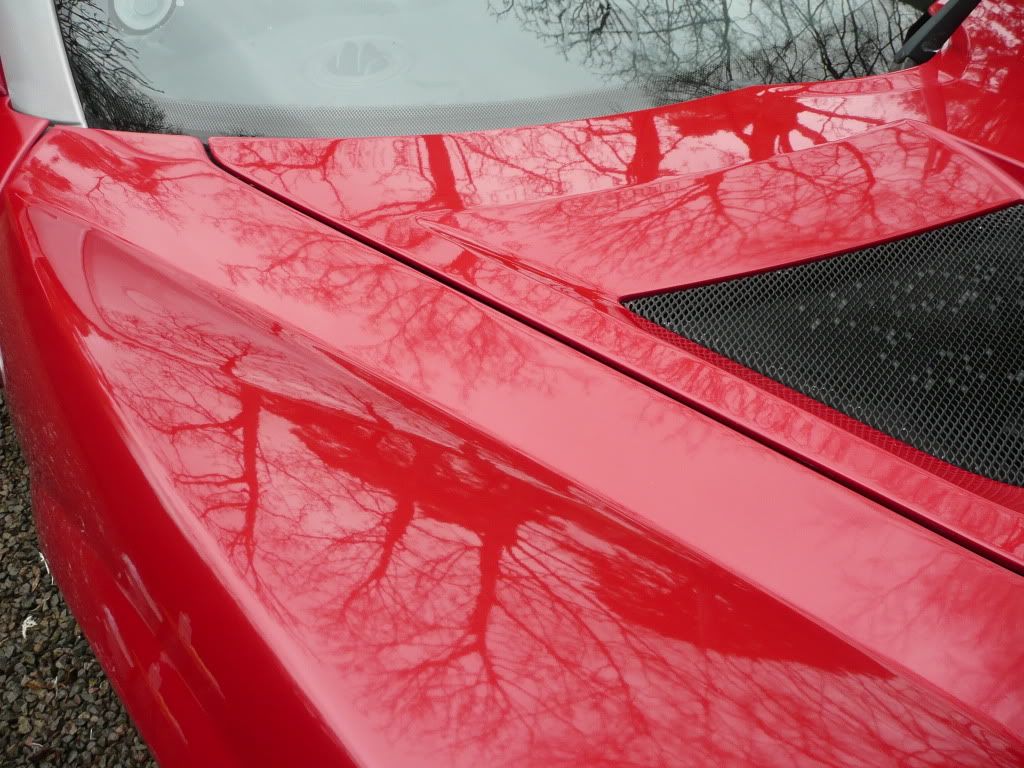
Half Day Cheapskate 'Detail'
#1
Posted 26 January 2011 - 09:17 PM
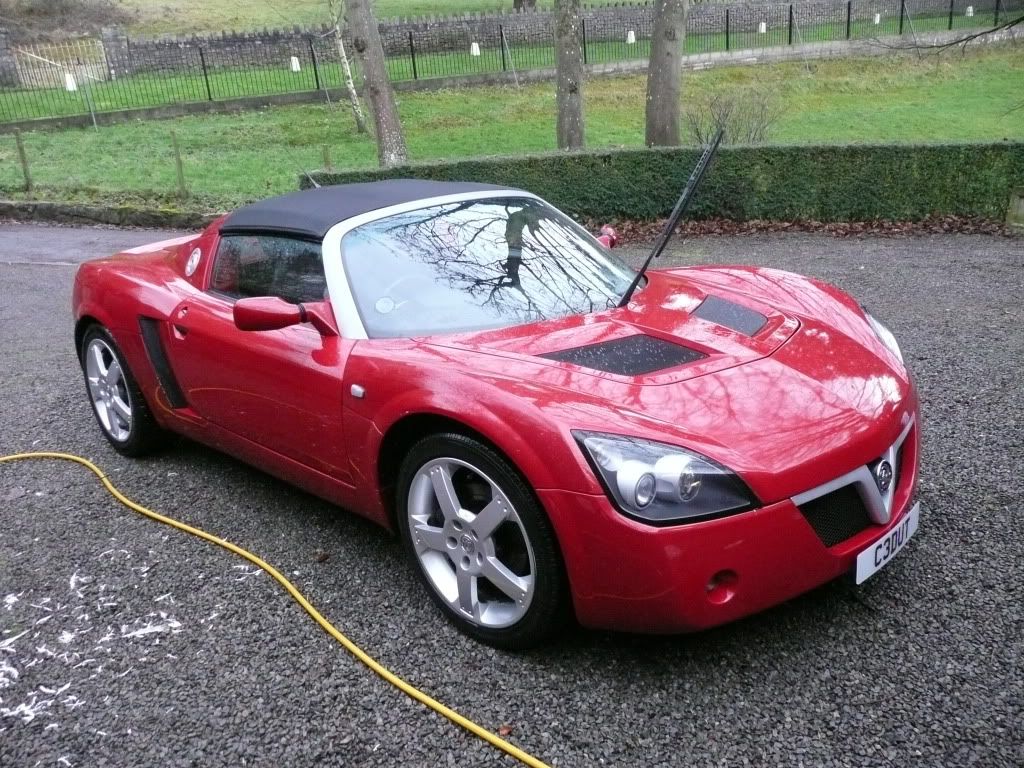
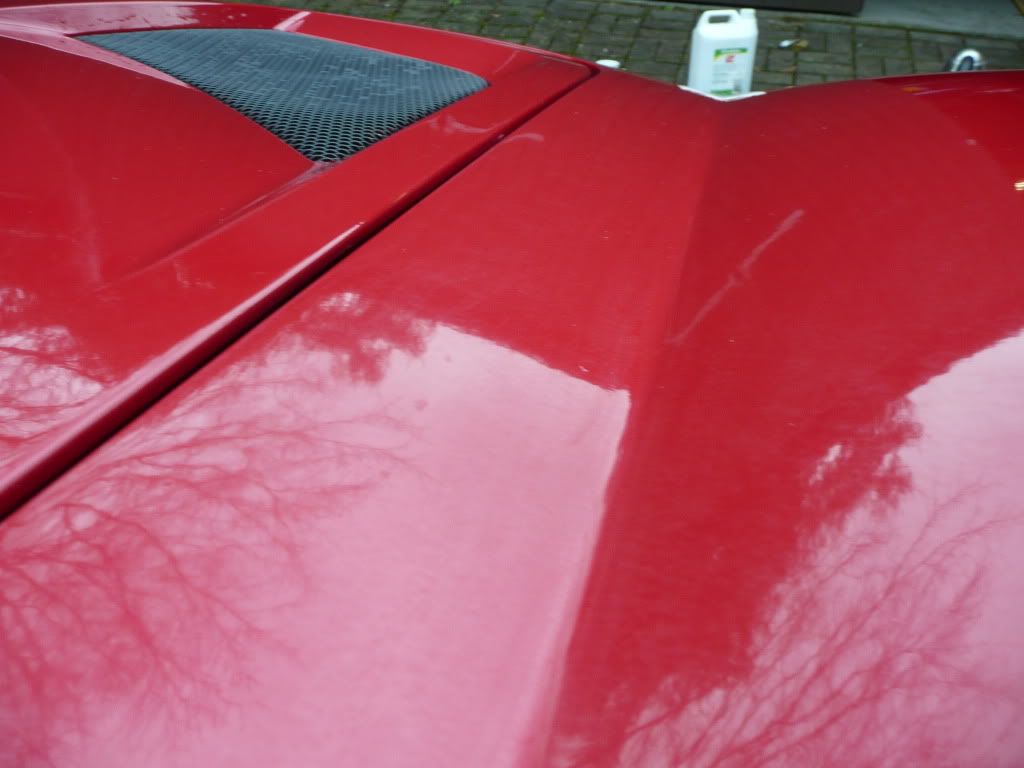
So, I've not long had my VX and to say the paint is poor would be an understantement (bubbles/chips etc). I did clean and polish the car when I first got it but the paint seemed to have a hazy kind of finish to it - despite it feeling smooth to the touch.
Due to the atrocious bubbling there is absolutely no point paying a professional to 'detail' the car as they would just laugh! It will have a respray at some point but not in the near future (I work on building sites!) so I just wanted to get the paint looking more shiny so the car looked better...from a distance!
I searched through a few detailing sections on various forums and asked advice from detailing hobbyists about how to get the paint looking better. All the advice seemed to involve spending a decent amount of money. So, in typical tight bastard style, I picked the products that seemed like they would be most effective when combined with stuff I had lying about in the garage.
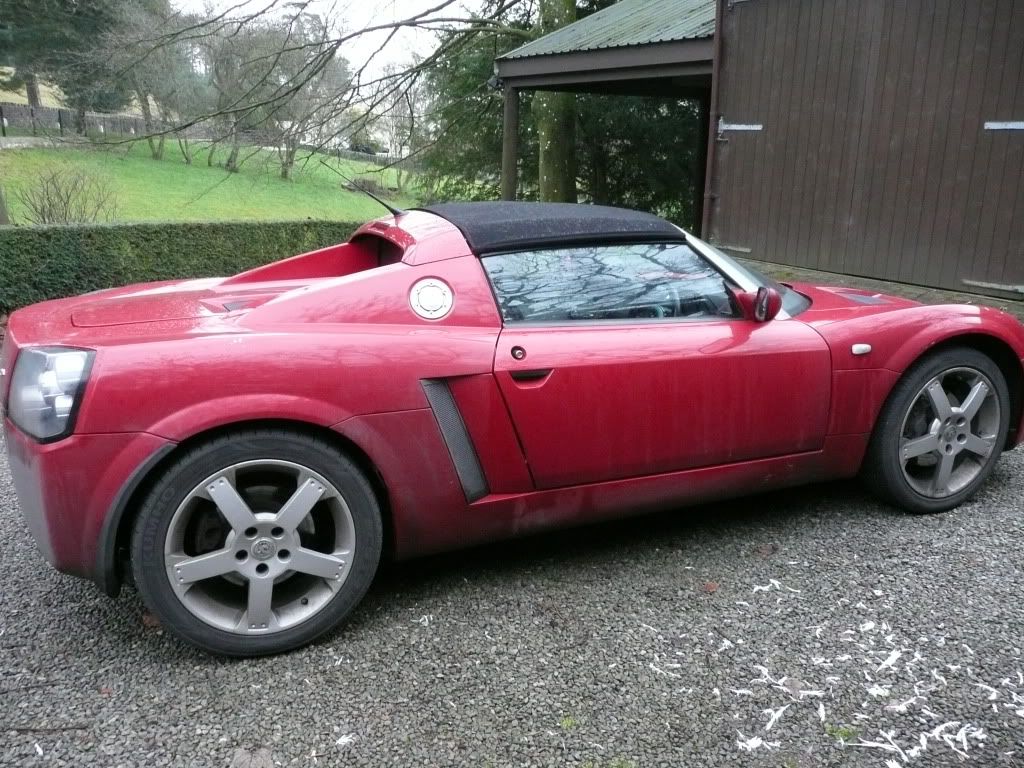
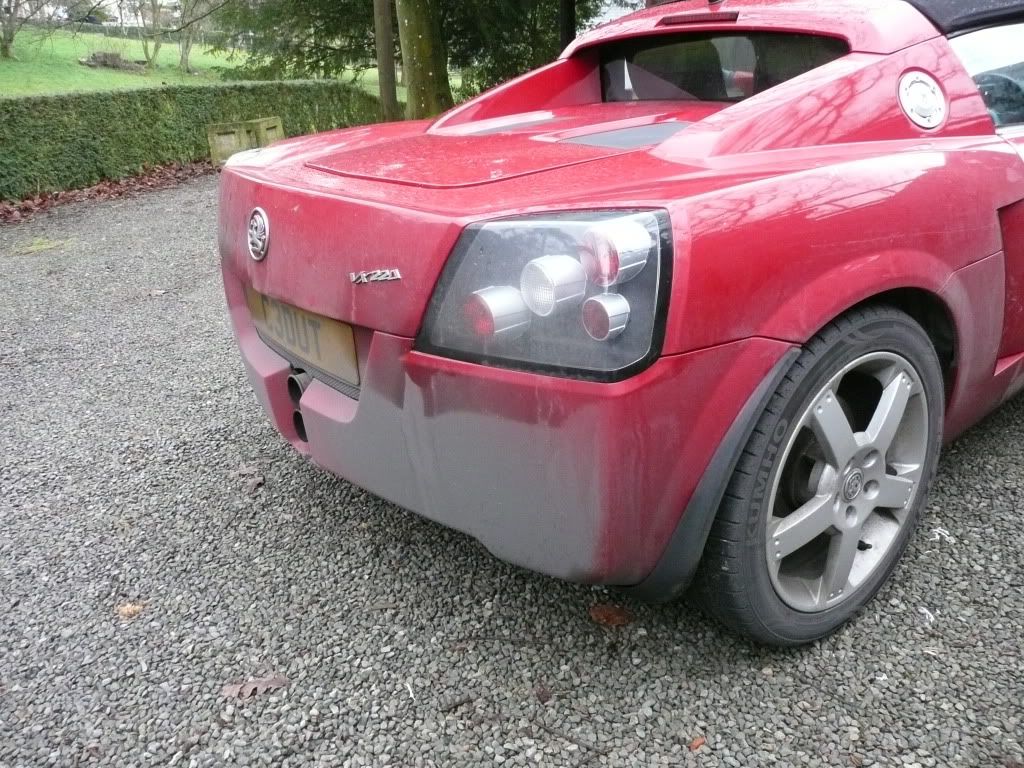
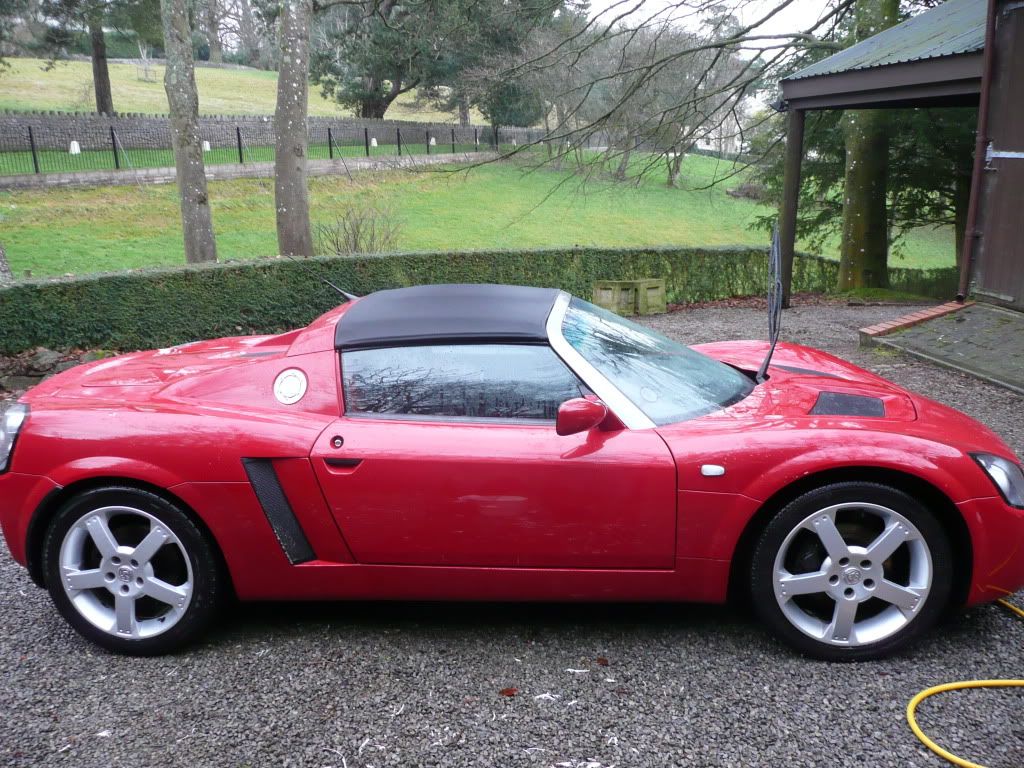
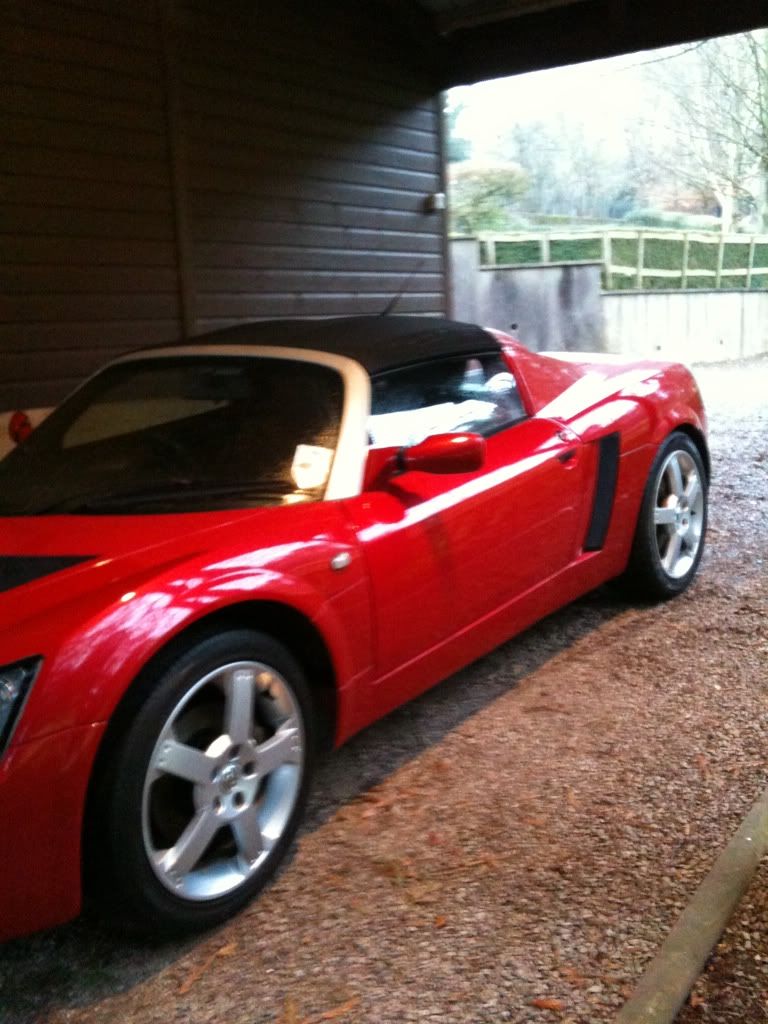
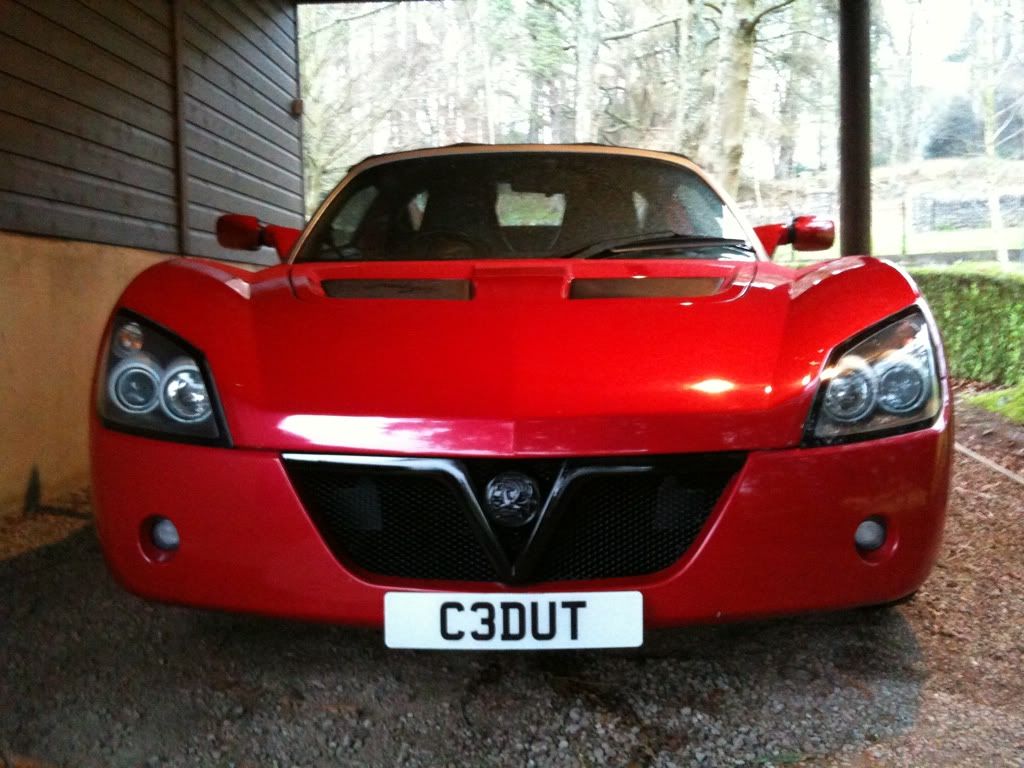
So, to start here's the starting point.
I do in the region of 100 miles a day so car gets plenty of crud from the road.
I usually used whatever sponge I can find but as this was supposed to be a 'detail' I bought a cheap 'wash mitt' to use instead. It was £1 from a scabby discount shop and I've got to say it was much better for cleaning the car than using a sponge! I even found a second bucket so I could use the two bucket wash technique.
#2
Posted 26 January 2011 - 09:17 PM
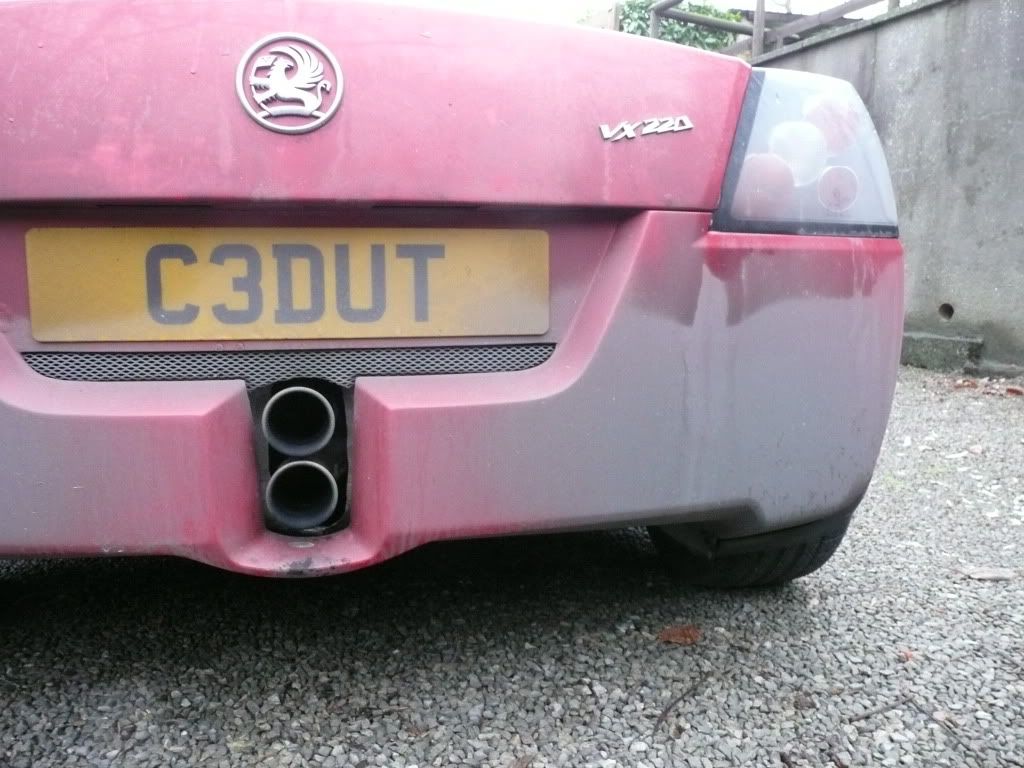
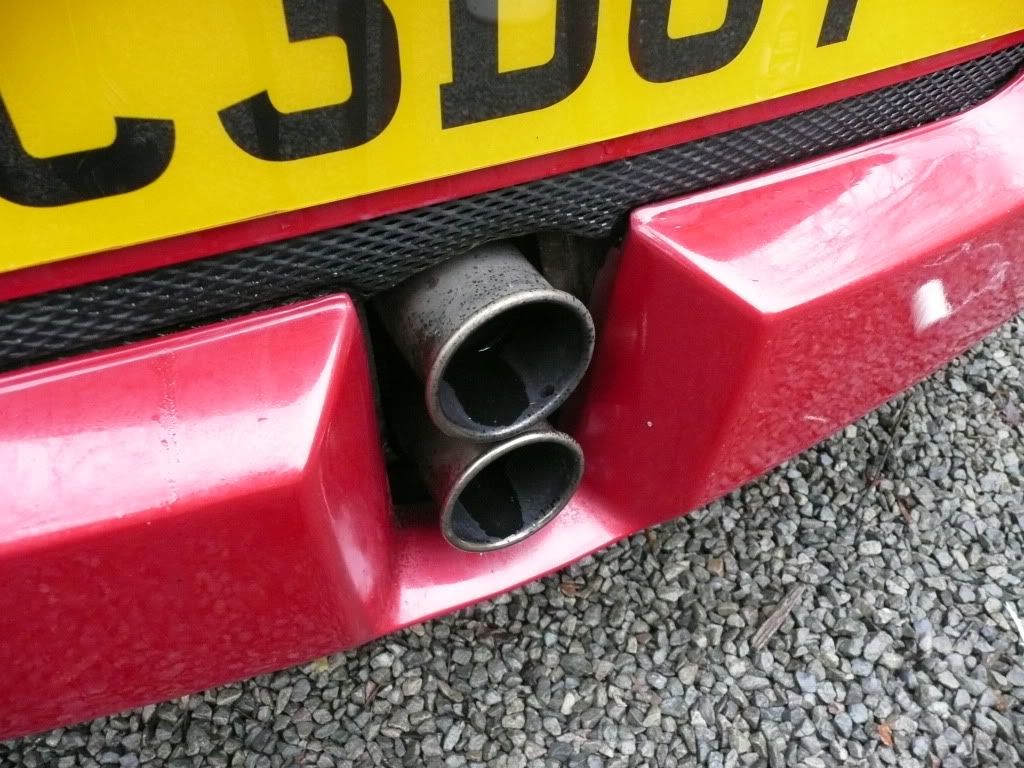
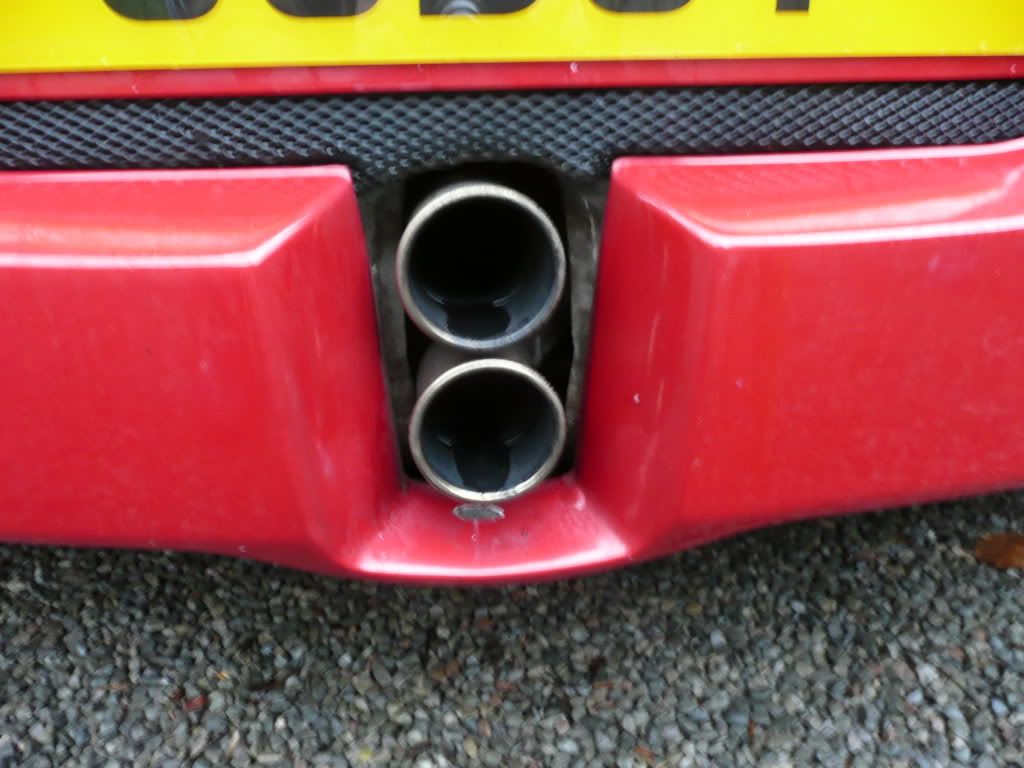
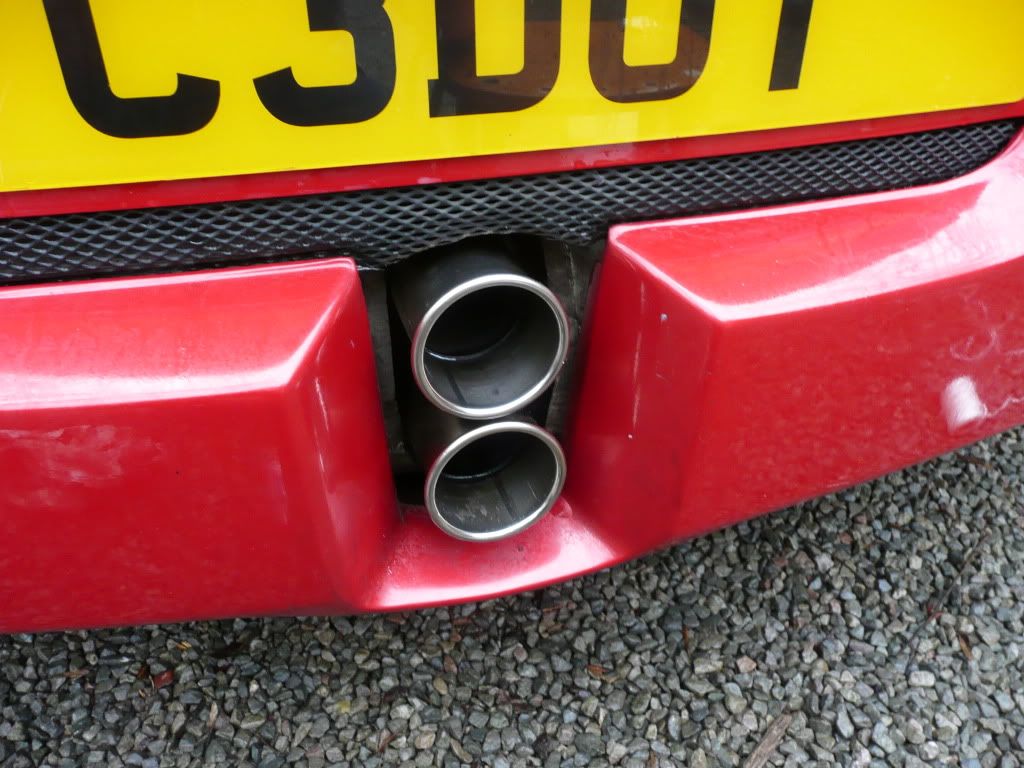
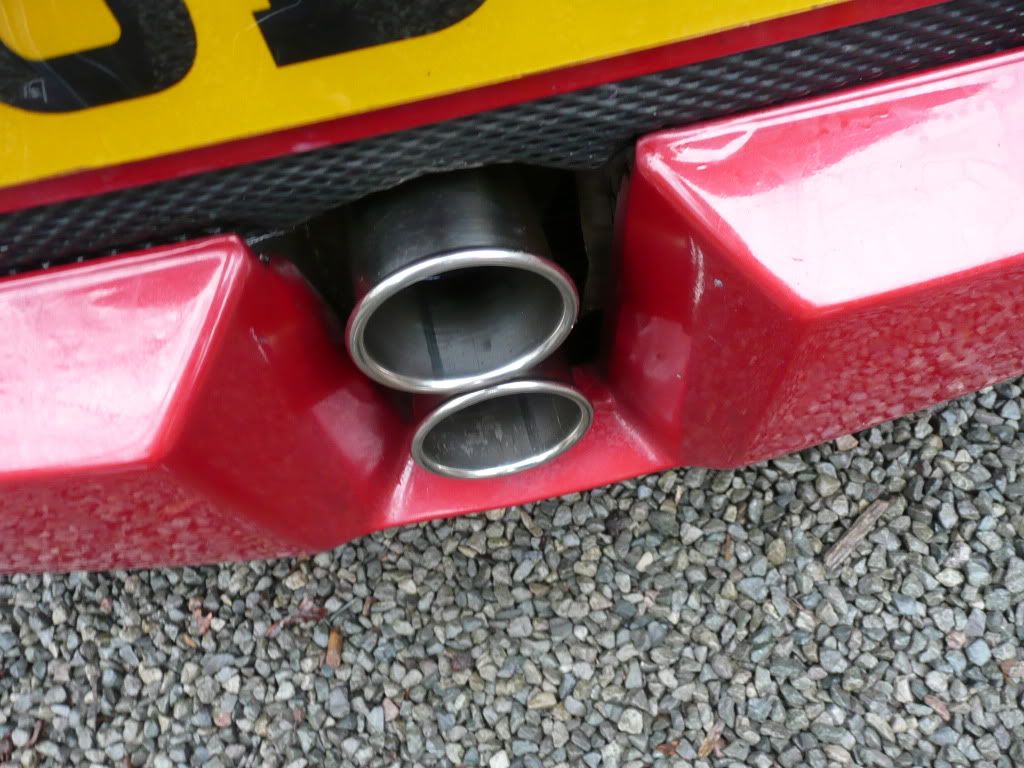
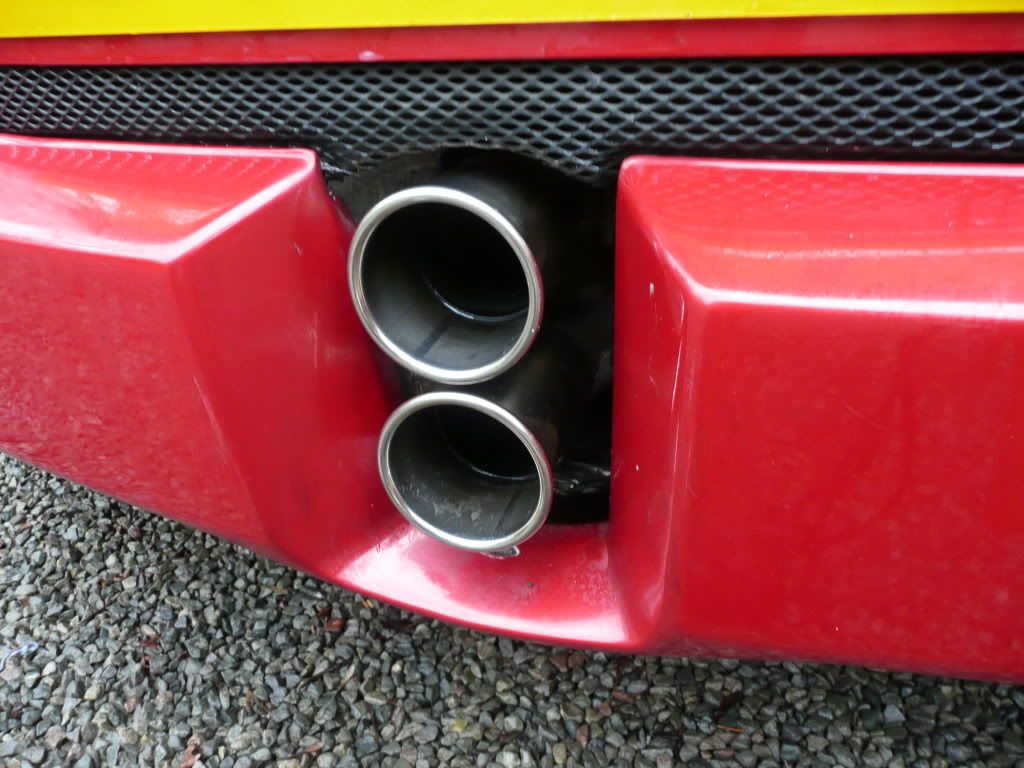
Then had a quick exhaust polish
#3
Posted 26 January 2011 - 09:18 PM
I went to Halfrauds and bought the cheapest one that they had which included a lubricating spray. It was a turtle wax one for about £6.00
This is the first time ever using a claybar and it did remove the little spots of tar and stuff with relative ease. Only tricky thing I found was that it was so cold I needed a bucket of warm water to keep the clay soft enough.
These are pictures after claying and then washing the car.
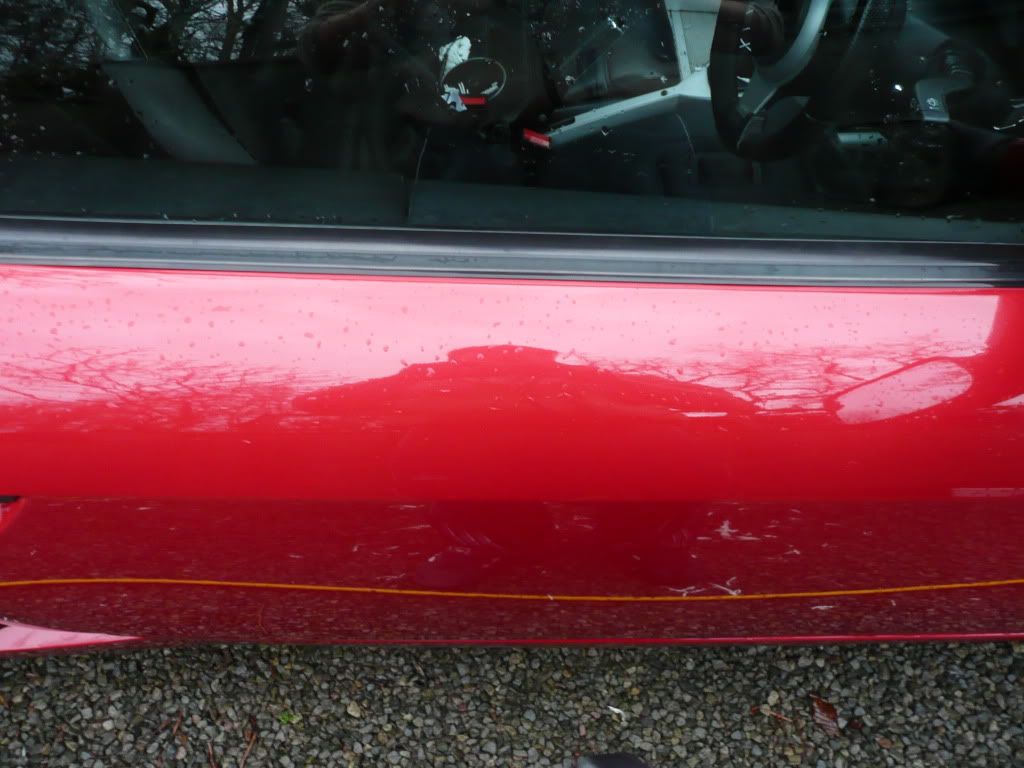
Next step was to dry it and use the Auto Glym Paint Renovator. This says that it takes blemishes out of the laquer/paint so I was hoping that this would get rid of the cloudyness.
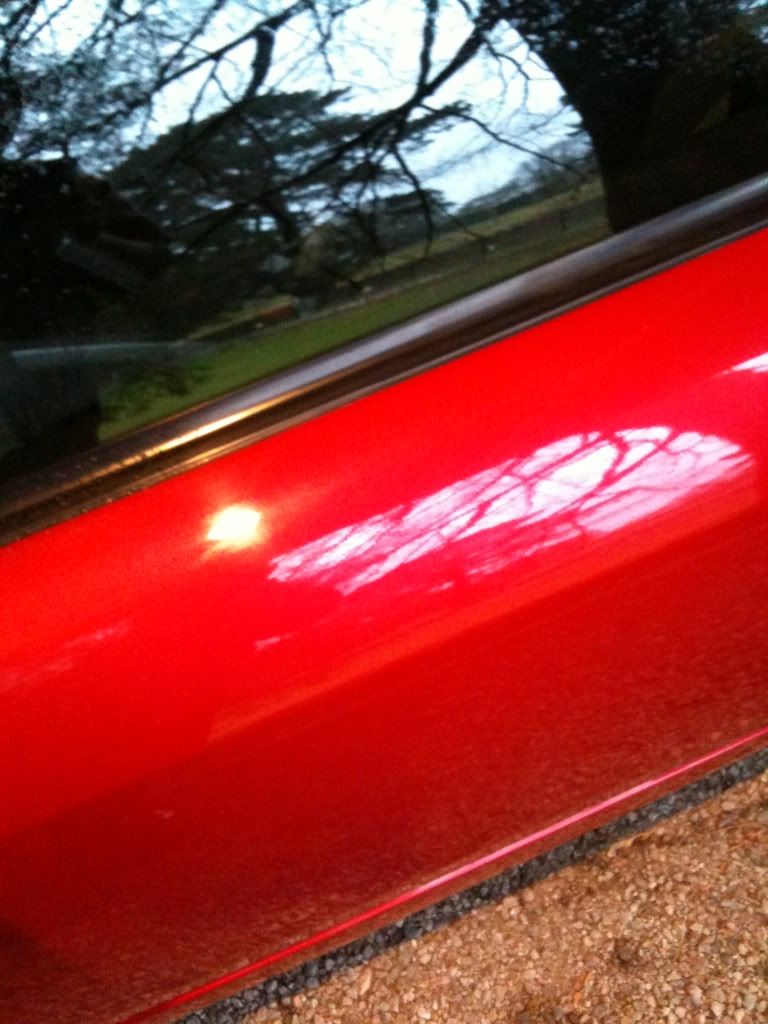
Photo of top of drivers door before.
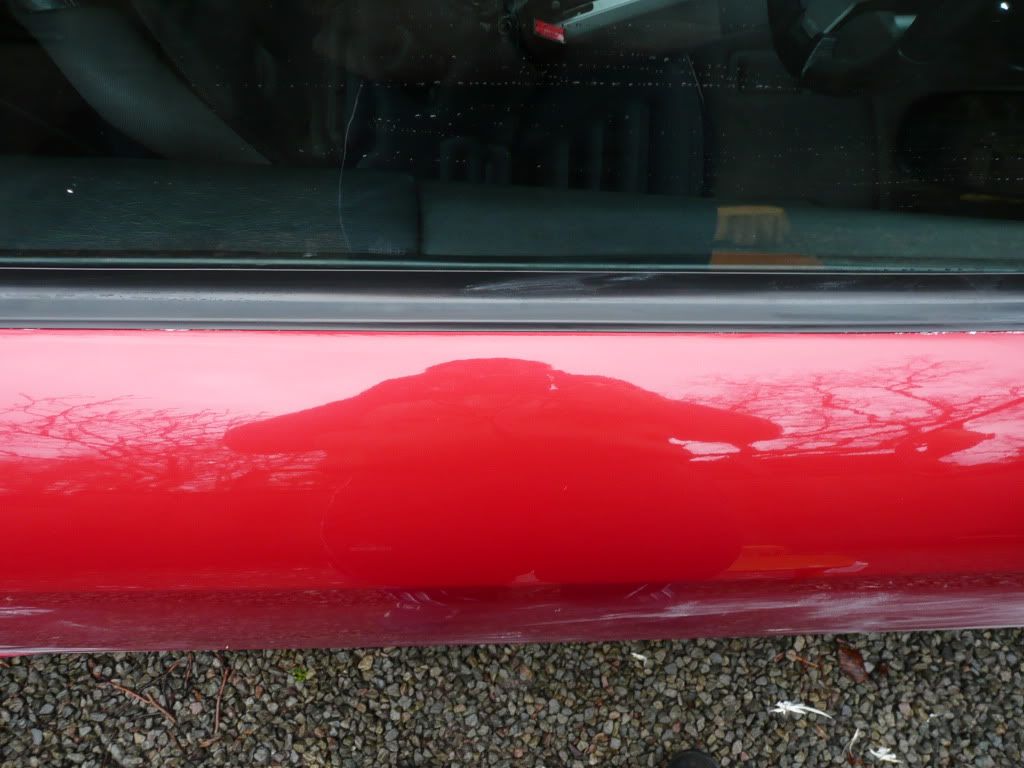
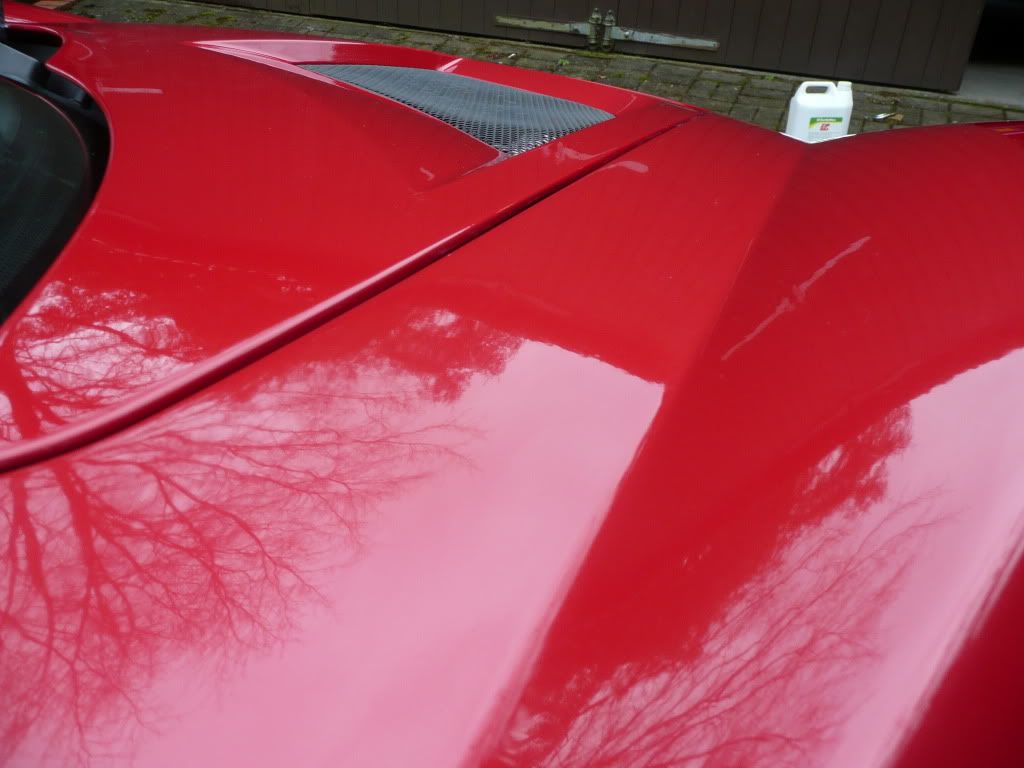
Photo after...
#4
Posted 26 January 2011 - 09:19 PM
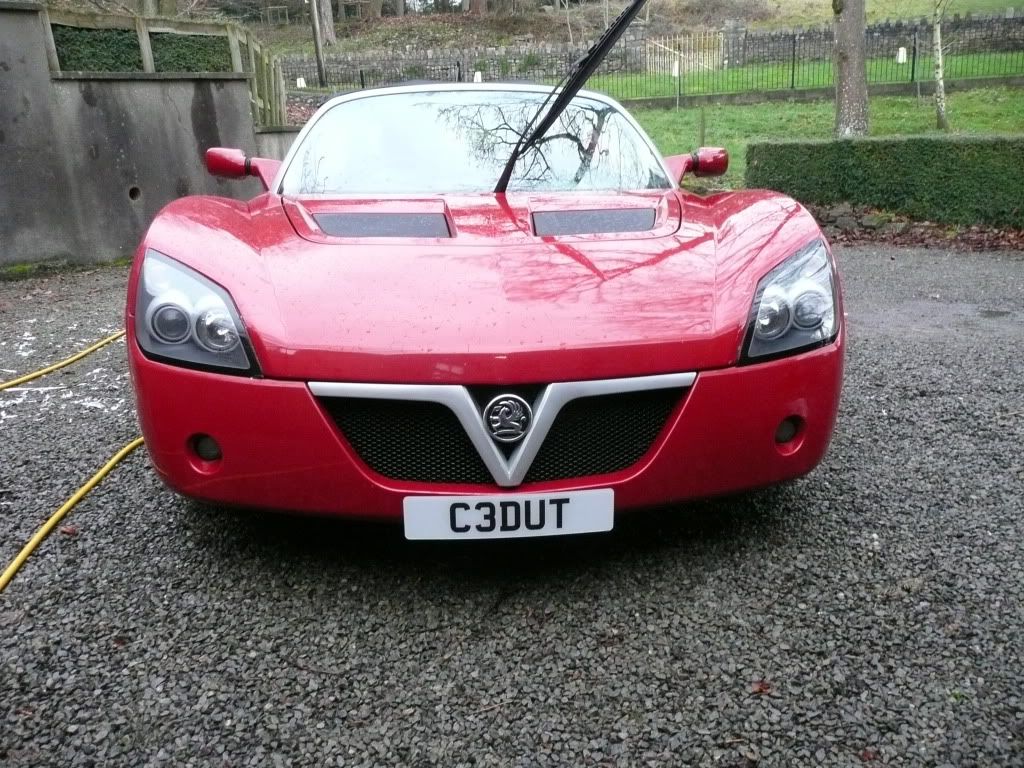
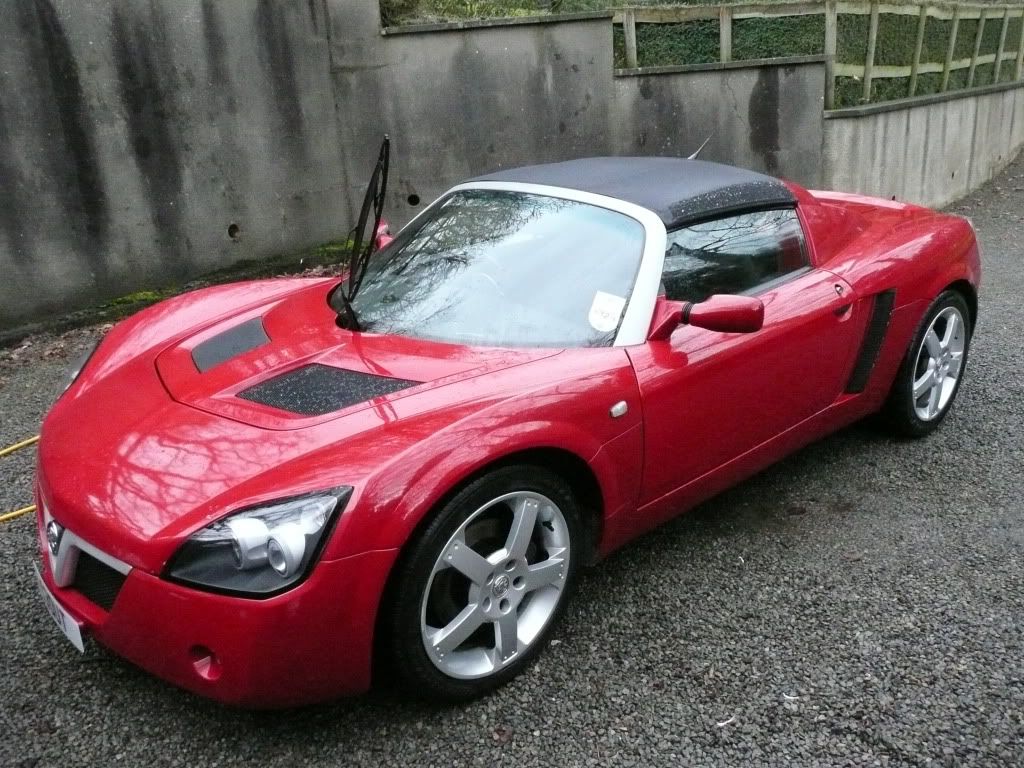
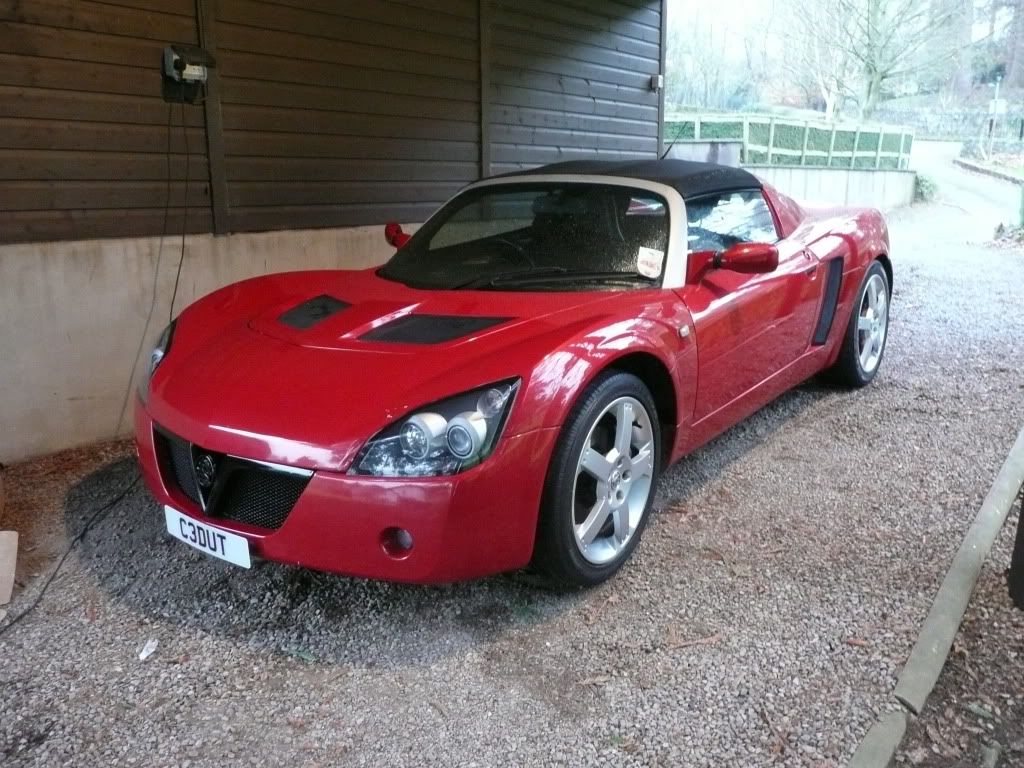
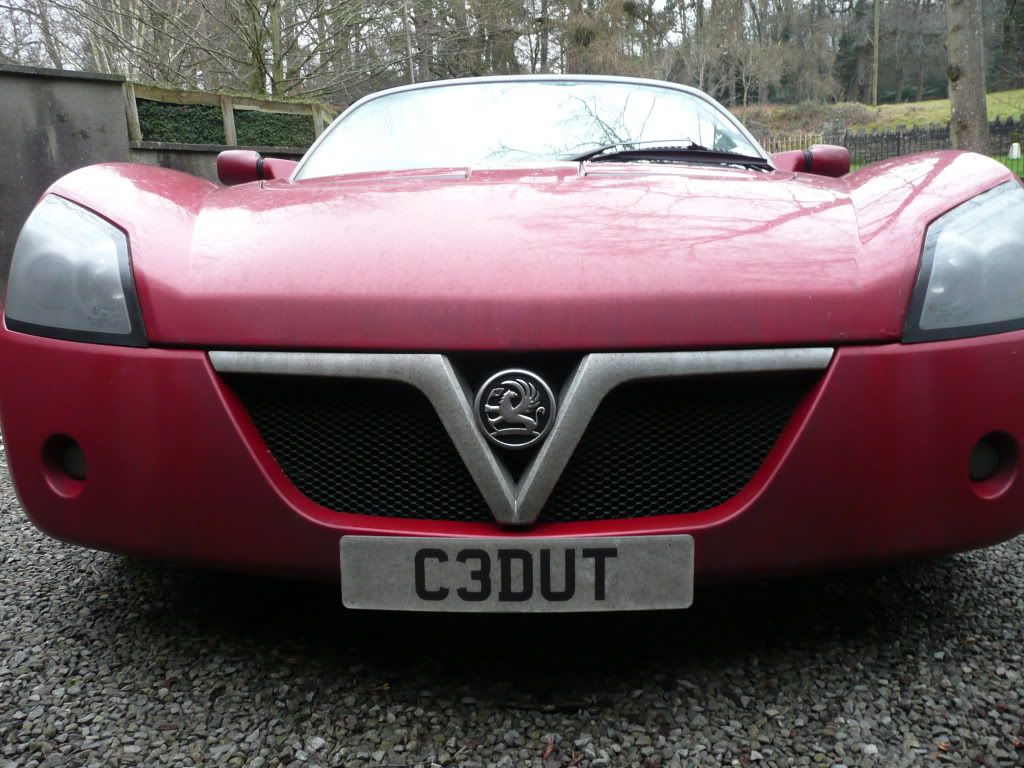
Any, used this stuff all around and then put Autoglym Deep Shine (or something like that) on top of it and I must say I'm really pleased with the results!
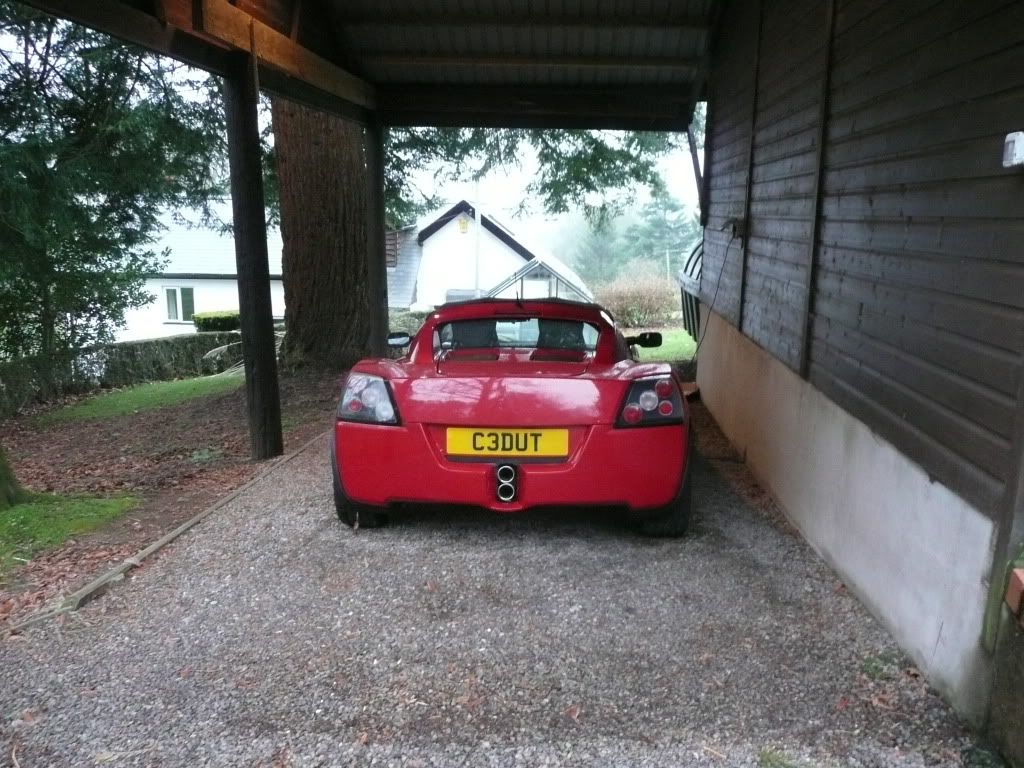
It looks a lot deeper, richer colour. Had to move the car due to rain, camera ran out of batteries at the end and lighting wasnt great...
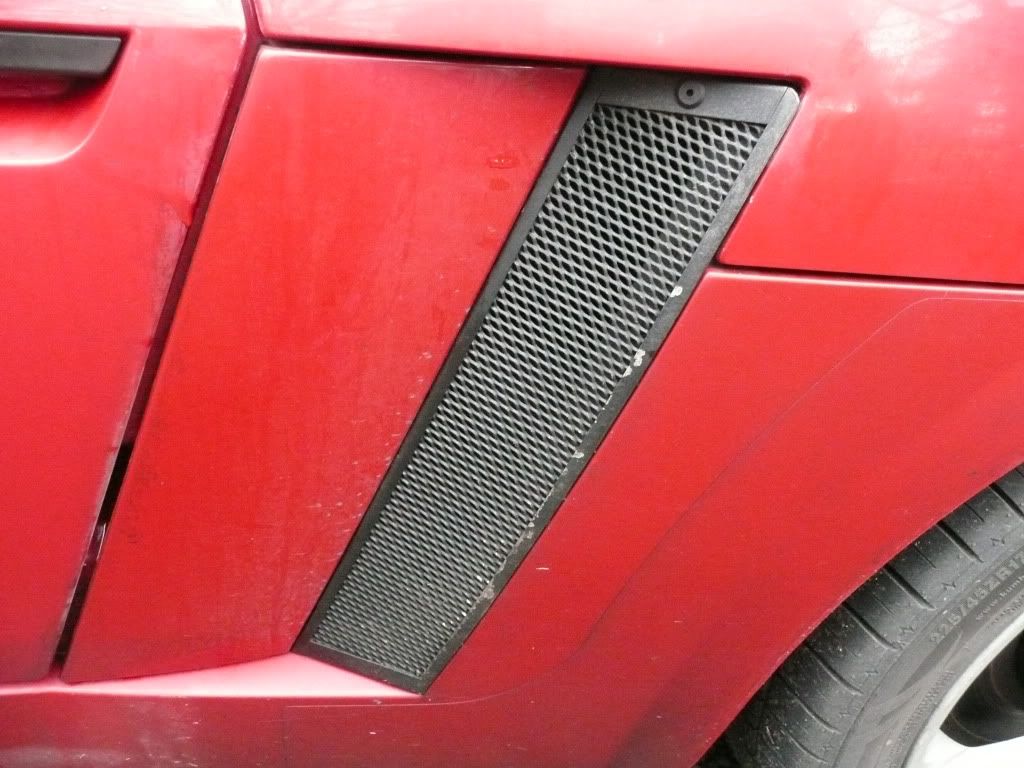
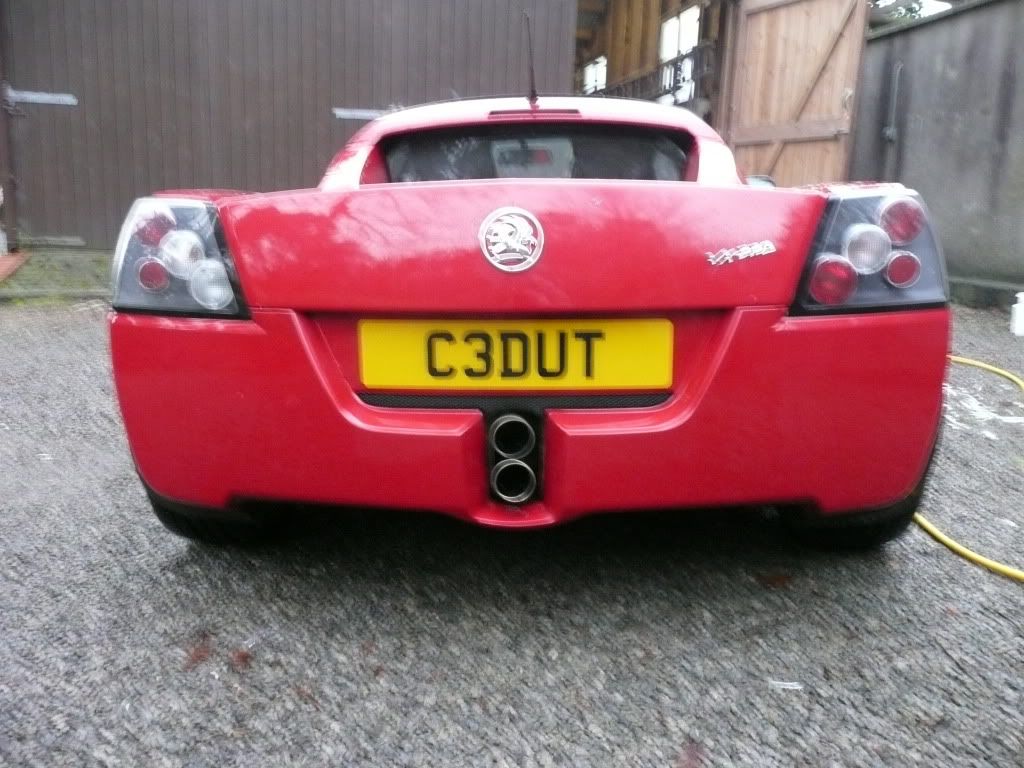
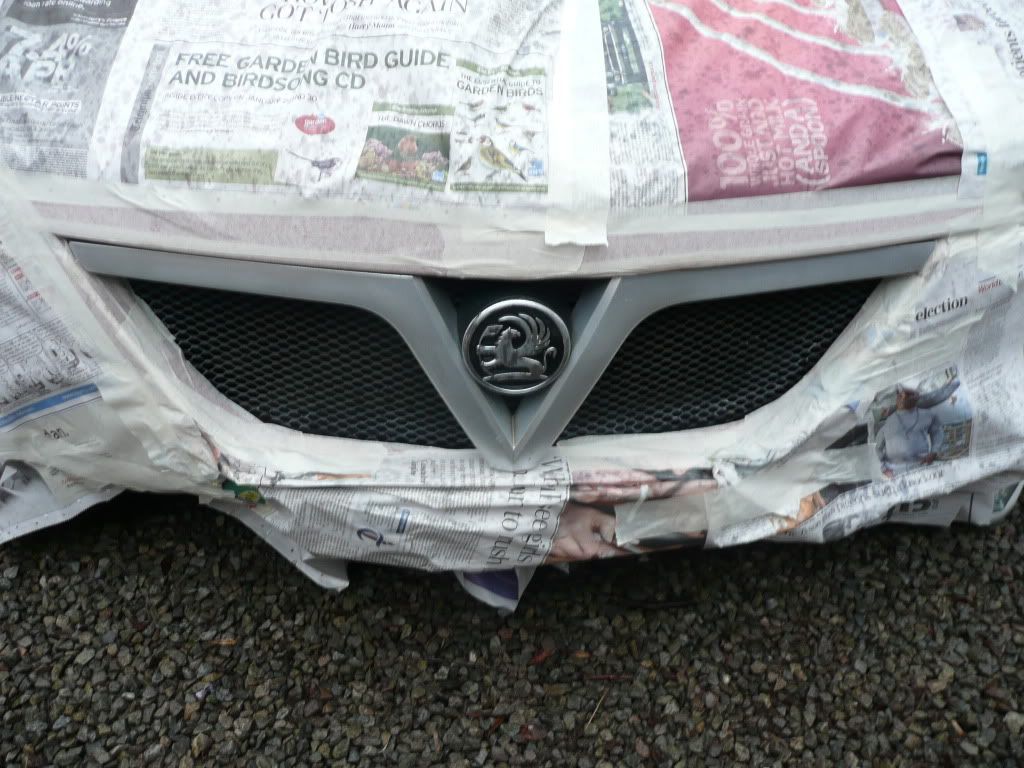
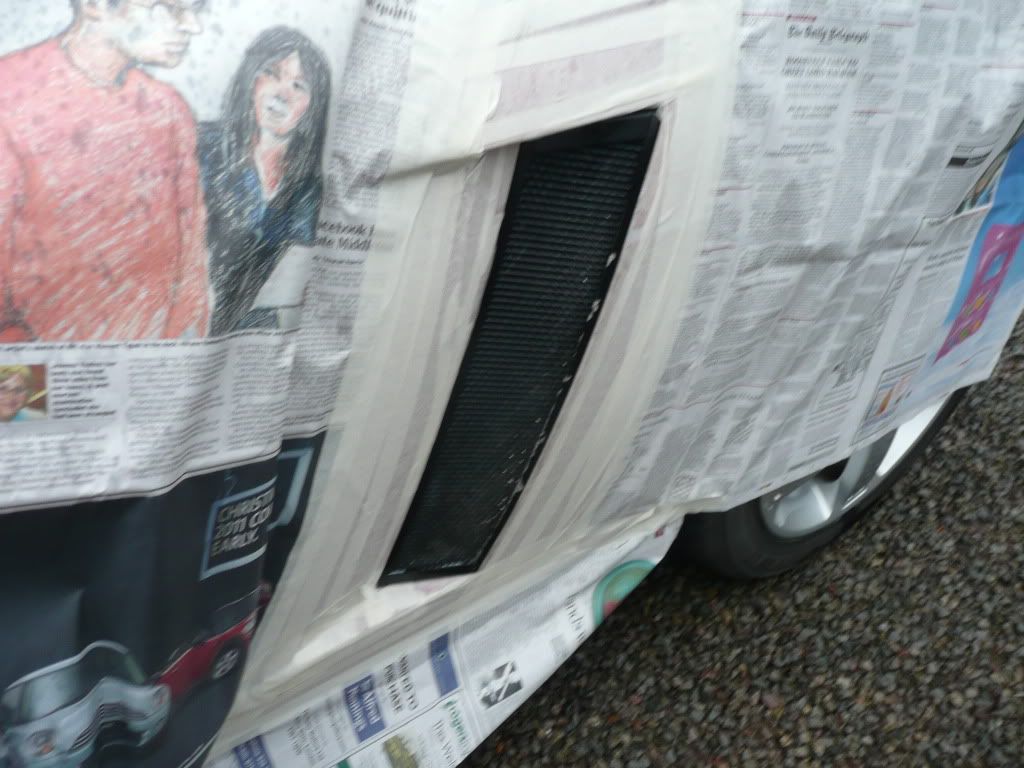
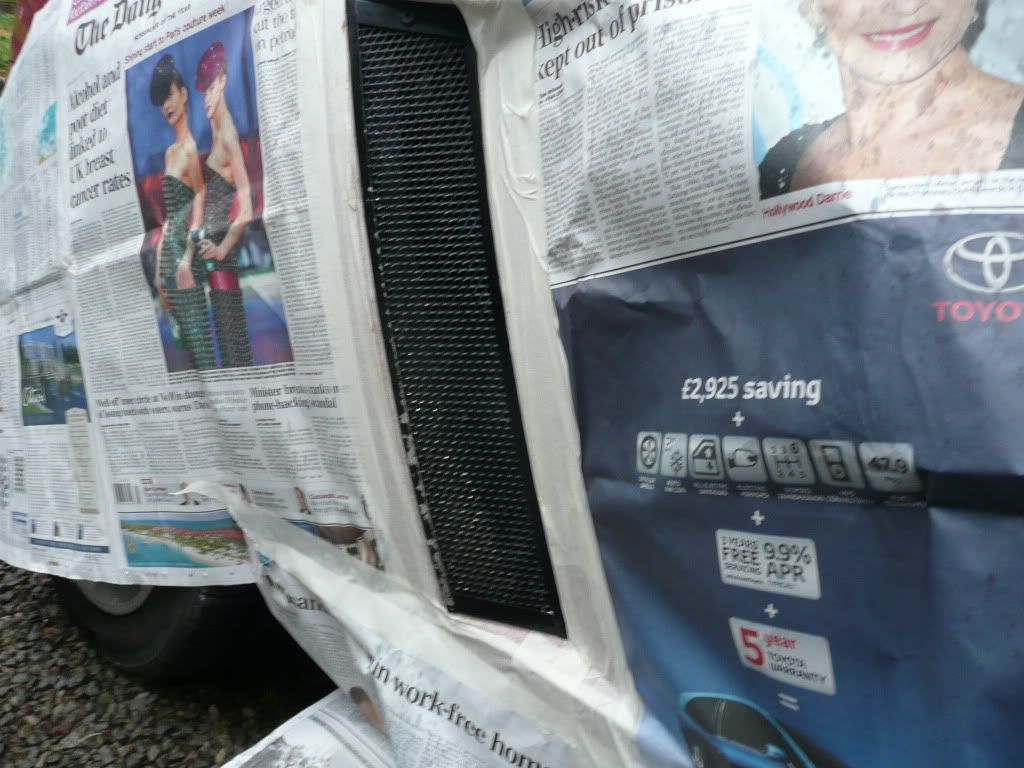
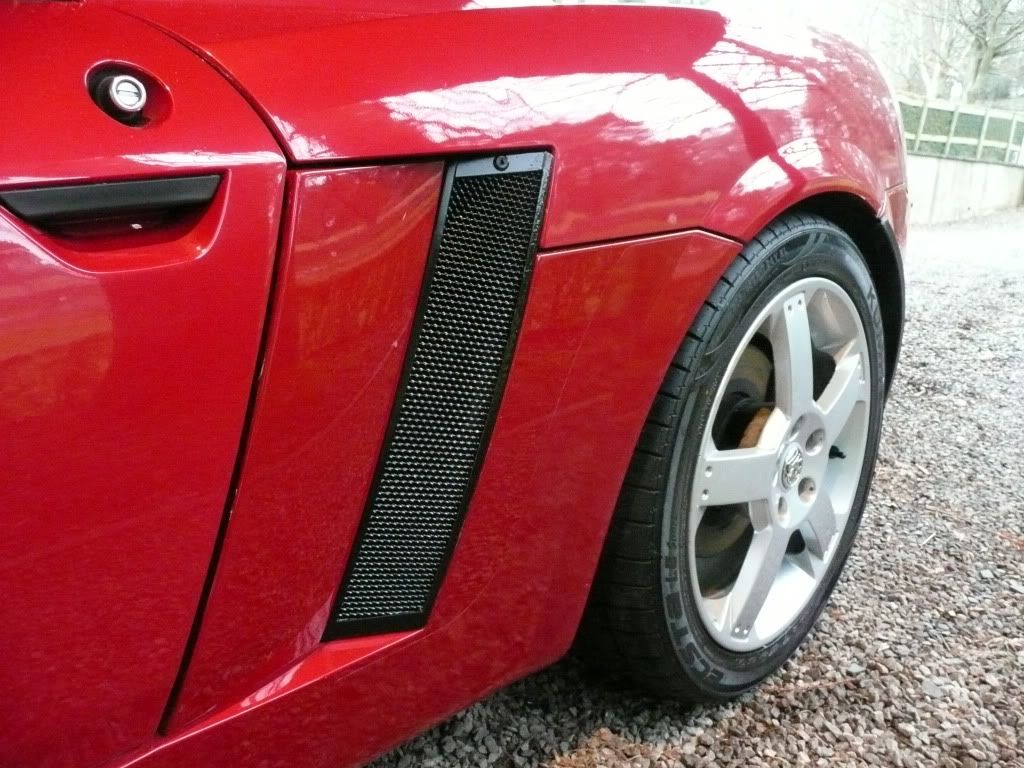
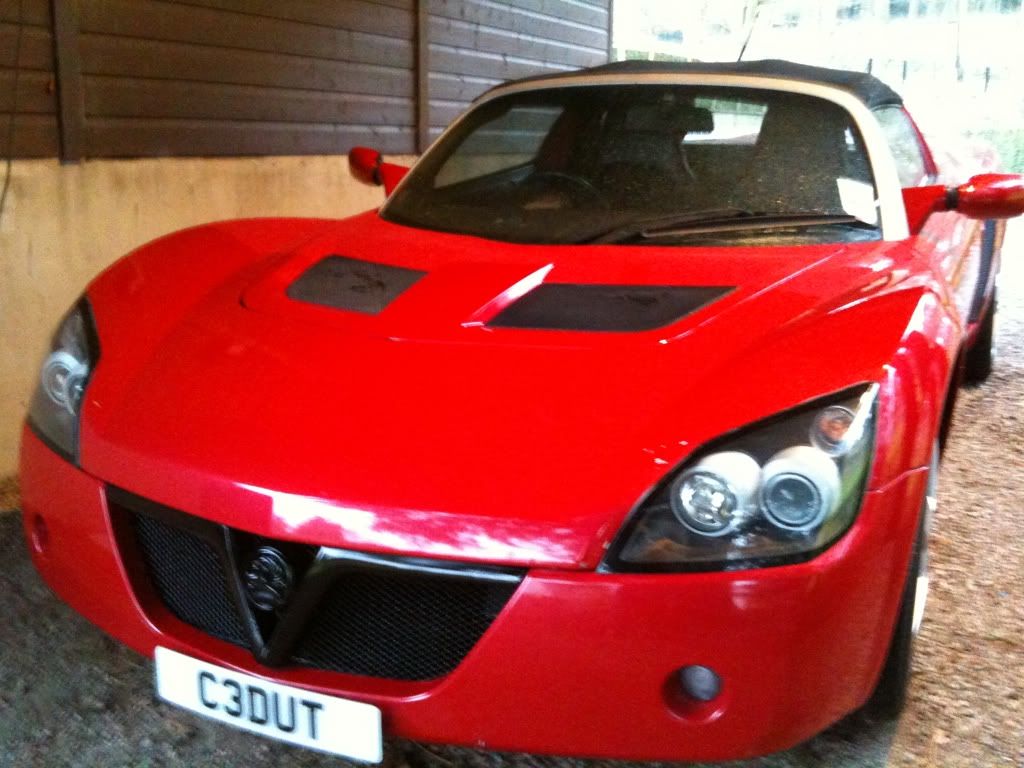
As this only took a few hours I decided to tidy up the side vents and spay front V and rear badge black.
#5
Posted 26 January 2011 - 09:19 PM
and then a much deserved
Bored now.
I'm sure it'll be dirty by the end of the week and I'll wonder why I bothered!
#6
Posted 26 January 2011 - 09:28 PM
#7
Posted 26 January 2011 - 09:31 PM
Cheapskate job or not your Vx looks great Even better to see you bought the right colour red in the first place Only thing I'm not sure of is the front badge, either remove it or put it back to standard
Cheers.
I wasnt sure on the front badge either but I have sprayed the rear badge black so thought it would be odd with a silver front and black rear badge.
Will have a think....wont be hard to remove the paint as it was a ten minute rattle can job with no prep underneath!! haha
#8
Posted 26 January 2011 - 09:32 PM
#9
Posted 26 January 2011 - 09:33 PM
Edited by vx220nelly, 26 January 2011 - 09:34 PM.
#10
Posted 26 January 2011 - 09:35 PM
#11
Posted 26 January 2011 - 09:35 PM
Only thing I'm not sure of is the front badge, either remove it or put it back to standard
I wouldn't have sprayed the Griffin itself.
Your VX looks great though, nice before and after pics.
#12
Posted 26 January 2011 - 09:36 PM
Thats identical to my na! I paintedthe side grills etc and even the v just like you have lol
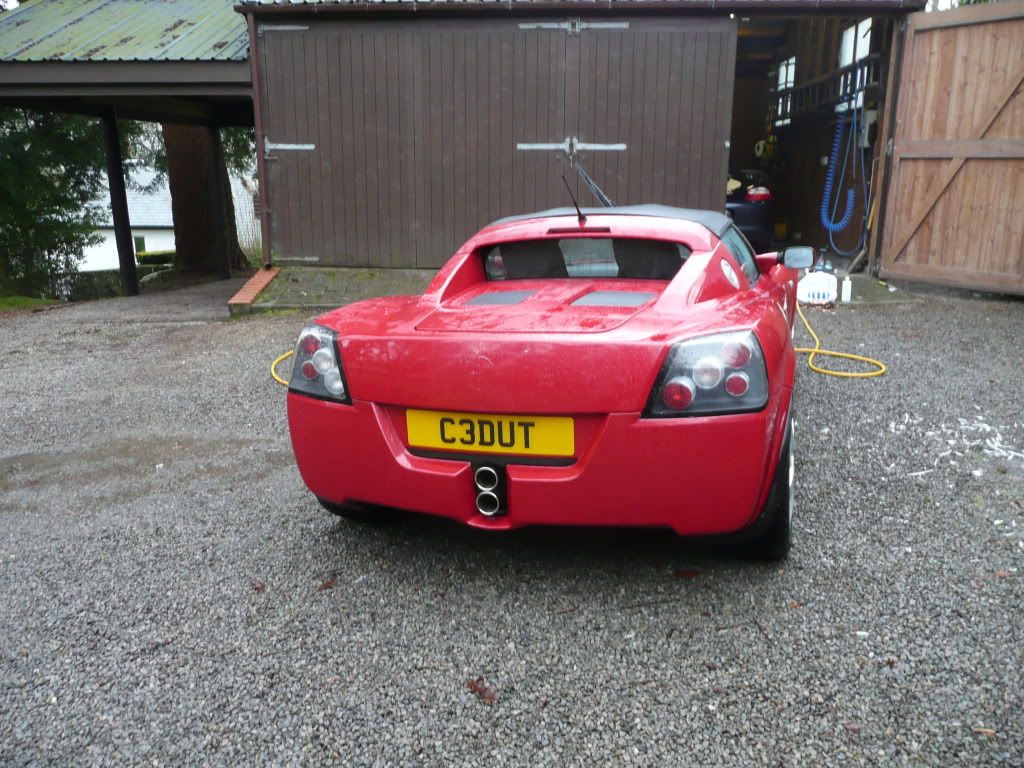
Nice results. Sort that mesh out though above the exhaust. I put upthis topic for a quick fix for this yesterday
http://www.vx220.org...20#entry1135610
Cheers for the link fred.
Will see if I can find a bit of pipe in the garage
#13
Posted 26 January 2011 - 09:36 PM
#14
Posted 26 January 2011 - 09:40 PM
Heh, I've some close up pics of the bad areas but havent posted themLooks great mate! The paint doesn't look absolutely shocking from the pics. A few bubbles and stone chips but nothing that can be spotted from a few feet away! Nice grounds btw.
The purpose was to get it looking ok from a distance which I think I've achieved
#15
Posted 26 January 2011 - 09:44 PM
#16
Posted 26 January 2011 - 09:45 PM
#17
Posted 26 January 2011 - 09:46 PM
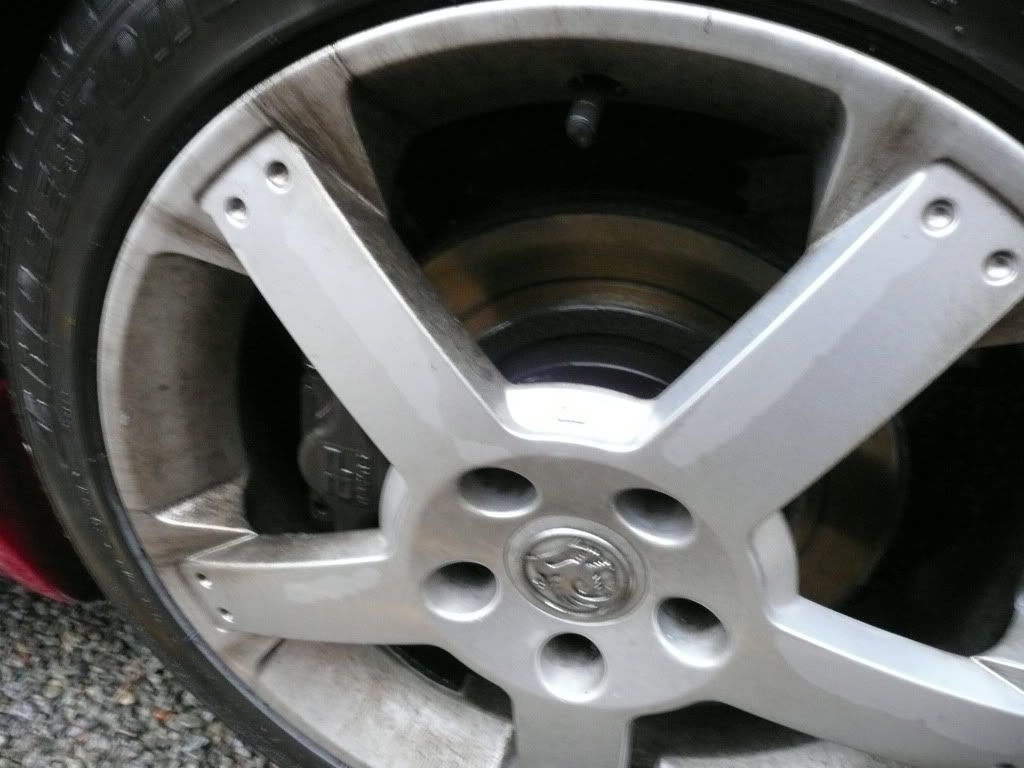
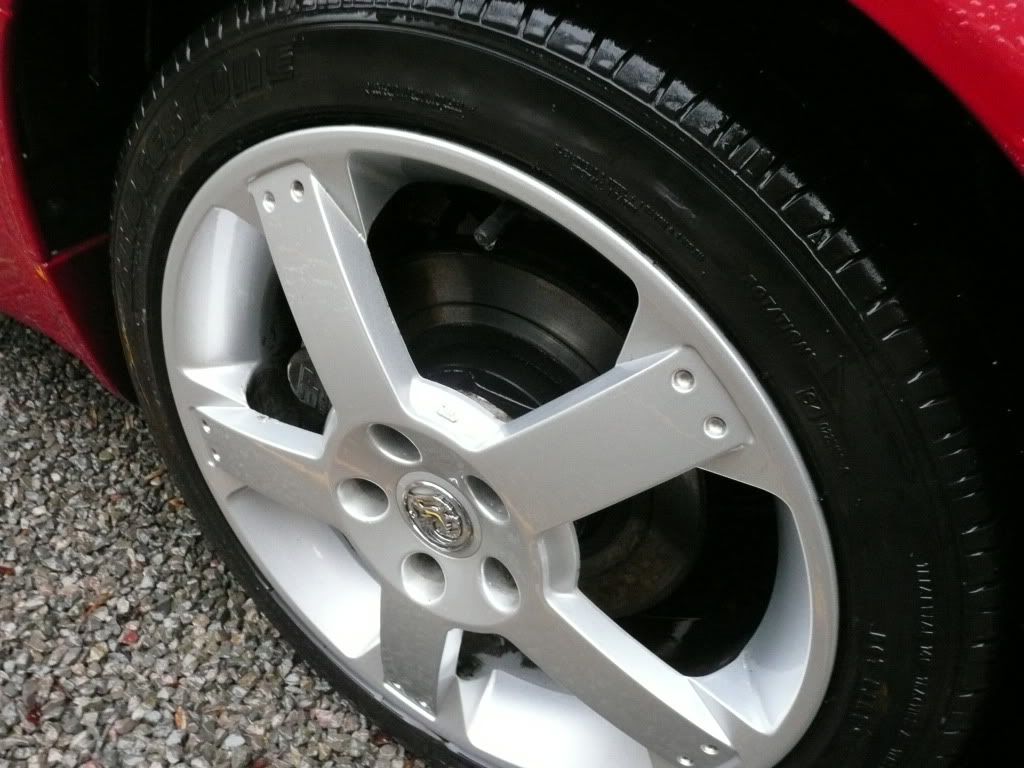
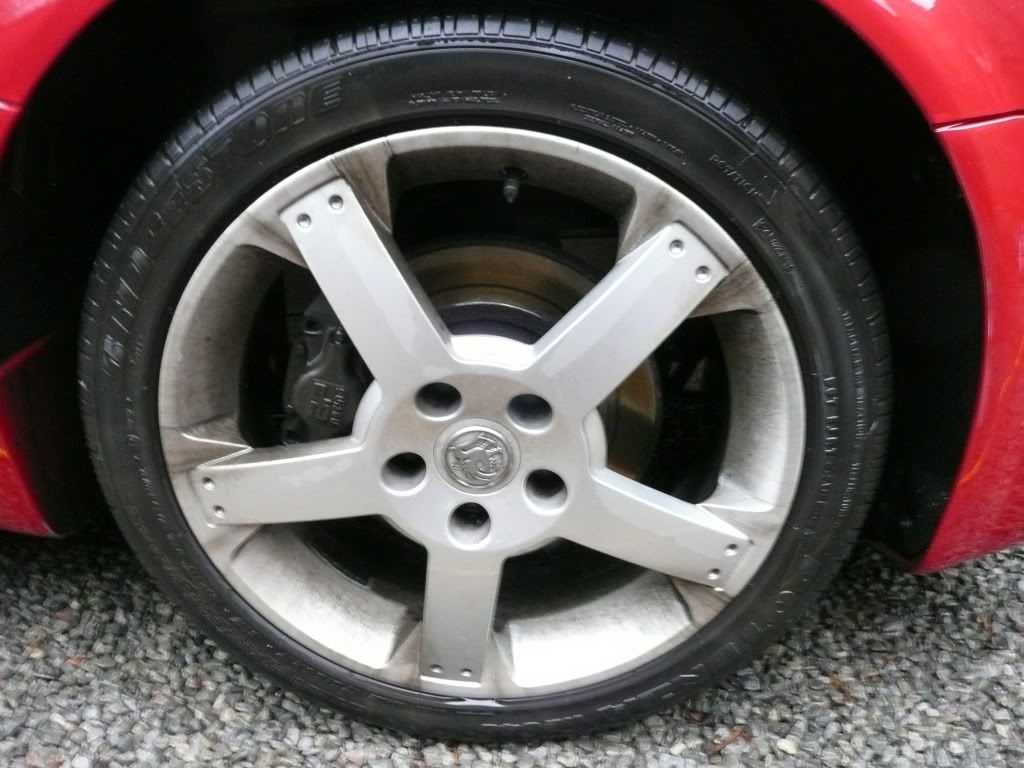
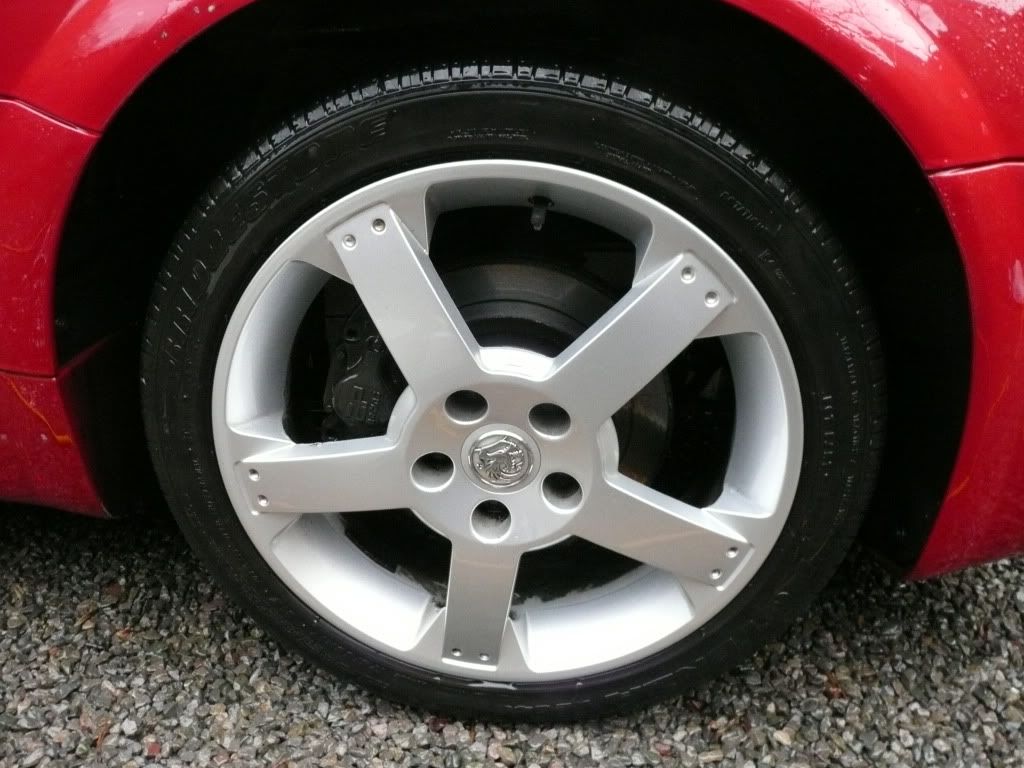
I've got some satin black TDs winging their way to me in the post - hence the quick job on the wheelsthe insides of the wheels!
other than that
#18
Posted 26 January 2011 - 09:56 PM
#19
Posted 26 January 2011 - 11:04 PM
#20
Posted 26 January 2011 - 11:08 PM
3 user(s) are reading this topic
0 members, 3 guests, 0 anonymous users