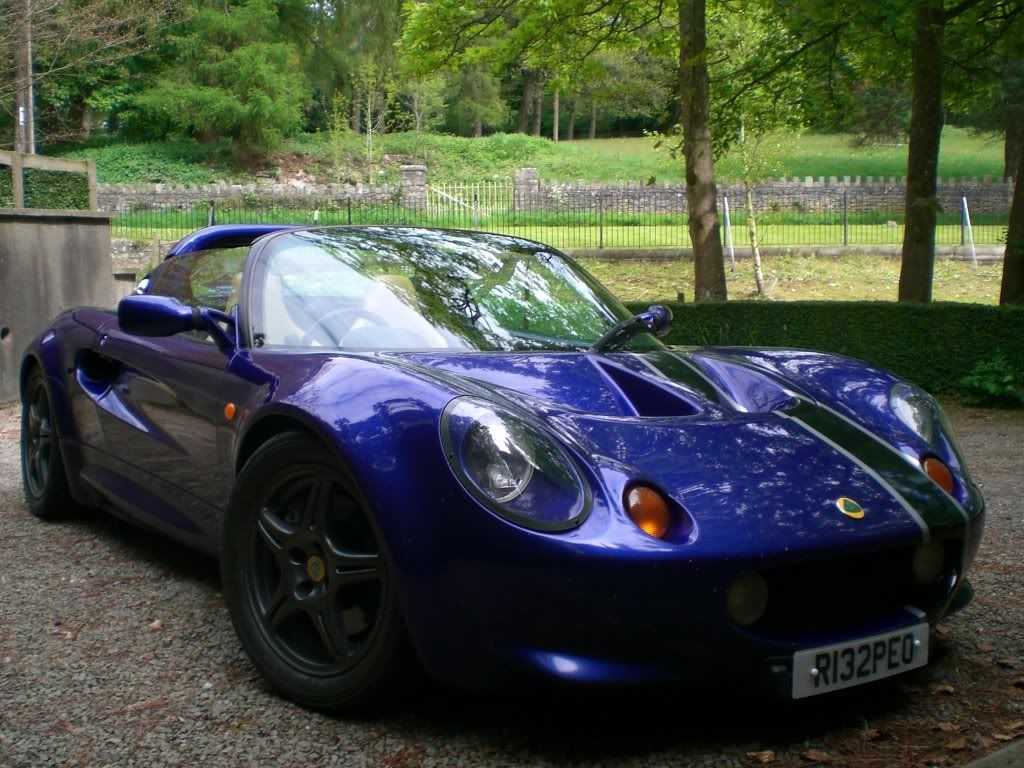

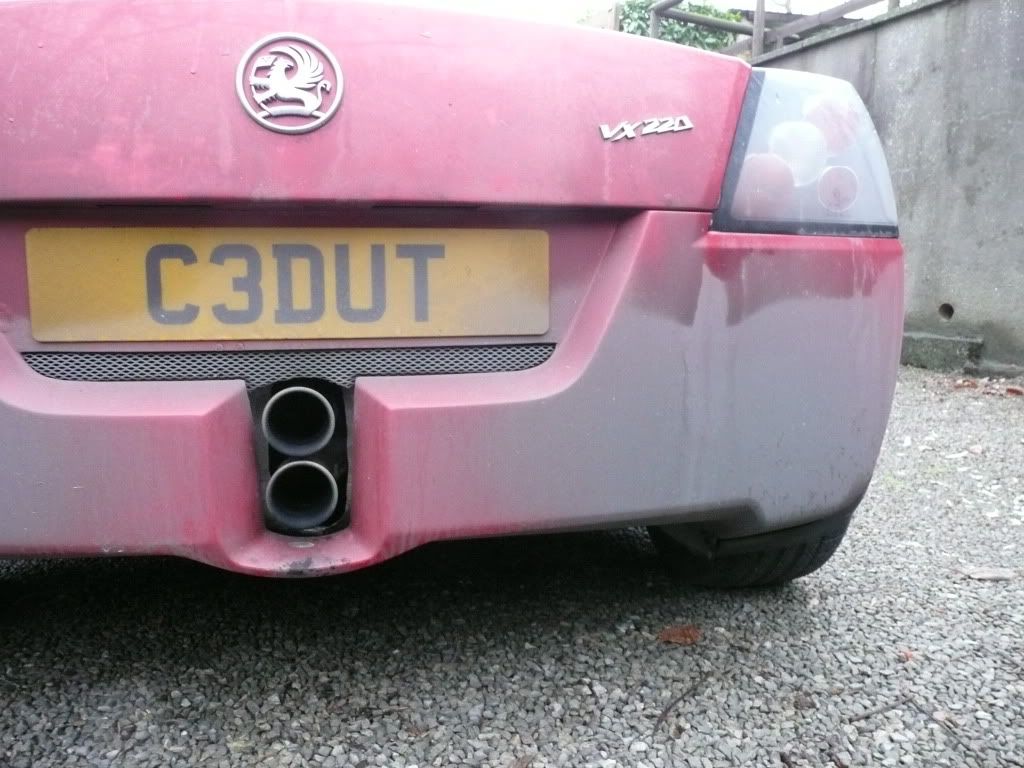
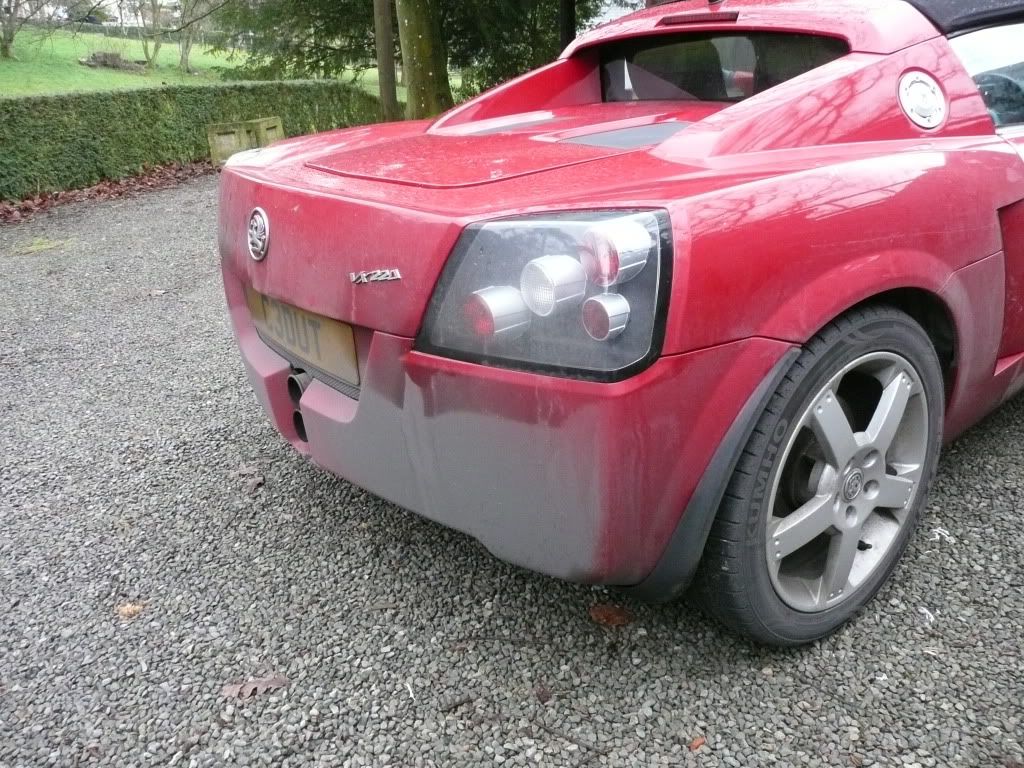
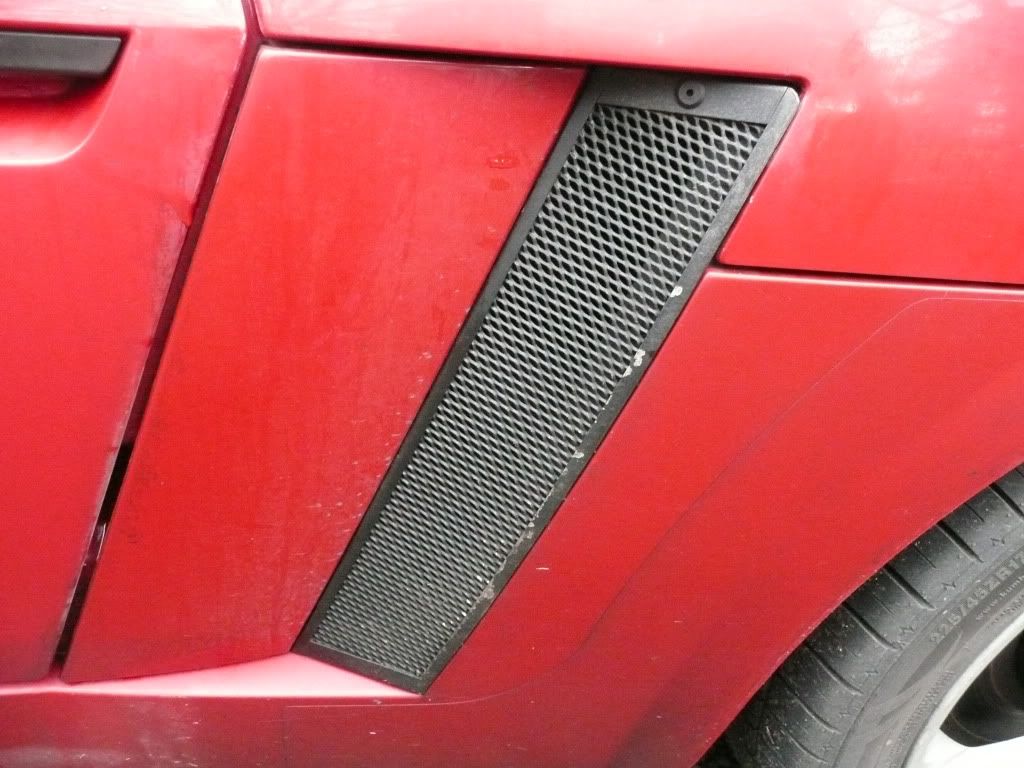
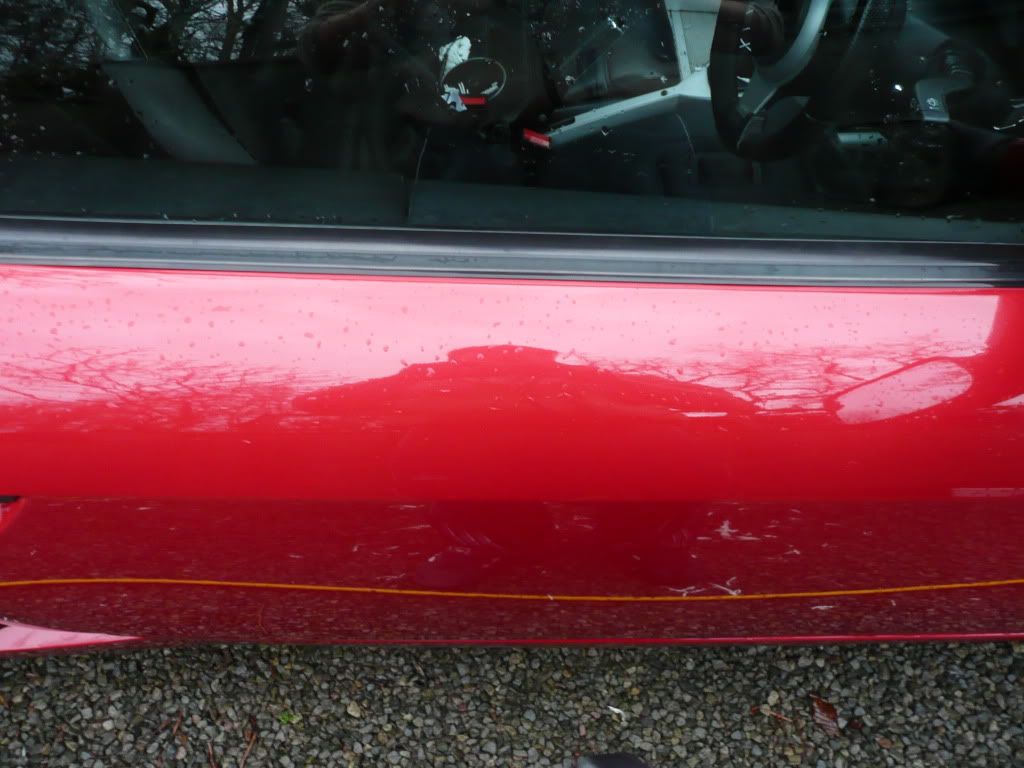
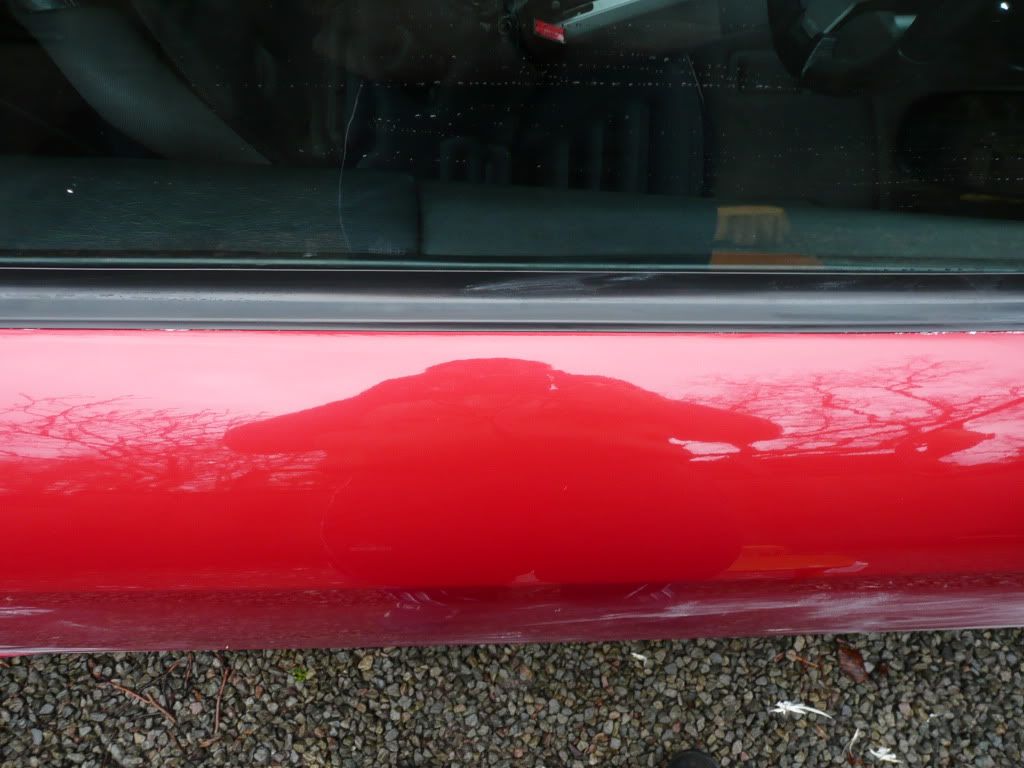
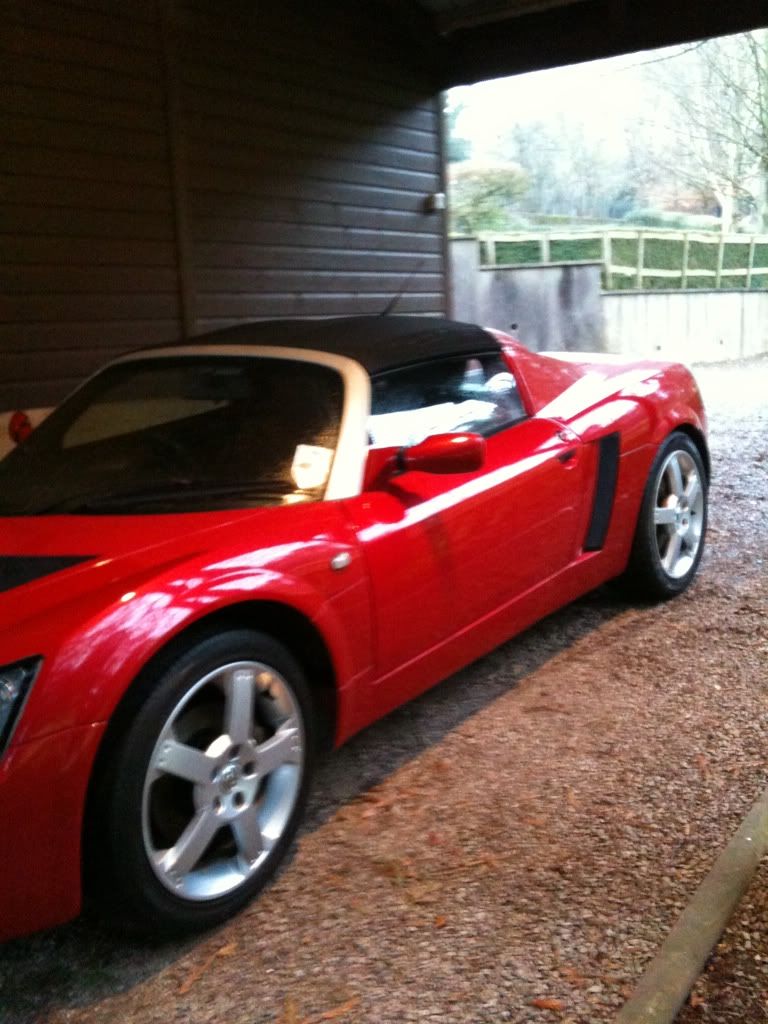
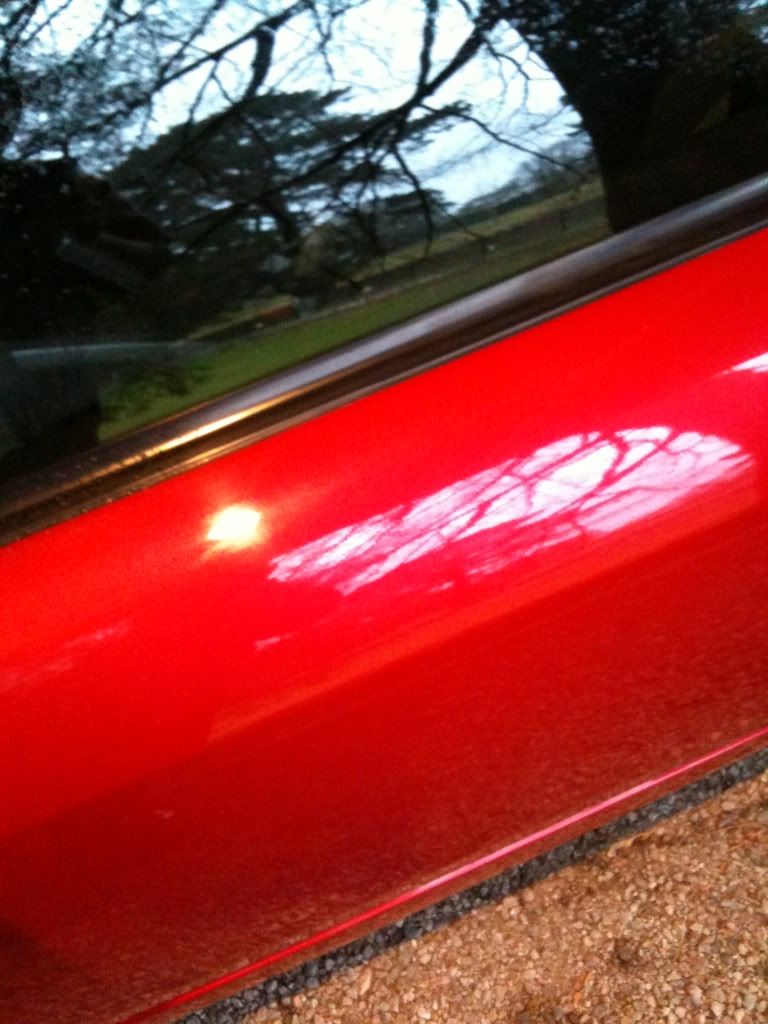
So, I've not long had my VX and to say the paint is poor would be an understantement (bubbles/chips etc). I did clean and polish the car when I first got it but the paint seemed to have a hazy kind of finish to it - despite it feeling smooth to the touch.
Due to the atrocious bubbling there is absolutely no point paying a professional to 'detail' the car as they would just laugh! It will have a respray at some point but not in the near future (I work on building sites!) so I just wanted to get the paint looking more shiny so the car looked better...from a distance!
I searched through a few detailing sections on various forums and asked advice from detailing hobbyists about how to get the paint looking better. All the advice seemed to involve spending a decent amount of money. So, in typical tight bastard style, I picked the products that seemed like they would be most effective when combined with stuff I had lying about in the garage.
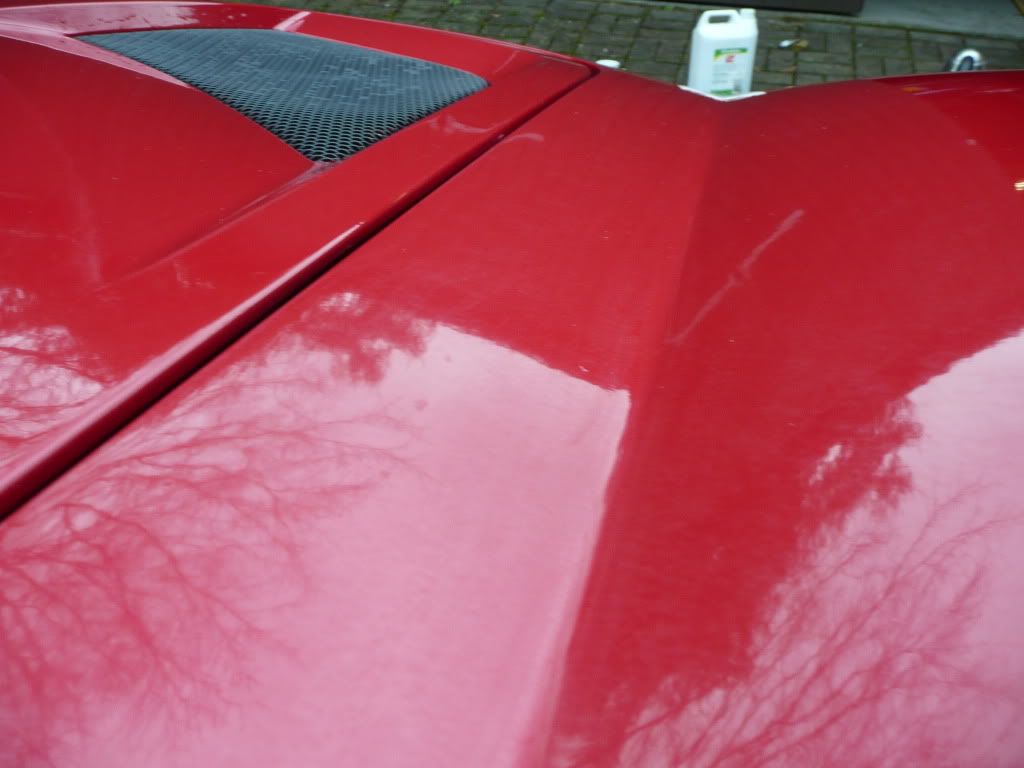
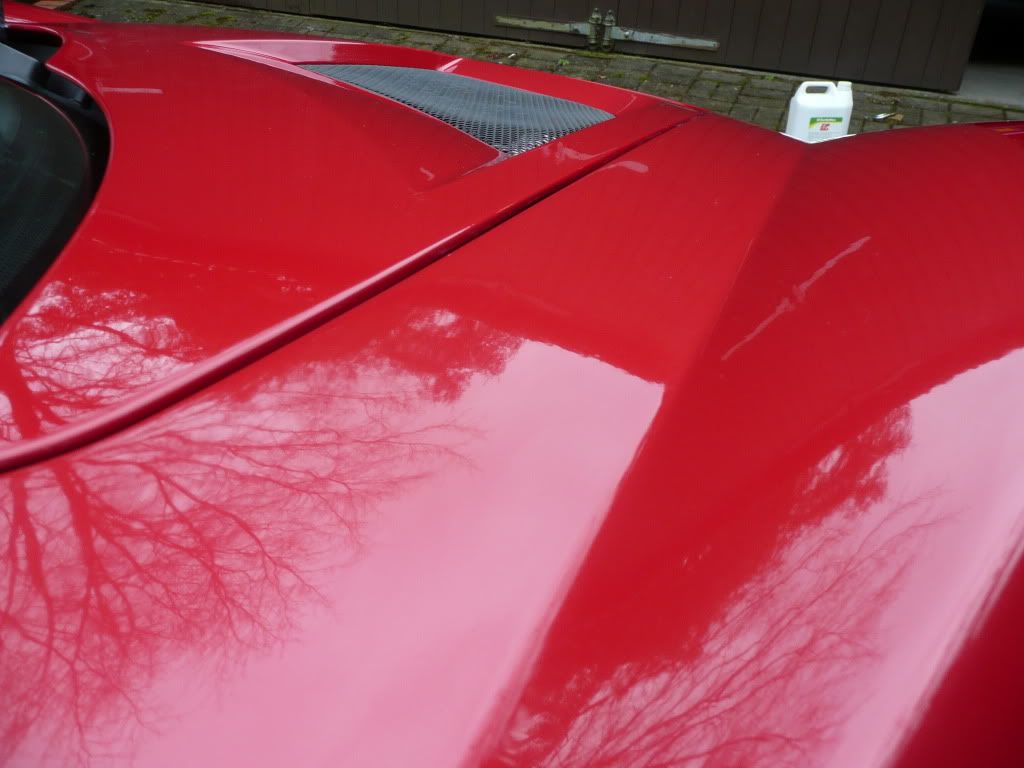
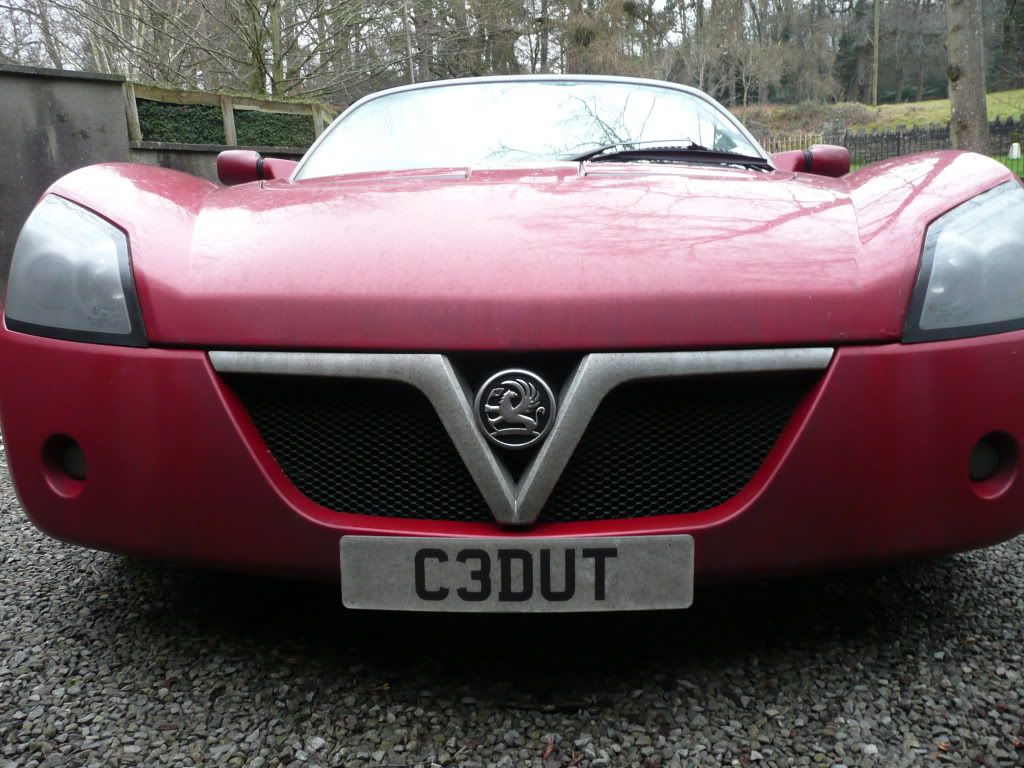
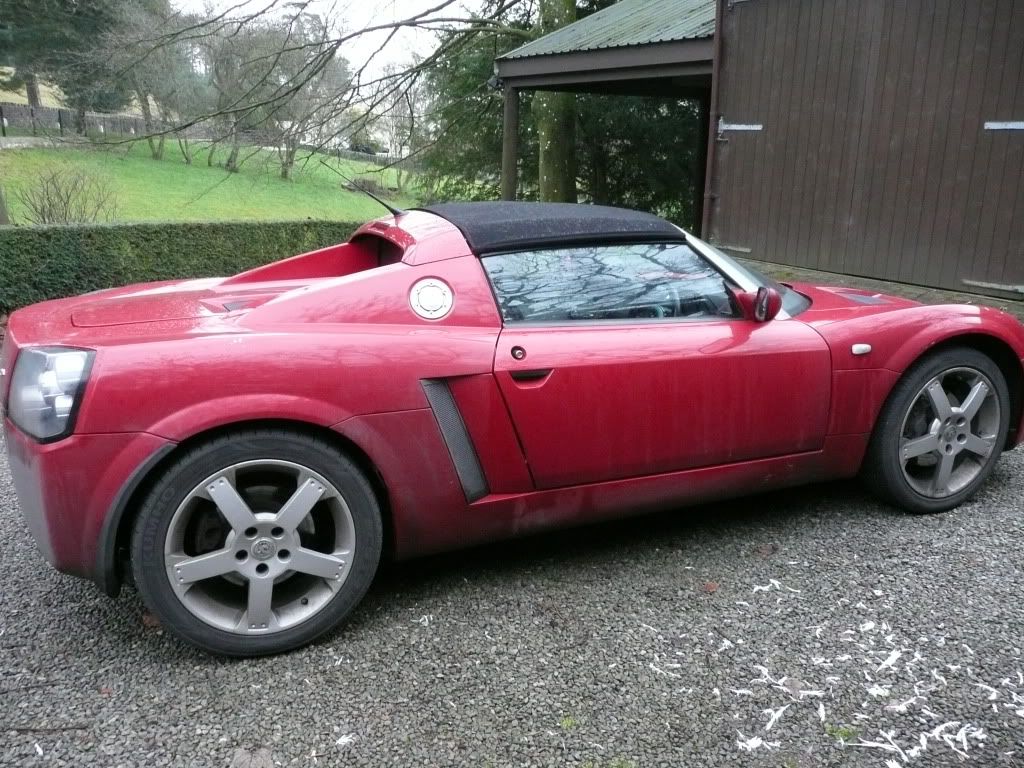
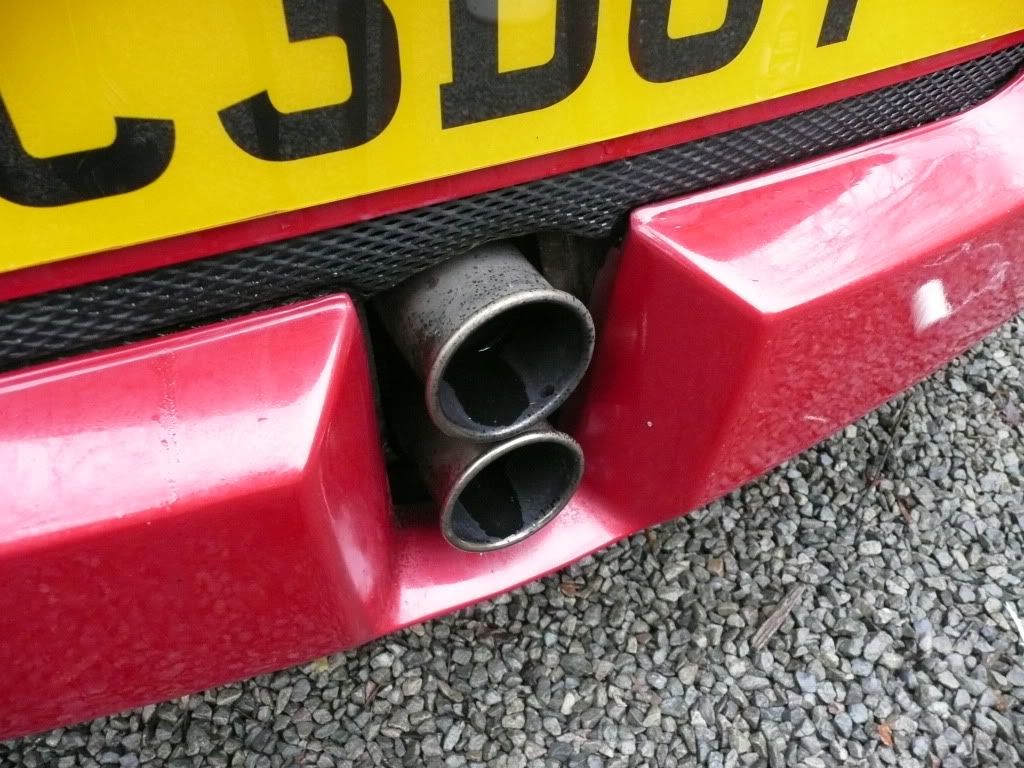
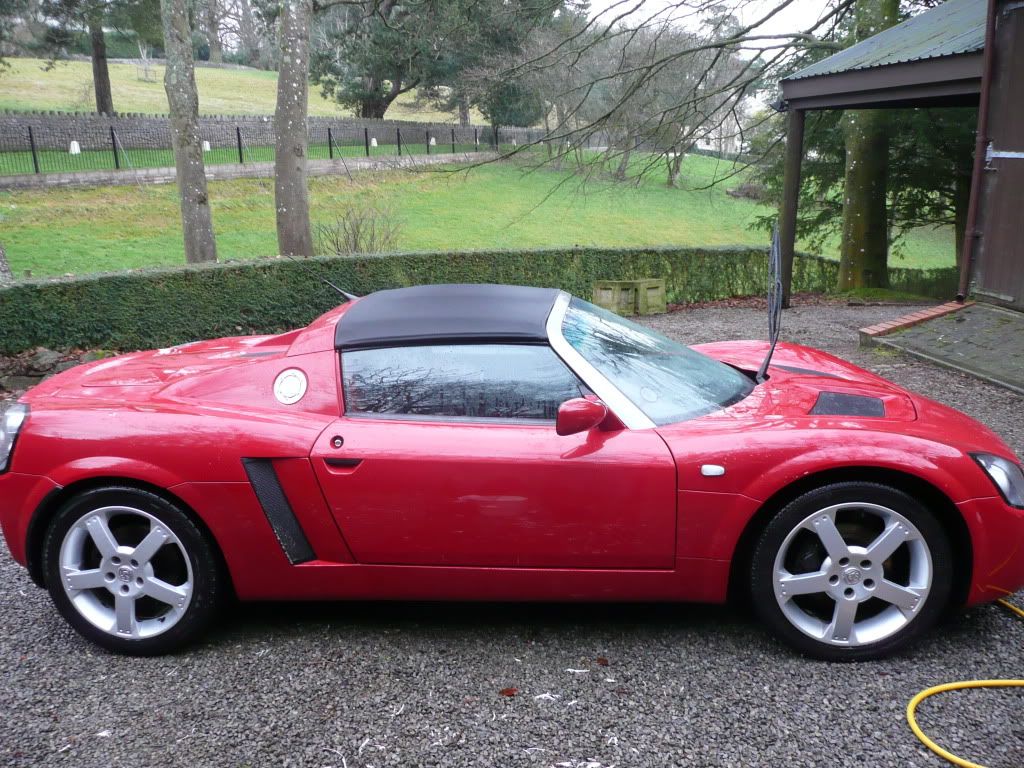
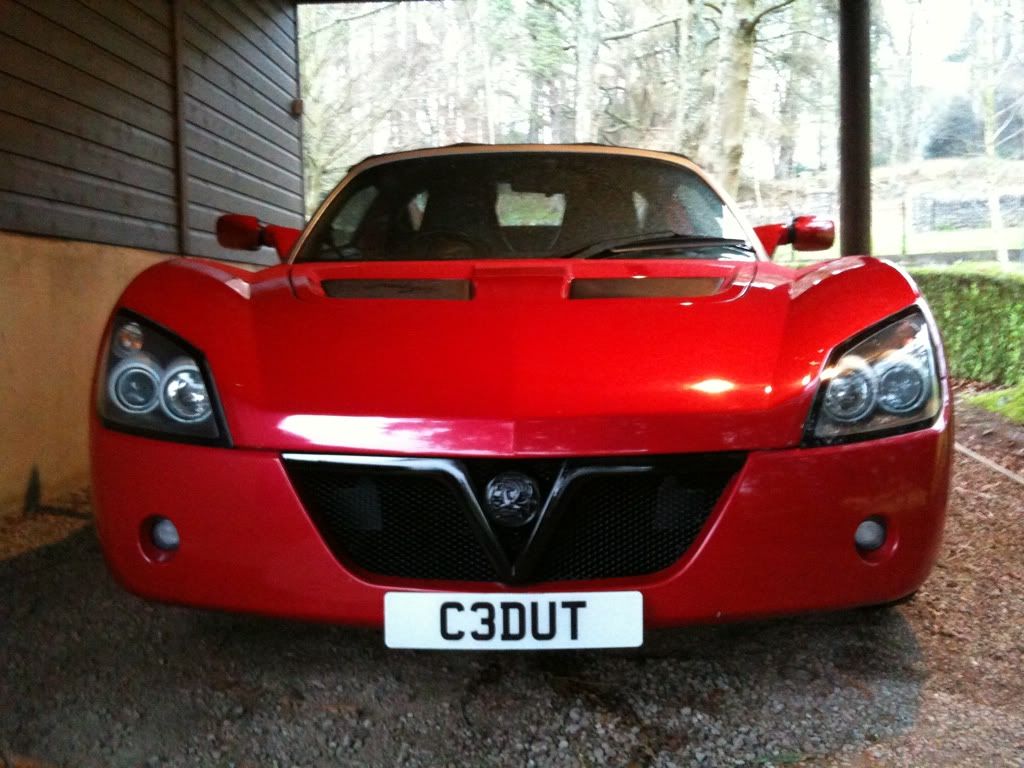
So, to start here's the starting point.
I do in the region of 100 miles a day so car gets plenty of crud from the road.
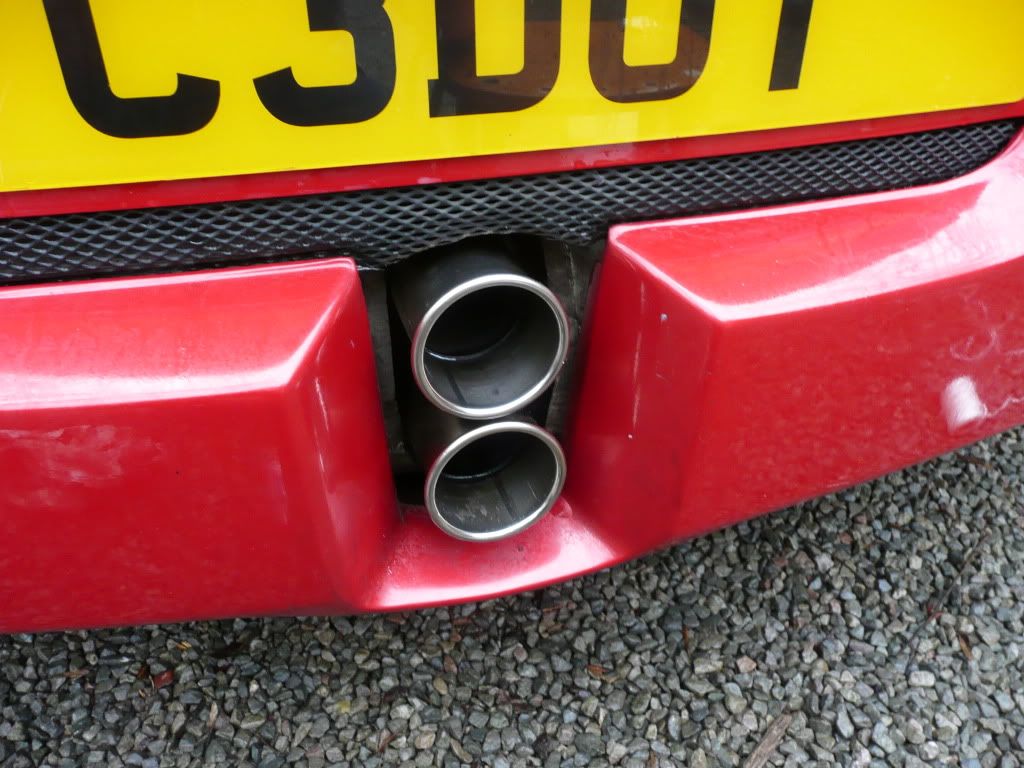
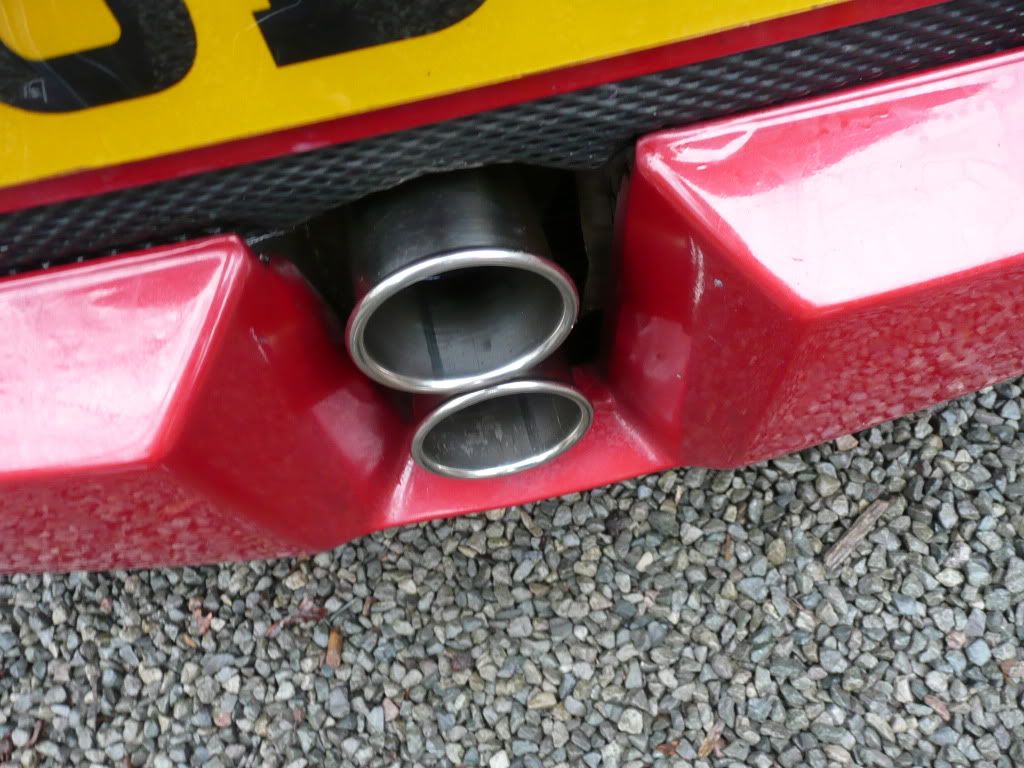
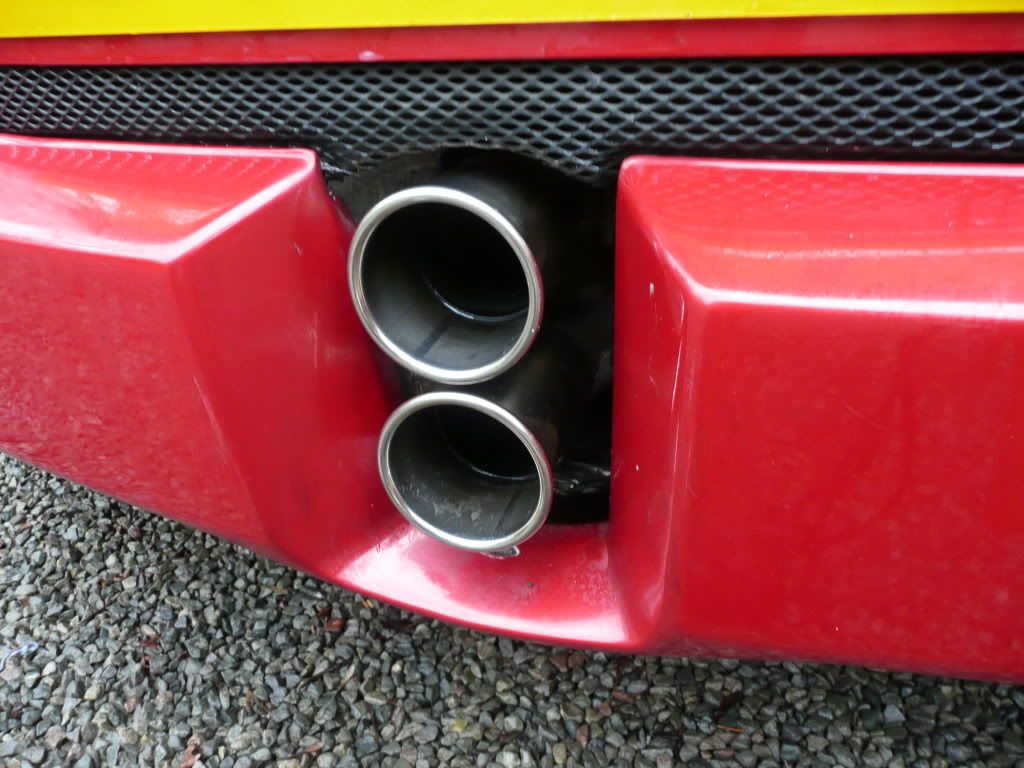
I usually used whatever sponge I can find but as this was supposed to be a 'detail' I bought a cheap 'wash mitt' to use instead. It was £1 from a scabby discount shop and I've got to say it was much better for cleaning the car than using a sponge! I even found a second bucket so I could use the two bucket wash technique.
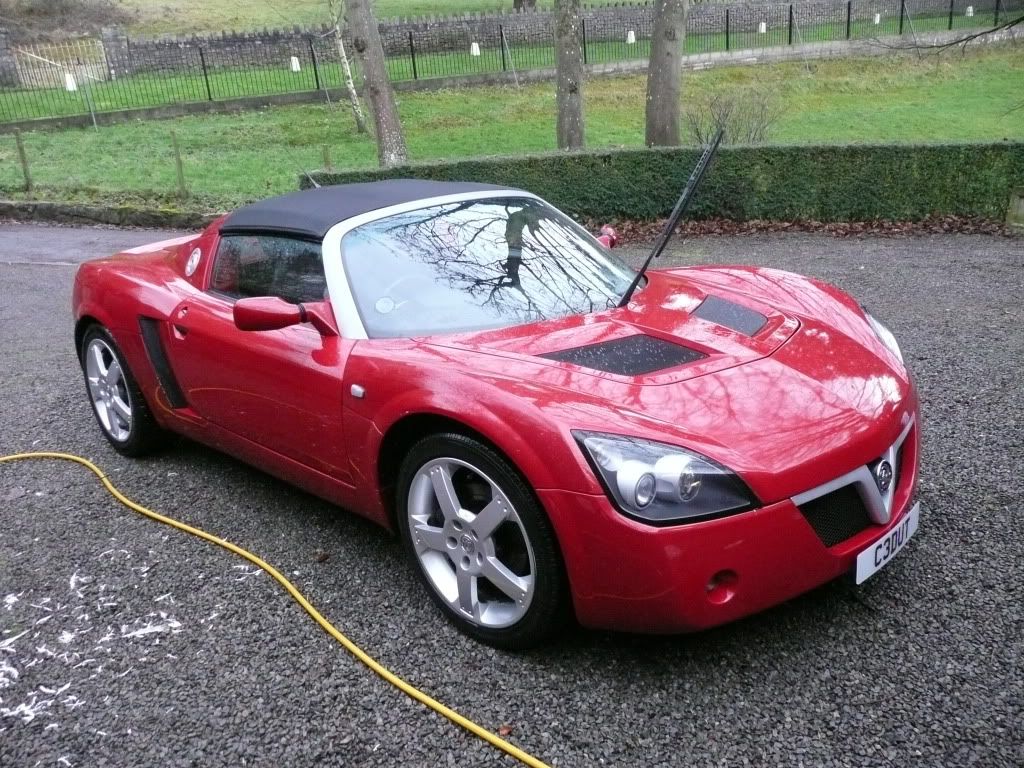
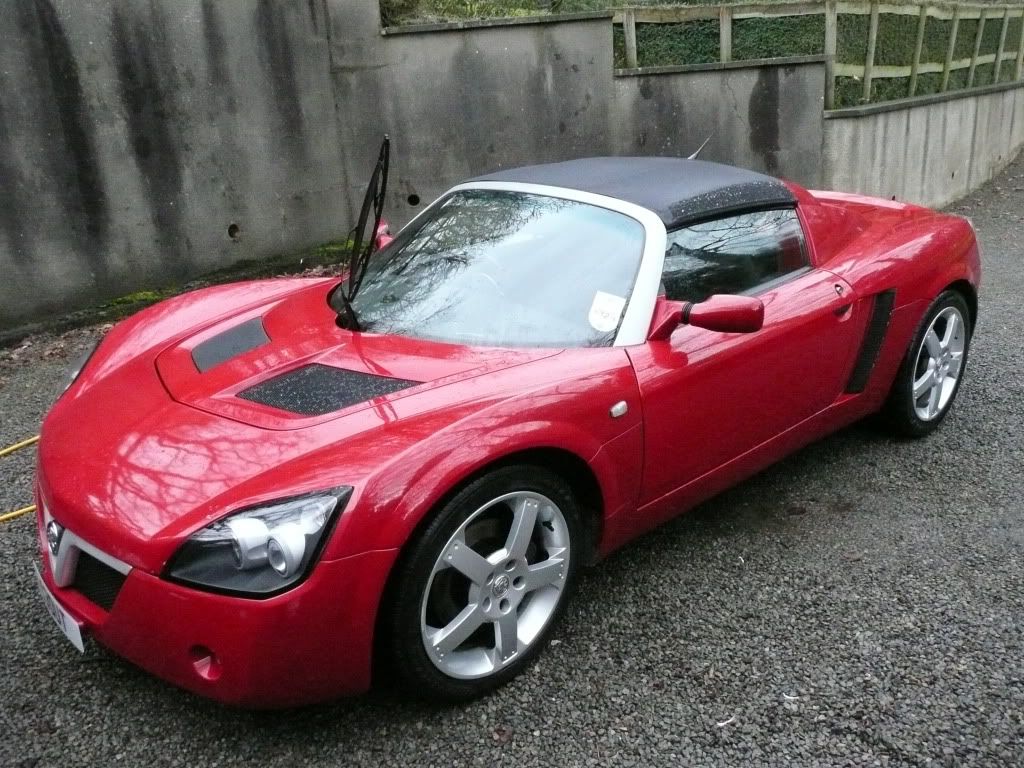


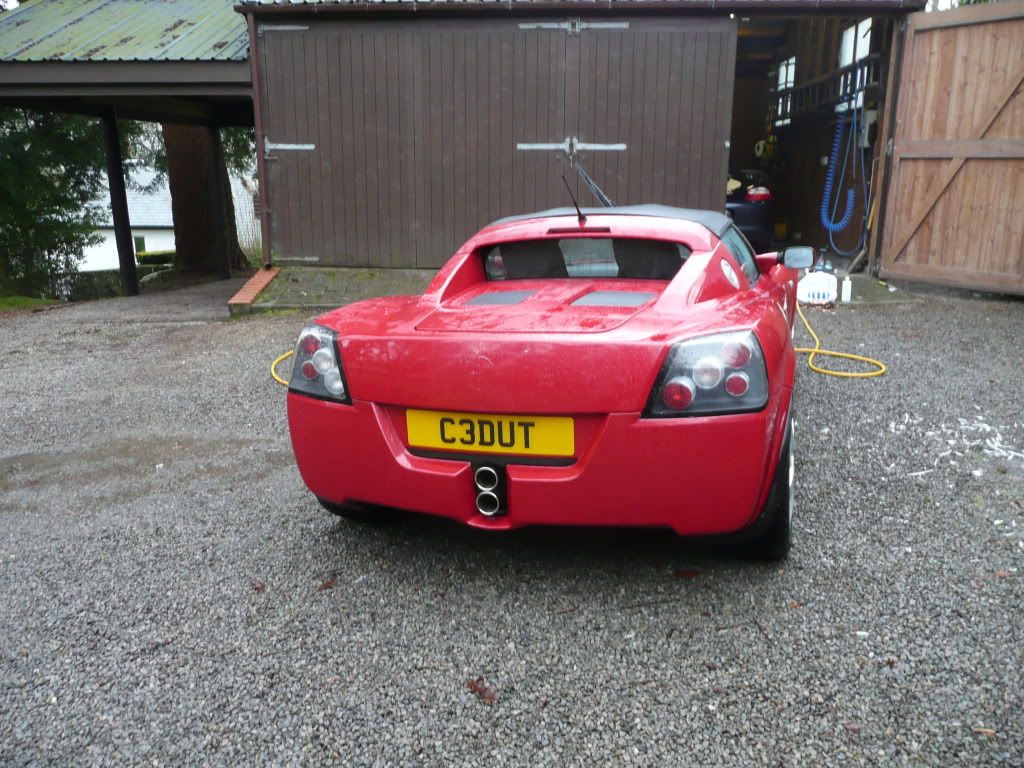
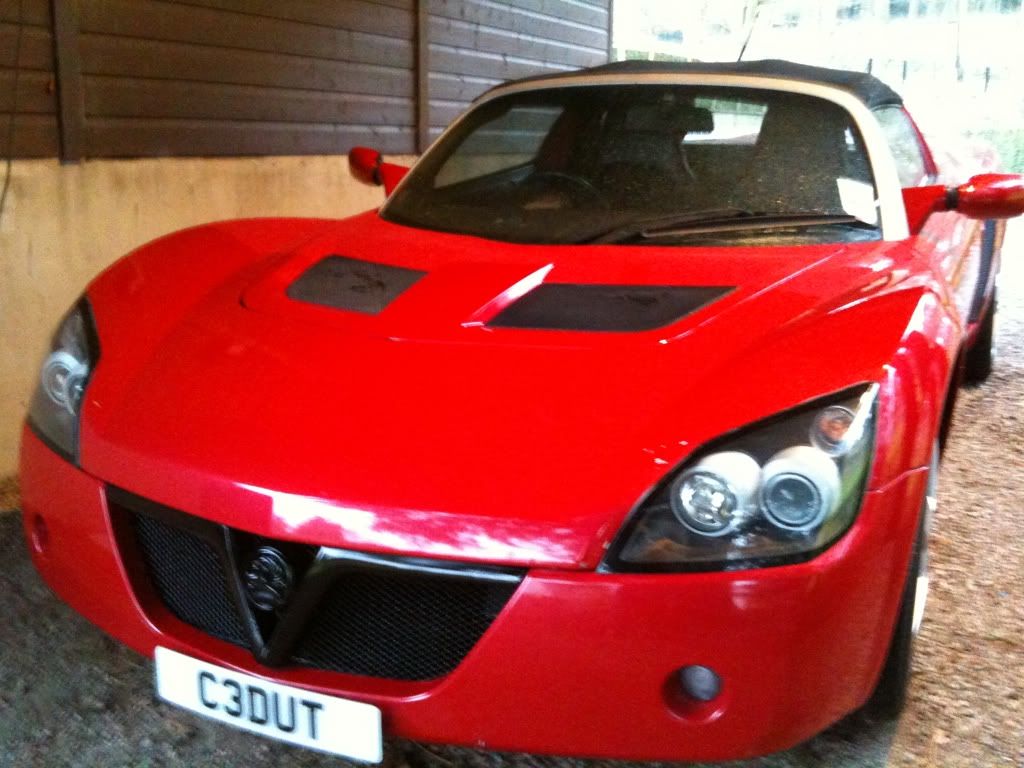
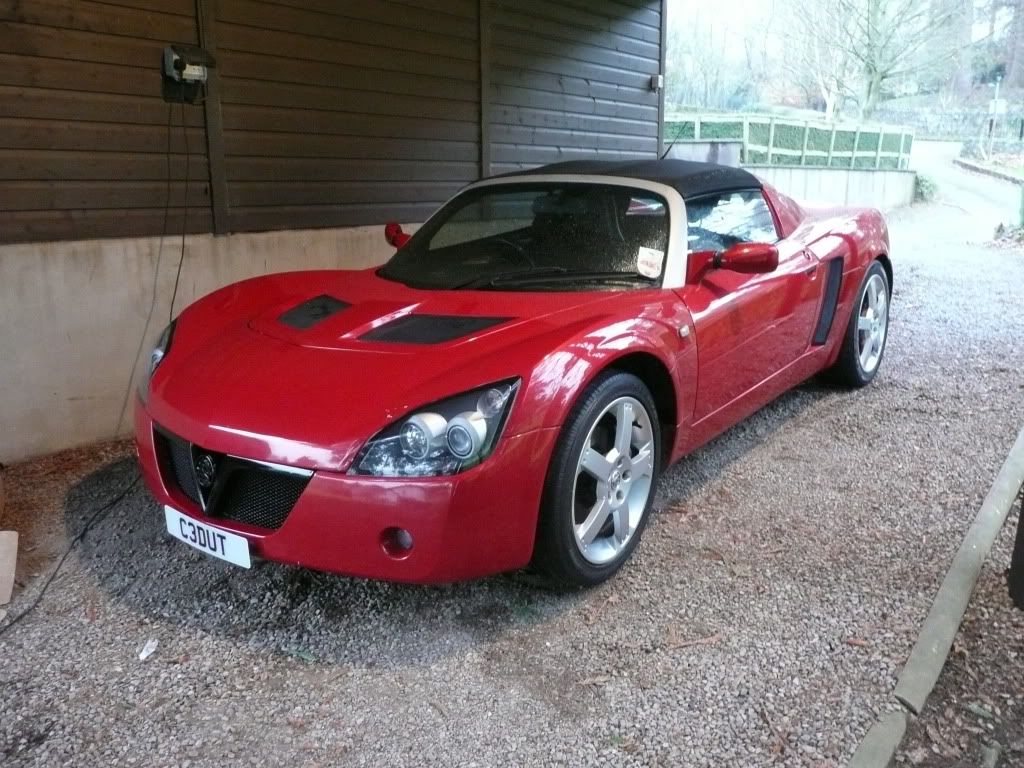


 Even better to see you bought the right colour red in the first place
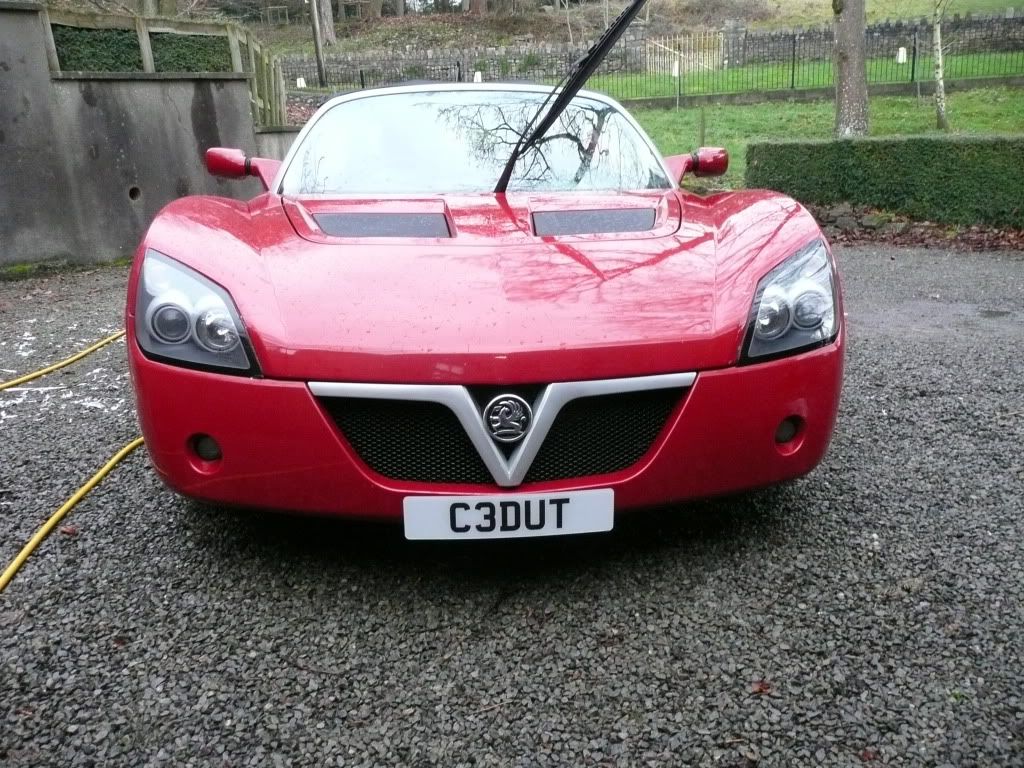
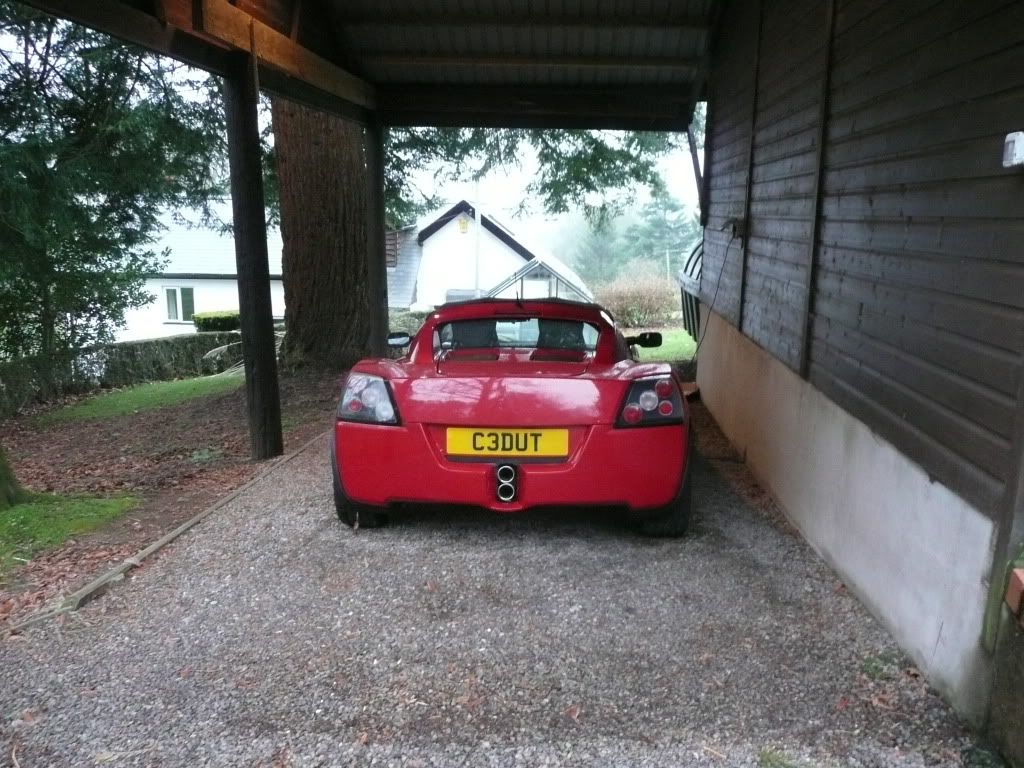
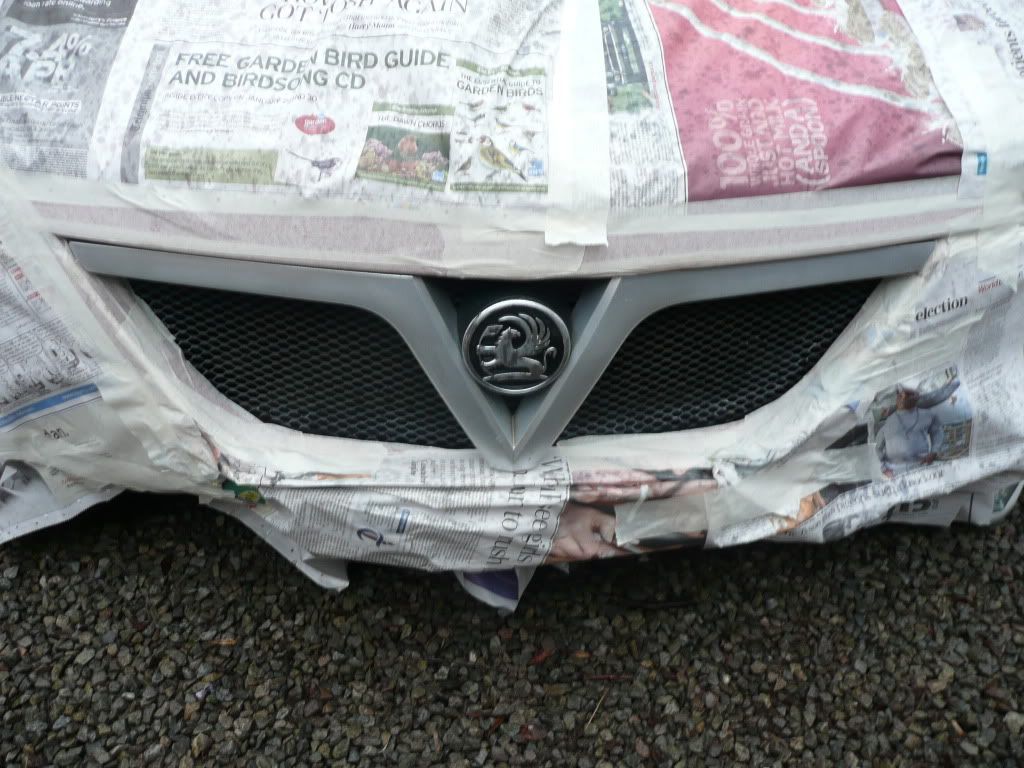
  Only thing I'm not sure of is the front badge, either remove it or put it back to standard