Project 'i Want To Go To Work Today'
#41
Posted 09 March 2012 - 12:57 PM
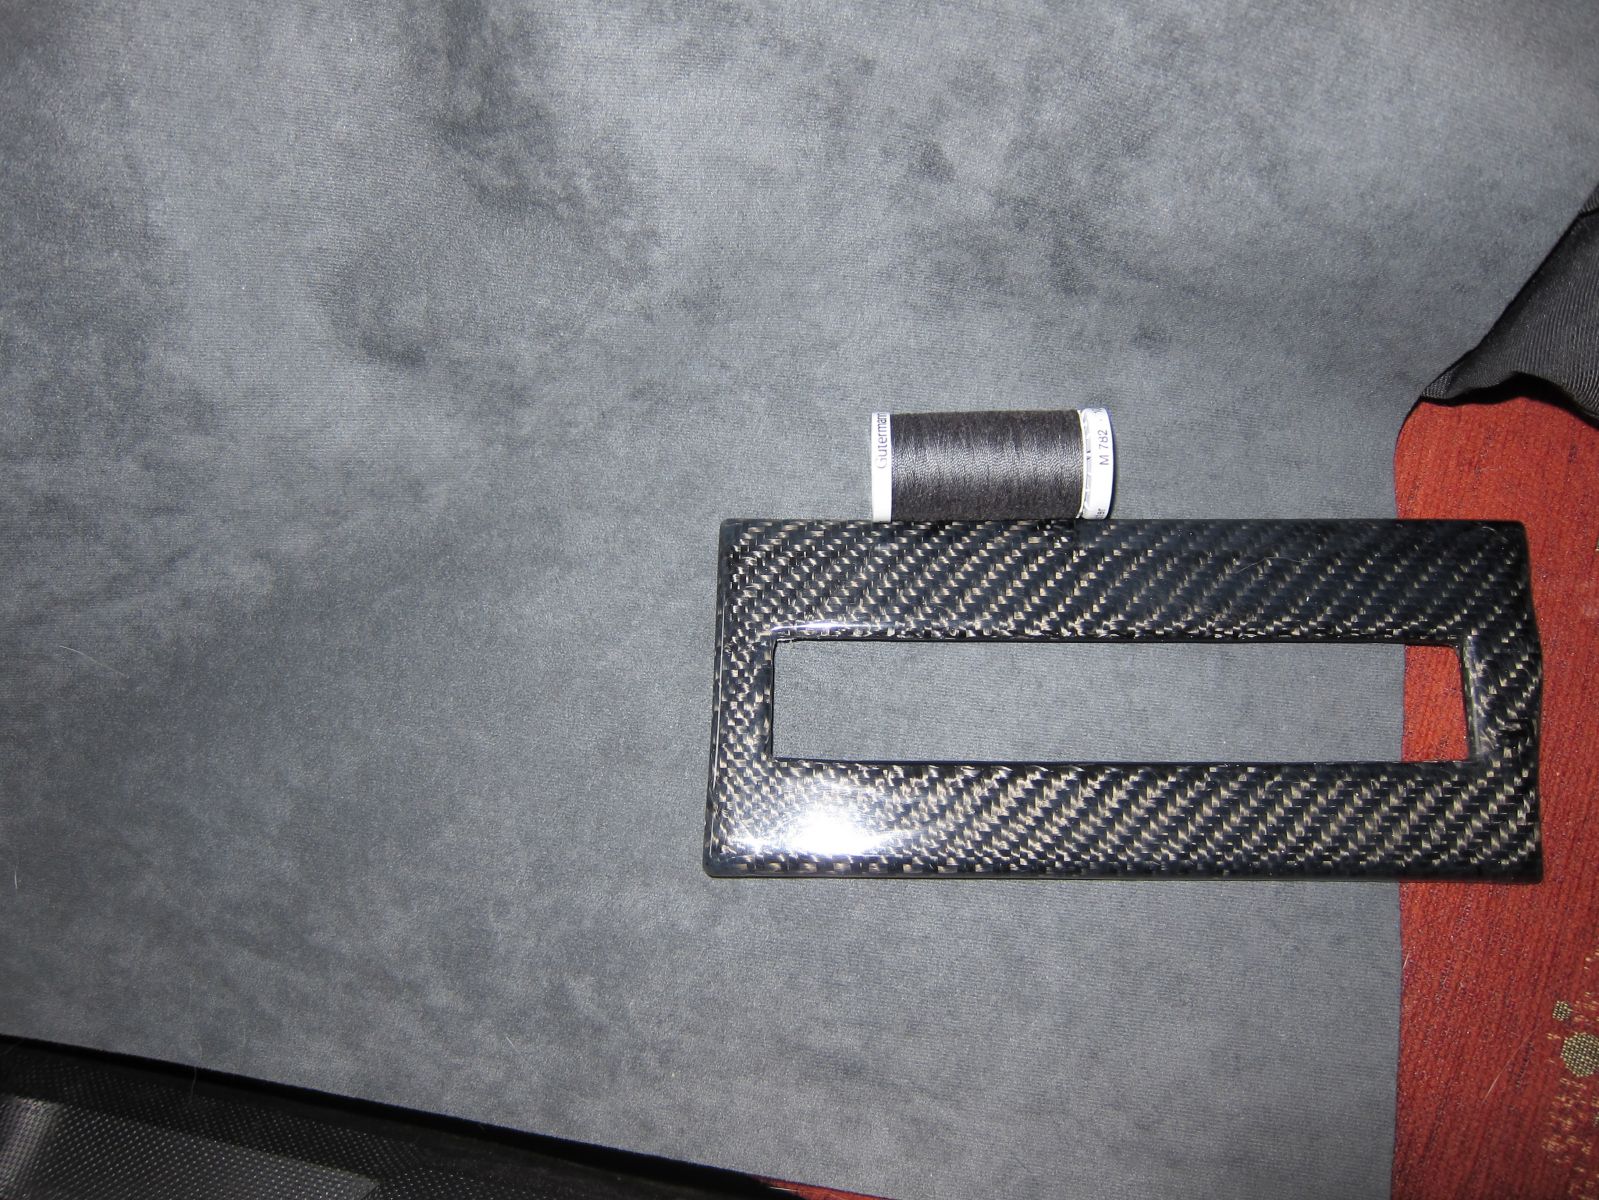
Obviously mine now has a properly working heater, but anyone who has already had a heater fitted has seen i left out quite a few parts of the interior. Here's the current plan:
#42
Posted 13 March 2012 - 06:34 PM
#43
Posted 13 March 2012 - 08:02 PM
#44
Posted 17 March 2012 - 09:09 AM
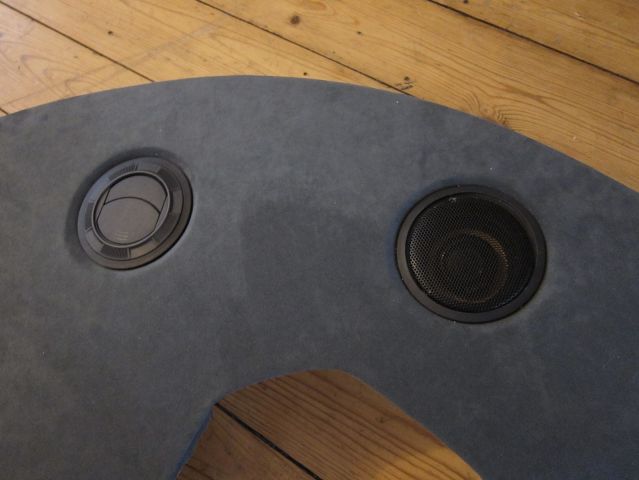
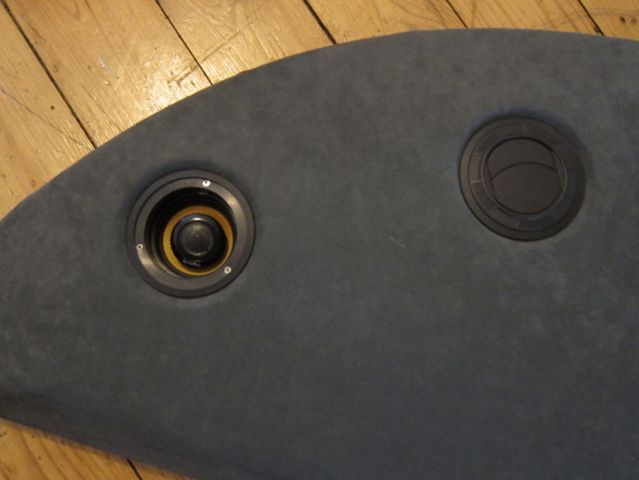
and a close up of the controversial parts:
I'm not 100 % happy with the grille on it at the moment - it's about 2 mm undersized, so I haven't attached the other one yet.
Nice to have an update, good work on this car fella.
Thanks Cliffie, it's been in parts for far too long, good to put some effort into getting it back together.
Edited by fezzasus, 17 March 2012 - 09:13 AM.
#46
Posted 29 March 2012 - 08:12 PM
#47
Posted 30 March 2012 - 10:53 AM
#48
Posted 30 March 2012 - 11:05 AM
#49
Posted 30 March 2012 - 02:45 PM
i have to say, its looks a lot better then I thought it would. Would be interesting to hear the results
Cheers stuwy, they don't change the overall characteristics of the sound that much, but do make the soundstage sound like its completely surrounding you rather than coming from behind your right ear. When driving I'd say the sound quality is better than most of the low to mid range oem car systems - I missed the sound when I borrowed a laguna last weekend.
Dash top looks great did you cover it yourself? I was planning on doing mine it's all stripped and ready but Corners look a bit tricky so have been delaying it. Also like the speakers great place to put them.
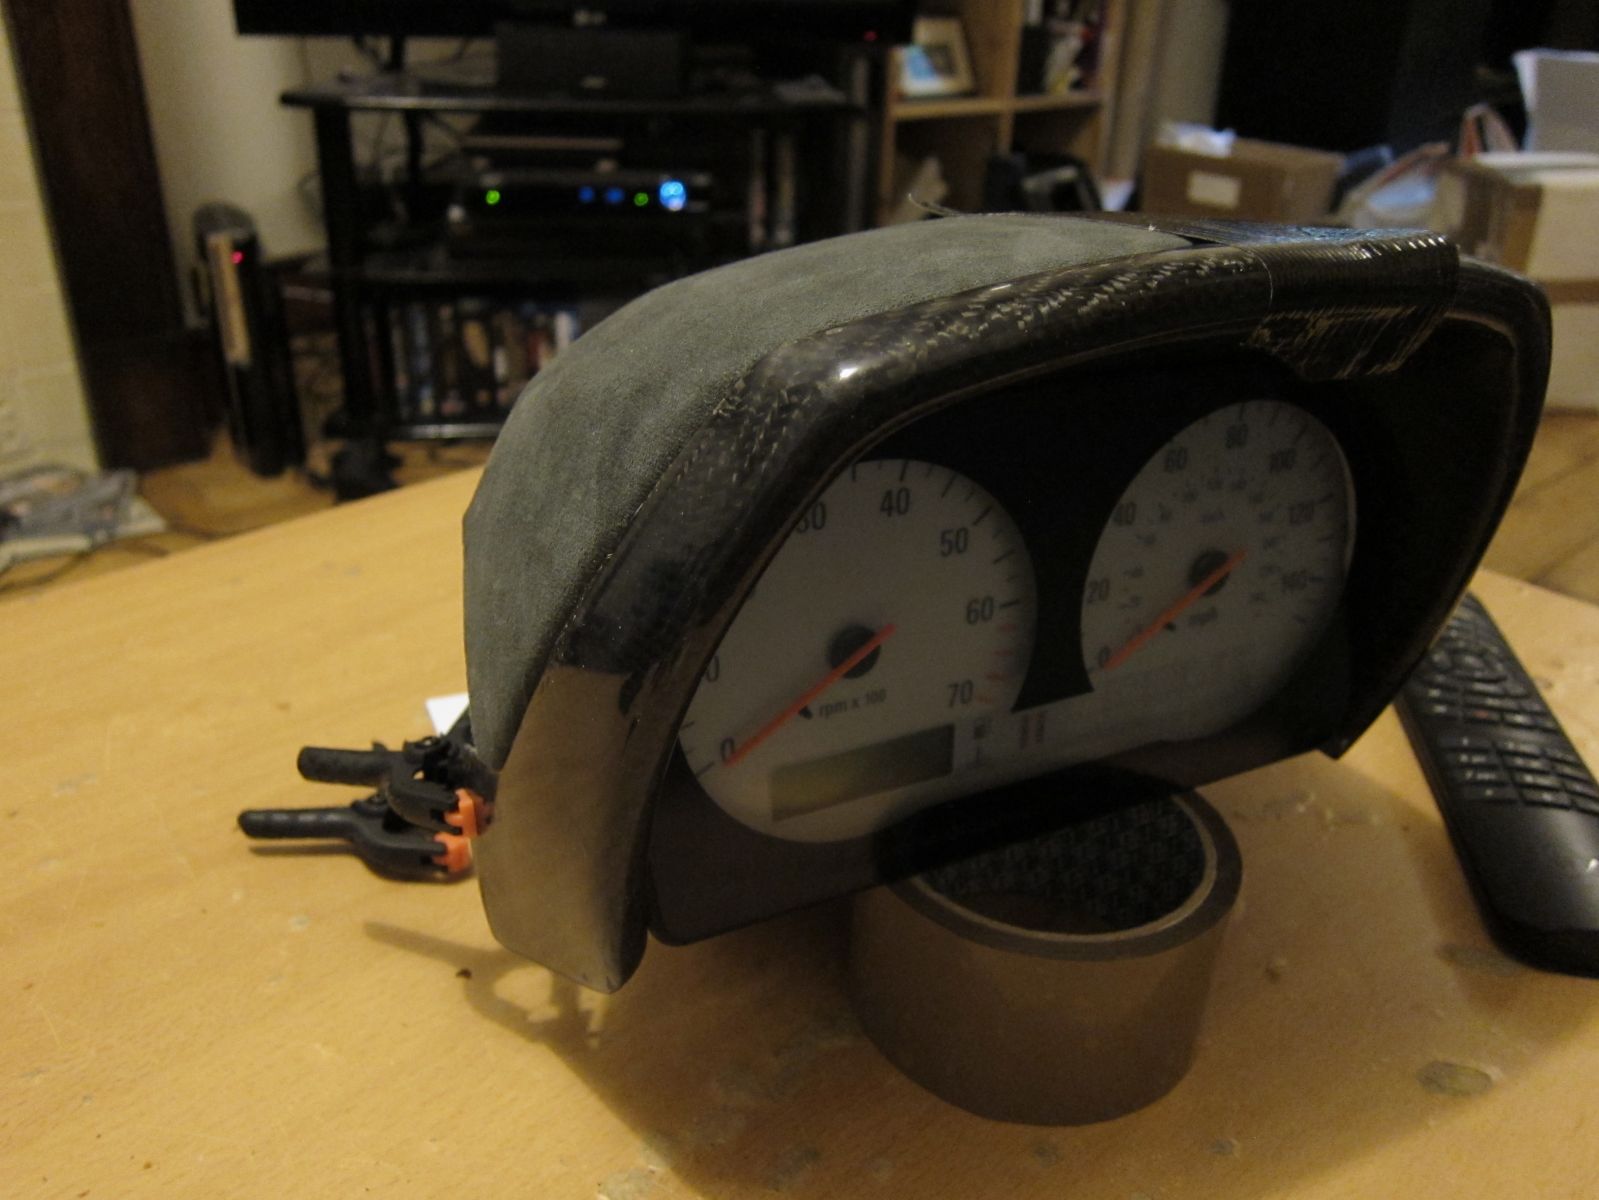
Yup, covered it myself. I bought a bulk load of old alcantara from eBay, I had to strip the backing off but it worked well. Alcantara stretches in one direction so make sure it stretches across - this way you can get the groove for the starter button. I used Eco stik adjustable contact adhestive.
Interesting speaker mod. What exact speakers did you use?
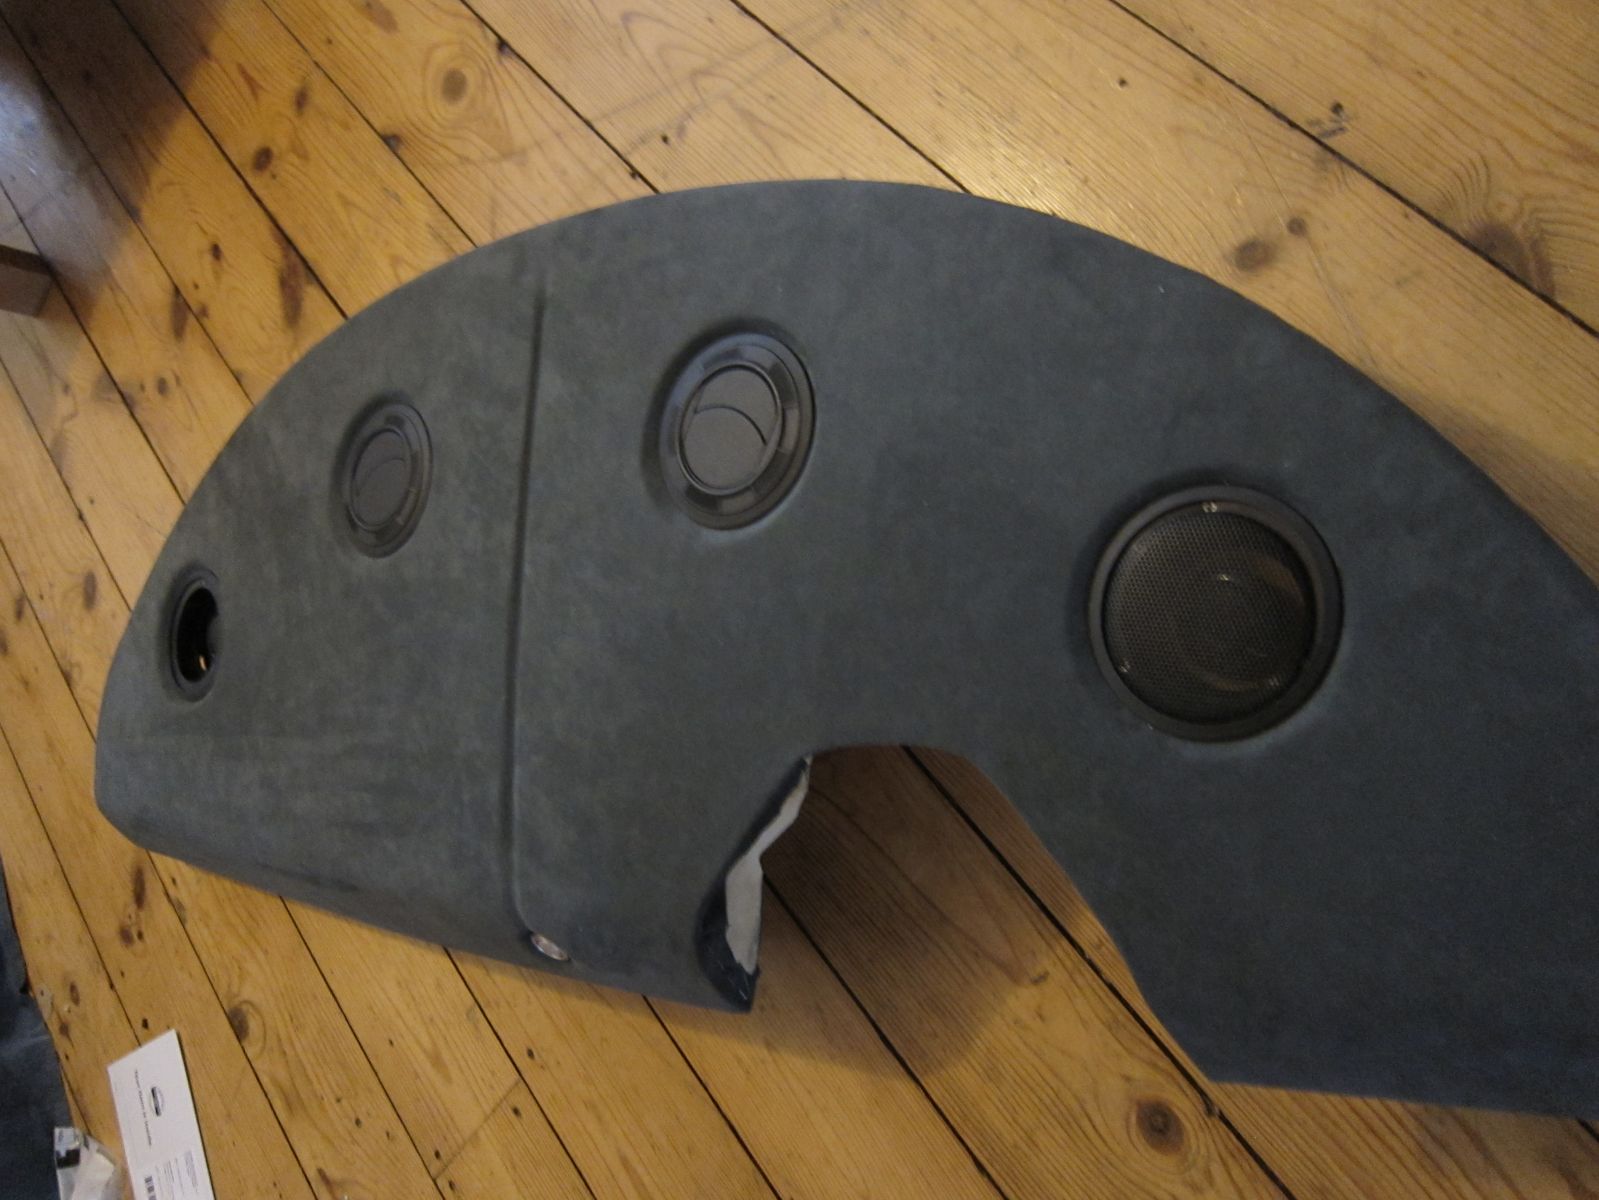
In phase xtc320 - they're 3.5".
Shot from the underside - I cut into the dash and put plywood in to give the speakers a solid mounting point. I've also cut and blocked off the air feed to the vents. http://db.tt/TzDTu62W
I'll get a shot of everything in place in about half an hour. Just waiting for the glue on the instrument binical to set
#50
Posted 30 March 2012 - 03:42 PM
i have to say, its looks a lot better then I thought it would. Would be interesting to hear the results
Cheers stuwy, they don't change the overall characteristics of the sound that much, but do make the soundstage sound like its completely surrounding you rather than coming from behind your right ear. When driving I'd say the sound quality is better than most of the low to mid range oem car systems - I missed the sound when I borrowed a laguna last weekend.
Dash top looks great did you cover it yourself? I was planning on doing mine it's all stripped and ready but Corners look a bit tricky so have been delaying it. Also like the speakers great place to put them.
Yup, covered it myself. I bought a bulk load of old alcantara from eBay, I had to strip the backing off but it worked well. Alcantara stretches in one direction so make sure it stretches across - this way you can get the groove for the starter button. I used Eco stik adjustable contact adhestive.
Interesting speaker mod. What exact speakers did you use?
In phase xtc320 - they're 3.5".
Shot from the underside - I cut into the dash and put plywood in to give the speakers a solid mounting point. I've also cut and blocked off the air feed to the vents. http://db.tt/TzDTu62W
I'll get a shot of everything in place in about half an hour. Just waiting for the glue on the instrument binical to set
Did a very similar thing today too!!
#51
Posted 31 March 2012 - 09:08 AM
#52
Posted 31 March 2012 - 11:04 AM
#53
Posted 14 October 2012 - 04:57 PM
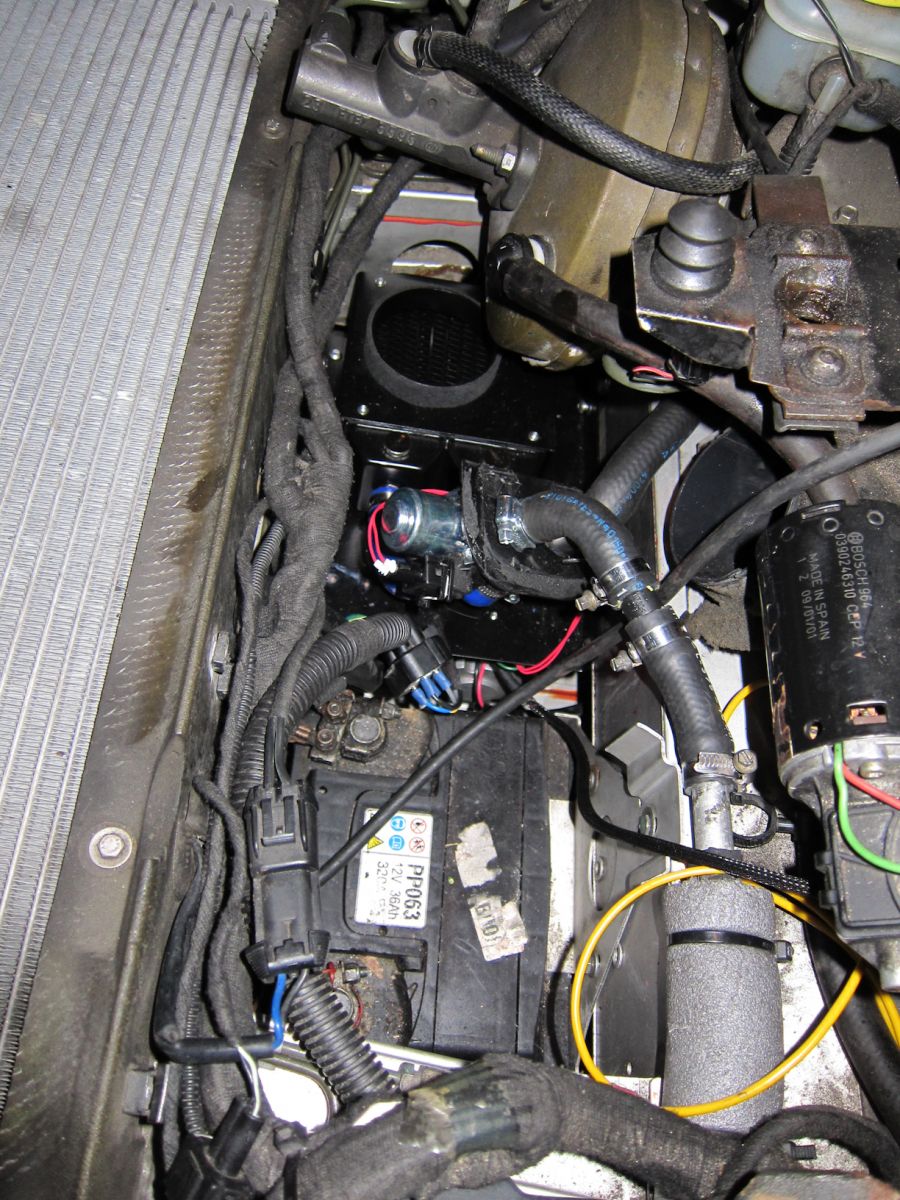
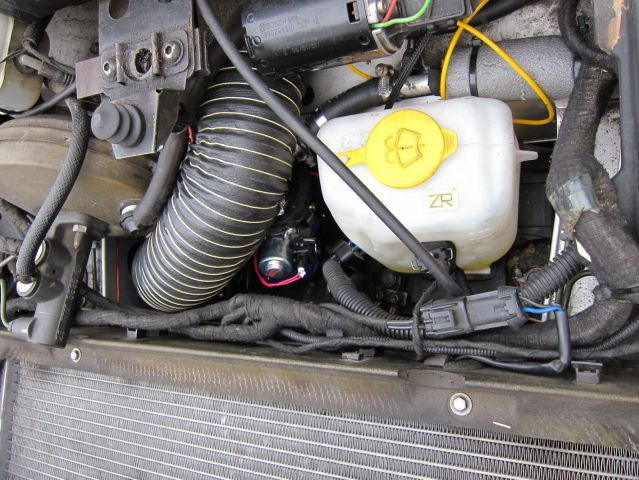
The obvious point is after running many different prototypes for the last year, i've now got a final version of my working heater:
and all assembled.
For anyone who hasn't seen the group buy; this heater avoids the flap air control and uses an electronic solenoid to control water flow - this means the unit has one completely sealed air pathway so has much lower air and heat loss. The blower is also 2 - 3 times as powerful as standard.
With a bit of help from the ultimate carbon group buy i've now started to finish my interior. Next up are door card inserts and door handle surrounds, although this will have to wait until I can afford it. In the meantime i've covered the back of the door cars with 1.5mm foam tape and fitted them with new fir tree clips to stop any rattles.
I've knocked up an alcantara gear gaiter to tie the dash in with the rest of the car; the base uses bent 2 mm thick aluminium and is padded with more foam tape for a tight fit.
Finally i've never been 100 % happy with the seal from my hardtop and with winter approaching i've been poking around to understand why, it turns out that OEM hardtops have aluminium seal runners to keep the side seal in place (part numbers A116V0241F1 [LH] and A116V0240F [RH]) rather than gluing the seal in place - fitting these with the required double sided foam tape (12mm wide, 6mm thick) between the runners and the hardtop and rivets to secure it, has given me a proper seal. Now for the first time ever my car is quieter when the doors are closed.
I also drilled holes front and rear on each side of the hardtop and filled it with expandable foam, partially to cut out some noise, but also because trial and error fitting of the seal runners lead to a few rivet heads ratting around between the GRP skins - the foam has stopped this.
Close up of the newly aligned seals
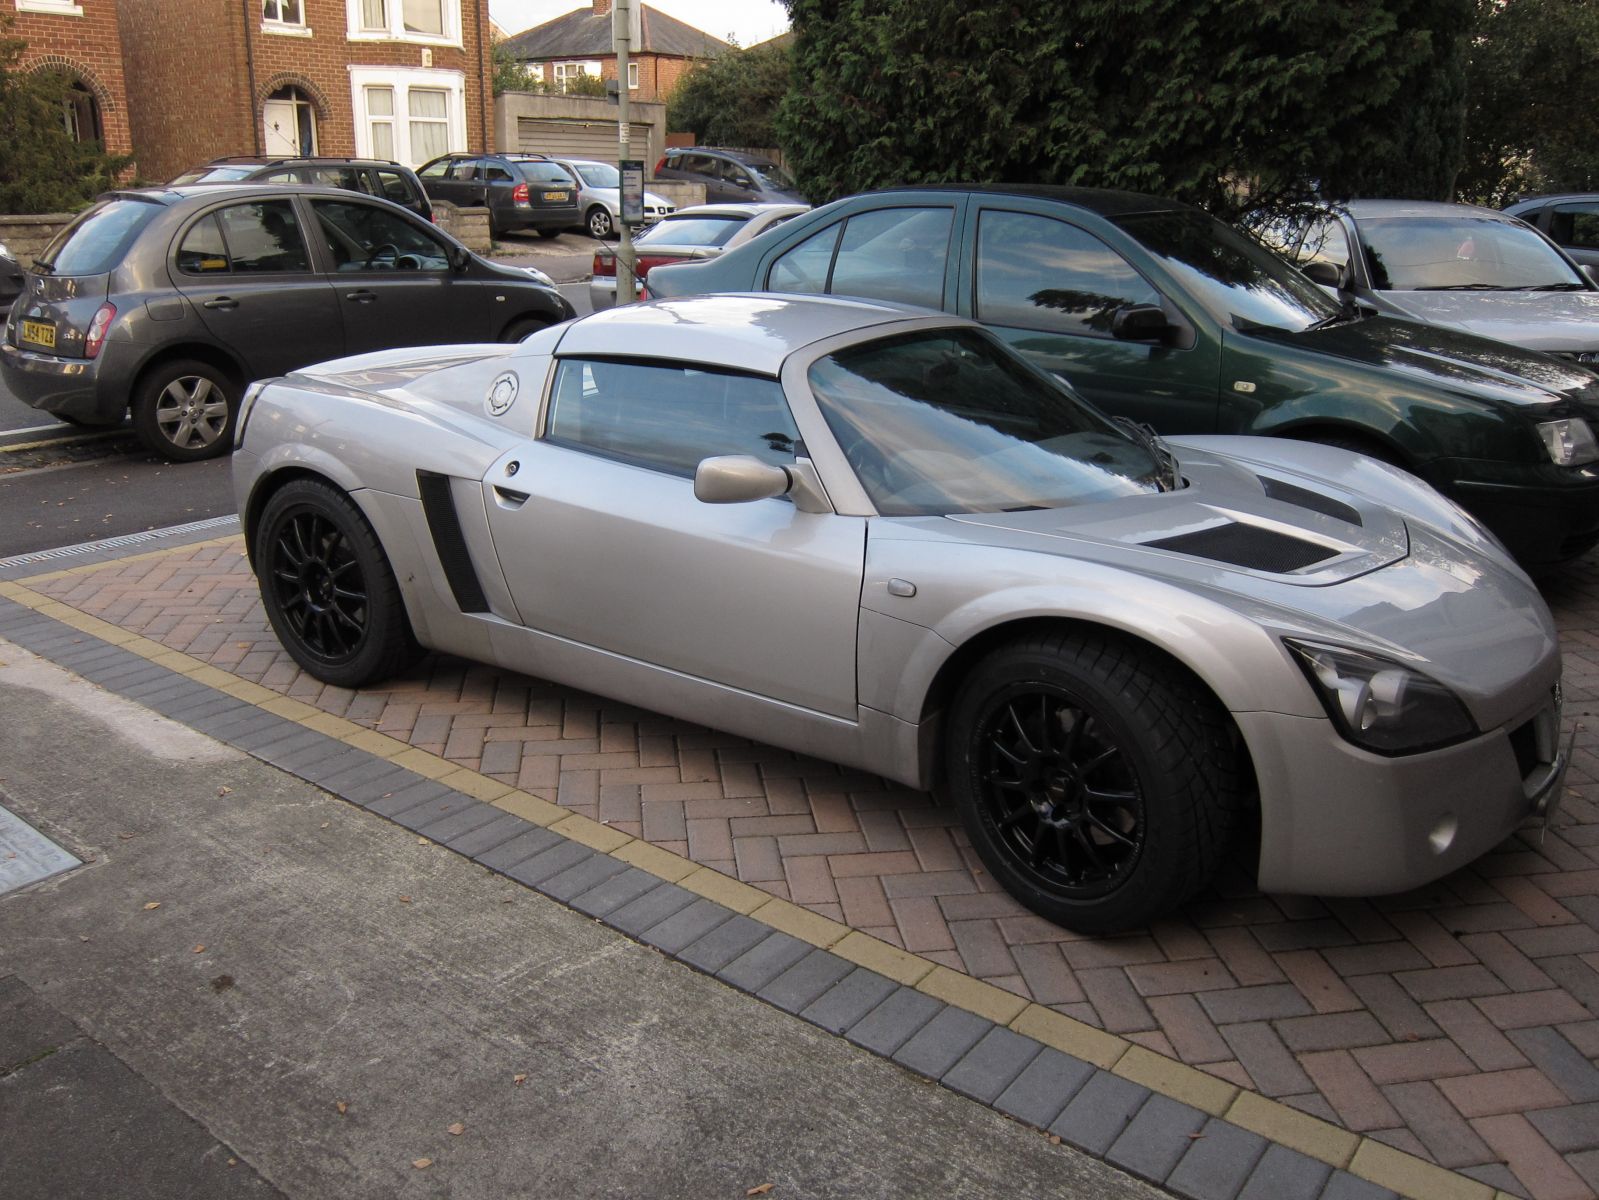
Finally I needed new front and rear tyres, so I bit the bullet and went for some TD1.2s - I actually prefer the look of the NA alloys but at £160 per corner for the fronts it was an easy compromise.
Not bad for a days work. Just don't expect anything else for a while - i'm broke now.
#54
Posted 14 October 2012 - 08:20 PM
#55
Posted 16 October 2012 - 12:25 PM
This thread was part of my thinking/planning when I first got mine so I expect I'll get round to sorting my roof seals in a years time given past mods...
Great work as usual. Indeed n/a wheels look 10x better than TD's but to get the extra choice a good compromise.
#56
Posted 16 October 2012 - 04:17 PM
This thread was part of my thinking/planning when I first got mine so I expect I'll get round to sorting my roof seals in a years time given past mods...
Great work as usual. Indeed n/a wheels look 10x better than TD's but to get the extra choice a good compromise.
Let me know if you need any photos of what i've done - I used this thread as a template for the seal fixing: http://www.teslamoto...-hardtops/page3
#57
Posted 17 October 2012 - 02:34 PM
Edited by TazN, 17 October 2012 - 02:35 PM.
#58
Posted 17 October 2012 - 04:39 PM
#59
Posted 06 January 2013 - 04:35 PM
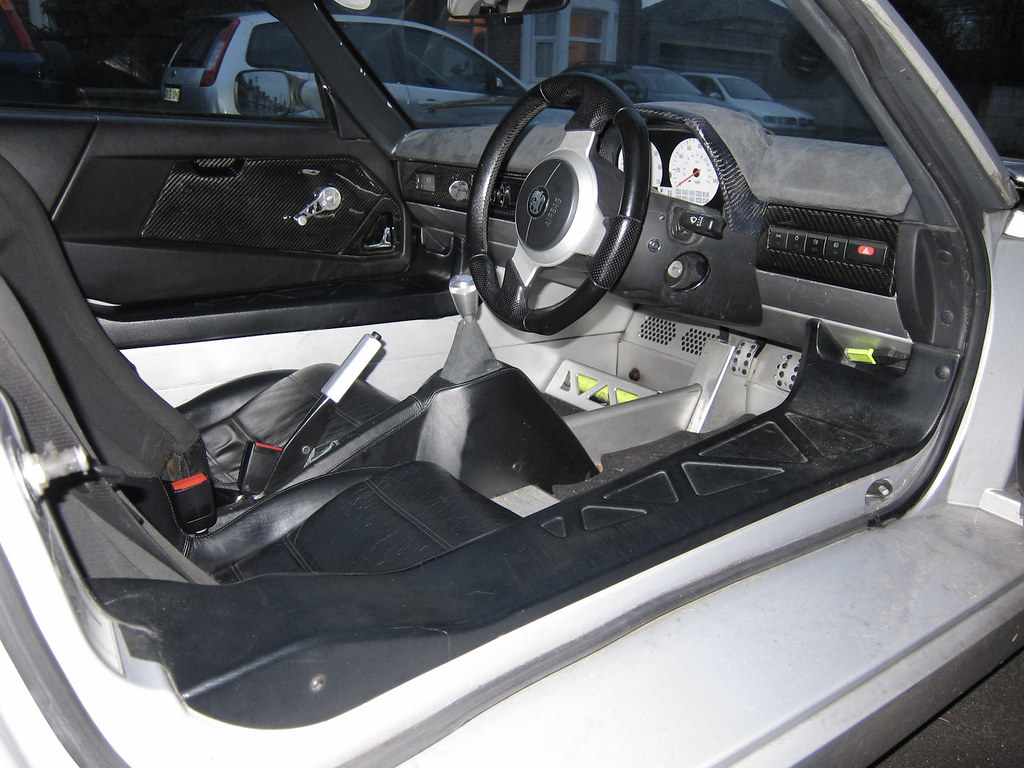
Firstly the interior is now finished, or at least in a state where all the parts are back in.
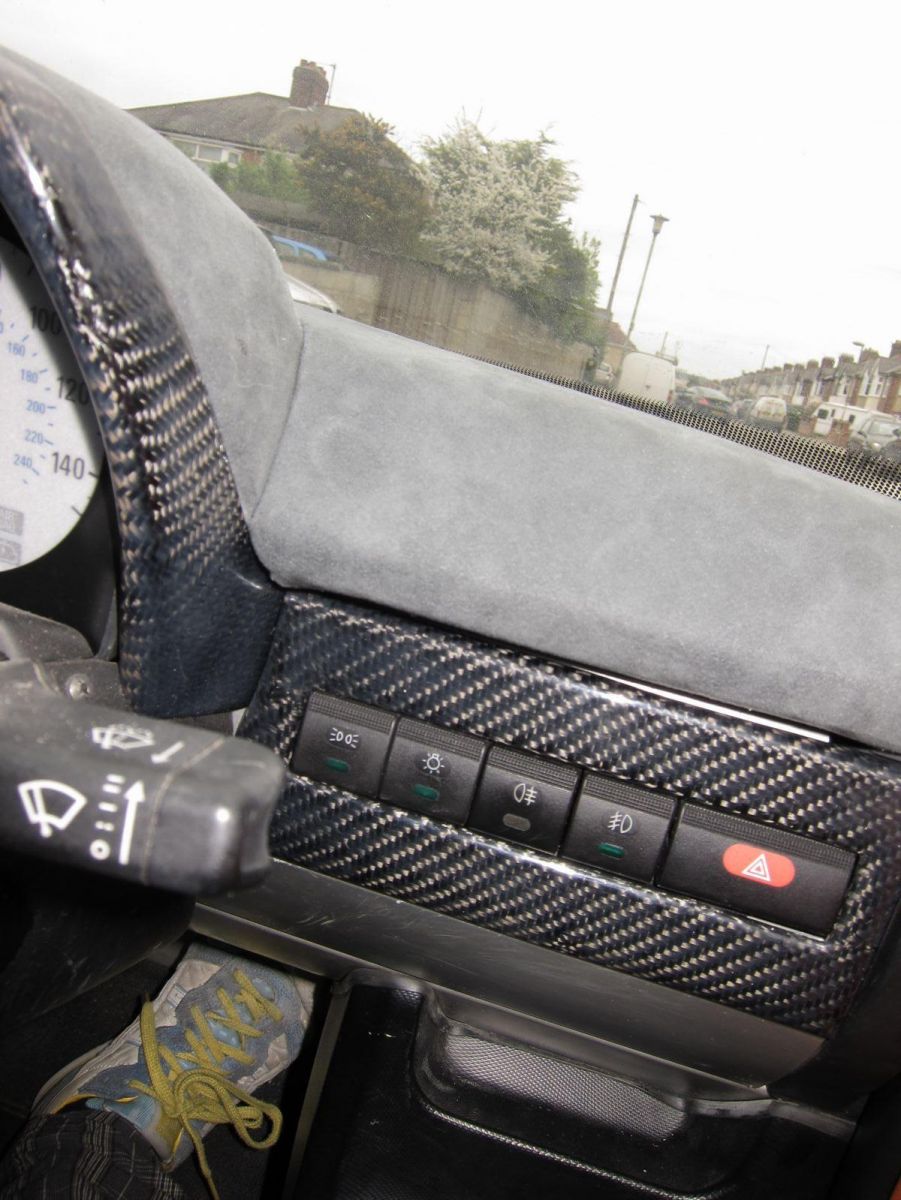
CF door card inserts, triangles and dash plates have been added. I've made a gear gaiter to match the fabric on the dash and binnacle.
In the long term I would like to get the centre of the seats retrimmed in matching Alcantara (thankfully I have a roll of it), and probably swap the centre console out for a CF one. The plastic sill covers are also looking a bit tired, but with the options being CF or direct replacements, both of which are expensive, I'll just leave them and mull it over.
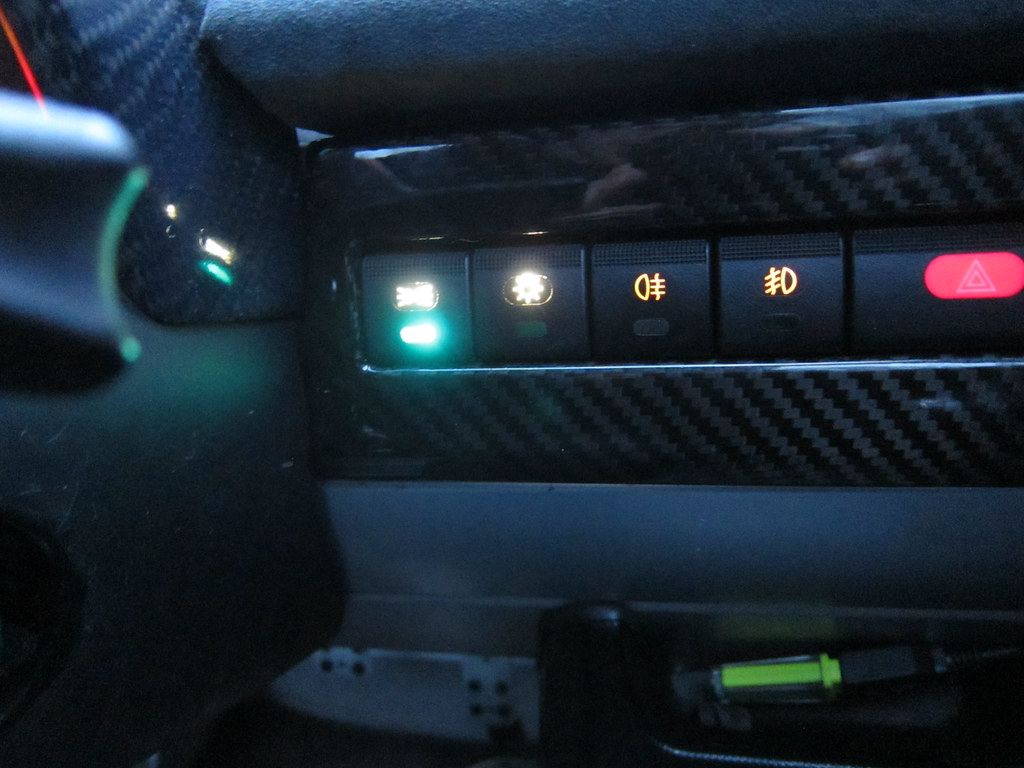
A couple of the bulbs on my light switches had failed, rather than finding replacements which may or may not work, I soldered in white LEDs in place, these required a 330 ohm resistor to take it down to the correct 3.1 v and 60 mA, I changed that to 440 ohms for the white (backlit sign) section as I found them too bright. Now the intensity matches the might from the headunit. (only the side lights and dipped beams have been done so far)
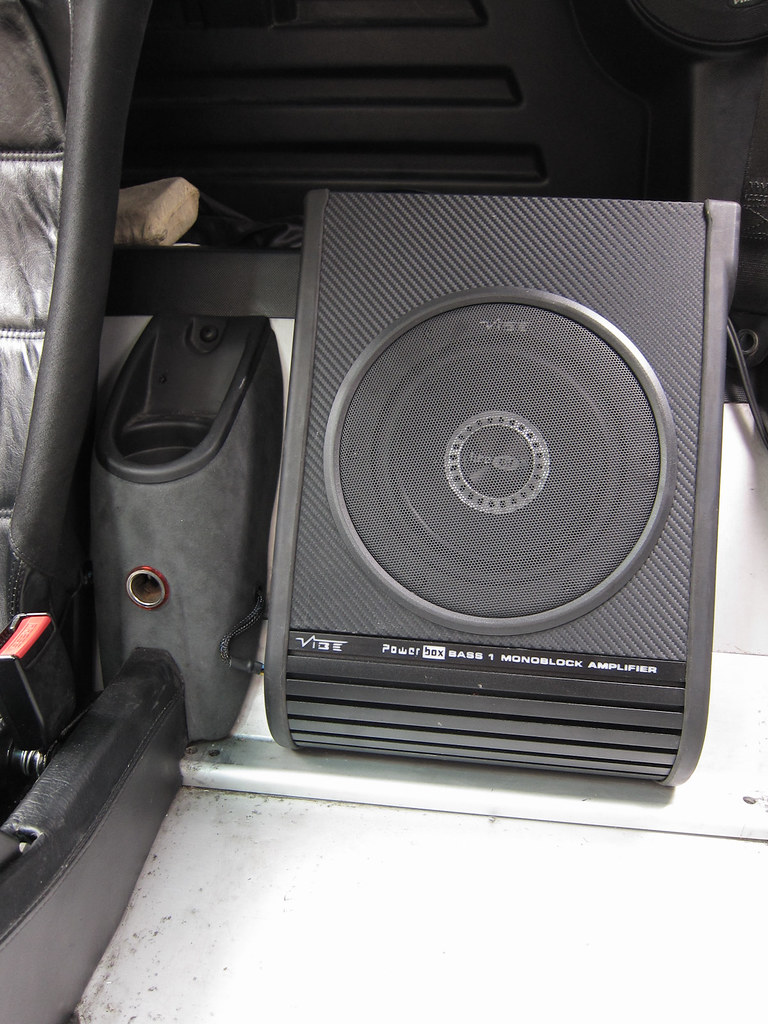
Next is the controversial part; sound. Firstly a slimline active subwoofer went in:
Power and head unit switching comes in on the left hand side, routed through the centre console. RCA connectors are tucked under the plastic sill cover, run into the cavity and up under the dash.
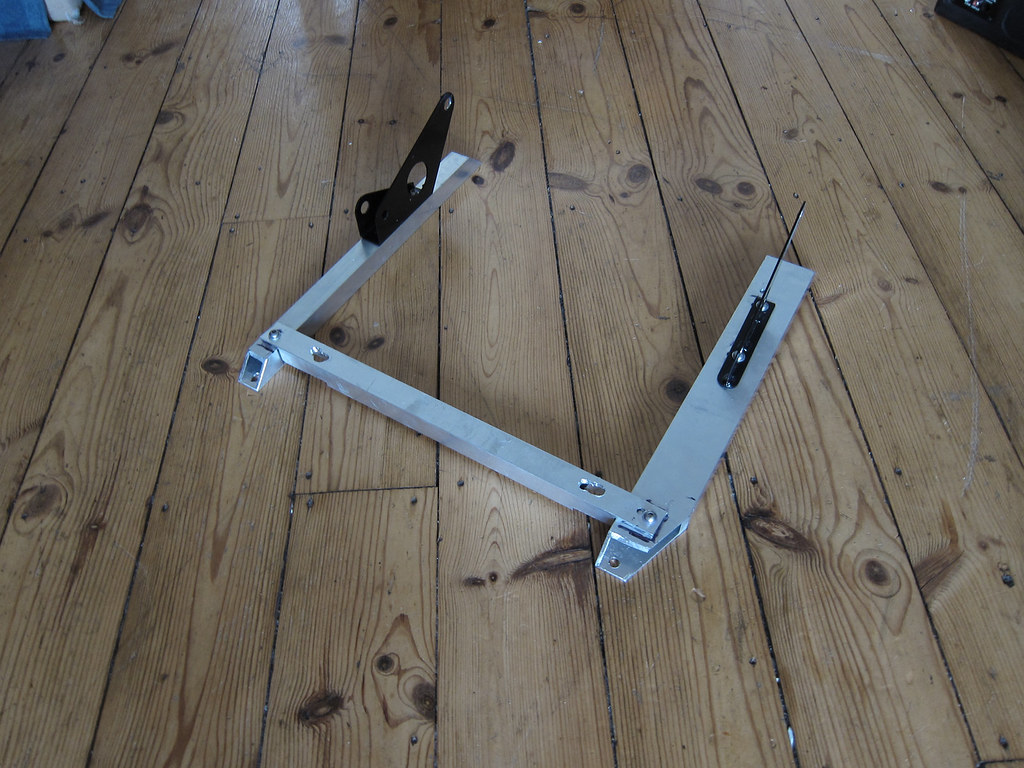
The passenger side mount needed to be modified to fit the subwoofer. Thankfully there are lots of LHD conversion kits available.
The problem is, the headunits available really arn't designed for a layout like the VX220, the speakers are in crap positions.
Most head units bias sound towards the front, normally VX220s don't have front speakers, i've fitted some but they're only 3.5", and while help fill in the music, I don't want to push the full frequency range through them.
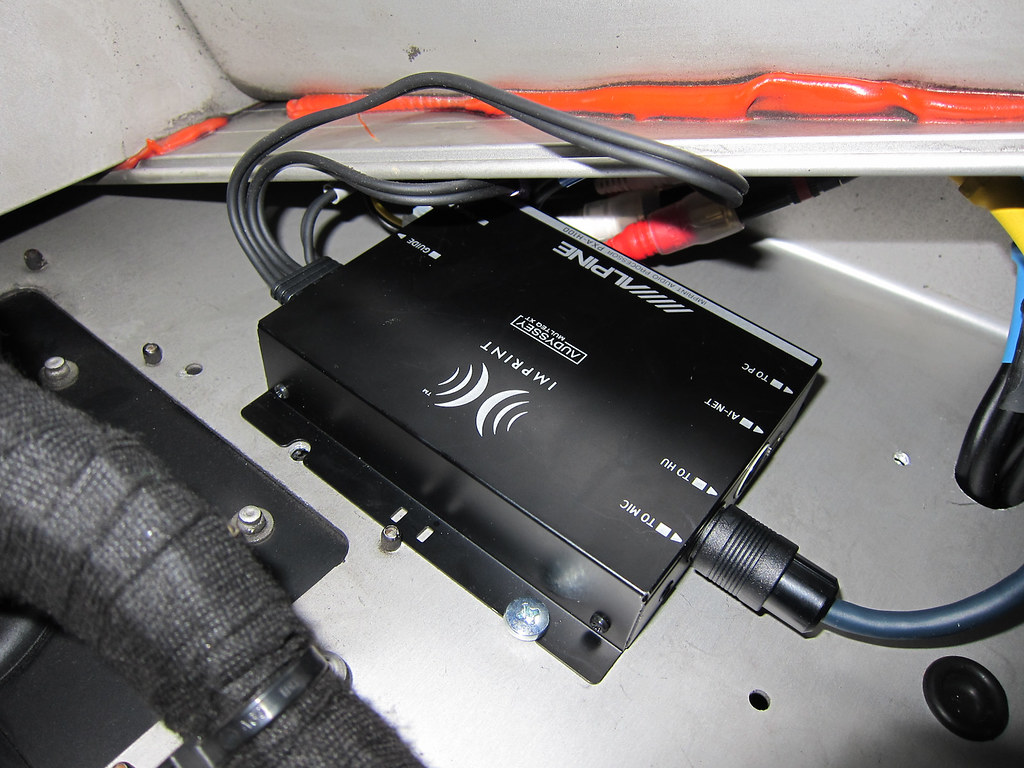
Enter the Alpine Imprint, it connects to various Alpine headunits and when coupled with a microphone and laptop, will calibrate speakers to the specific interior. This is tucked right in the corner of the passenger footwell.
Once calibration is complete, the calibration files are uploaded from the laptop onto the unit, calibration fits it to a specific response curve, removing all the highs and lows from built in speaker crossovers and interior resonant frequencies, it adjusts the specific output of each speaker to create a balance around a specified area (in my case around my head), as well as introducing time delay to ensure the sounds all get to me at the same time.
This is the same technology used by THX branded surround sound systems.
It's also pretty good, i'd put it up against any car audio i've come across, and most home audio.
The cost of this is about £80 for the processor, the microphone and software for the PC comes in at another £40, but you only need the microphone and software while calibrating, so you can borrow one, or buy and sell one on.
Next up, i'm going to balance out all this dicking around making it comfortable by supercharging.
Edited by fezzasus, 06 January 2013 - 04:50 PM.
#60
Posted 06 January 2013 - 06:42 PM
5 user(s) are reading this topic
0 members, 5 guests, 0 anonymous users